Quilted pillowcases bring texture, color, and personality to your space. Learn how to size, cut, and stitch them for a custom fit!
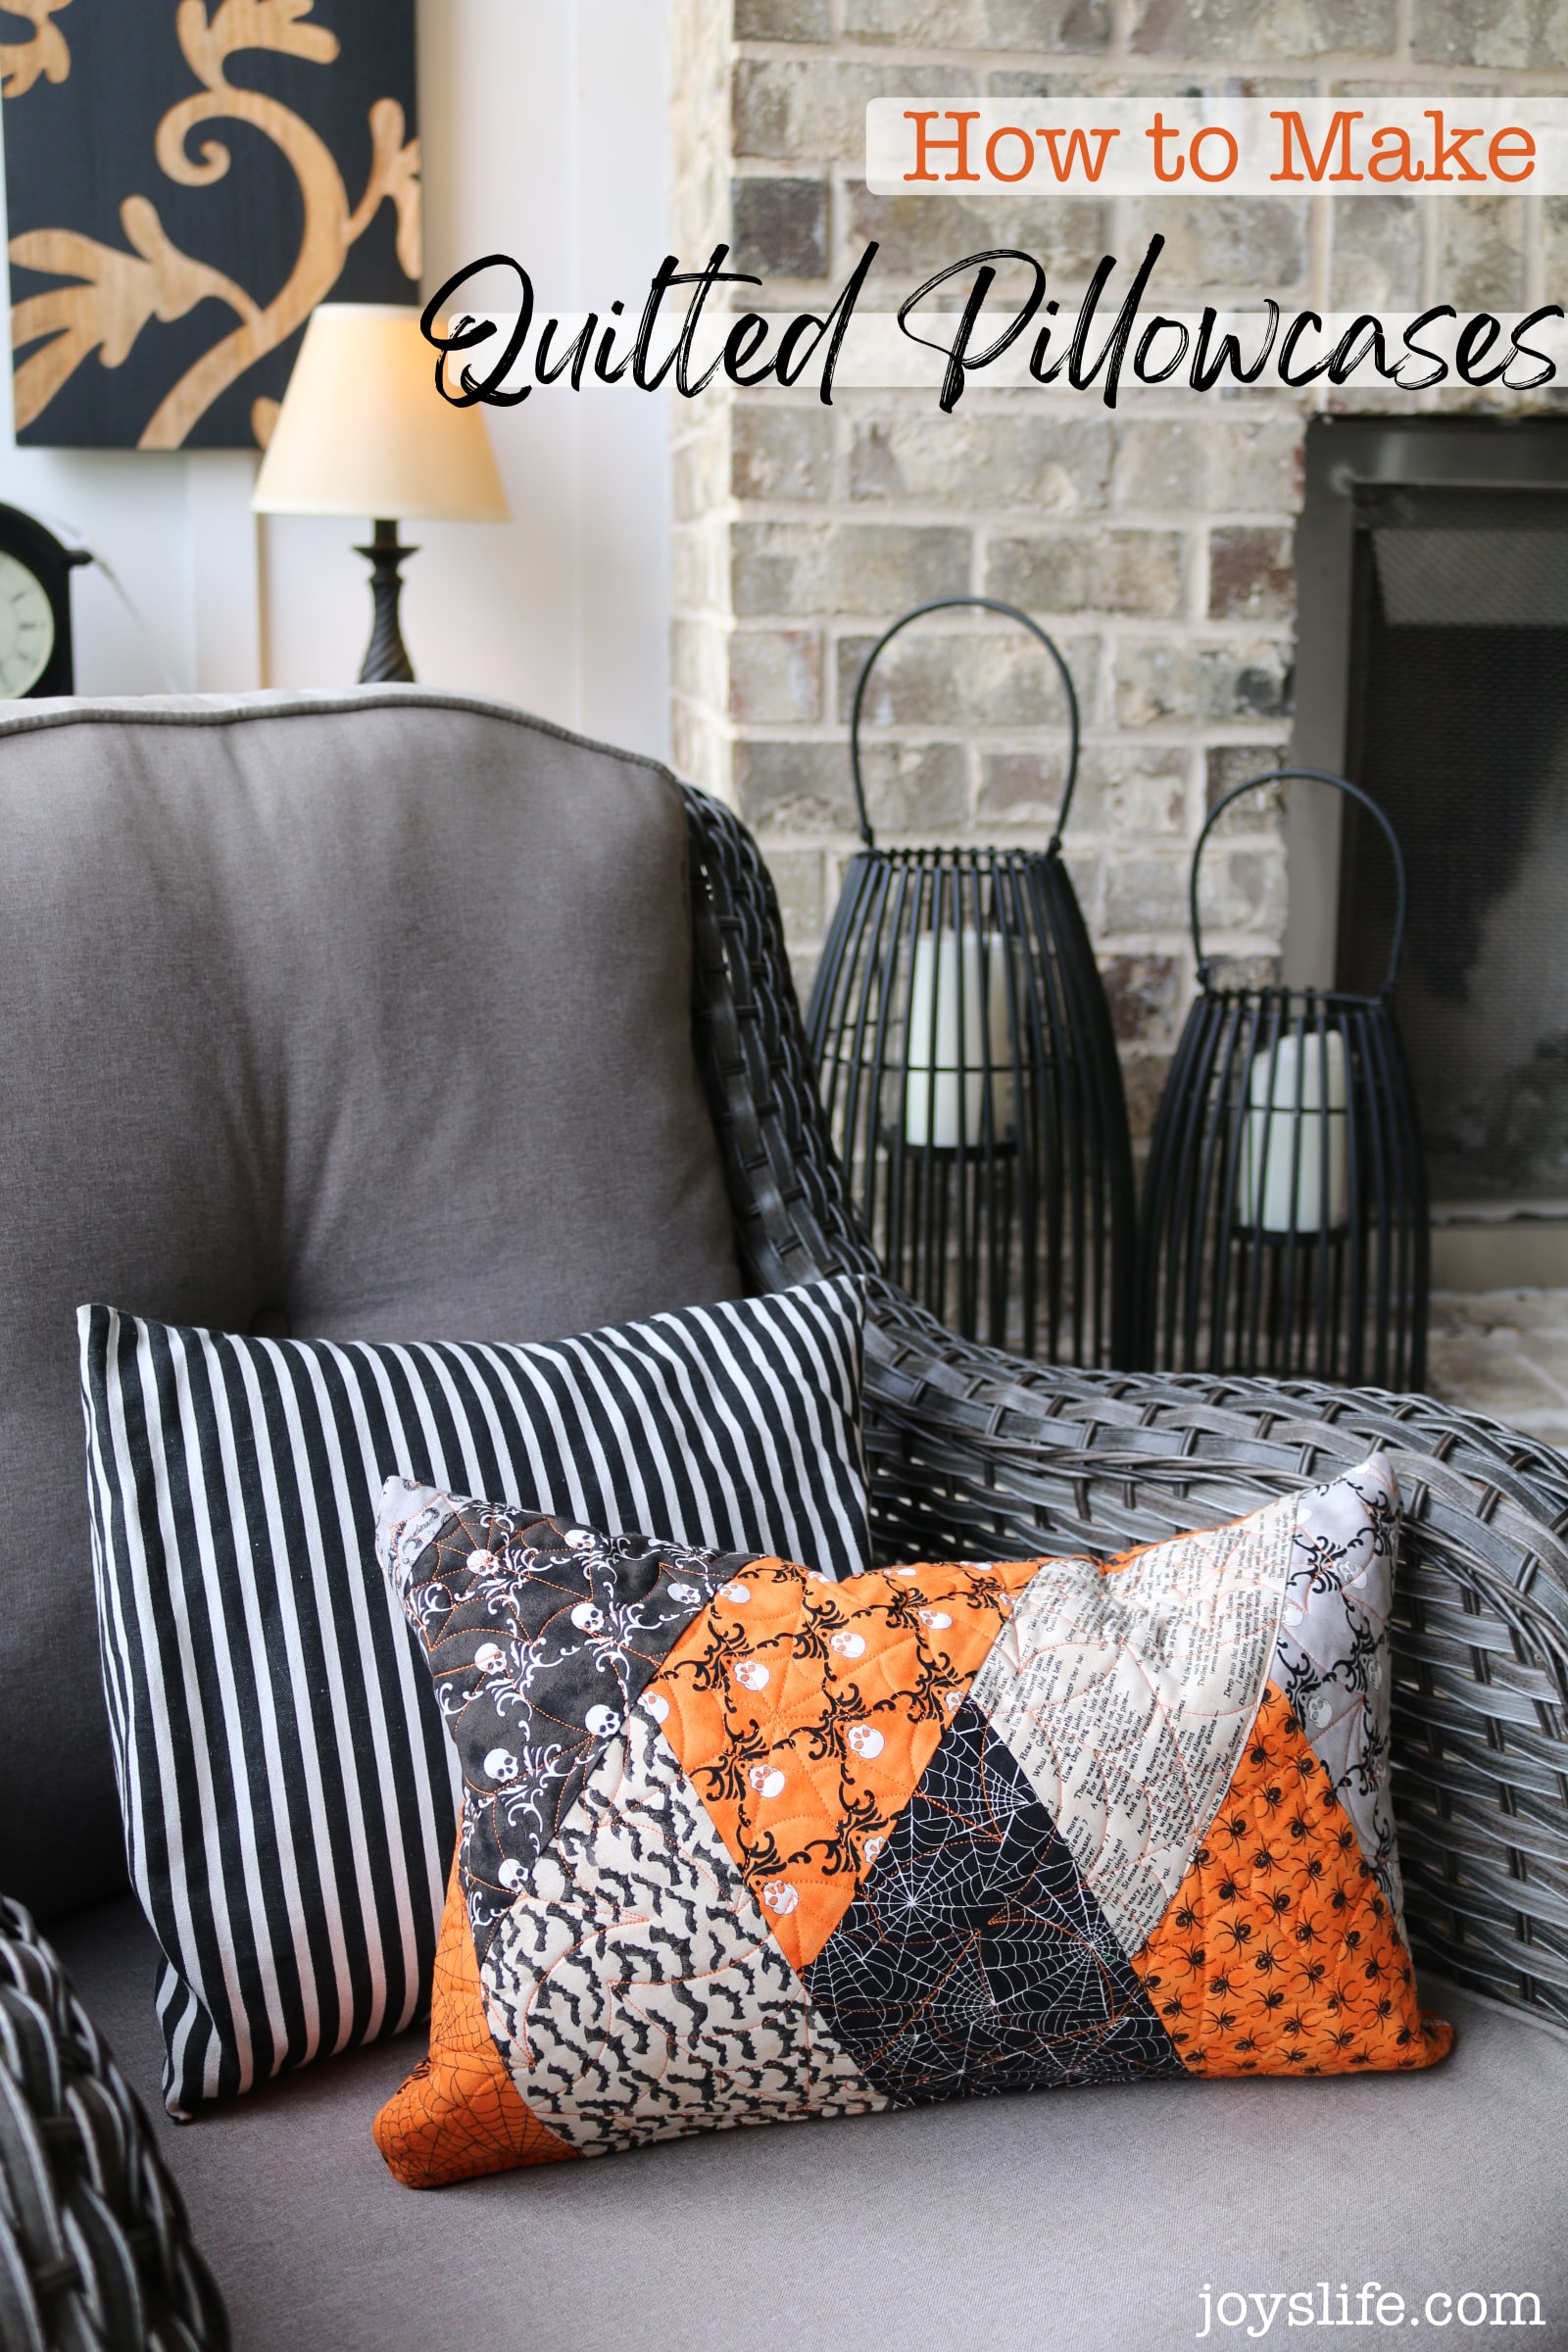
Quilted pillowcases aren’t just cozy, they add texture, color, and personality to any room. Whether you’re repurposing old quilted pieces (like I did with an unused table runner) or starting from scratch, this project shows you how to size, cut, and stitch a pillowcase that actually fits your insert and looks high end.
What you’ll need to make Quilted Pillowcases
- Quilted Fabric – you can buy it, or make it, or repurpose a quilt or tablerunner that you don’t use. Don’t forget! A longarm quilter (like me!) can quilt fabric for you and it doesn’t have to become a quilt.
- Pillow – any size, but definitely smaller than the amount of fabric you have! I’m using an 18″ x 12″ feather pillow insert. Here are some pillow insert options.
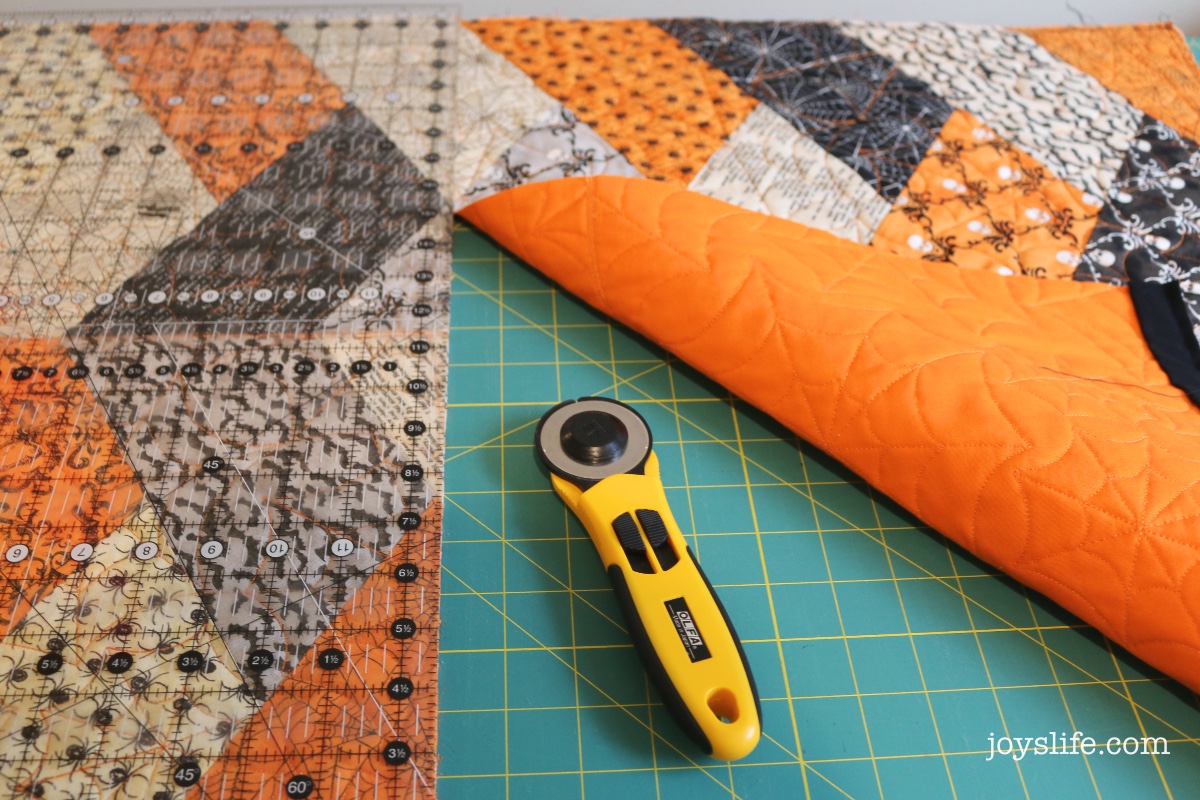
- Ruler, yardstick and/or tape measure – In the photo is the CGR1224 ruler by Creative Grids that I use.
- Rotary Cutter (these by Olfa are my favorite) or scissors (these are awesome for fabric). (Here are some more sewing resources.)

Confession: Cutting into a nearly finished table runner was tough. I’d just made it, but knew I wasn’t going to use it as it was. I had to psyche myself up, but once I made that first cut, I could see what it was becoming and I became more confident and determined. If you’re repurposing something, don’t be afraid to take that first step!
Steps to Make Quilted Pillowcases
1. Create the quilted fabric
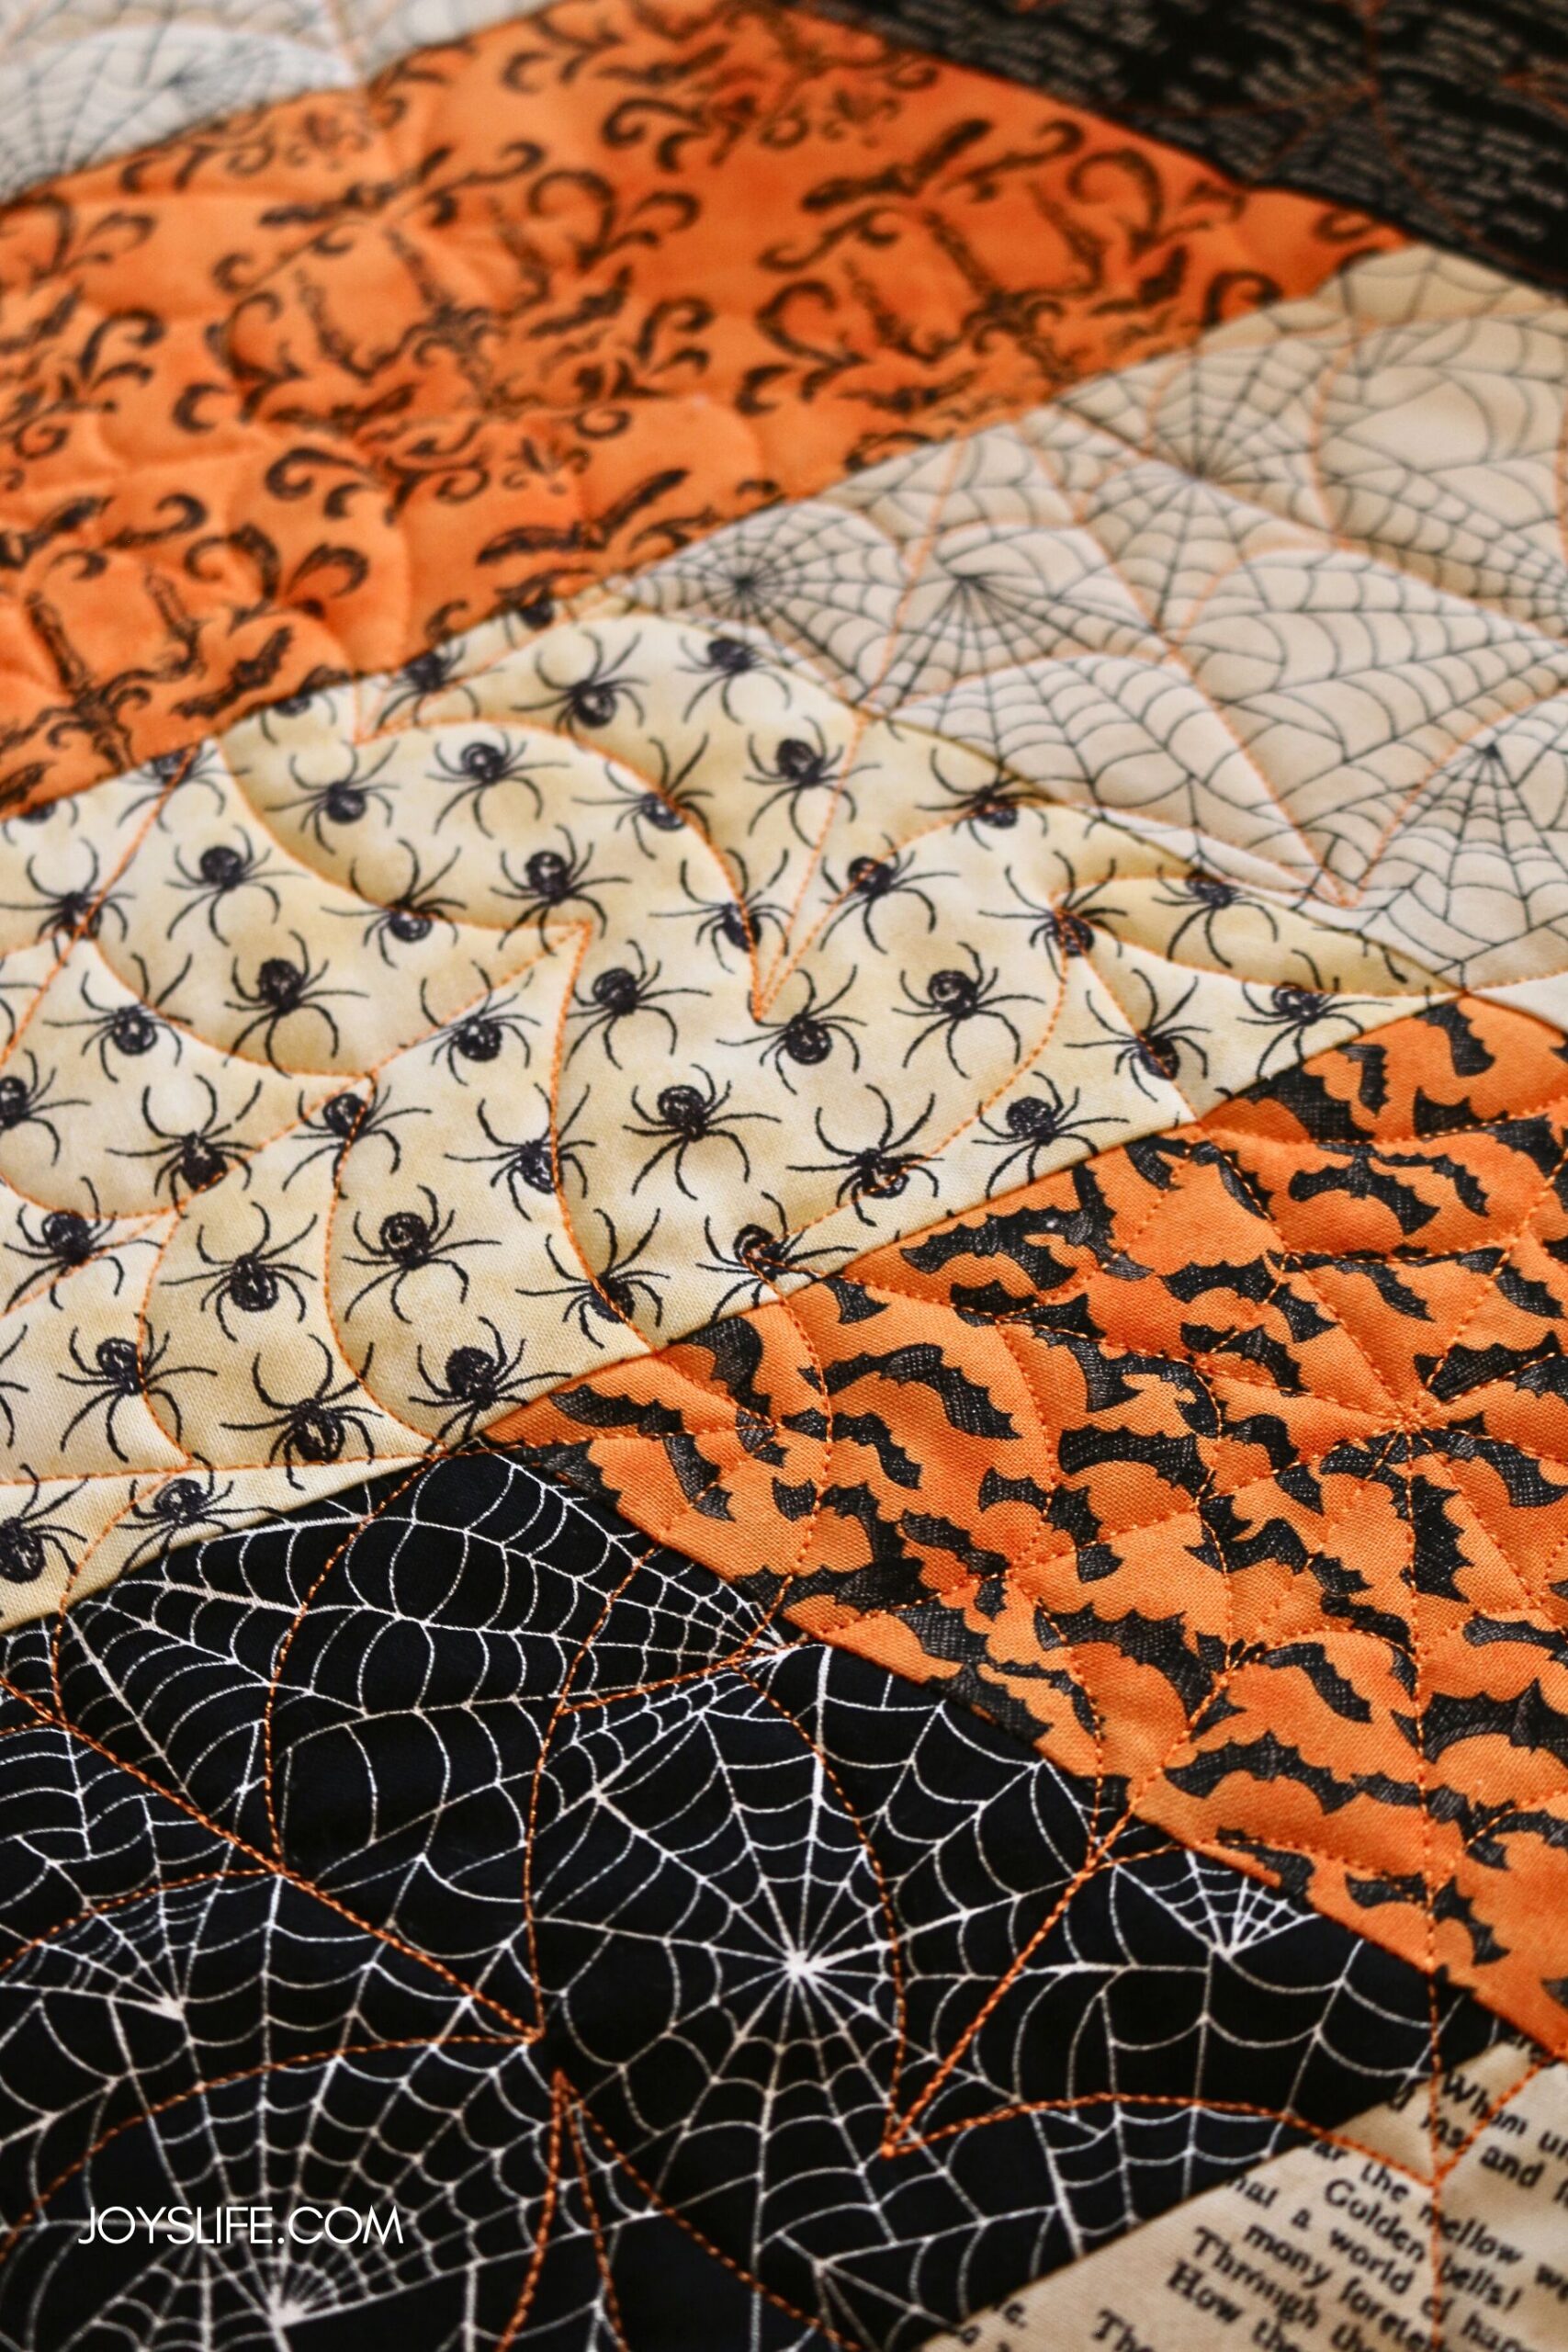
You just need fabric for the front and the back, and some batting to go in between. Fabric can be quilted on a sewing machine using any variety of stitches. A straight stitch can give you a very nice finish. That’s what I did years ago on this patriotic table runner. If you have access to a longarm quilter (me!), you can have custom quilting done on fabric that doesn’t need to become a full quilt. Repurposing an existing quilt, table runner, or quilted piece also works perfectly.
2. Measure your pillow insert
Write down both the length and the width. This will drive your fabric cutting later. My example uses an 18″ × 12″ feather pillow.
3. Calculate the fabric size
Instead of walking through the math here, I’ve already created a full guide on figuring out how to size pillowcase fabric. You can find the step-by-step formula in my post: How Much Fabric for Pillowcases – Easy Formula.
For this project, I cut fabric to 20″ x 26″ for my 18″ x 12″ pillow insert, which gave me a comfortable fit with the extra bulk of quilted layers.

4. Cut your fabric
Using a quilting ruler and rotary cutter makes this step much cleaner, but sharp fabric scissors will also do the trick. Double-check measurements before cutting.
5. Finish the raw edges (optional but recommended)
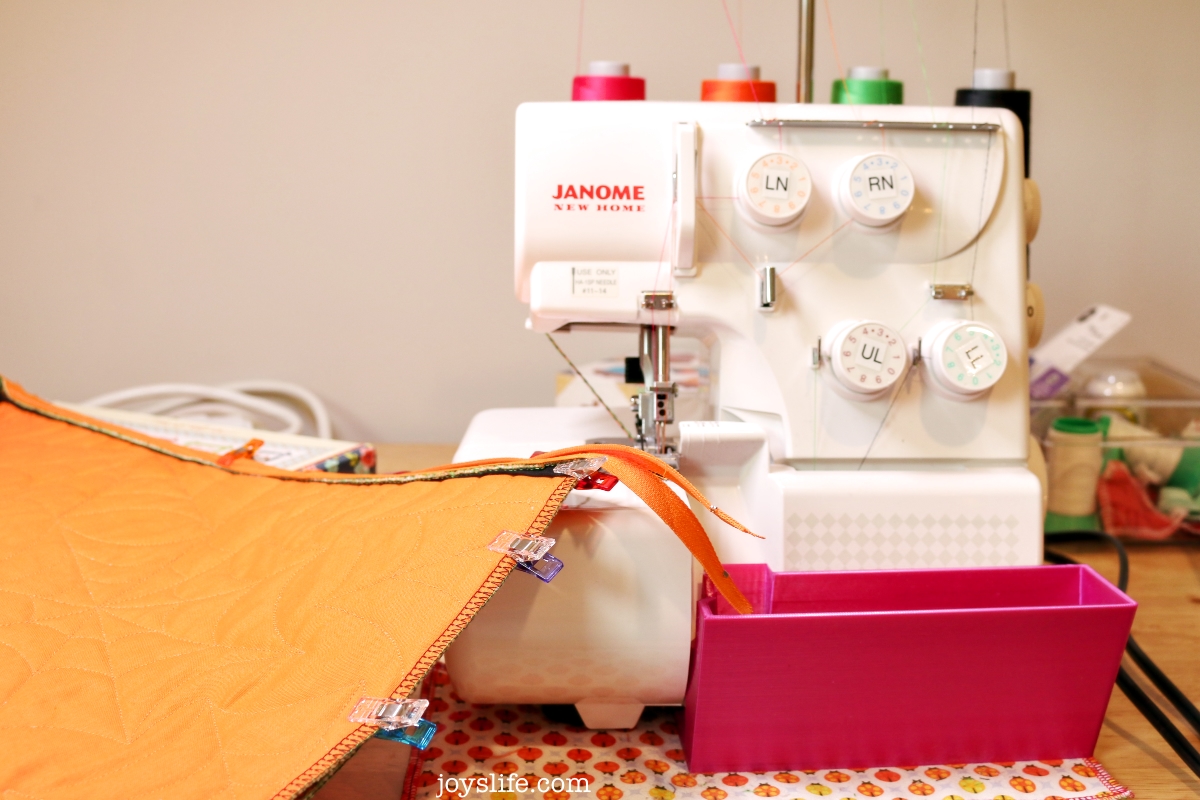
- Serger option: Run all edges through your serger for a professional finish that prevents fraying. I also find that it makes adding a zipper easier, because excess threads are gone.
- No serger? Use a zigzag stitch on your sewing machine to strengthen the edges.
You’ll hear me talk a lot about my Bernina L890 serger, but when I made this project, I was using a Janome. (I labeled the knobs because I had no idea what they were. I still do that, BTW.) Both Janome sergers and Brother sergers are well regarded beginner machines and a great way to decide if you like serging.
If you want more serger projects, try the Speedy Serger Shoe Bag (beginner serger project), the Hideaway Hanger Safe (practical and fun), or the Serger Apron Tutorial (a useful project for practicing your serger skills).

6. Add your closure
Zippers give a polished, long-lasting finish, and I’ll be sharing a full tutorial soon about using them for your pillow closure. In the meantime, you can use a simple envelope-style closure for an easy beginner friendly finish.
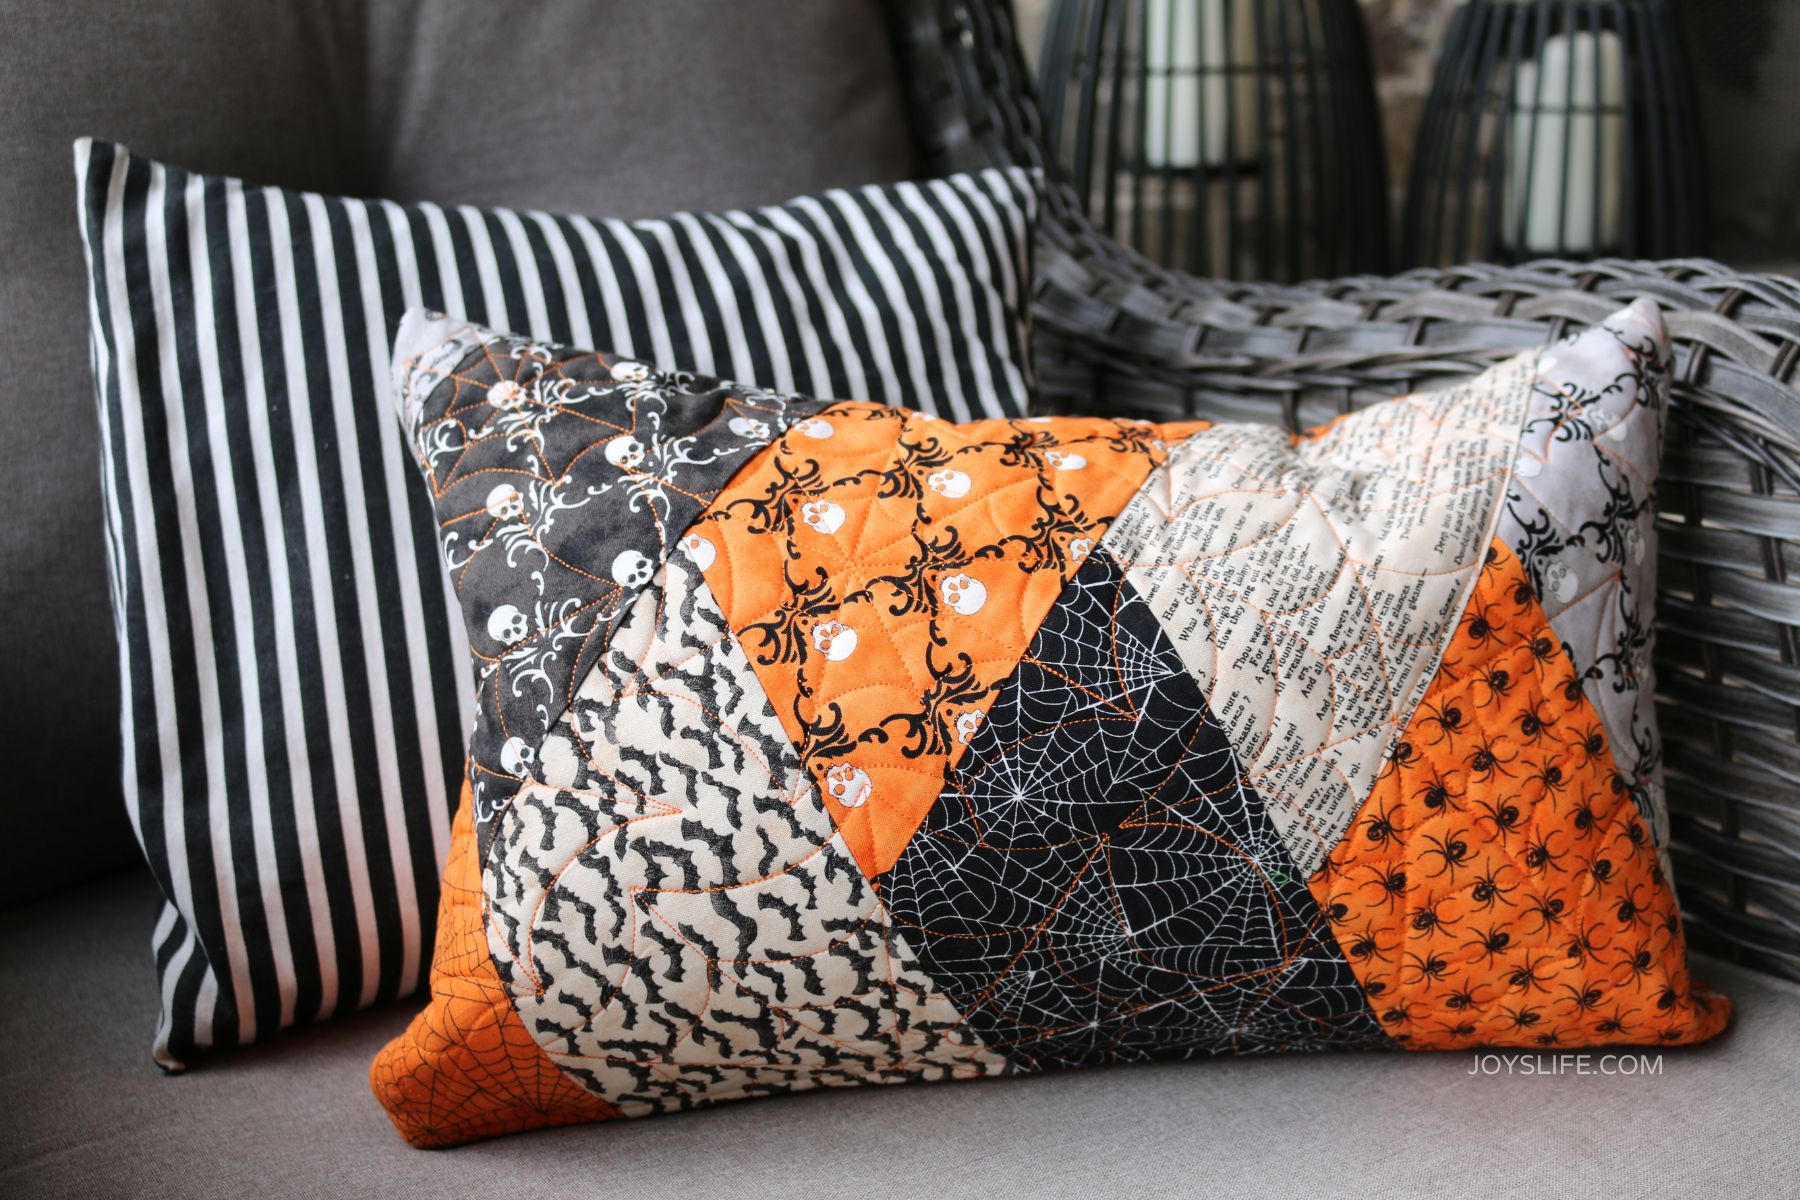
The striped pillowcase shown above was originally made for my DIY Chair Makeover (Back in 2016), and I still use it today!
7. Assemble the pillowcase
If you’re using a zipper closure (tutorial coming soon!) finish installing the zipper along one edge first. Then place the fabric pieces right sides together, pin, and sew the remaining three sides. Clip the corners, turn the pillowcase right side out, press the seams flat, and add your pillow form.
Want an easier option? Try my envelope pillowcase tutorial for a step-by-step walkthrough.
Why I Really Made Quilted Pillowcases
Sometimes the best projects start with fabric (or a project) you already have on hand. In my case, it was a table runner that just didn’t feel right for our home. The whole thing was an adventure, beginning with buying the template for it during my visit to Missouri Star Quilt Company (read about that here). Then we built a house right in the middle of my project, and by the time I finally finished, it no longer fit our space. Repurposing it into pillowcases gave the fabric new life and left me with something custom and useful. TA DA! Quilted Pillowcases!
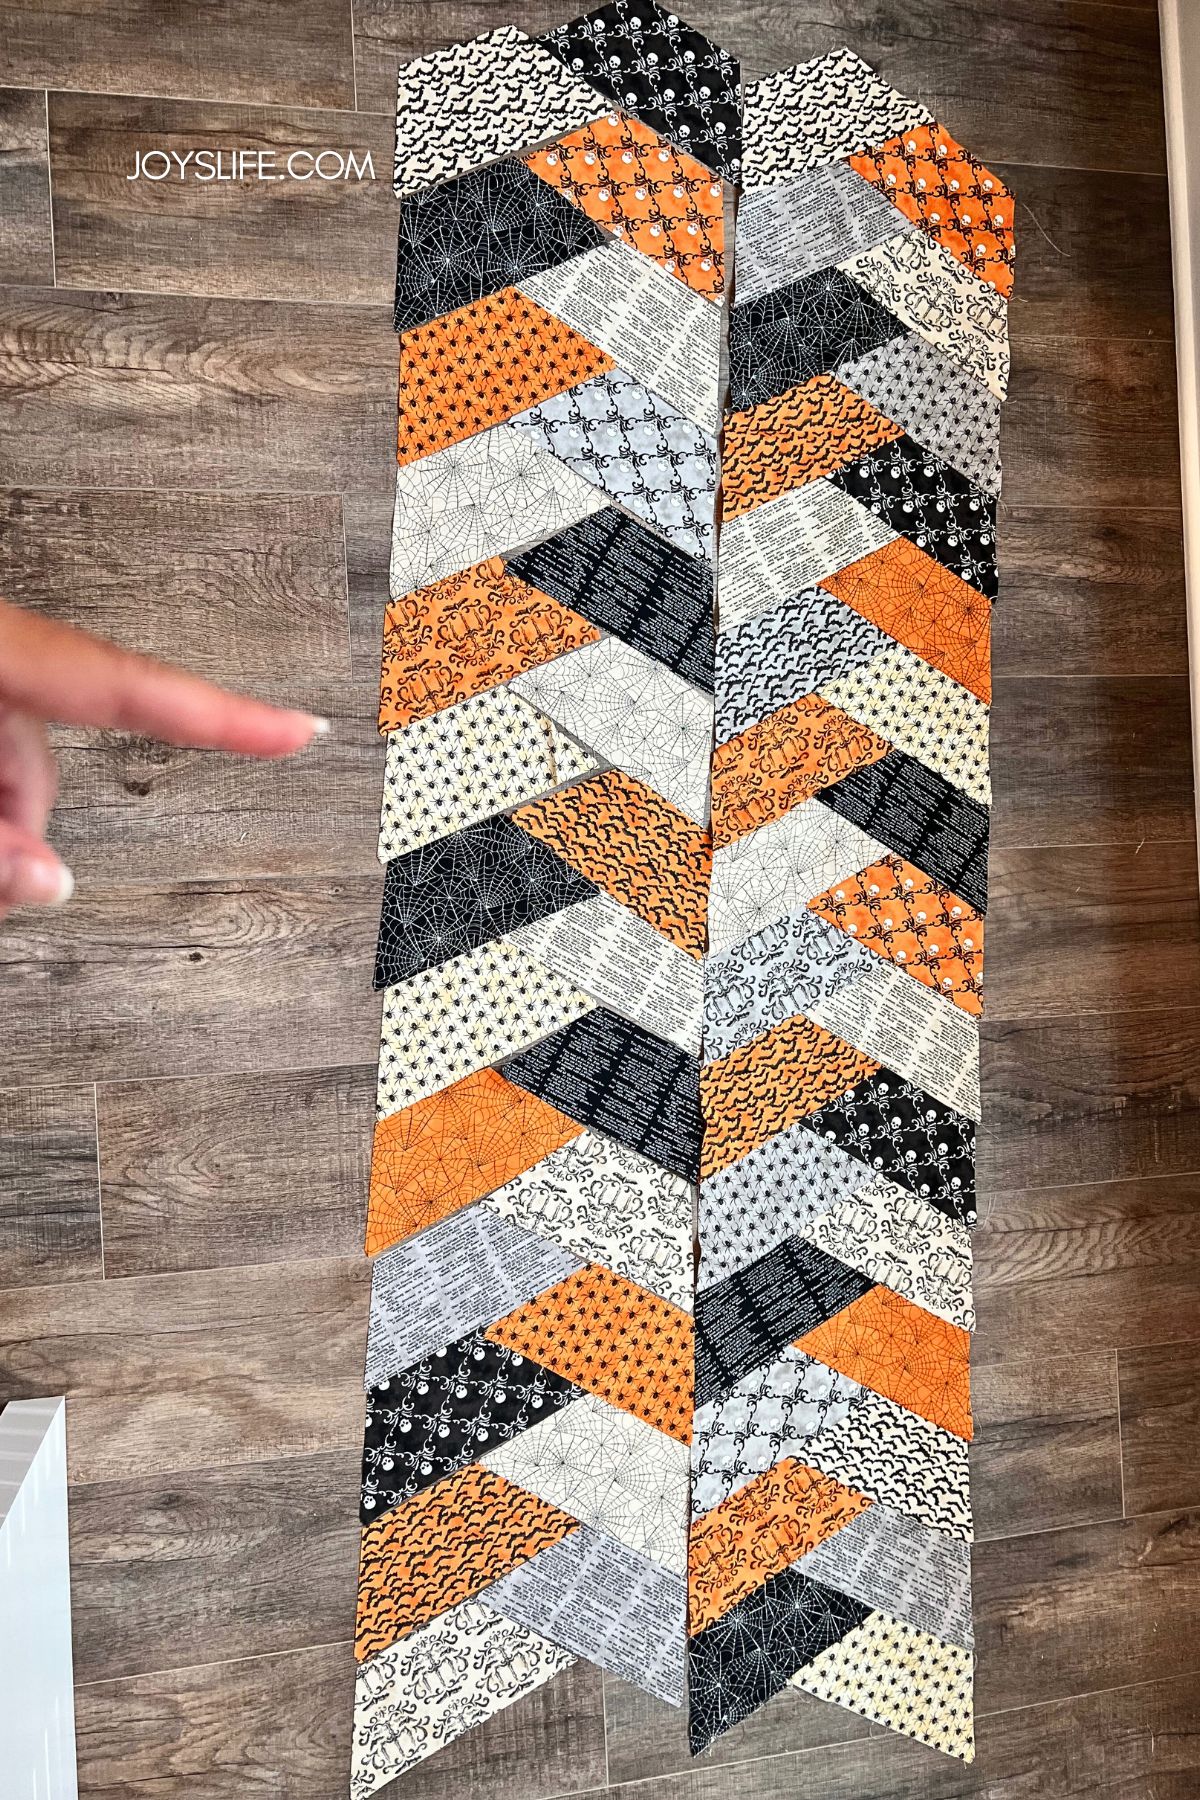
This picture is from when I first started making the table runner. I am pointing to the finished layout that I like…after moving things around many times. Do you also find that taking pictures along the way is super helpful? It helps me get such a sense of what I’m really looking at more so than looking directly at it.
Check Out These Pillowcase Tutorials
- DIY Chair Makeover – Not purely pillow-focused, but you’ll love how pairing a fresh chair redo with matching pillows can completely update a room.
- How Much Fabric for Pillowcases – Easy Formula – Never guess fabric size again! This post gives you a step-by-step formula so your pillowcases always fit right, whether they’re quilted, fluffy, or relaxed.
- Simple Envelope Pillowcase for Throw Pillows – If you want something fast, charming, and zipper-free, this beginner-friendly envelope style pillowcase is perfect for sprucing up your space without fuss.
- How to Make a Custom Pillowcase – Go pro with French seams and cuffs! This tutorial shows how to sew a pillowcase that looks polished on both sides.
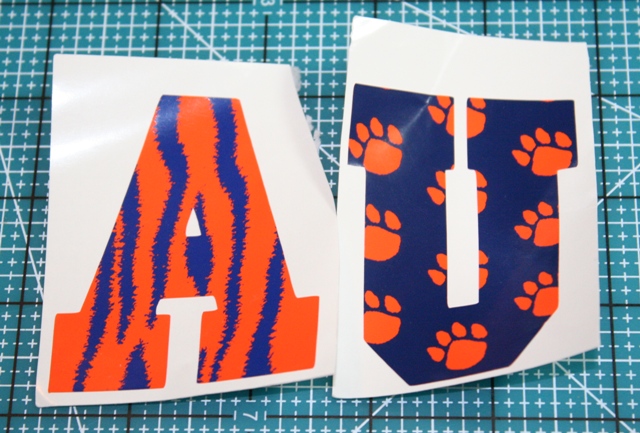
- Vinyl Pillowcases Chic & Scary (Cricut Project) – Want pillows with personality? Use vinyl + Cricut designs for fun, seasonal flair (Halloween vibes included).
Quilted pillowcases are the perfect mix of cozy and creative. Are you going to try making one? Let me know in the comments!