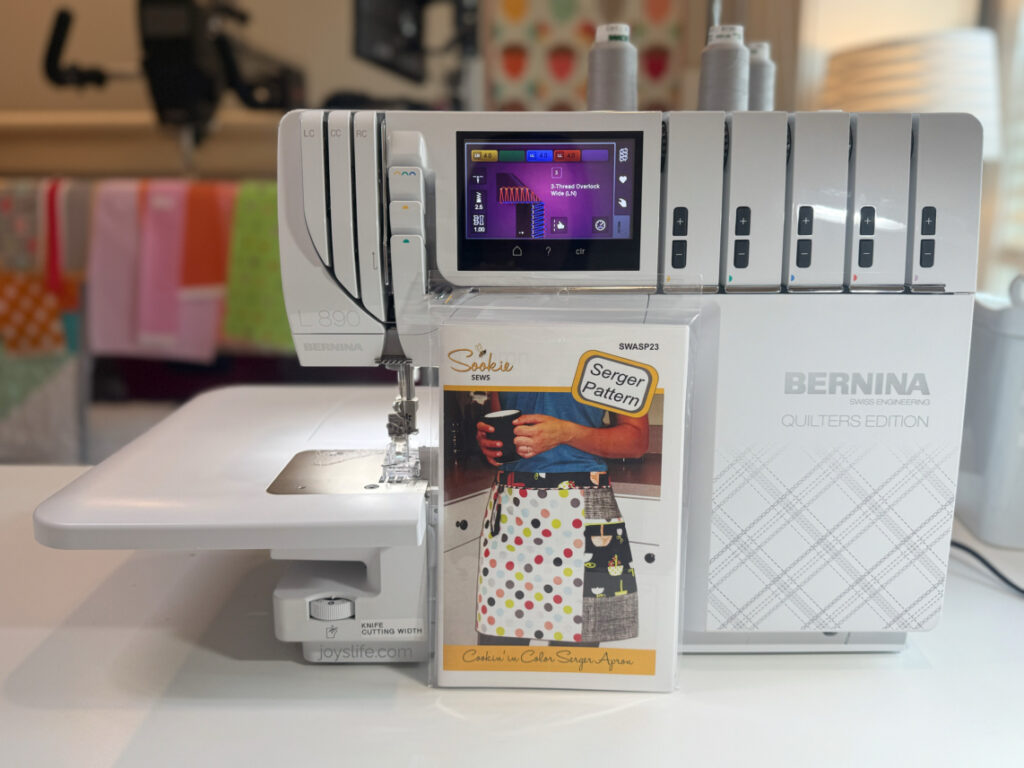
A serger apron is a beginner to intermediate project that helps you practice essential techniques like rolled hems, wide overlock stitches, and zipper installation on a serger such as the Bernina L890. This project builds confidence while creating a functional, giftable apron.
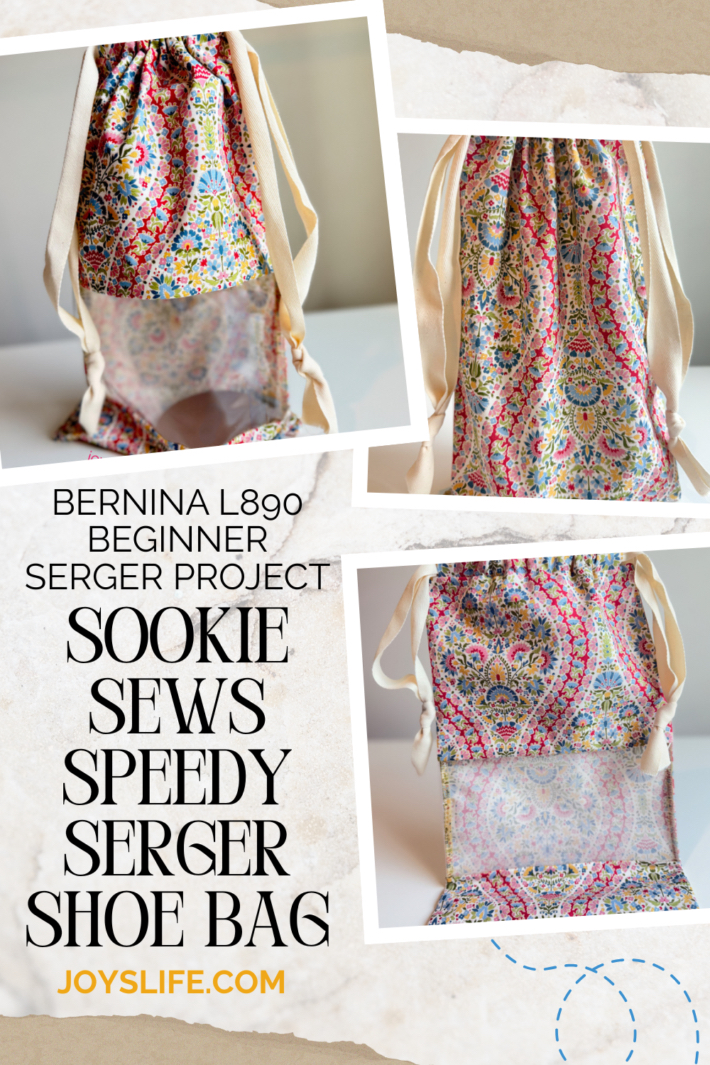
If you’re completely new to serging, or just getting started with the Bernina L890, you might want to begin with the first project I made, the Speedy Serger Shoe Bag. It’s a simple, skill building project that’s perfect for getting comfortable with the machine.
Why I Picked the Cookin’ In Color Serger Apron Class
I chose this class because it was harder than the first two and I wanted a challenge. It also built on the skills I learned in my previous Sookie Sews classes.
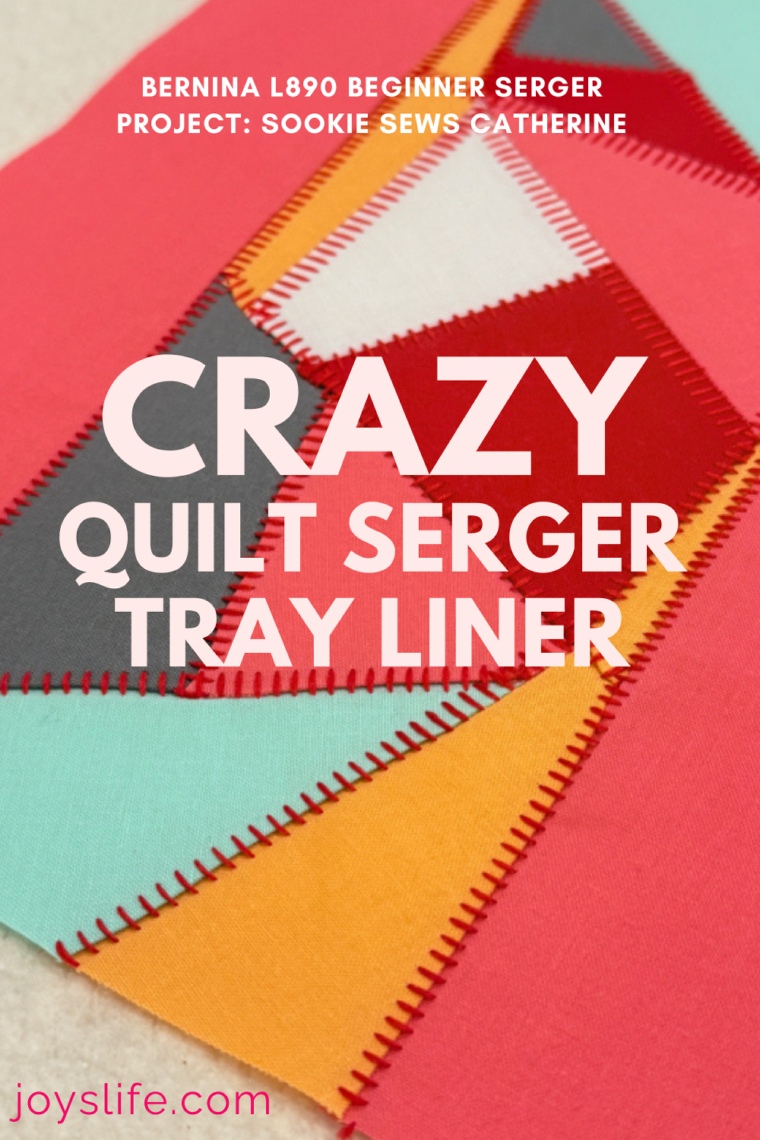
This was my second time using 12wt Wonderfil Spagetti thread and Wonderfil SoftLoc, since I first tried them in the Crazy Quilt Tray Liner serger class. I was glad I had that earlier experience because for this project I bought special fabric and matching threads, unlike the crazy quilt, where I just used scraps. This time, I was even more invested in the outcome and followed the instructions very closely.
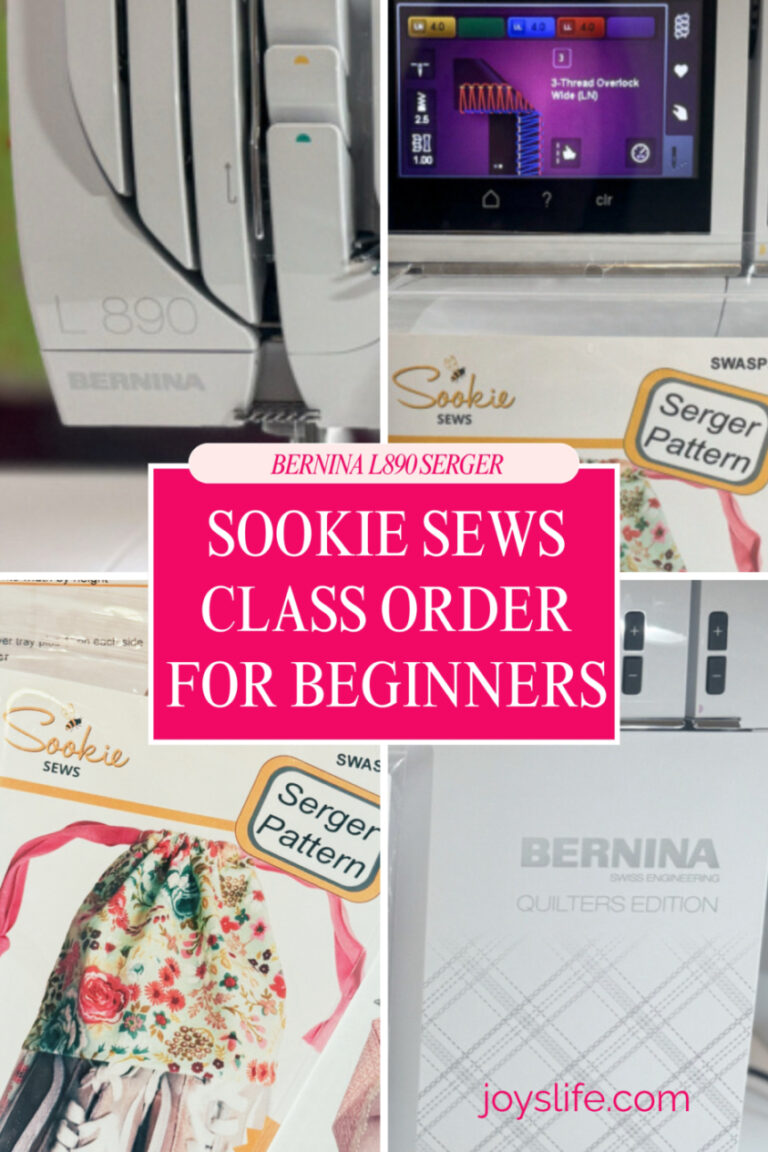
Looking for more beginner Sookie Sews serger classes?
Here’s the class order I recommend for learning with Sookie!
Skills I Learned in my 3rd Sookie Sews Class
- How to use the 5mm piping foot for zipper installation
- 3-thread rolled hem
- 3-thread wide overlock
- How to make perfect corners
- Double sided Pocket
Some things I Needed for This Project
These are some of the things that I needed, that I didn’t have at the time. The pattern calls for Mettler Seracor serger thread, I used Madeira Aerolock Premium serger thread, which is also fine. Consult the pattern for the full list of supplies and materials.
- Piping foot – I bought the Bernina C16L Piping foot for my Bernina L890 serger.
Things I had but found incredibly helpful
- 12 wt WonderFil Spagetti thread
- WonderFil SoftLoc
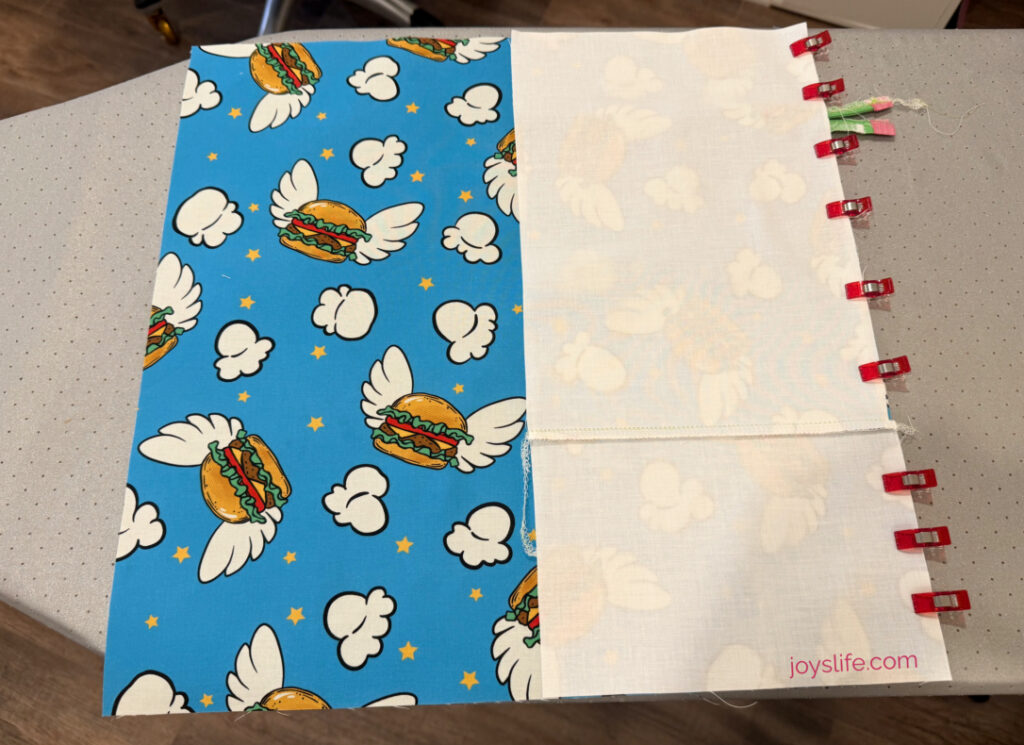
- Wonder Clips
- Fray Check
- Rotary cutter
- Point turner
- Pilot Frixion Heat Pen
- Bernina C27 Clear foot for my Bernina L890 serger
What I Loved About This Serger Apron Project
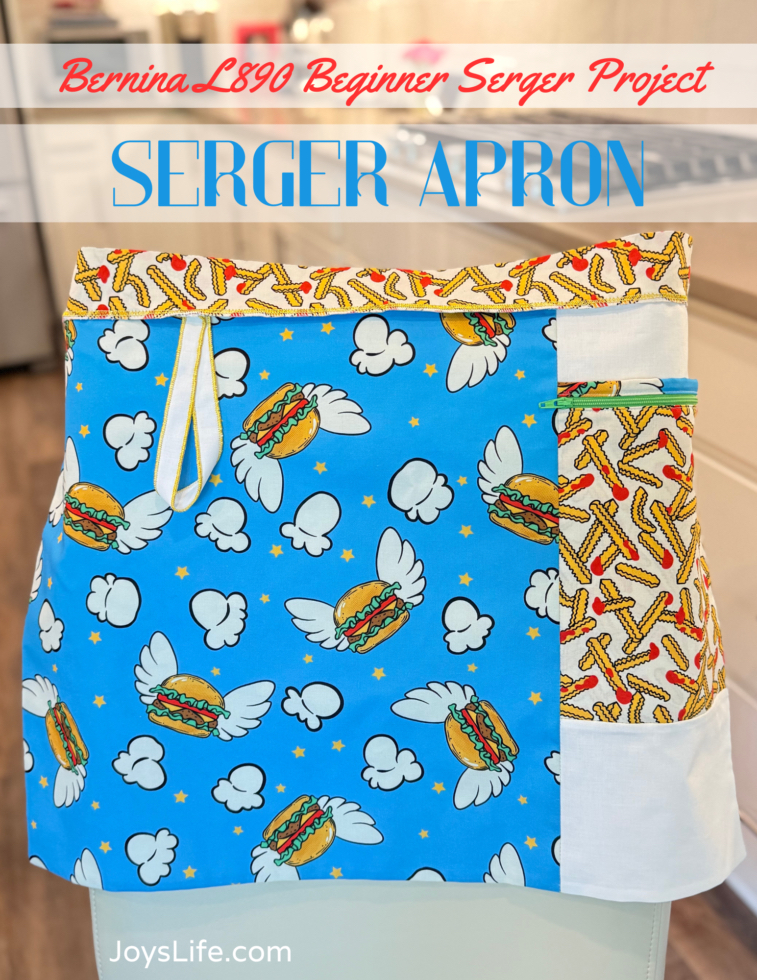
What I love about the Cookin’ In Color Serger Apron project is that it guides you through the 3-thread rolled hem, 3-thread wide overlock, and zipper insertion in a clear and easy to follow way, building on what was learned in the earlier classes.
I loved the pockets, both the large one and the zippered pocket were made in such a clever way! I also love that this project is useful and would make a great handmade gift as well!
A Few Changes I Made to my Apron
I only made three small changes to my apron, just personal preferences and a few tweaks to better fit my waist. LOL!
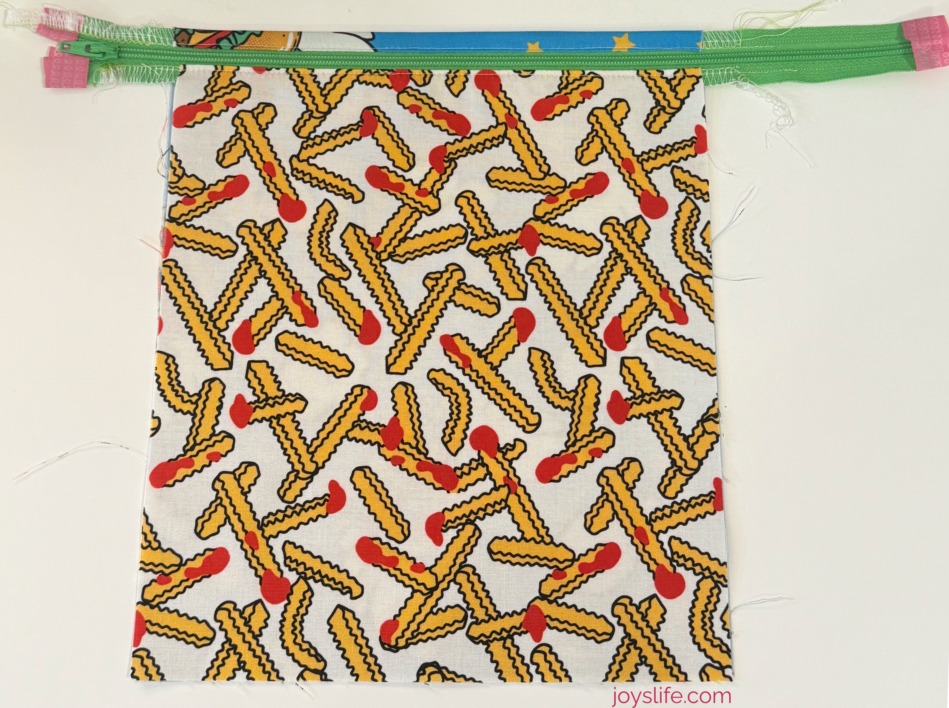
Topstitching Pocket
I’ve made some zippered bags and tote bags in the past, on my sewing machine. When I was making those I was first introduced to topstitching. If you look at the top of this pocket, above and below the zipper, you’ll see a thin line of straight stitches, that is topstitching. I took the pocket to my sewing machine to do that, so that the fabric would lie straight and flat. That was strictly a preference that I have and not a requirement of this pattern.
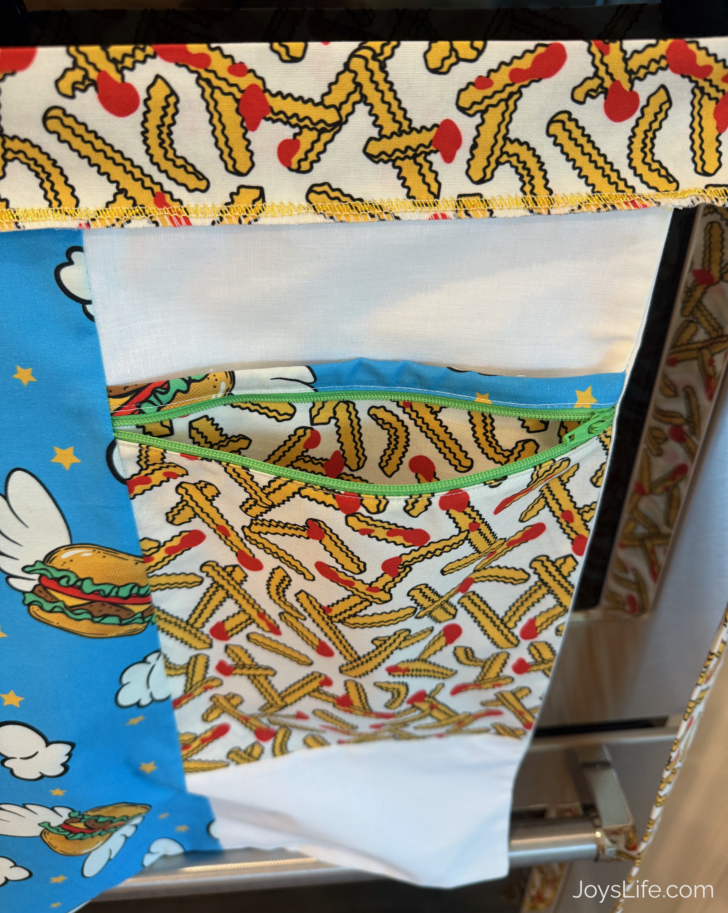
Lined Pocket
I also lined my pocket with extra fabric, so that the French fry fabric would be facing out when the pocket was unzipped. Initially, all of my lining fabric was white, but I really wanted to use more fries. LOL!
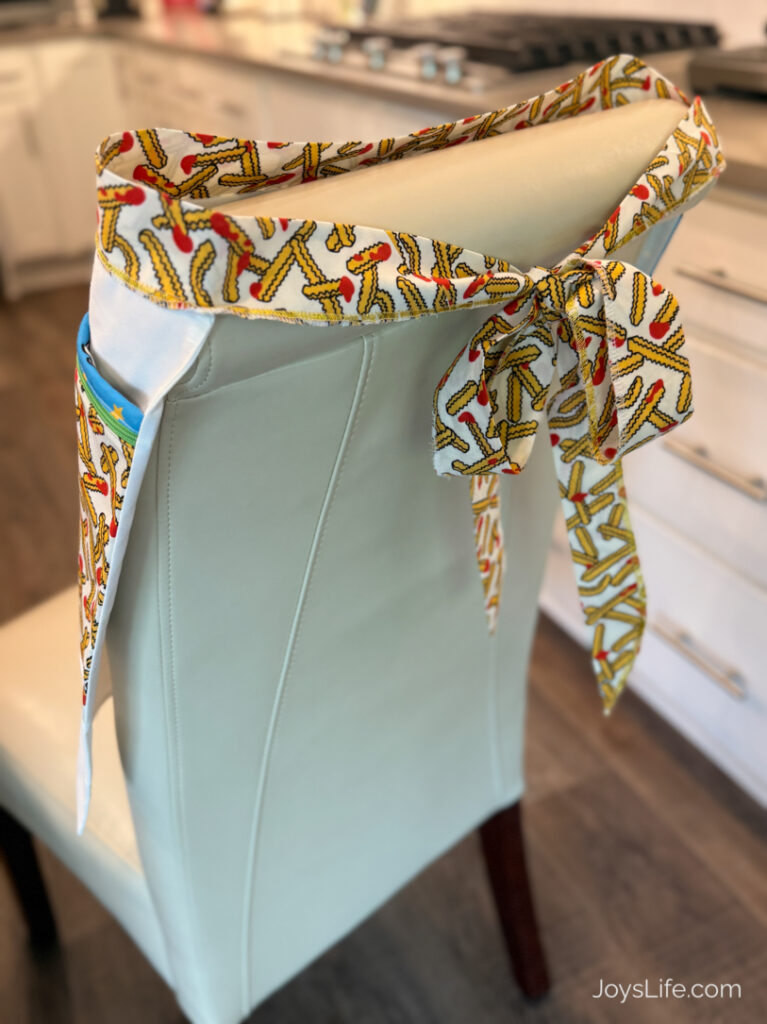
Extended Waist Tie Length
My friend at my local quilt shop said it’s smart to add some extra length to the waist tie if you need it. I added extra to mine. Definitely measure first. There’s nothing worse than trying to tie a cute bow and realizing it’s a tight squeeze. Ugh!
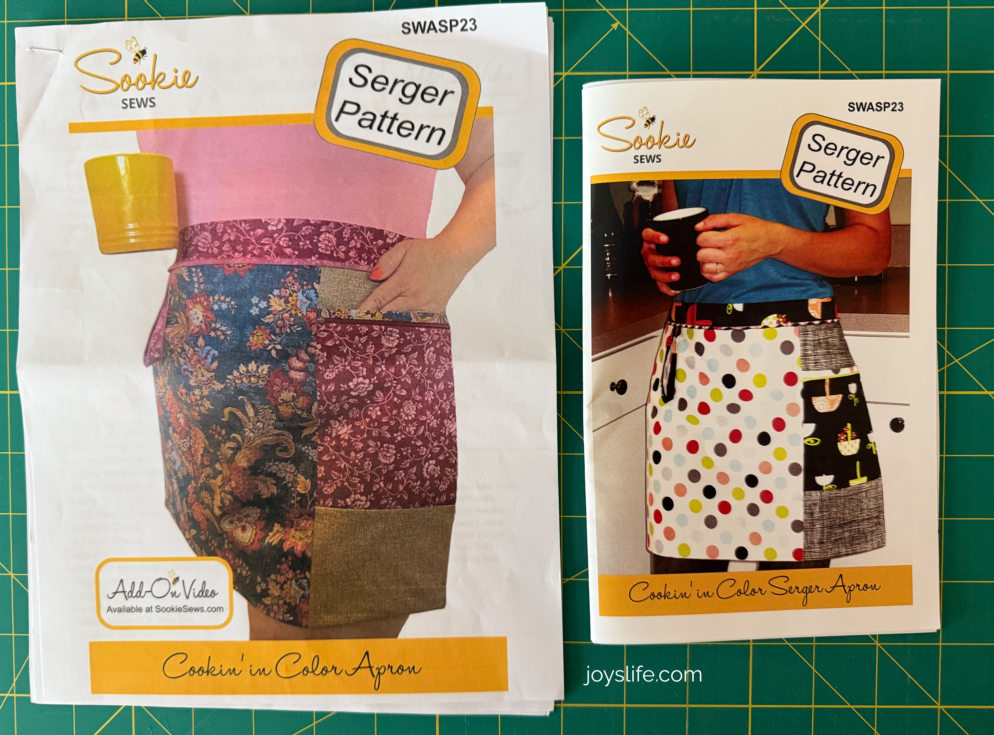
Important Note About the Serger Apron Pattern
I purchased the Sookie Sews Cookin’ in Color serger apron pattern at my local quilt shop. They had several of them and some of them had a polka dot apron on the front while others had a floral apron. I bought the one with the polka dots because I thought it was cuter. LOL. The only problem is that it is an older pattern version and not written specifically for the Bernina L890.
Need the Bernina L890 Version? Here’s the Fix
If you bought a printed pattern from a brick and mortar store, you can email Sookie for access to the class, (obviously provided that there is a free class as part of that pattern). In these cases, she asks that you send her a photo of your purchased pattern, and then she gives you access to the downloadable version, which included the update, and the class. Go to Sookie’s FAQ’s and click on “Video” for more info.
Project Snapshot
- Machine: Bernina L890 Serger
- Pattern: Cookin’ In Color Serger Apron by Sookie Sews
- Instructor: Sookie Sews
- Sewing Studio: Joy’s Life
Getting started with a serger? This was the third Sookie Sews beginner serger project that I made with my Bernina L890, and it built perfectly on the skills from my second class with Sookie.
Save or share this post if you’re collecting beginner friendly serger project ideas!
Want to Explore a Little More?
- Speedy Serger Shoe Bag – A Perfect Starter Project
- Crazy Quilt Tray Liner – Learn Flatlock Stitch on Your Serger
- Hideaway Hanger Safe – A Beginner-Friendly Project
- Bernina L890 Class Order for Beginners – Quick Guide
- How to Create Fabric Scrap Storage – Simple Ideas to Get Organized
Check out my favorite sewing & craft resources — just a curated list of the thread, tools, and supplies I use most.