Hideaway Hanger Safe Serger Project by Sookie Sews is a skill-building serger project for the Bernina L890. It’s great for experienced beginners, especially those with an interest in garment sewing.

If you’re ready to grow your serger skills, the Hideaway Hanger Safe serger project by Sookie Sews is a solid next step. It was the fourth class I took in the beginner-friendly order I recommend for the Bernina L890. I’m planning to get into garment sewing, and the techniques from this project will definitely help.
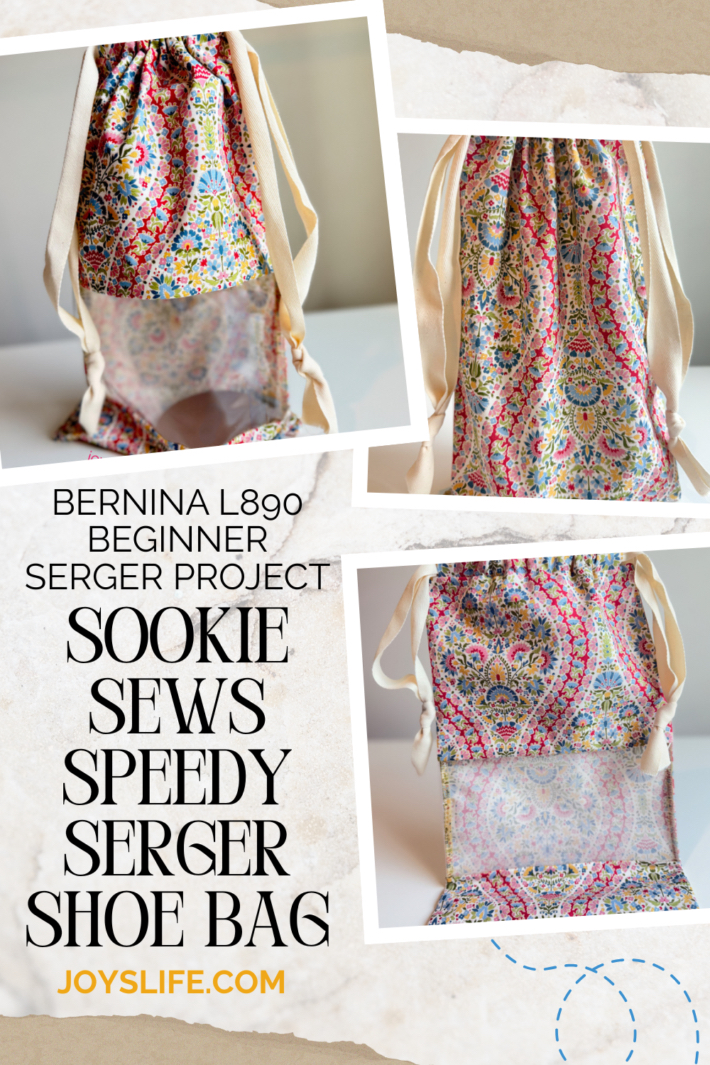
If you are new to serging or the Bernina L890, you might want to start with the Speedy Serger Shoe Bag. That was my first Sookie Sews project, and it’s a fun, easy way to learn the machine. The Hideaway Hanger Safe is better for experienced beginners and builds on the skills from earlier classes.
Looking for more beginner Sookie Sews serger classes?
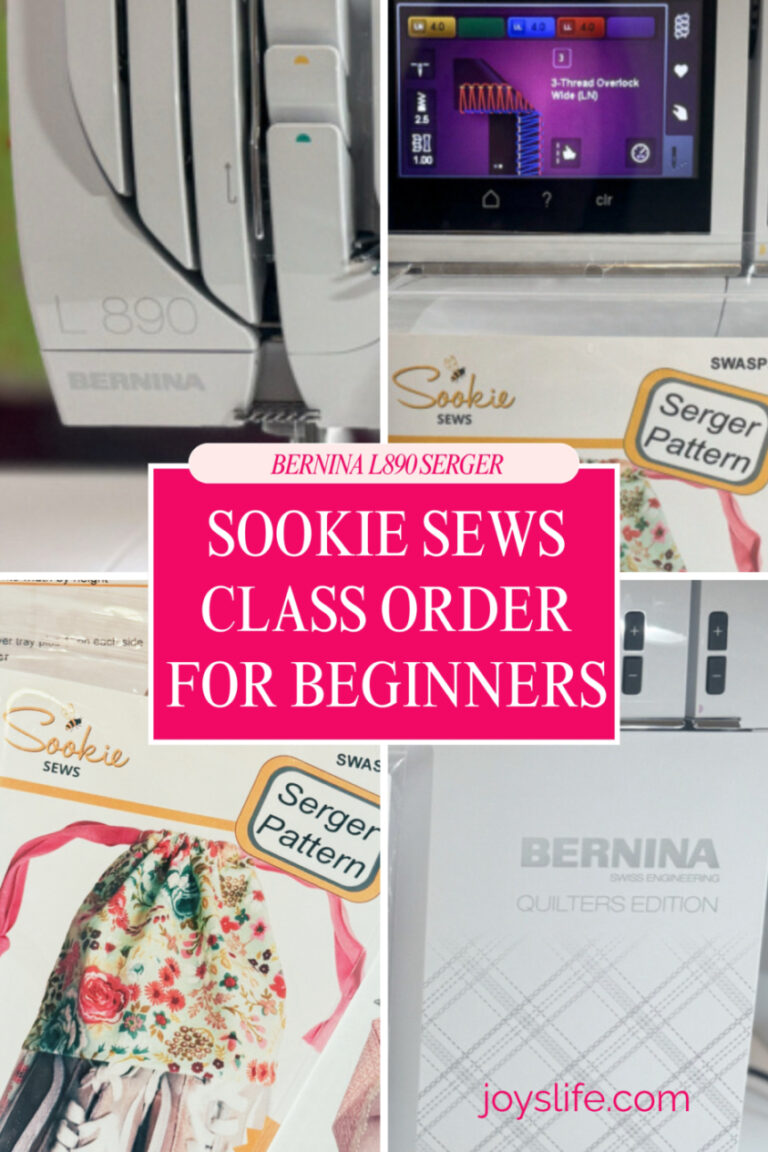
Here’s the class order I recommend for learning with Sookie!
Hideaway Hanger Safe Serger Project Review
When I first saw the Hideaway Hanger Safe pattern, I wasn’t sure I would use it, but after completing three other Sookie Sews serger projects, I knew this one would be a another great skill builder and I was right! I chose this Bernina L890 class because I wanted to challenge myself again with new stitches, zipper techniques, lace and pin tucks. Plus, it has the kind of details you’d find in a handmade garment, so I knew it would be a great stepping stone toward creating my own clothes down the road.
The Sookie Sews class order that I suggest is designed to build on your serging skills in a logical order. Starting with simpler projects, like the Speedy Serger Shoe Bag, and working up to more advanced designs means you’ll gradually gain confidence with your machine. By the time I reached this fourth class, I felt ready to try more detailed techniques that I hadn’t yet explored.
Skills I Learned in my 4th Sookie Sews Class
This class was full of new techniques, but it also reinforced what I learned in my earlier projects. Here’s what stood out for me:
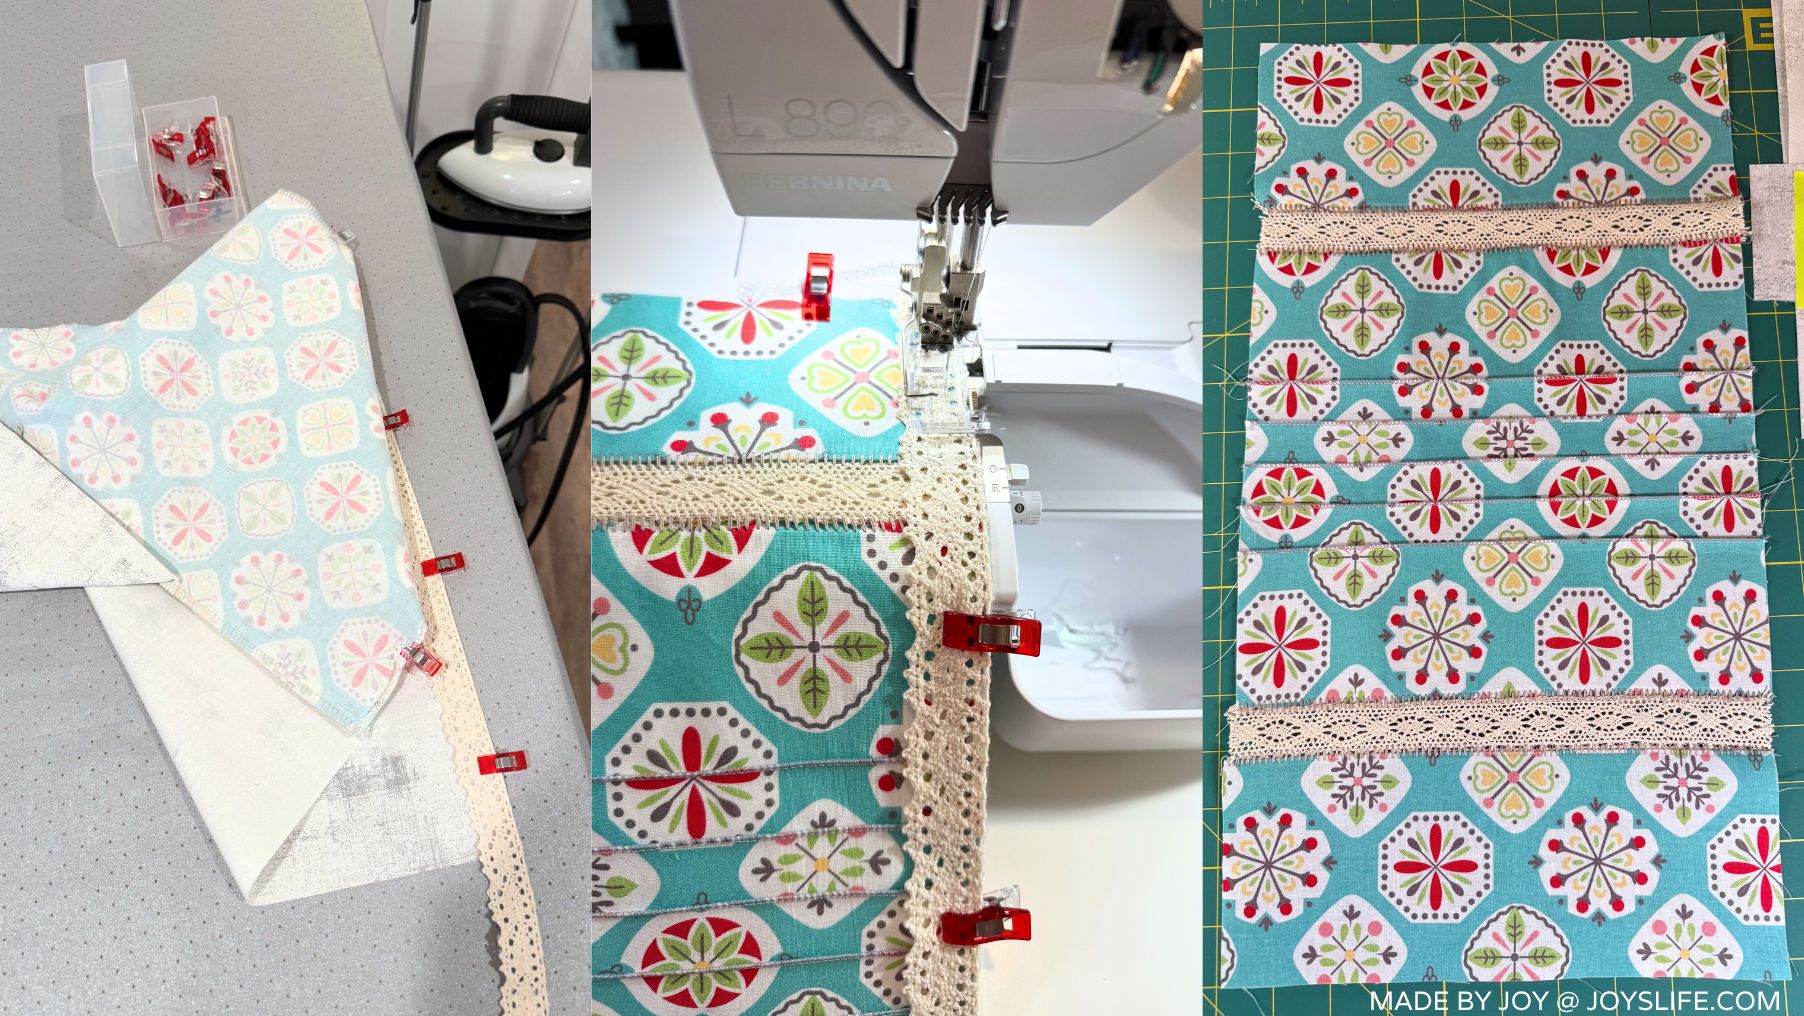
- Rolled hem pin tucks – I was glad I had already tried a rolled hem in my last project because it gave me the confidence to try it again, this time with pin tucks.
- Lace insertion – My first time adding lace with a serger, and it made the project look so polished!
- How to use the blind stitch foot – I’d never used this foot before, but now I can see how useful it’ll be for future projects.
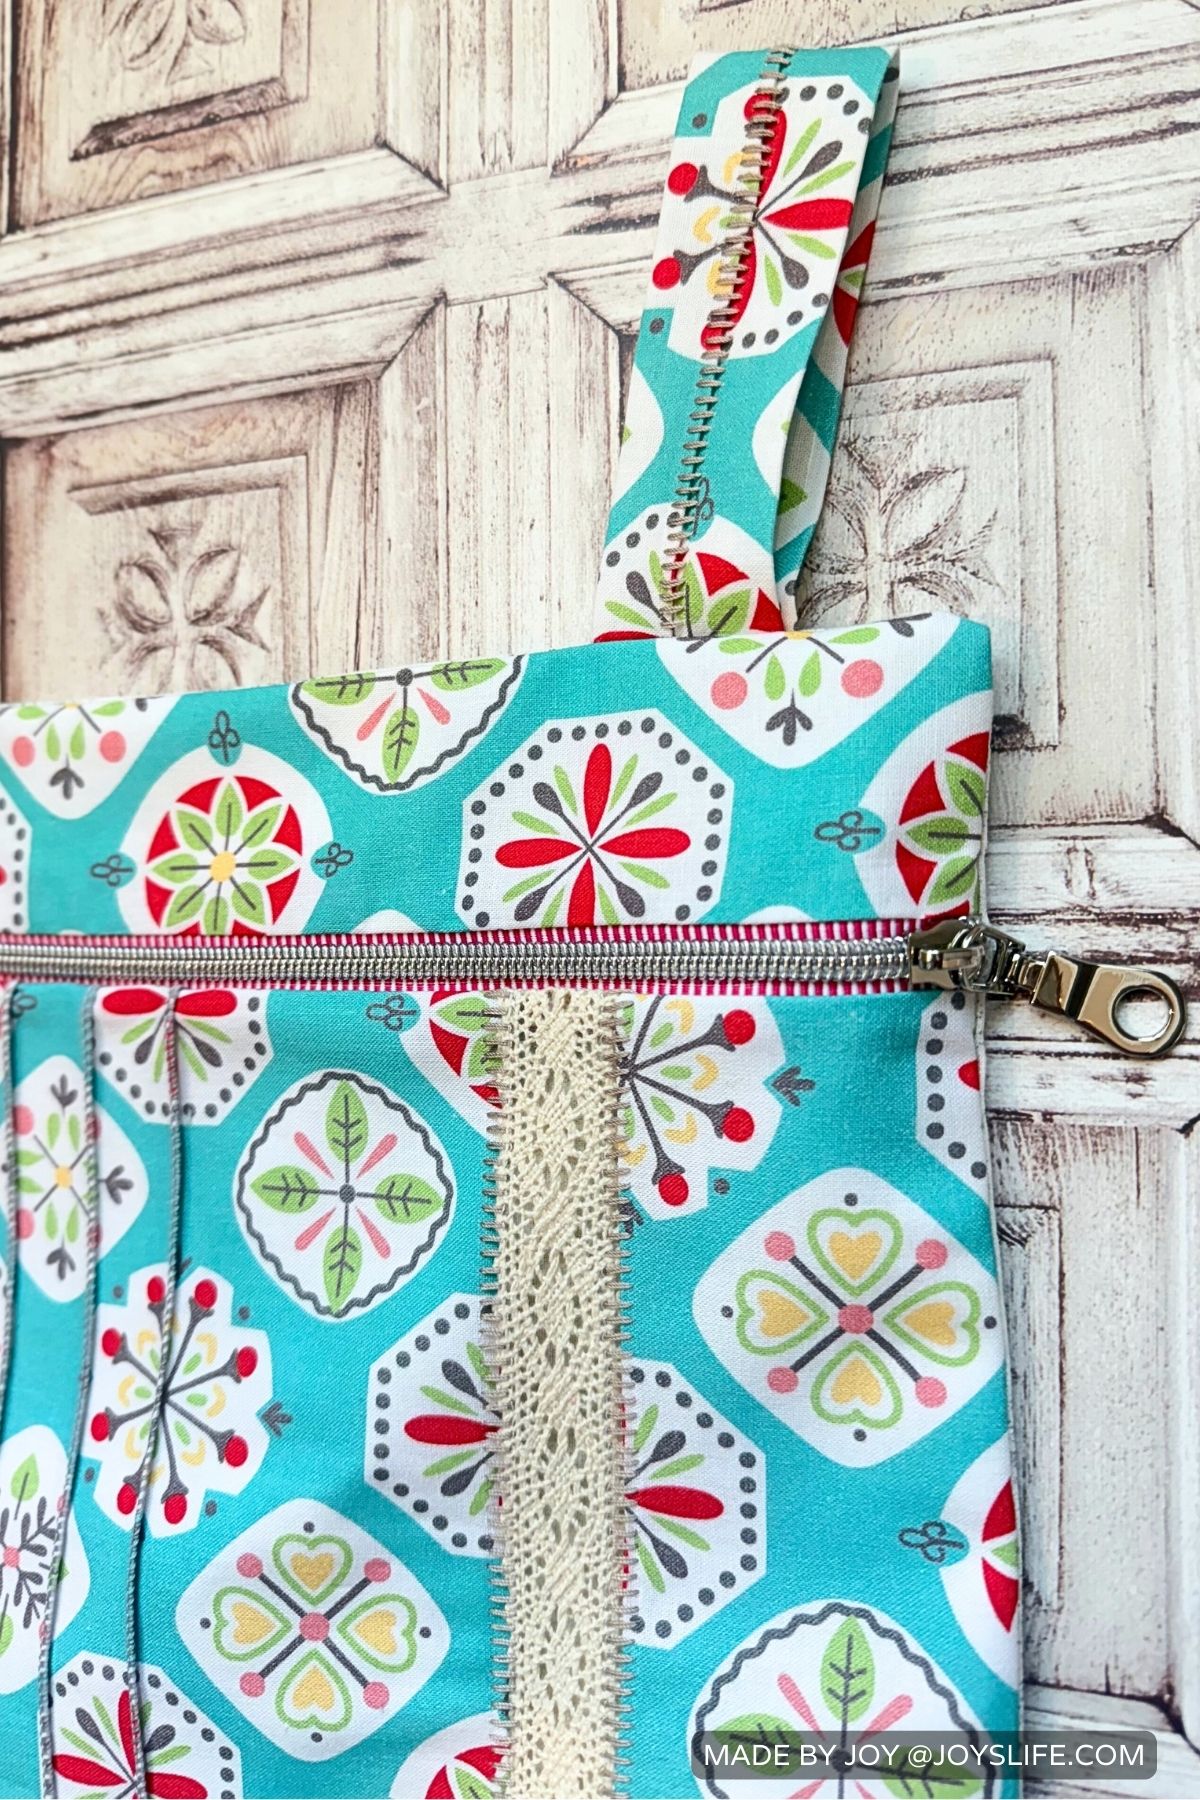
- Zippers by the yard – I used Pink Stripe Zipper Tape with Nickel Teeth by Sassafras Lane Designs and learned how to add my own zipper pulls. (The Handy Zipper Jig by Gypsy Quilter made this step so much easier!)
- Finishing zipper tape – A little tip: burn the ends of the zipper tape to keep it from fraying. I didn’t do that, and my tape frayed like crazy.
- Using a mini ironing board for pressing seams – I tried my Brabantia Sleeve, Neckline, Shoulder, Small Garment Ironing Board (24 x 4 inches) for the first time. You don’t need it for this project, but I’m glad I have it since I plan to sew clothes.
This class actually teaches even more, but a lot of the techniques build on what I learned in earlier projects, like the 4-thread overlock stitch and 2-thread flatlock stitch.

Supplies I Needed for the Project
These are some of the things that I needed, that I didn’t have at the time. The pattern calls for Mettler Seracor serger thread. I use Madeira Aerolock Premium serger thread, which is also fine. Consult the pattern for the full list of supplies and materials.
- Blindstitch foot – I bought the Bernina C19 Blindstitch foot for my Bernina L890 serger.
Things I had but found incredibly helpful
- 12 wt WonderFil Spagetti thread
- WonderFil SoftLoc
- Wonder Clips – you can buy off brand and they work fine.
- Wood Roller Press – I use a blue one by Lori Holt, but any brand will work.
- Fray Check
- Rotary cutter
- Point turner – If you’re from paper crafting you can also try a bone folder.
- Pilot Frixion Heat Pen – make sure you use the heat one so it will go away with steam. (It can come back with cold, but it takes a lot of cold.)
- Bernina C16L Piping foot for my Bernina L890 serger
- Iron – although many kinds of irons can be used, I use a Laurastar Lift Steam Iron almost exclusively.
- Ironing board – I use the Brabantia Size C Ironing Board with this Brabantia Size C ironing board cover which also requires this Brabantia Ironing Board Felt Padding Underlay
- Bernina L890 Serger

What I Loved about the Hideaway Hanger Safe Project
What I loved most about this project is how many new ideas it gave me. I kept thinking about how these techniques could work on other projects, like garment details or even custom bags. It’s one of those classes that’s not just about the end product, it’s about learning and experimenting.
I also felt like everything I’d learned in the earlier Sookie Sews classes finally came together here. It was challenging enough to feel rewarding but not so hard that I wanted to give up. Plus, I ended up loving how the finished Hideaway Hanger Safe turned out! I think it’s beautiful!
The Best Class Order for Beginners Learning the Bernina L890
This project confirmed for me that the Sookie Sews Class Order for Beginners that I came up with is absolutely worth following if you’re new to serging. You can also take these classes if you have a different brand of serger. I didn’t plan to take the classes in this order (it was a mix of luck and a little planning), but it ended up working out perfectly. Each class builds on the last and gives you more confidence with your machine.
The Hideaway Hanger Safe is an amazing skill-builder and a great confidence booster. If you’re looking for a project that will teach you new techniques, push you just enough out of your comfort zone, and leave you with something unique, this is the one to try.
Project Snapshot
Project Snapshot
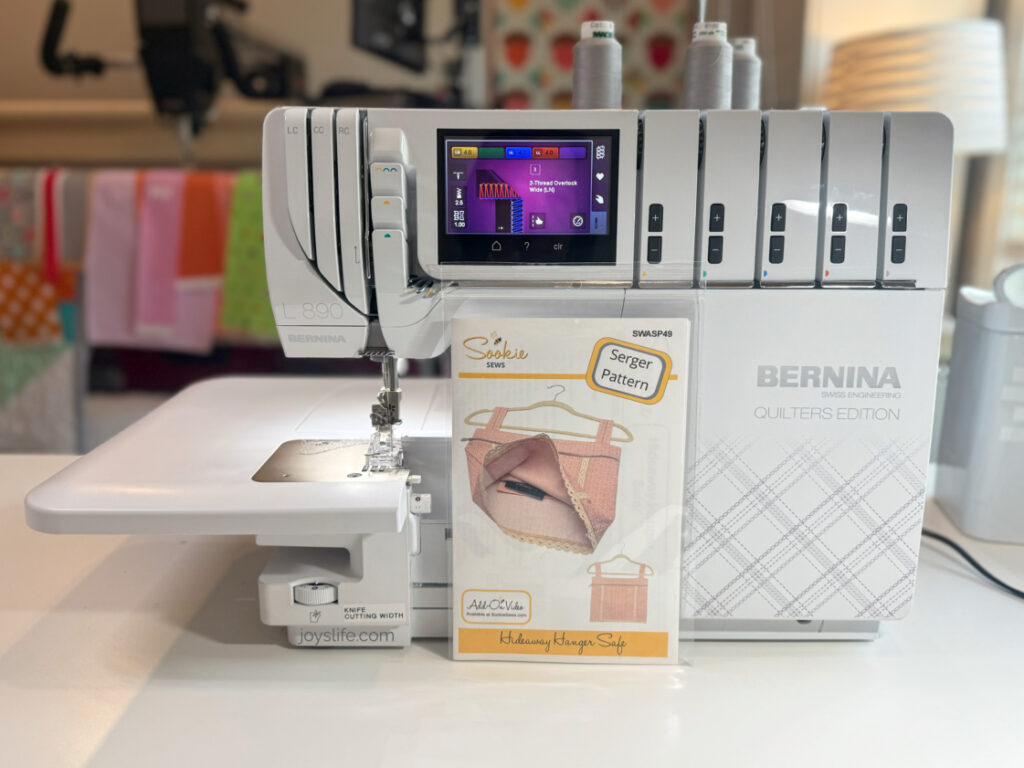
Machine: Bernina L890 Serger
Pattern: Hideaway Hanger Safe by Sookie Sews
Instructor: Sookie Sews
Sewing Studio: Joy’s Life
Getting started with a serger? This was the fourth Sookie Sews beginner serger project that I made with my Bernina L890, and it built perfectly on the skills from my third class with Sookie.
Save or share this post if you’re collecting beginner-friendly serger project ideas!
Want to Explore a Little More?
- Speedy Serger Shoe Bag – Beginner friendly project that builds basic serger skills in a simple bag.
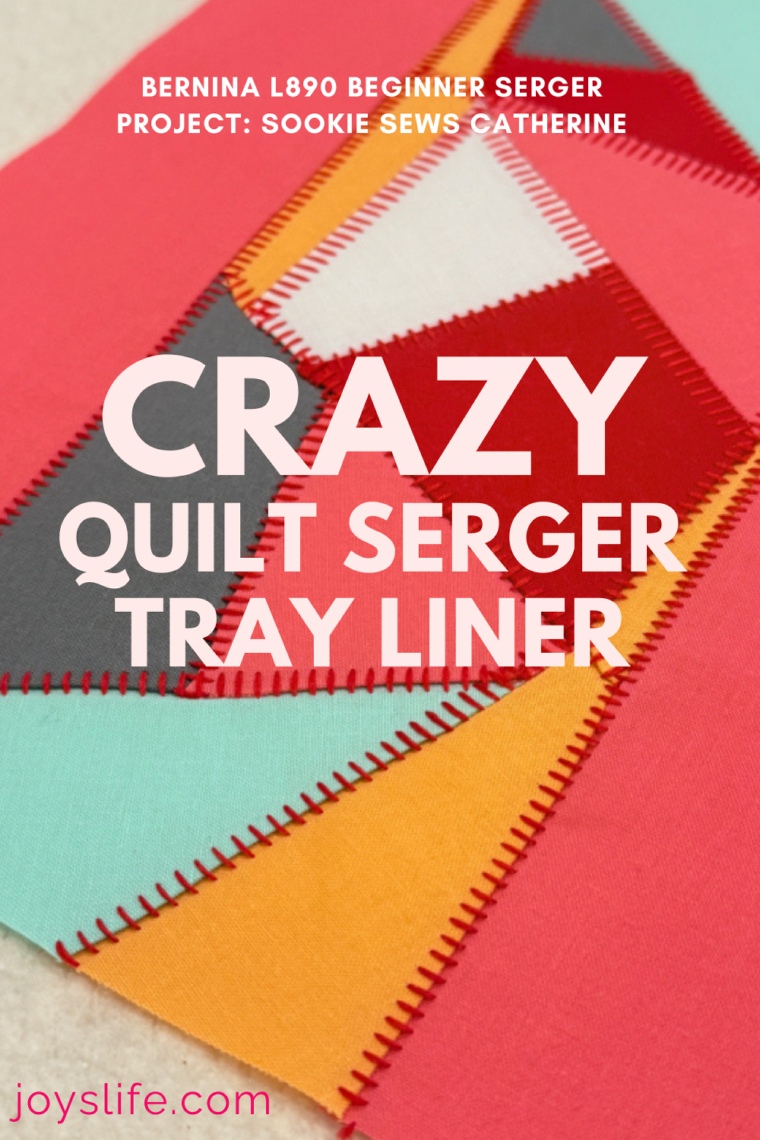
- Crazy Quilt Tray Liner – Learn the flatlock stitch in a fun project that highlights decorative stitching.
- Tape Measure Clutch – A handy clutch that introduces zipper sewing with in-the-hoop embroidery.
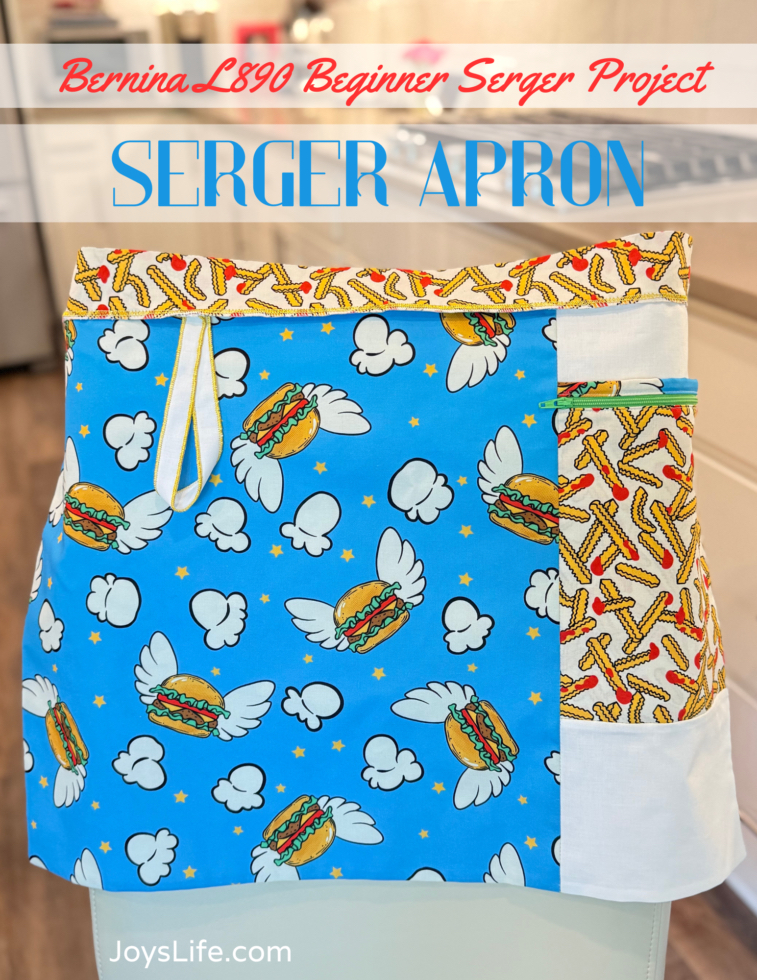
- Cookin’ in Color Apron – A useful apron design that helps you build confidence with coverstitching.
- UPS for Sewing Rooms – Why a power backup is a smart investment for protecting your machines.
- Fabric Scrap Storage – Smart storage solutions to keep your fabric scraps under control.
Check out my favorite sewing & craft resources — just a curated list of the thread, tools, and supplies I use most.