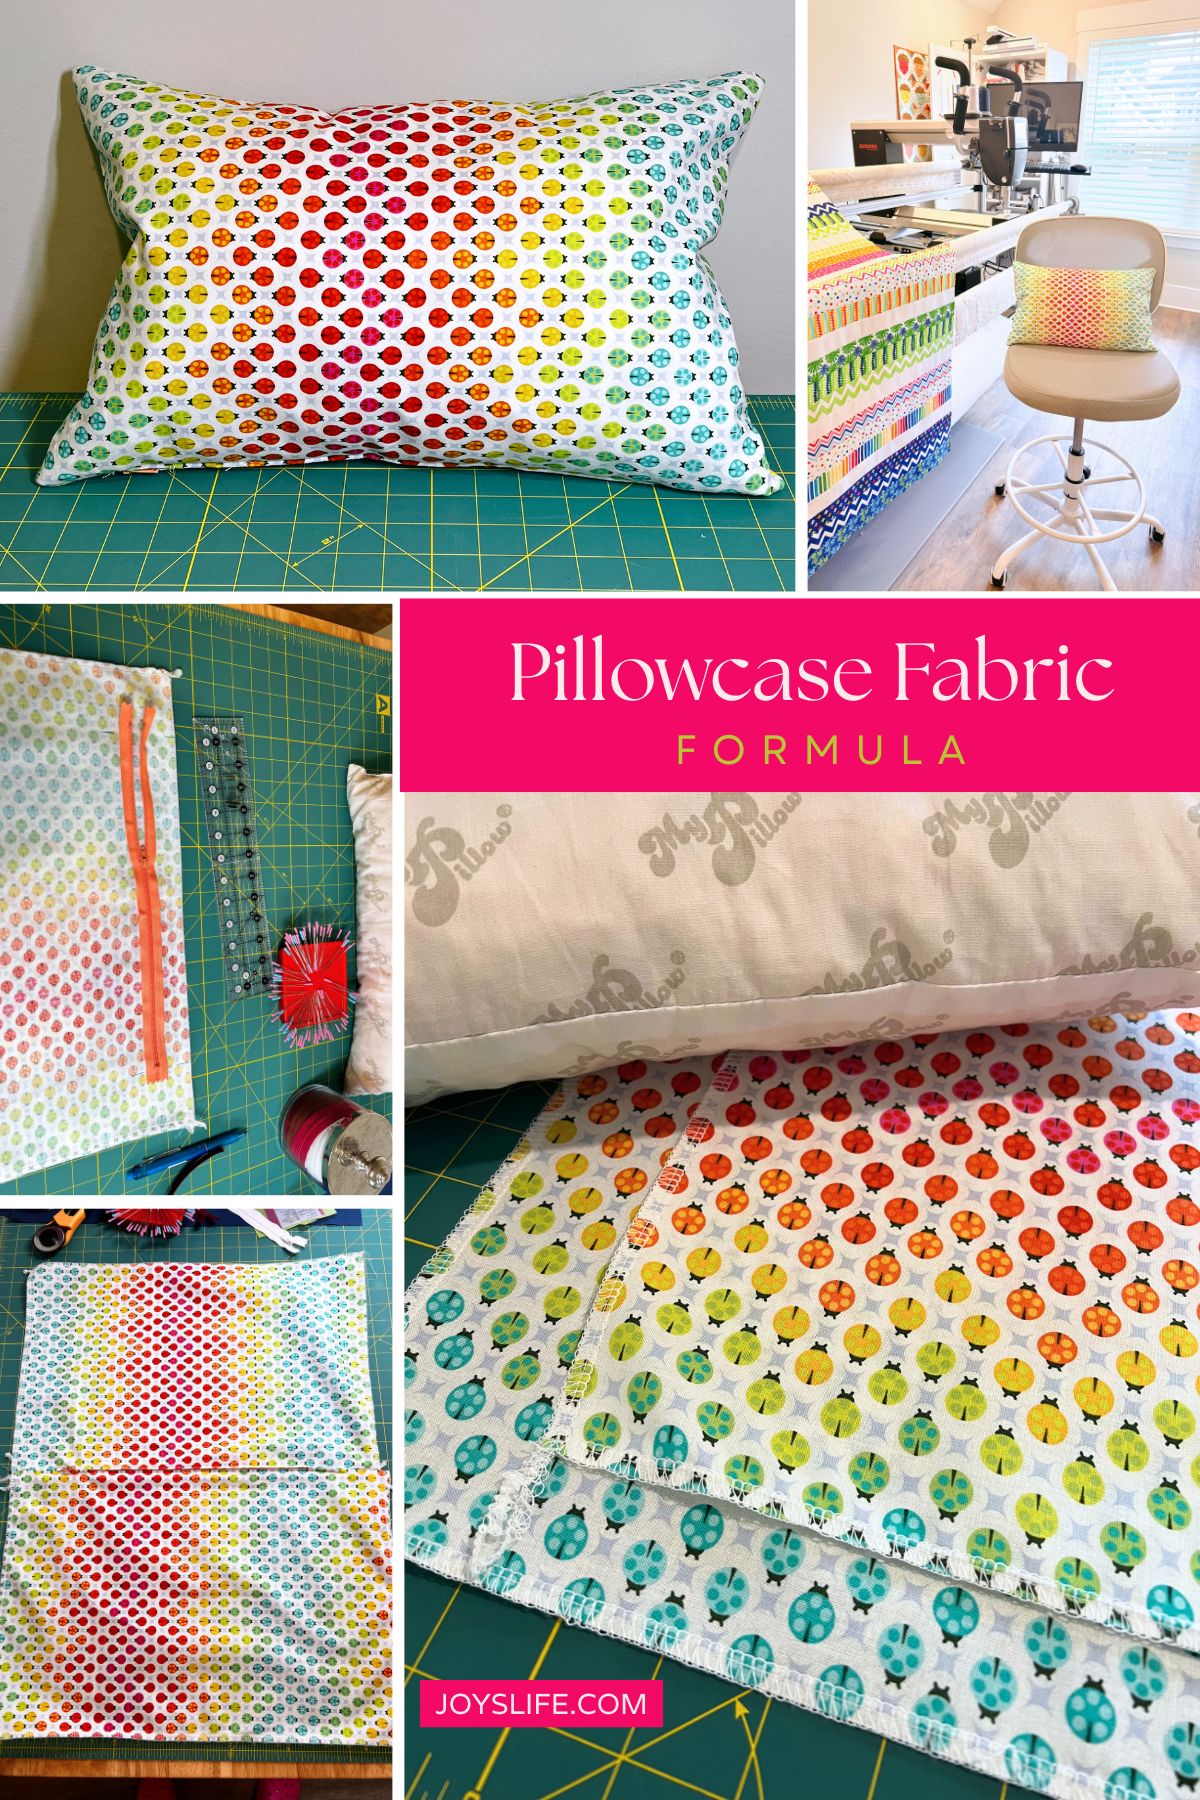
Never guess pillowcase sizes again. This easy formula works for any insert whether feather polyfill or quilted so your handmade cases fit just right.
Fabric for pillowcases varies with insert size and fabric thickness, but it is easier than it sounds. With just a quick measure and one simple formula you can get the perfect fit whether you like it snug or relaxed. Keep reading for the step-by-step math and examples.

Why Pillowcase Sizing Matters
I love picking out my fabric for a project. The colors, the prints, the possibilities. But nothing ruins that joy faster than guessing wrong on how much you need.
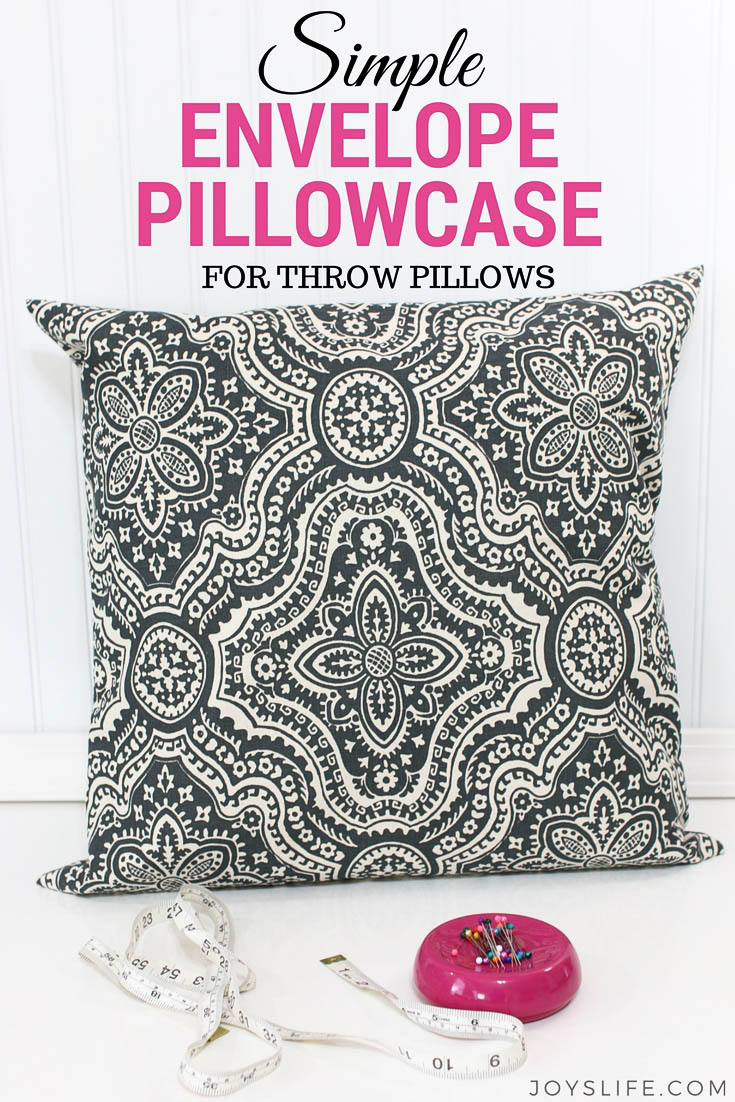
When you’re sewing a throw pillowcase for a rectangular or square insert, like my Simple Envelope version or even a zippered style, the fit is everything. Too loose and it slouches. Too tight and the seams strain.
The fix is simple. Add or subtract a couple of inches to adjust for puffiness or fabric thickness, and suddenly that “meh” pillow looks custom and cozy. That’s why getting the fabric measurements for pillowcases right makes all the difference.
And yes, this pillow may be hanging out next to my longarm, but don’t worry, you don’t need one of those machines to make your own. A regular sewing machine works just fine. (Curious about the longarm? Here’s the story of my Longarm Delivery Day.)
The Easy Formula for Pillowcase Fabric
Here’s the step-by-step calculation I use for every pillow insert:
- Measure your pillow insert. Note both the width and length.
- Width: Pillow width + 2″ (for seams and bulk).
- Length: Pillow length × 2 + 2″ (for seams and bulk).
Example: For an 18″ × 12″ pillow, your cut size will be 20″ × 26″.
This same math works for standard cotton fabric or quilted fabric, just adjust as needed (see below).
Once you know how to measure and cut the right fabric for pillowcases, you’ll save time, avoid waste, and end up with pillow covers that actually look custom. BTW, if you’re in love with that ladybug fabric, it’s from Tula Pink’s Tiny Beasts line called “Painted Ladies PWTP183 Glow” from 2022.

See those saggy corners? That’s what happens when your cut fabric is too loose. The formula helps you avoid this so your pillows look full and polished, unless that’s the look you’re going for, which is great too. I love this pillow!
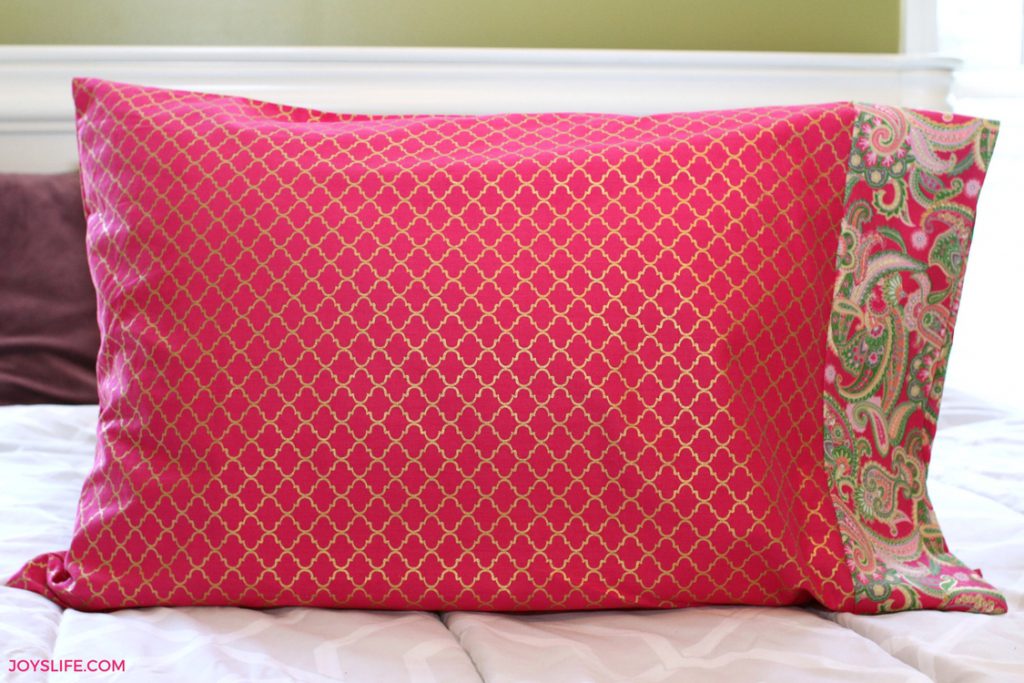
Adjusting the Fit
Want your pillow to look “stuffed to the gills”? Subtract an inch. More “loaf-y and chill”? Add one. Quilted fabric complicating your measurements? Just be generous, because you can always trim it later, but adding back is a headache, and I don’t want that for you. It’s very subjective and totally about personal preference. Even with the same pillow insert, not everyone will agree on the “perfect” fit.
Here’s how to tweak it for your favorite look:
- Snug look: Subtract 1″ from your measurements. The pillow looks very full and firm.
- Relaxed look: Add 1″ or more. The pillow has a softer, slouchier appearance.
- Quilted fabric: Because it’s bulkier than a single layer of cotton, err on the larger side.
Pro tip: Start with a little extra. You can always trim away fabric, but it’s tough to add it back.
A good rotary cutter and ruler make adjustments so much easier. I use this rotary cutter. Here are some of my other favorite tools.
Things That Affect Sizing
Yes, feather pillows squish more than polyester, and even two 16-inch inserts can act nothing alike based on brand. So, tweak the formula to match your fluff preferences, kind of like ordering your coffee any way you like it. Here are a few factors to keep in mind:
- Insert type: Feather compresses more than polyfill.
- Brand differences: A 16″ insert from one store or brand may not match another.
- Personal preference: Some people want stuffed and tight, others like relaxed and casual. Either is fine!

More Pillow Projects to Love
- See how I transformed a quilted table runner into pillowcases. It’s a great example of how quilted pieces can be repurposed into something fresh, functional, and completely new.
- Sew something quick and satisfying with my Simple Envelope Pillowcase Tutorial. Beginner Friendly. Done in an afternoon.
- Get a tailored, made to measure result with How to Make a Custom Pillowcase. Perfect fit. Polished look. No guessing.
- Bring in bold seasonal personality with Halloween Vinyl Pillowcases. A fun Cricut project that makes a big statement fast.
- Give a tired space a fresh start with my DIY Chair Makeover, where both the chair and its pillow get a new look.
That’s your math plus Joy approved guide to pillowcase fabric sizing. Measure it right. Cut it confidently. Then sit back and enjoy pillows that went from forgettable to fabulous.