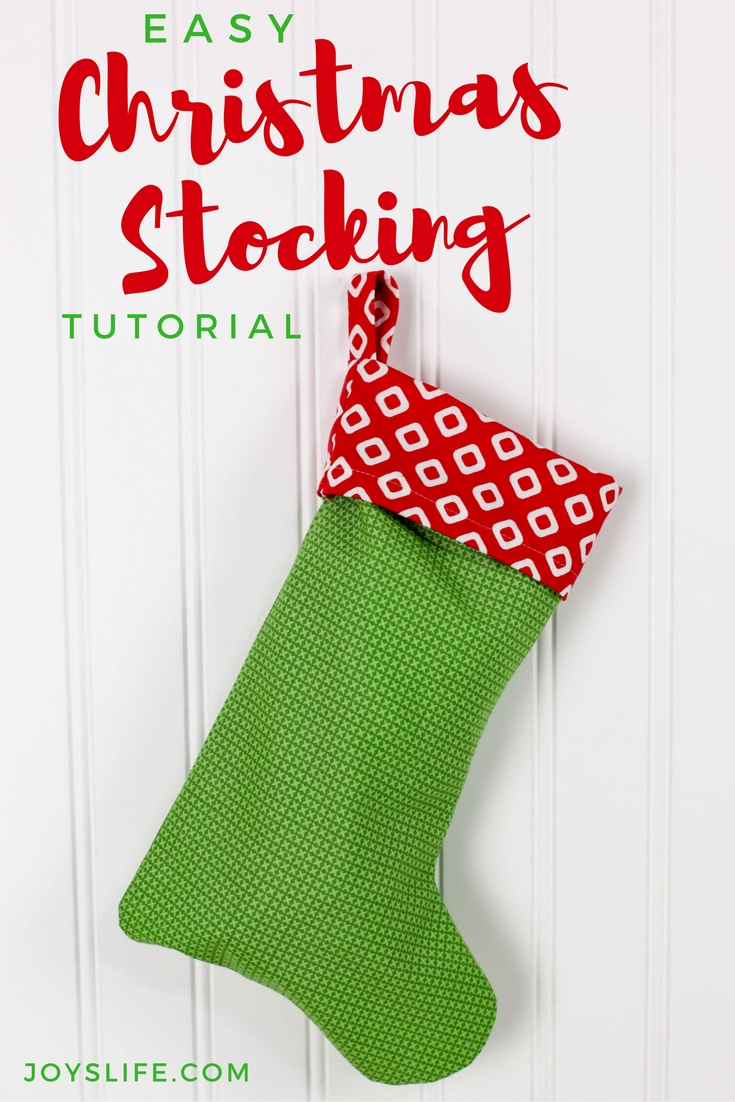
Looking for a simple Christmas sewing project? This easy stocking tutorial is perfect for beginners! Grab the free pattern, follow the steps, and sew a handmade gift from the heart.
I’m really looking forward to Christmas this year and can’t wait to start decorating! I don’t have any big plans, I’m just excited to have everyone home for the holidays. They are what I’m most looking forward to!
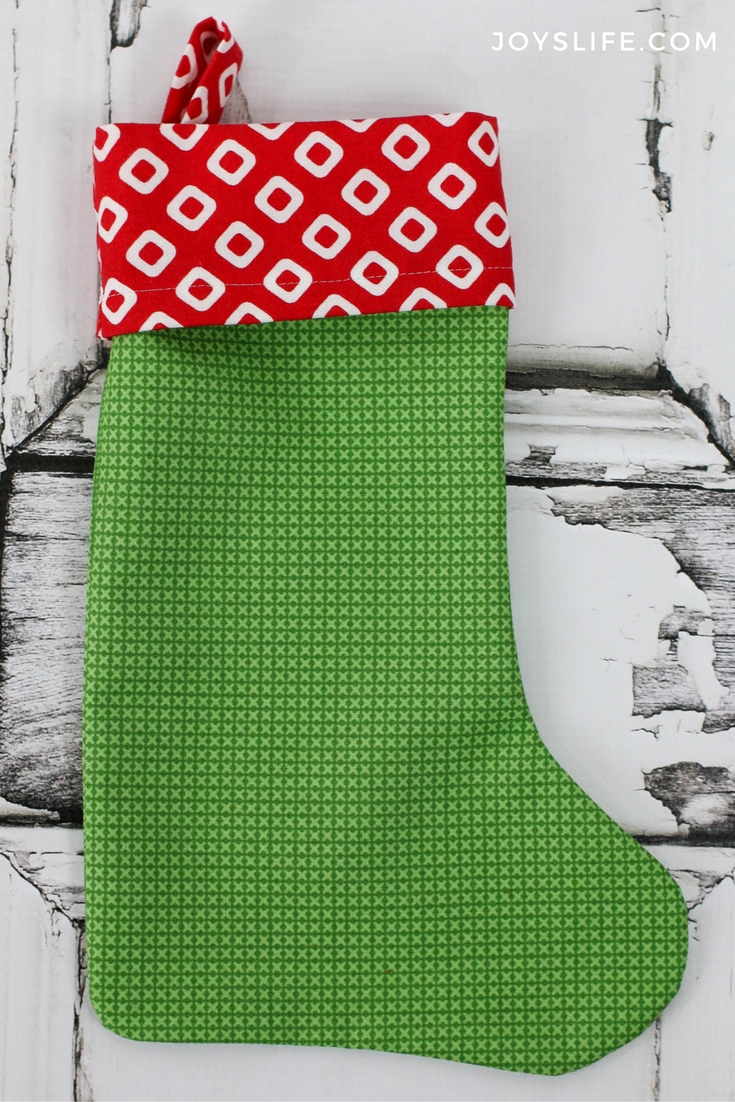
With that in mind, I wanted to make more things by hand, things from the heart. So I started with this cute Christmas stocking! It’s the perfect size for small gifts, ideal for friends, neighbors, or anyone you want to wish a Merry Christmas or happy holiday. You’re going to love how simple it is to create. It’s beginner friendly and just right for holding little treats or sweet surprises.
Supplies You’ll Need:
- Two coordinating fabrics (one for the body, one for the cuff)
- This Free downloadable stocking pattern
- Fabric scissors and paper scissors
- Sewing machine or needle + thread
- Measuring tape
- Printer (or trace a stocking you already have)
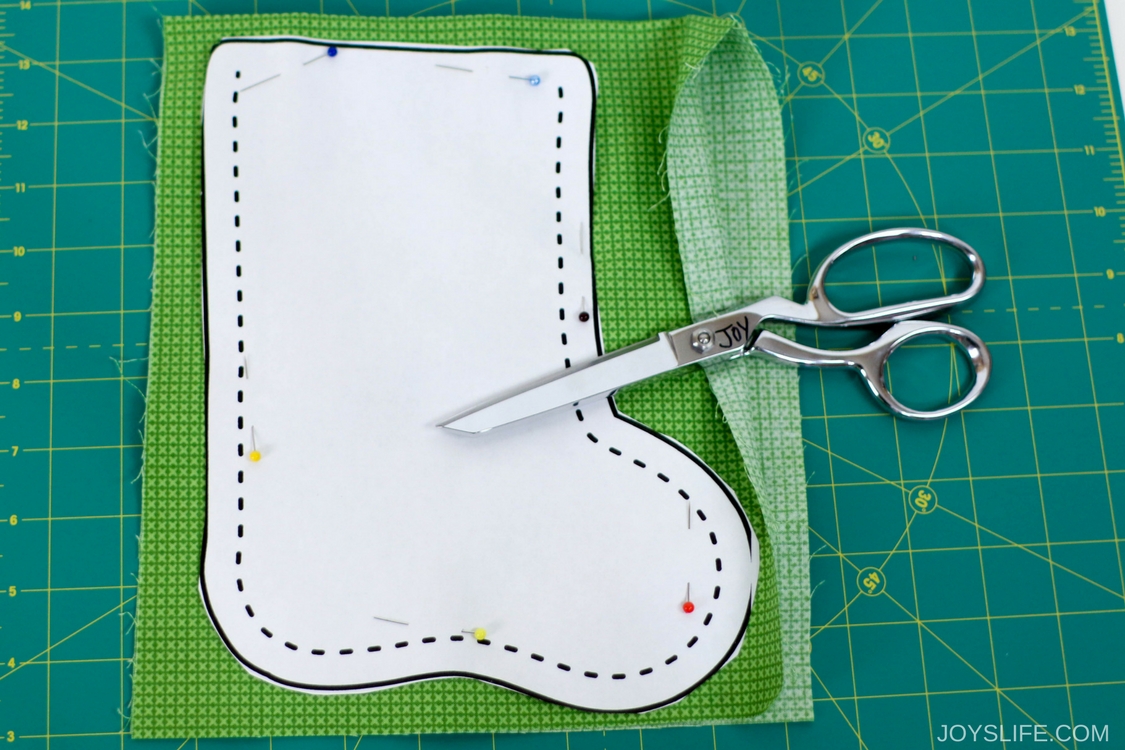
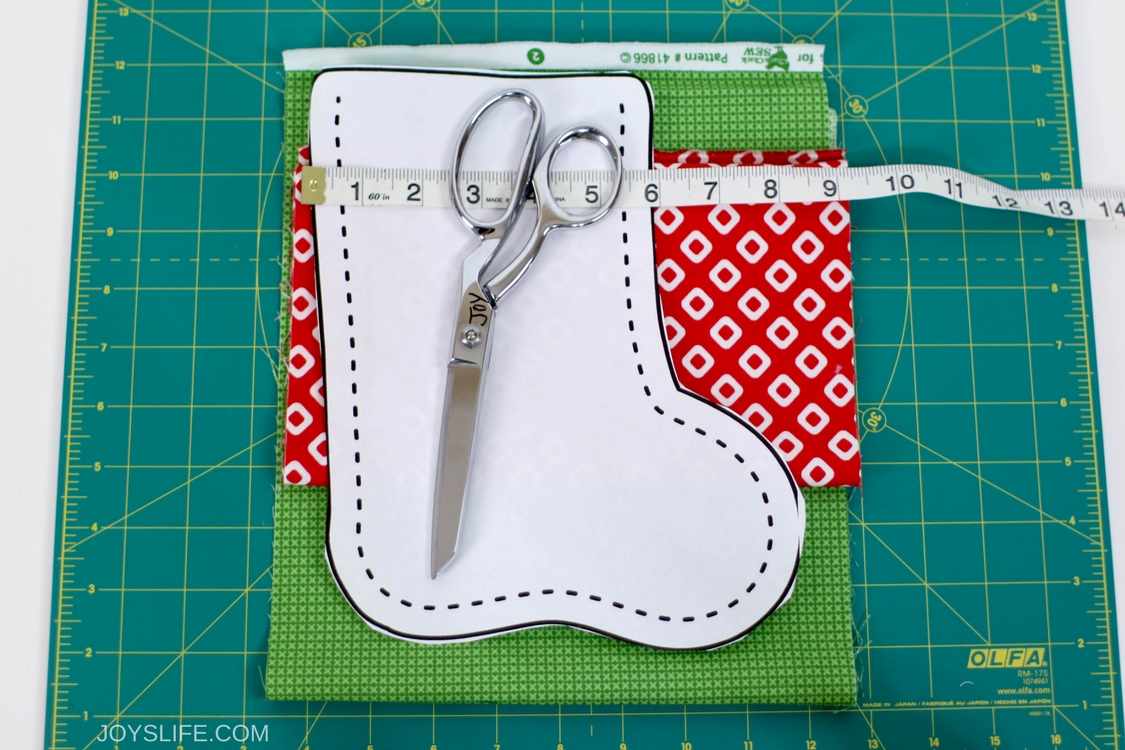
1. Print and Cut the Pattern
Start by printing the free Christmas stocking pattern. Cut it out using paper scissors.
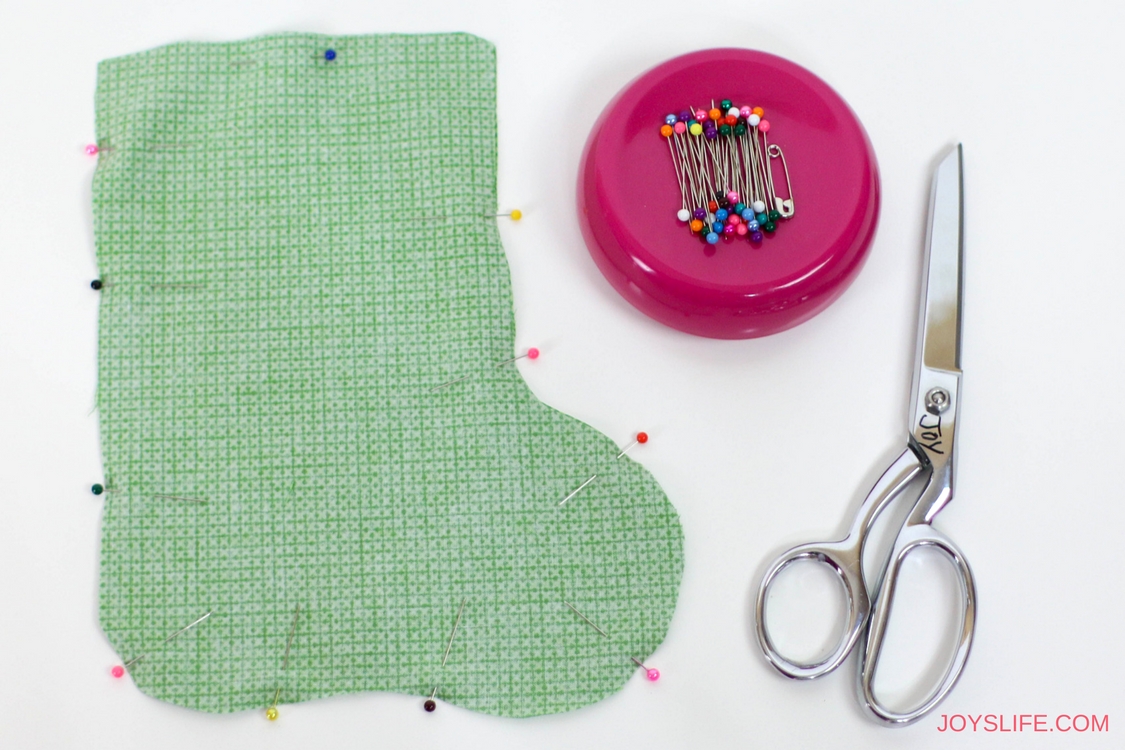
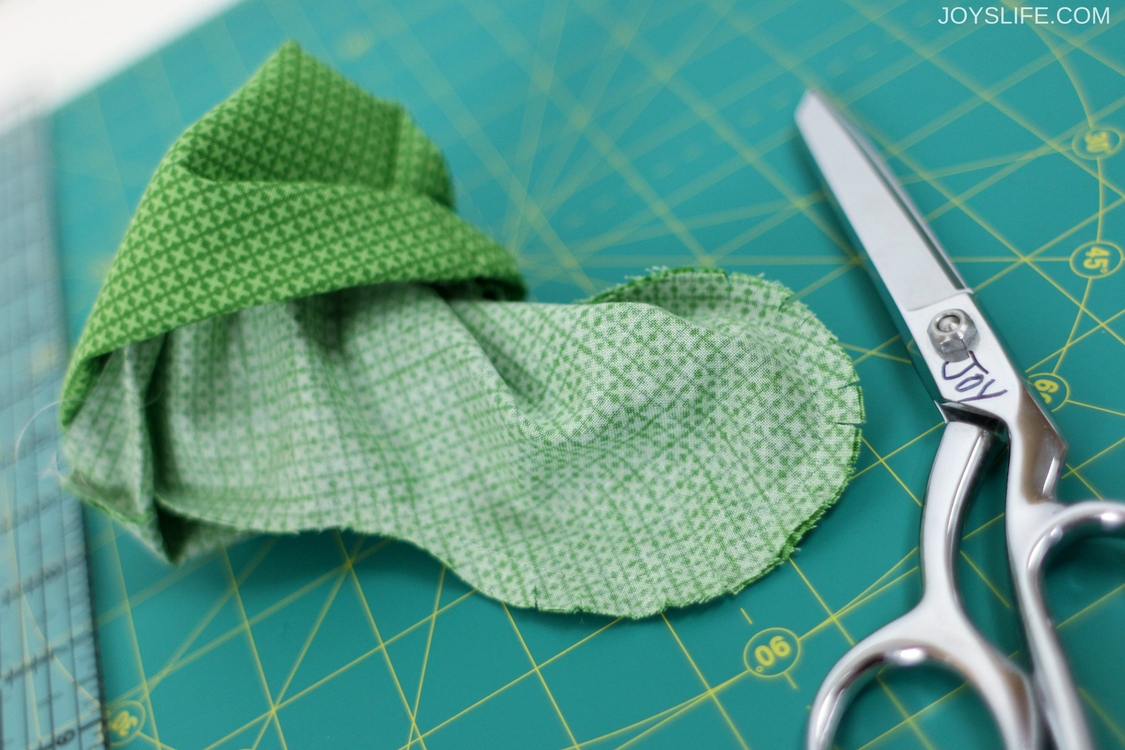
Fold the fabric you want to use for the body of the stocking in half, with wrong sides together. Wrong sides together just means the back sides, not the printed or pretty ones. Pin the pattern in place and cut around it, leaving a ¼” seam allowance. That’s already built into the pattern.
You’ll end up with two stocking pieces.
Want to fit bulkier treats?
If you’re planning to tuck in larger goodies or small gifts, you can add a bit of extra width to the top edge of your stocking pattern before cutting. Just extend the top by about ½”–1″ on each side, then slightly widen the cuff piece to match. This gives you a roomier opening without changing the rest of the steps.
2. Sew the Stocking Together
Unpin the pattern. Place the two fabric pieces right sides together and pin them to keep them aligned.
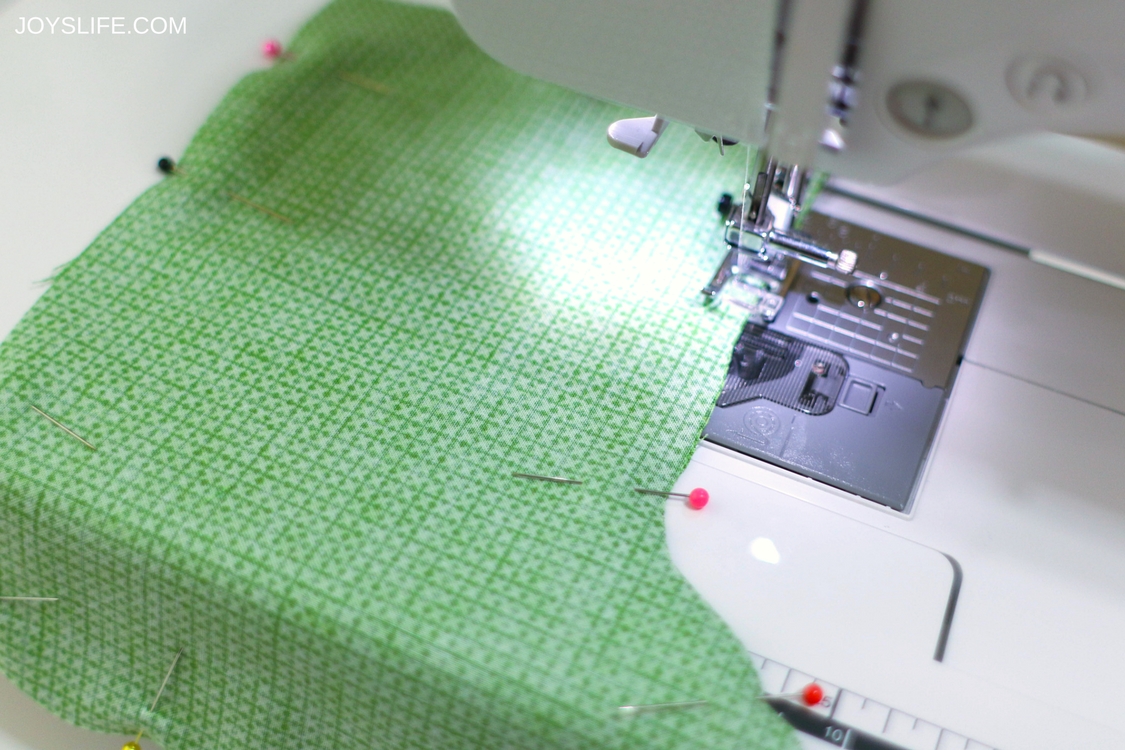
Sew a ¼” seam all the way around the stocking edges, leaving the top open. Be sure to backstitch at the beginning and end to lock your stitches in place.
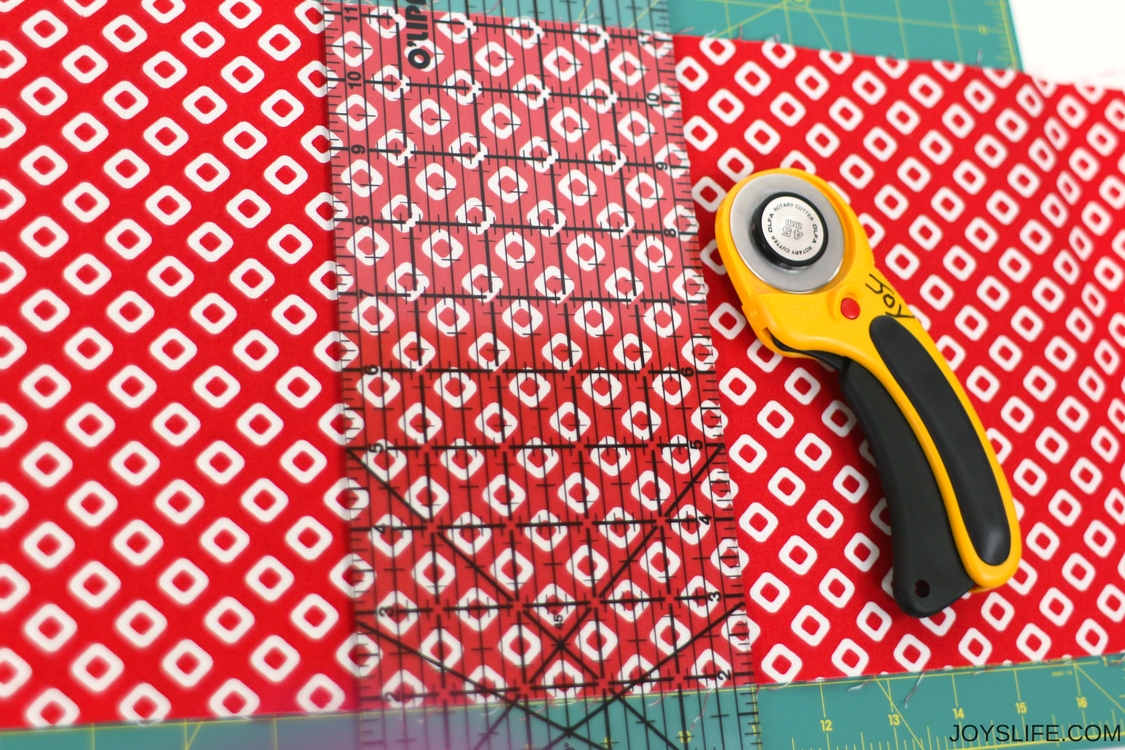
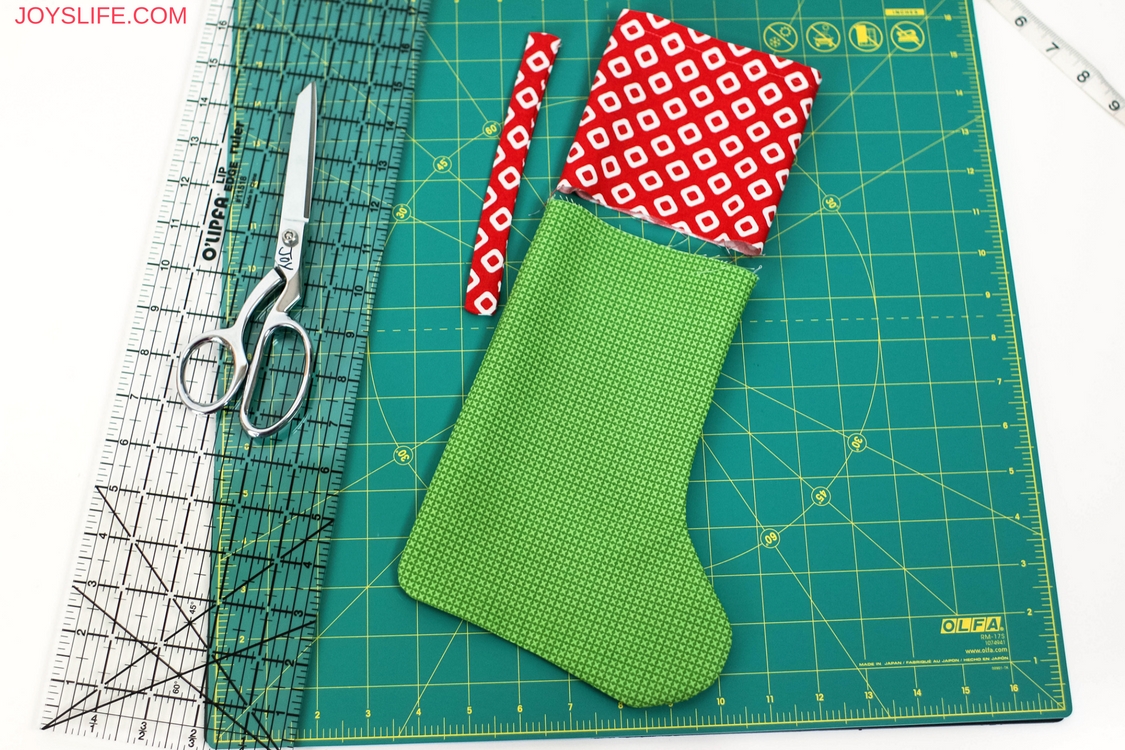
3. Make the Cuff
Cut a piece of contrasting fabric 11½” long and 5¼” wide.
Tip: If you widened the top of your stocking, adjust your cuff piece to match the new width so everything lines up when you assemble it.

Sew a ½” seam along one of the long edges (the 11½” side). Then fold the fabric in half lengthwise, right sides together, and sew the short 5¼” ends together with a ¼” seam to form a fabric tube.
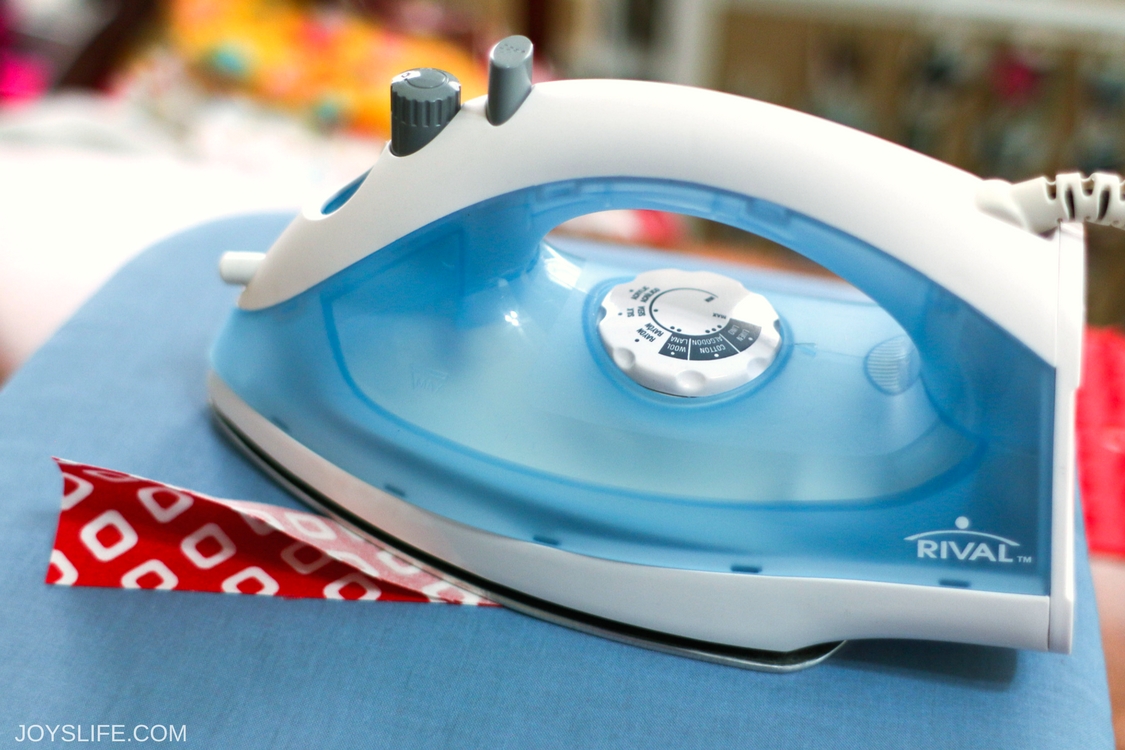
4. Create the Hanging Loop
Cut a strip of fabric 2″ wide by 8″ long. I used the same fabric as the cuff, but feel free to switch it up to suit your style.
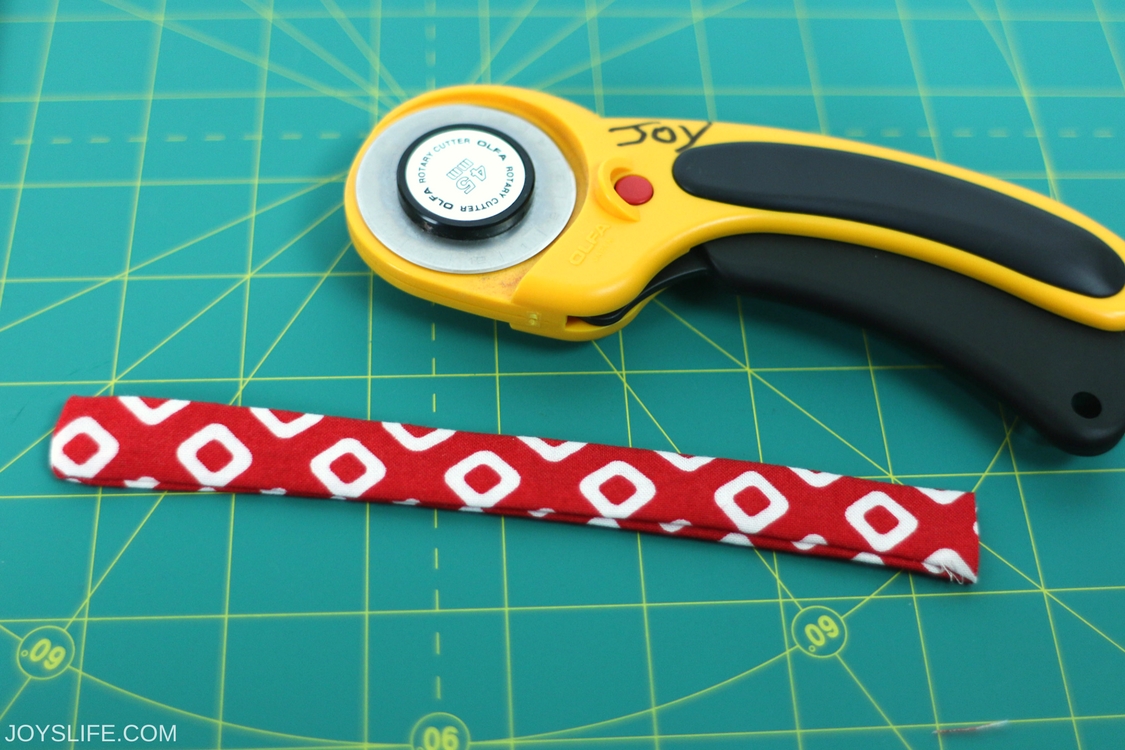
Fold the strip in half lengthwise, right sides together. Sew a ¼” seam down the long side. Turn it right side out and press it flat.
5. Assemble the Stocking
Clip the bottom curves of the stocking to avoid puckering, be careful that you don’t cut into the seams. Then turn the stocking right side out.
Now you should have three pieces: the stocking, the cuff tube, and the hanging loop.
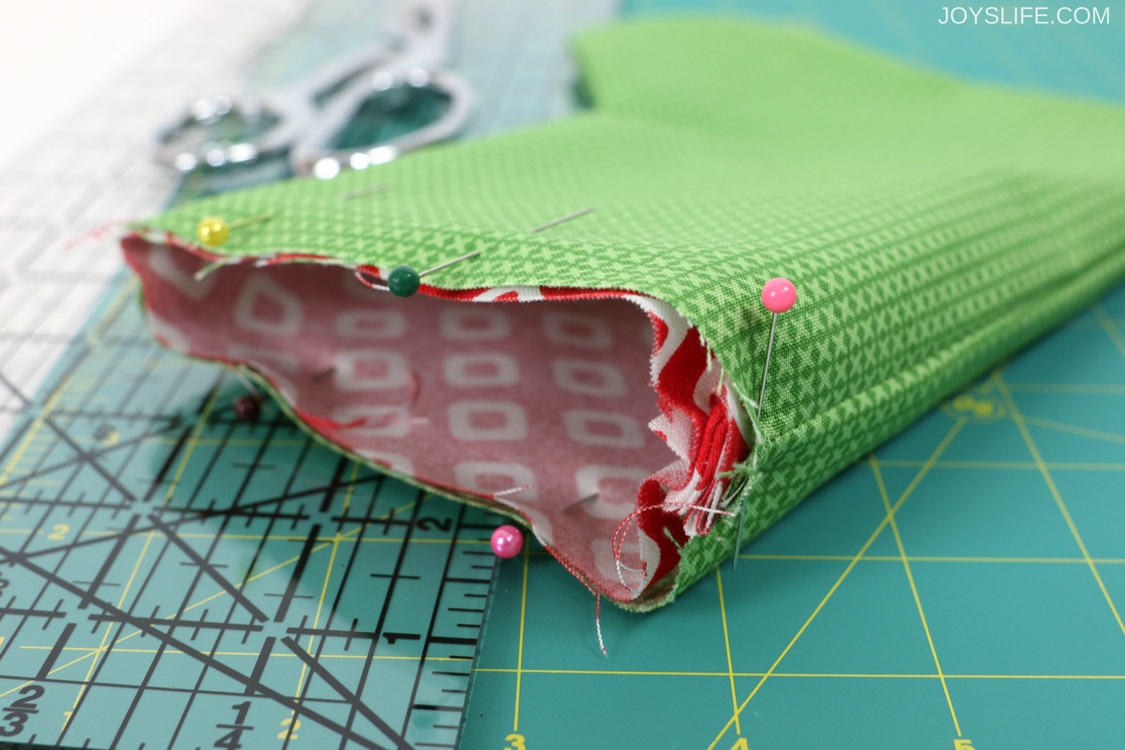
Insert the cuff into the stocking, raw edges aligned. The right side (pretty side) of the cuff should be against the wrong side (dull side) of the stocking.
Slide the folded loop between the stocking and the cuff at the back seam. The looped end should be pointing down into the stocking and the raw ends up at the top.
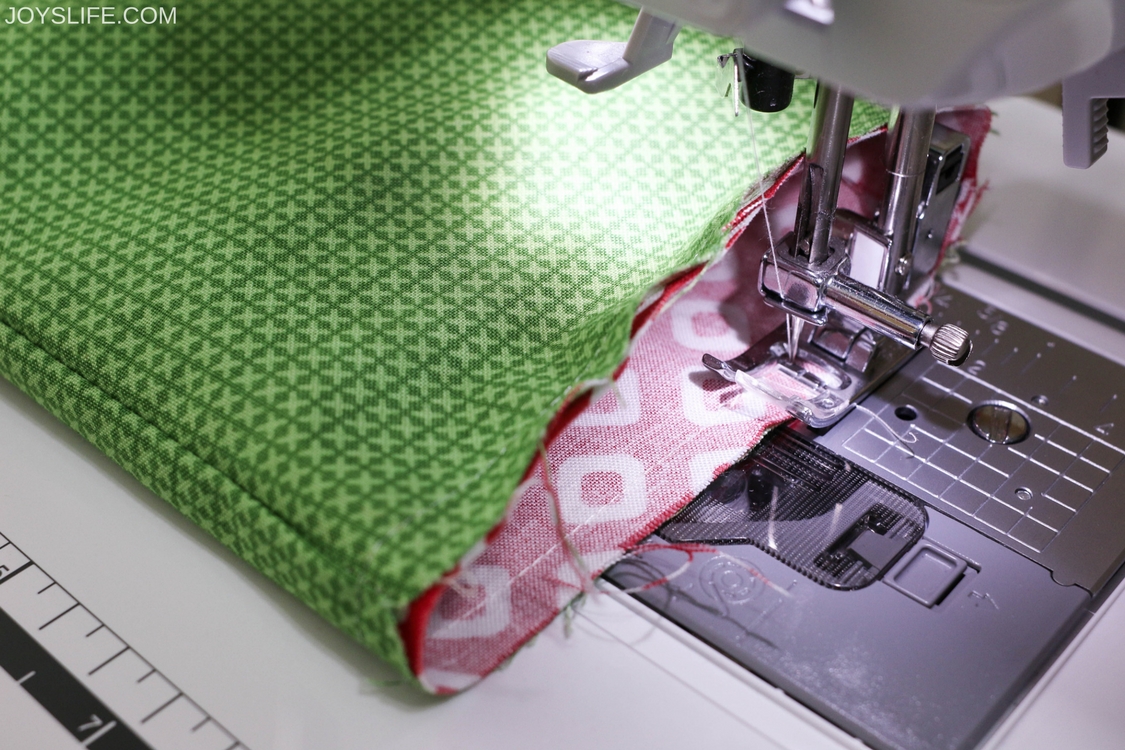
Pin or clip everything in place and sew around the top. Backstitch at the beginning, end, and over the loop for strength.
Turn everything right side out and fold down the cuff.
Your stocking is complete! Great job!

Fill It With Something Fun
Now you just need to add some treats! I picked up a few fun candy storybooks while I was out shopping. They are simple, festive, and perfect for stocking stuffers. My youngest is all about the Skittles, so that one’s definitely going in his!
After I brought them home, I realized the candy storybooks were a little too wide for the stocking I made… so I adjusted the pattern to give it a wider opening.
Stocking tip: If you’re planning to tuck in larger treats like candy storybooks or small gifts, feel free to add a bit of extra width at the top of your stocking. It makes everything fit more comfortably. Don’t forget to adjust your cuff piece to match!
All Set to Sew?
I hope this mini stocking adds a little handmade joy to your holidays. Whether you’re gifting it, decorating with it, or filling it with something sweet, you’ve got yourself a project worth showing off.
Feel free to switch it up to suit your style with different fabric, size, or stuffing!
Curious for more festive inspiration? Check out these merry favorites:
- Simple Ribbon Cone Christmas Tree – A chic and easy holiday tabletop “tree”.
- Wine Cork Christmas Tree – A crafty upcycle idea that’s rustic, cute, and budget-friendly.
- Tomato Cage Christmas Card Holder – A show-stopping way to display those holiday cards all season long.


What a fun and simple sewing project. I can see a whole shelf lined with these little gifting stockings for friends and family. #client
Thanks so much, Kelly! They were a blast to make!