Looking for an easy sewing project? A custom pillowcase is quick to make, beginner-friendly, and adds a personal touch to your bedroom. With just a bit of fabric and a few straight seams, you can create a pillowcase that’s both stylish and durable.
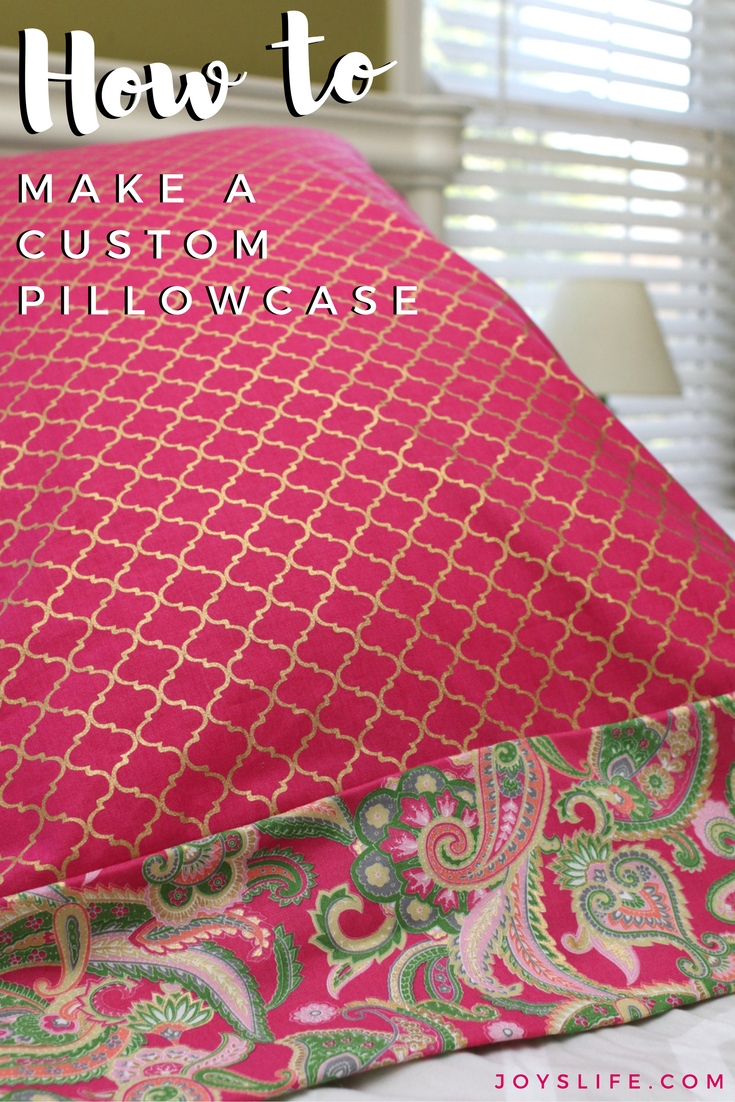
How to Make a Custom Pillowcase
If you’ve been wanting a beginner sewing project that actually turns out nice, this is it.
This custom pillowcase tutorial shows you exactly how to sew a pillowcase with a cuff and French seams for a clean, professional finish.
A custom pillowcase is simple, useful, and one of those projects that makes you feel confident at the sewing machine right away. It’s a great way to make a quick personalized gift too!
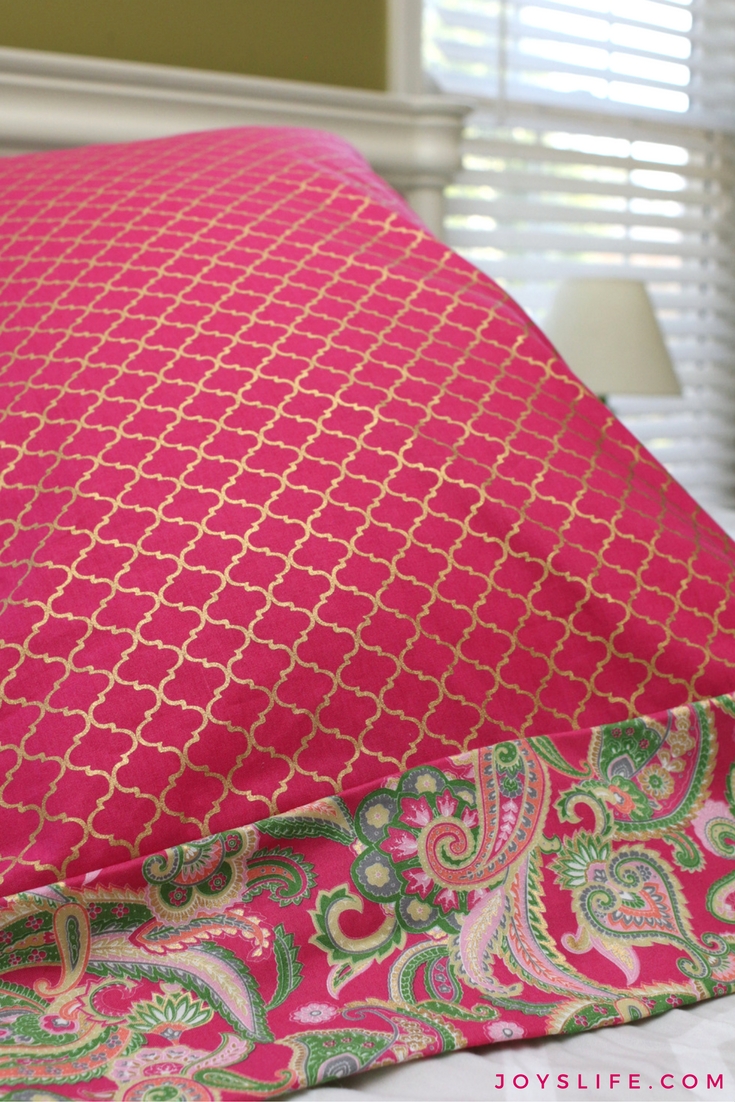
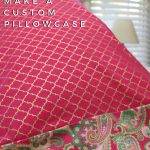
I’m in love with this fabric. Buy yourself 100% cotton or quilting fabric.
Pillowcase Supplies and Fabric Cuts
This makes one standard sized pillowcase.
- One 27″ x 42″ piece of fabric for the main body. (Buy 42″ wide fabric.)
- One 10″ x 42″ piece of fabric for the cuff.
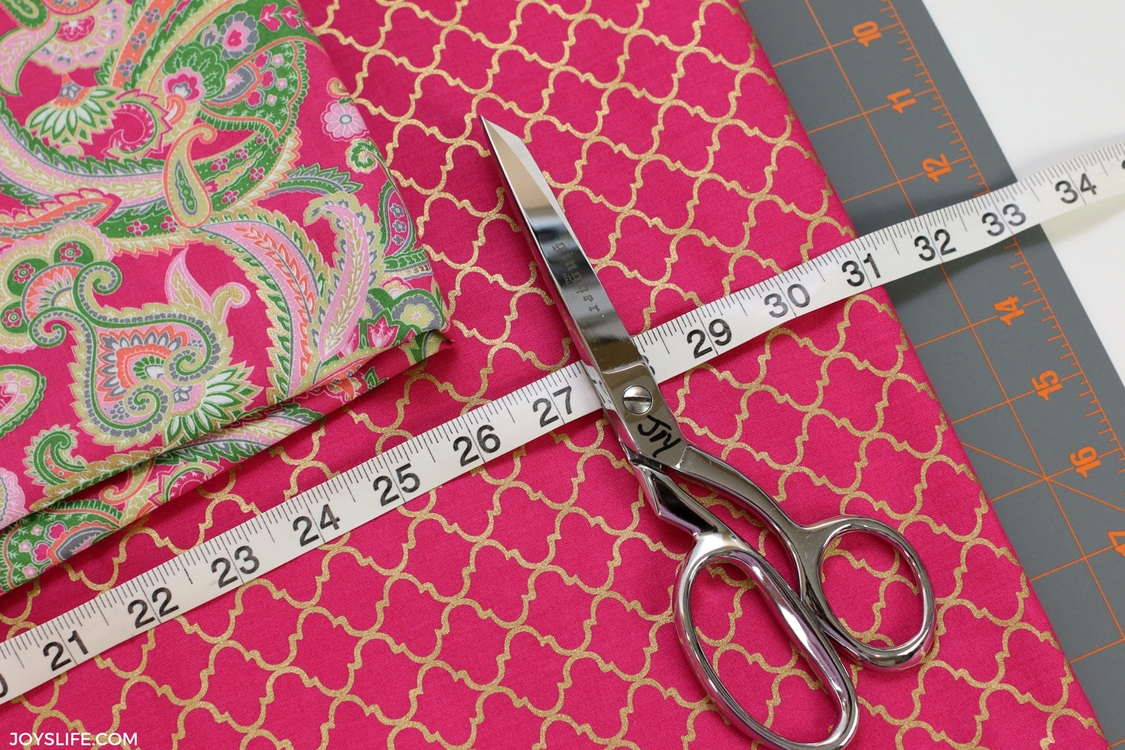
You’ll also need: A sewing machine, thread, scissors or rotary cutter, self healing cutting mat, ruler and/or measuring tape.
How to Sew a Pillowcase with a Cuff
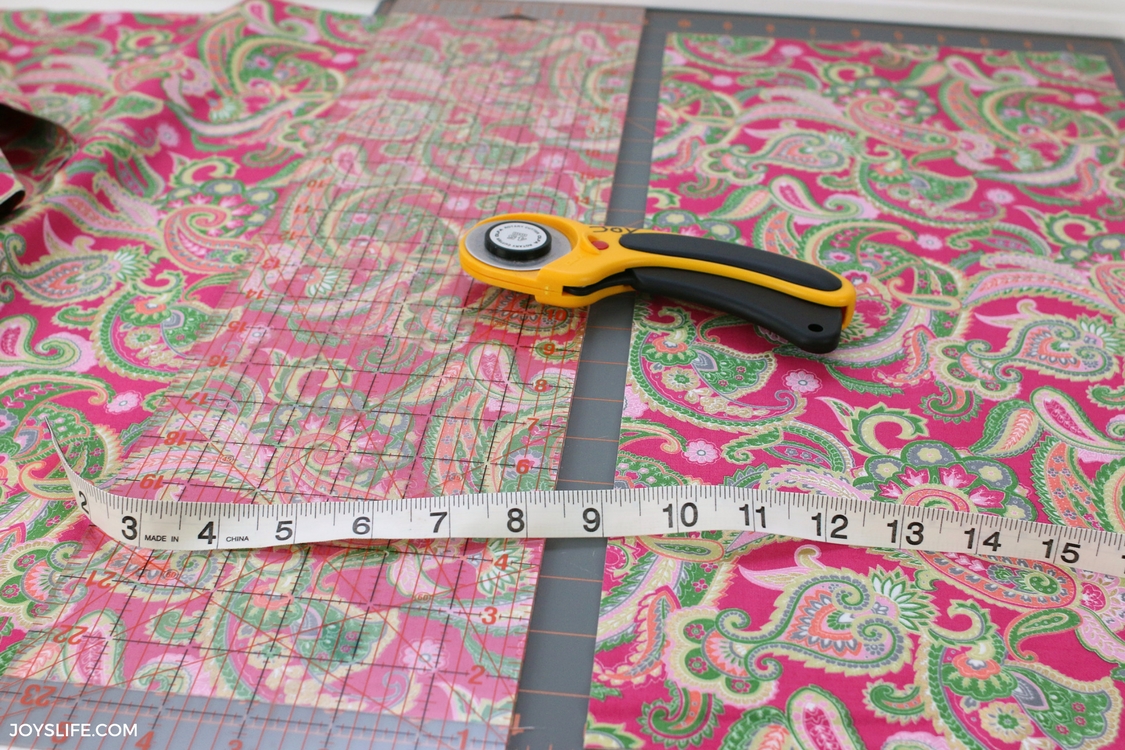
Step 1 Cut Your Fabric
Cut your fabric pieces to size. Keeping your cuts straight will make everything easier later.
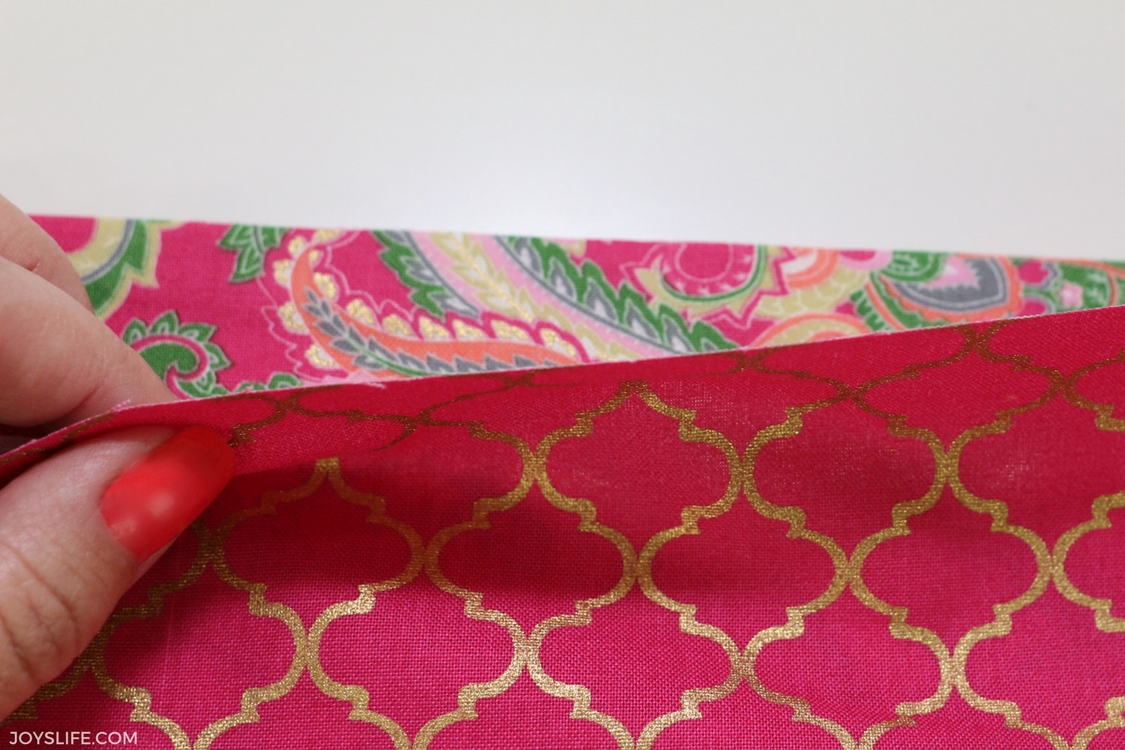
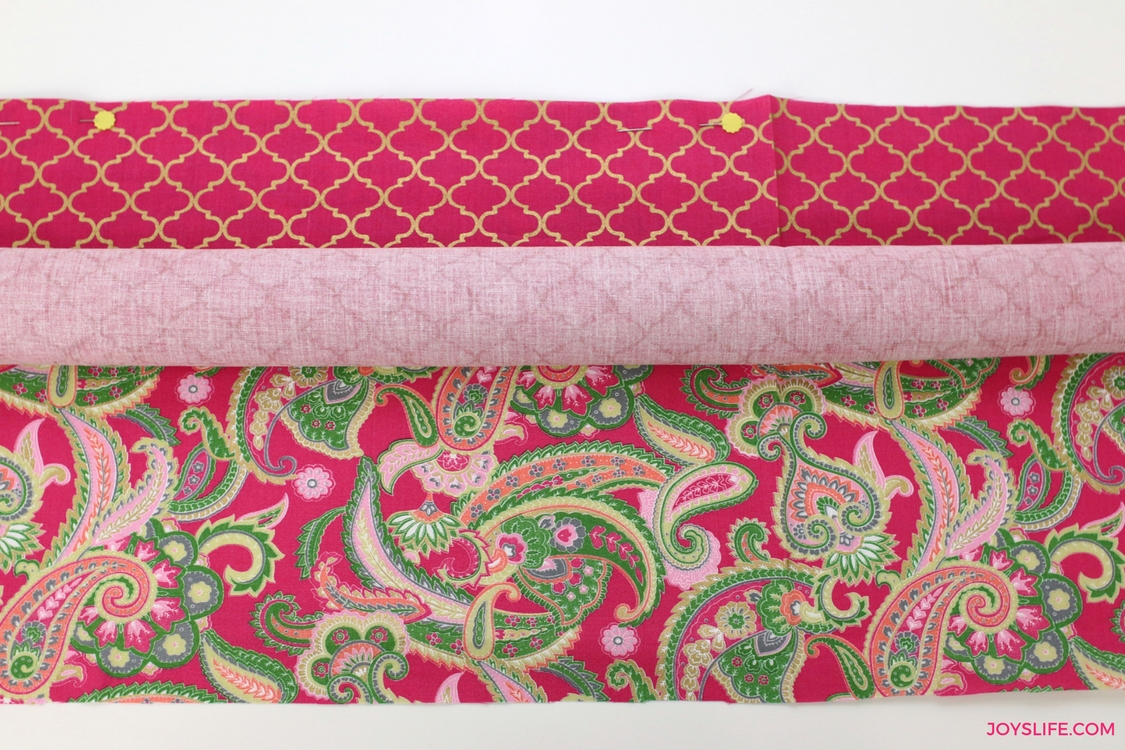
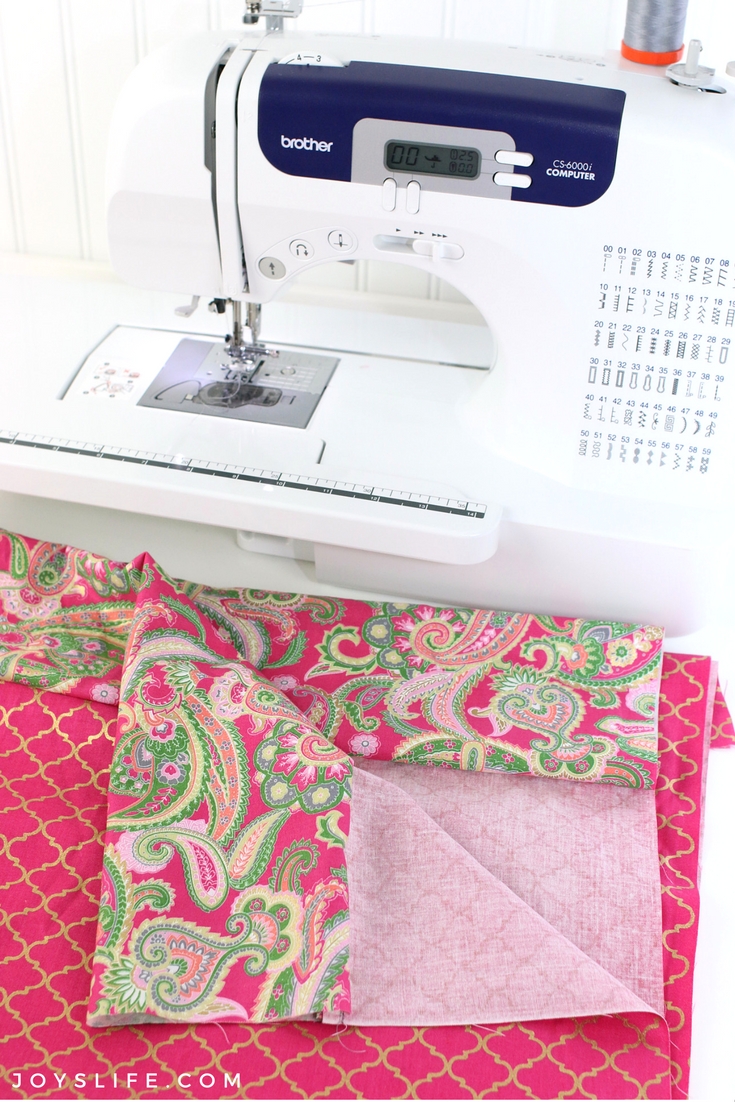
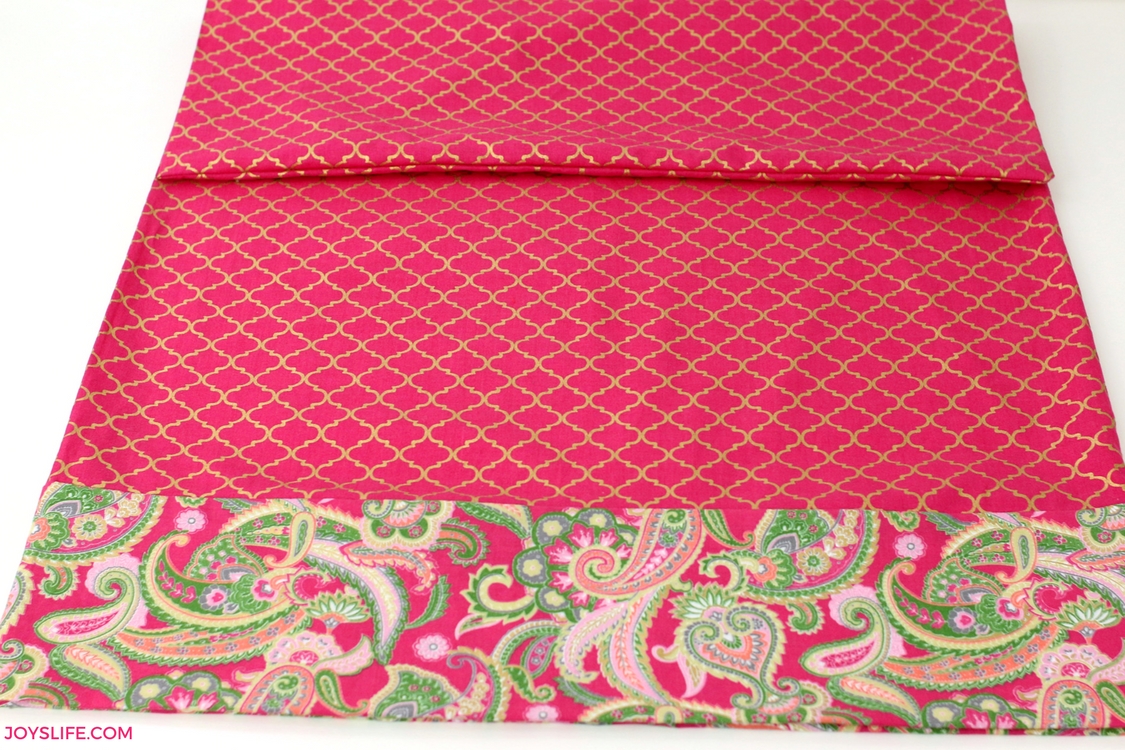
Step 2 Layer the Fabric
Lay the cuff fabric right side up, lengthwise.
Place the body fabric right side up, lengthwise, over the cuff fabric.
Line up the raw edges and pin.
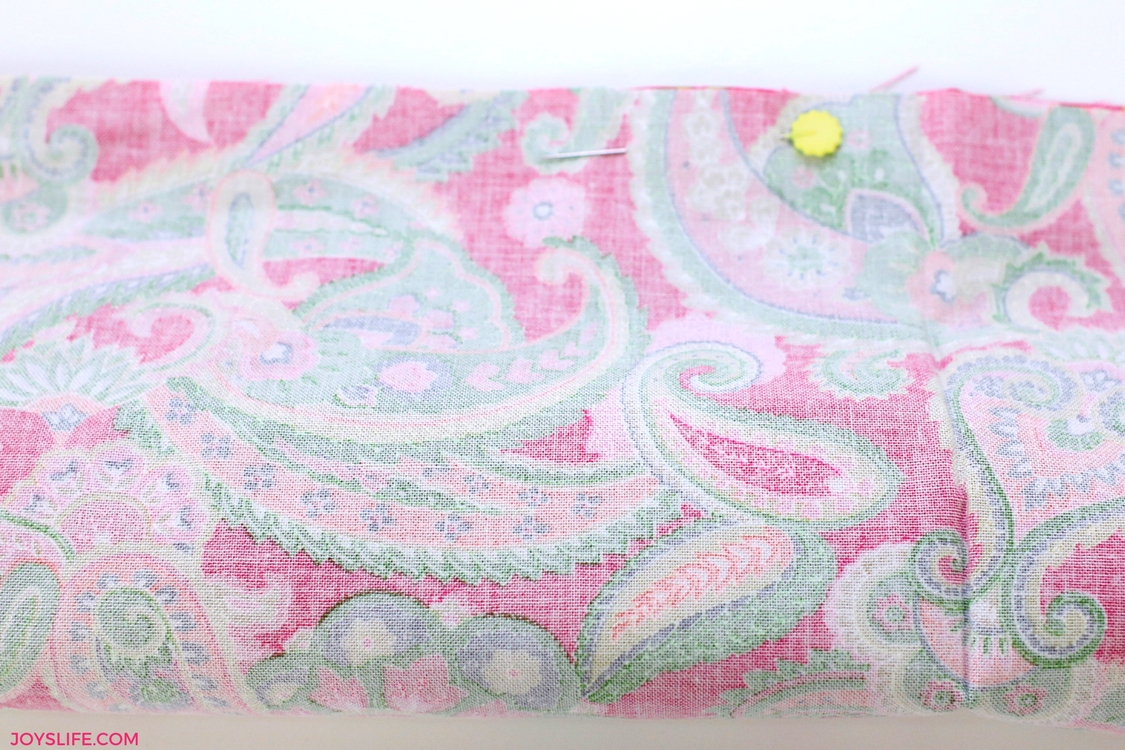
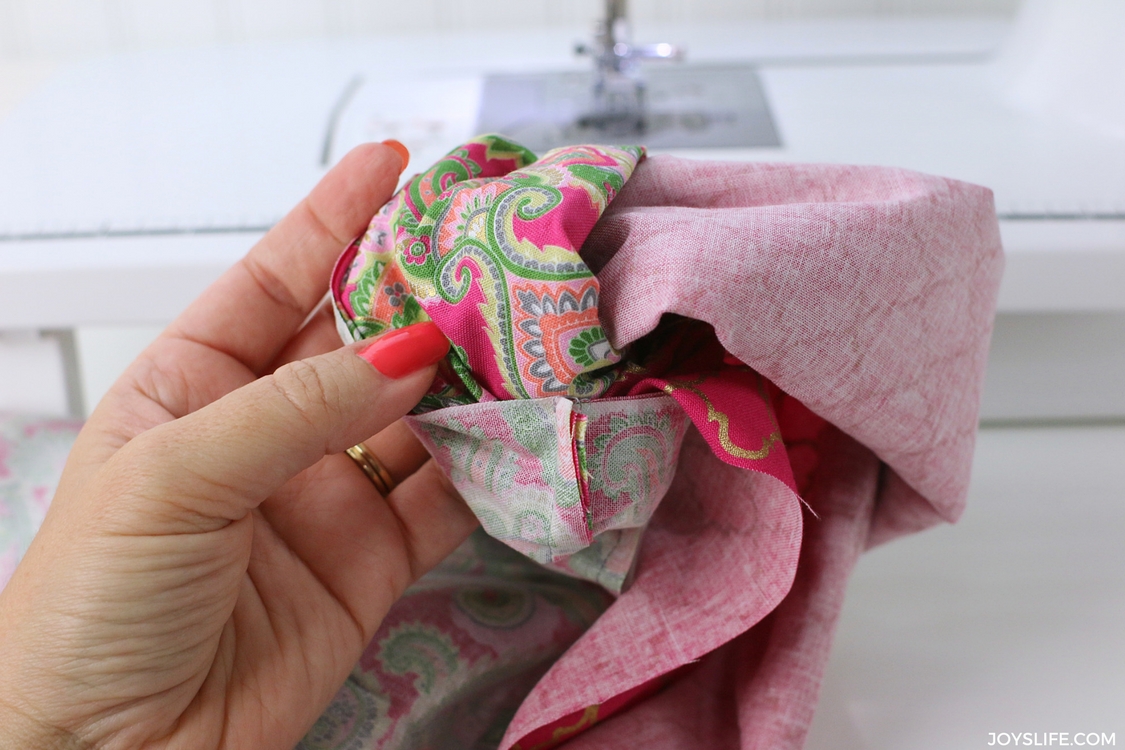
Step 3 Roll the Body Fabric
Roll the body fabric toward the pinned edge. This step creates the center bundle that makes everything come together cleanly.
Step 4 Wrap with the Cuff
Bring the cuff fabric up and over the rolled fabric.
Match the edges and pin again.
Everything is now tucked inside and ready to sew.
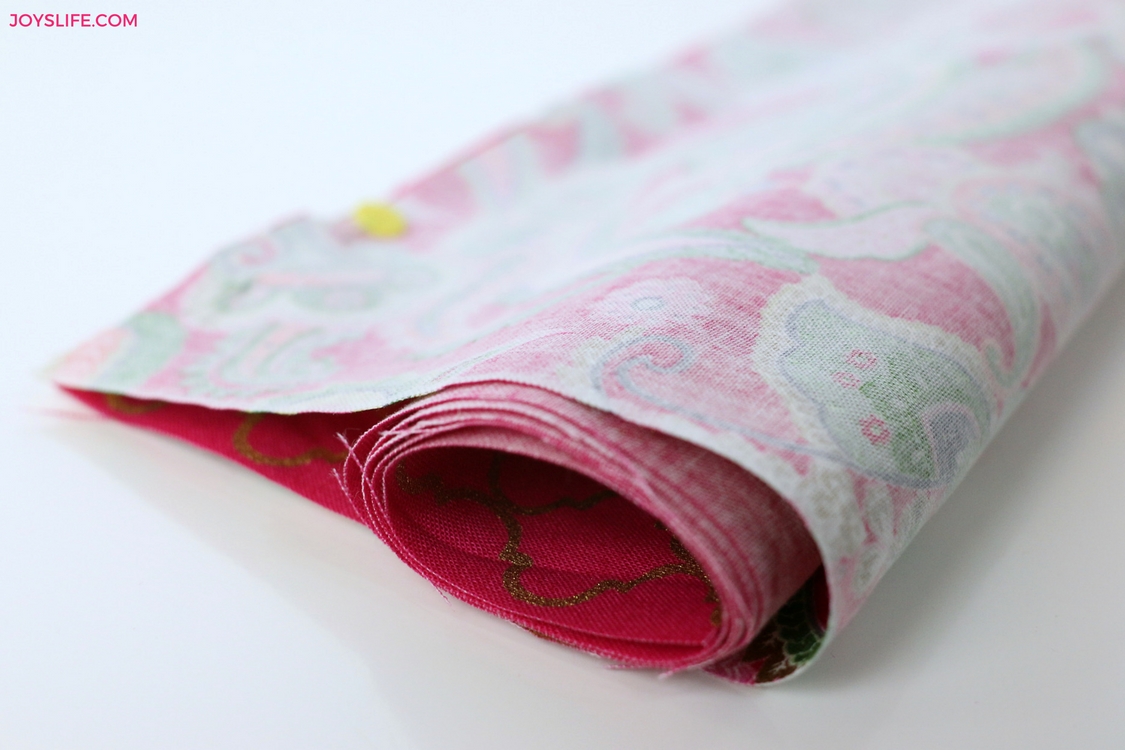
Your pillowcase layers should look like this. The body is rolled up inside the cuff and the layers are pinned at the top. Now it’s ready for sewing!
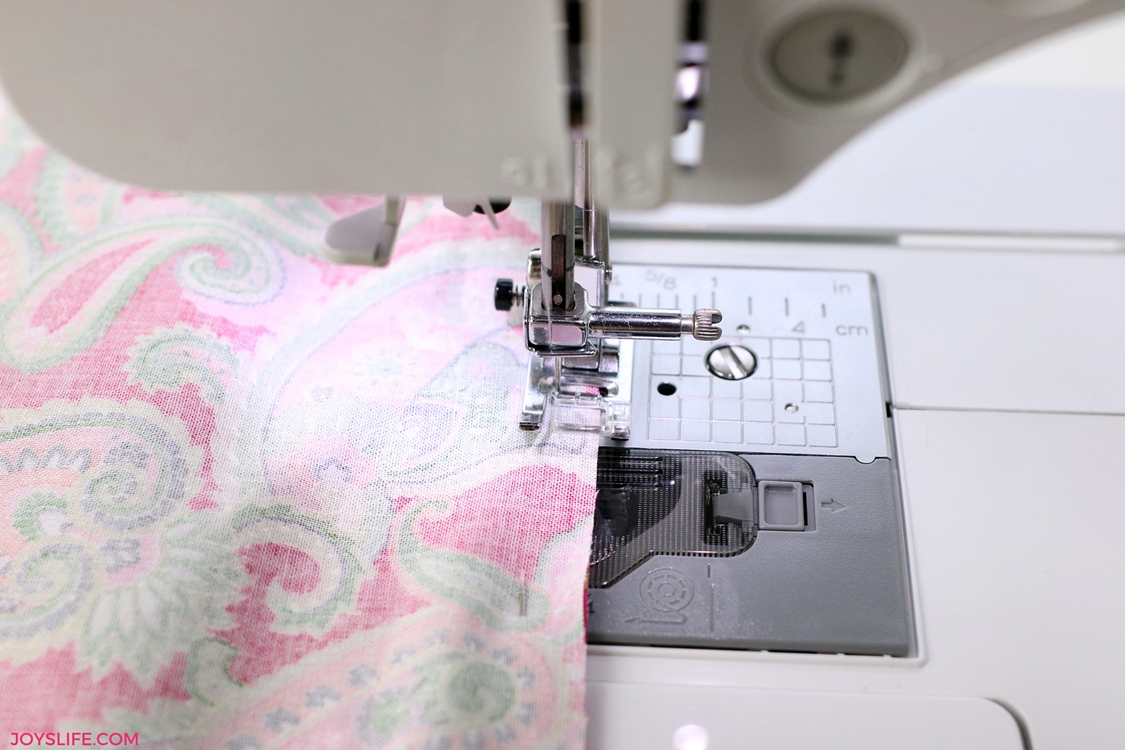
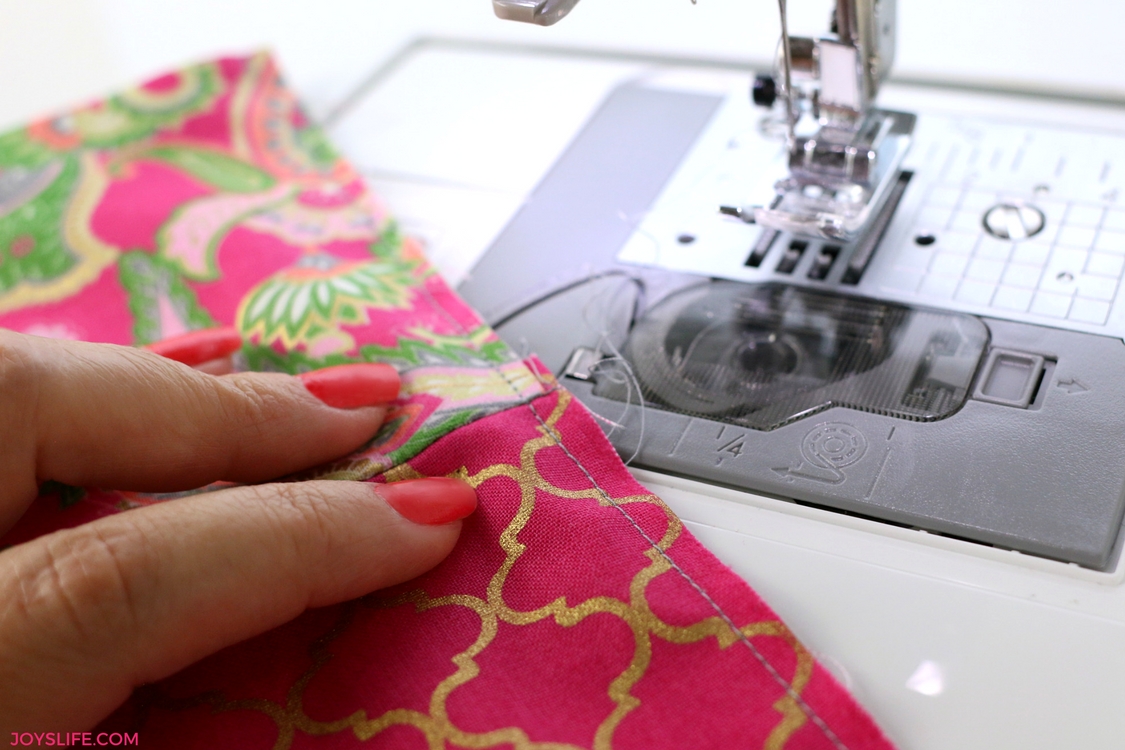
Step 5 Sew the Cuff
Sew a 1/4″ straight stitch seam along the pinned edge.
Backstitch at the beginning and end.
This is the amazing part! You’re about to see your new pillowcase for the first time!
Step 6 Turn It Right Side Out
Carefully pull the body fabric out of the sewn tube you’ve created. Marvel at your genius!
This is the part where it feels like magic.
Step 7 Prep for Side Seams
Turn the pillowcase so the wrong sides are together.
The “wrong” sides are the ones where there is no print or less vibrant print on the fabric.
Match the cuff edges together, so you don’t sew it all wonky.
Pin at the cuff and wherever needed to keep it in line.
How to Sew French Seams for a Pillowcase
We’re going to create a “French Seam” now. It’s not as scary as it sounds. You’re basically just hiding the stitches and creating a much stronger pillowcase. These stitching steps will help your pillowcase hold together in the wash.
Step 8 Sew First Seam
Sew a scant 1/4″ seam along the side and bottom.
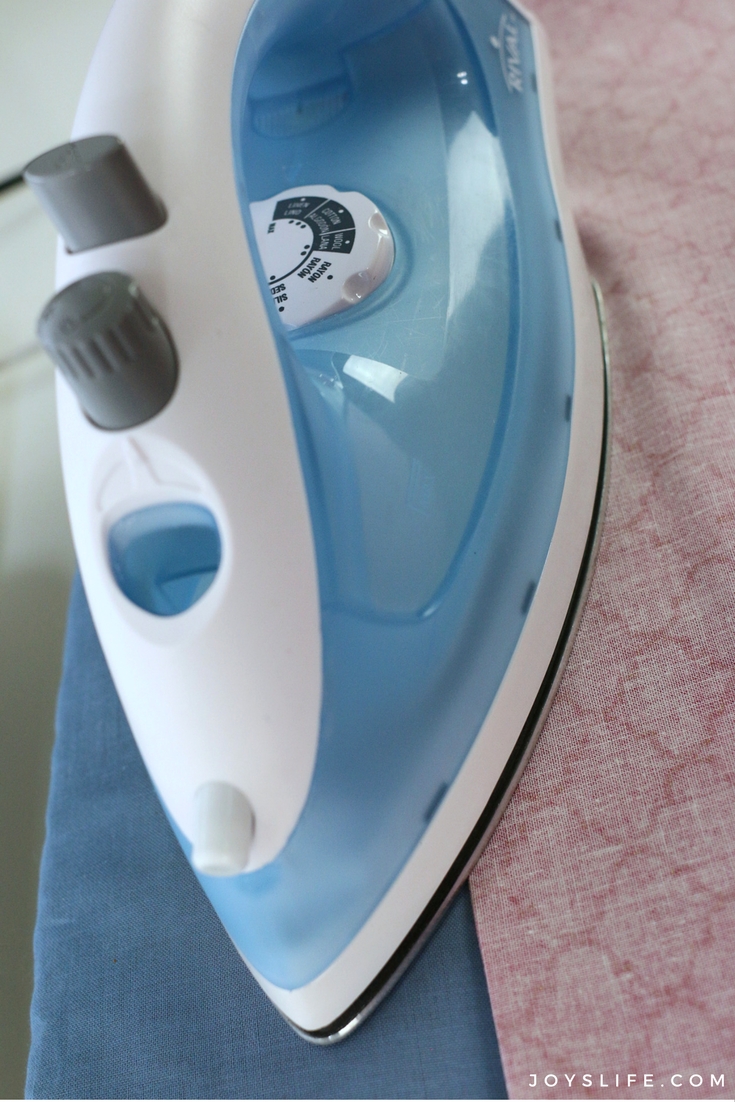
Step 9 Turn and Press
Turn the pillowcase wrong sides out and press the seams flat.
This will help you find the edges of your “scant” 1/4″ when you’re sewing your next seam.

Step 10 Sew Second Seam
Sew another quarter inch seam along the side and bottom to enclose the raw edges.
Important! When you’re sewing this 1/4″ seam you want to make sure you’re not catching the previous seam. If you need to be more generous with your 1/4″, that’s ok! Just make sure the previous seam is getting tucked into and hidden by this one!
This creates strong, clean French seams that hold up in the wash.
Step 11 Final Press
Press everything flat.
Your custom pillowcase is finished and ready to use.
Quick Tip for Faster Pillowcase Sewing
Want to sew a pillowcase in record time? Use a serger! If you’re new to serging, check out my Beginner Serger Class Recommendations for easy ways to learn essential serger techniques. I use a Bernina L890 serger, but these beginner serger projects work with most machines.
Your Custom Pillowcase is Complete!
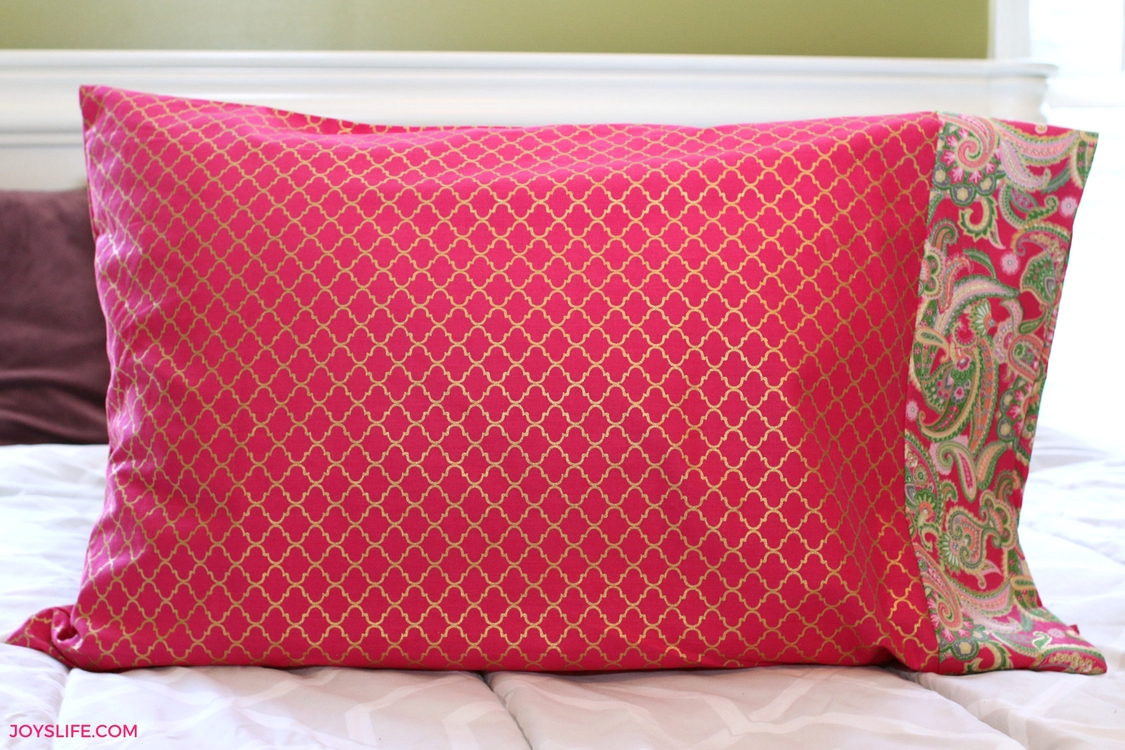
When you’re done, you’ve got a beautiful new pillowcase, custom made!! I LOVE MINE!
Want to try another quick and practical project? If you have a serger, check out the Speedy Serger Shoe Bag a beginner friendly project that’s perfect for learning basic serger techniques while making something useful for travel or storage.
Helpful Tips for Better Results
- Choose high quality cotton fabric for durability
- Press your seams as you go for a cleaner finish
- Line up the cuff edges carefully before sewing
- Make sure your second seam fully encloses the first
More Easy Pillowcase Projects to Try
Need a super quick sew? My Simple Envelope Pillowcase Tutorial walks you through a fun beginner project.
Looking for seasonal fun? These Halloween Vinyl Pillowcases are a Cricut project with big holiday impact.
If you’re ready to take it up a notch, try making quilted pillowcases for added texture and a more detailed finish.
In the mood for a makeover? See how I gave a chair (and pillow) new life in my DIY Chair Makeover.
Need a better fit? My How Much Fabric for Pillowcases – Easy Formula shows how to measure and cut fabric for perfect pillowcases, whether your insert is feather, polyfill, or quilted.


You are really making me wish I knew how to sew! That pillowcase looks great #client
I have made a lot of these and they are so easy to make and so much fun, especially when you pull the main part out from the border. You’ll wonder how did that ever work. Most of the time I also put a coordinated piece of material about 3″ wide between the border and pillow case as a little trim which also looks nice. The 3″ piece gets folded, wrong sides together and layered with the raw edges toward the top between the other two pieces. I think I need to start sewing again!
Bunny, I totally agree! I just started making a pillowcase like the one you mentioned. They’re so cute like that too! I’m going to make some more pillowcases for Christmas presents. I can’t believe how excited I am about it. Sewing is so much fun!
Glad to actually see instructions for these cases, I do want to add the extra color between the cuff and case, very professional looking. Will make some team color cases.
Hi LouAnn! I’ll share a tutorial in the next few weeks for making some with the color in between the cuff and the case. I’m with you, I wanted to make some team colors! 🙂 I made some Alabama ones. They turned out really well, except that I accidentally embroidered in the middle of the cuff fold prior to assembly. Ugh! It was awful. I had to take the embroidery stitches out of three pillowcases. It took longer than the actual embroidery. LOL! Have fun with your pillowcase making!
Love the beautiful fabric as well. Would you give us the name or brand name? Thanks so much.
Hi Barbara! I fell in love with that fabric in Joann! I think the name of the paisley one is: Buttercream Olivia Collection Cotton Fabric Paisley Metallic Gold Metallic. (UPDATE 2025 no longer available, sorry). I hope you can find a good match!
How does that Metallic design feel on your face? I just can’t imagine sleeping on that!
It feels completely smooth! I was pretty amazed with this fabric. It washes well too.
I make them for Christmas and use them to wrap gifts. Recipients get two gifts!
That’s the best way to give them! 🙂 My mother in law gave us some that way, and I thought it was so smart…and so sweet! You’re so thoughtful to give them this way!
I’ve made many of these pillowcases in my one year of sewing and love it
Your fabric is beautiful. Where did you purchase it?
Thanks for the easy to follow directions and pics!
Thank you for your sweet comment, Donna! I bought that fabric at Joann a few years ago. Happy sewing!