This shop has been compensated by Collective Bias, Inc. and its advertiser. All opinions are mine alone.
With the arrival of Spring and all the great weather that the coming months promise, getting outside and enjoying those days is definitely on my calendar. I’ve turned over a new leaf these past months. I quit drinking soda. That’s my biggest leaf so far, haha. I always thought that it would be impossible for me to do that, but in October, I just quit. It’s been water and non soda drinks ever since. I’m glad I decided to do that because it had a huge positive effect on my whole family. We’re water based now! I feel a million times better and I also feel good about modeling better habits. The next thing I have to tackle is exercising consistently. In that realm, my kids do a better job than I do. So, that led me to think of things I can do that will get us all outside, especially me, to get more active. We have a lot of parks and places to hike in our area, so I thought making a blanket, for picnics or enjoying other outdoor activities where you might need a place to sit at some point, would be a great idea. Here are some tips to help you make a picnic blanket!
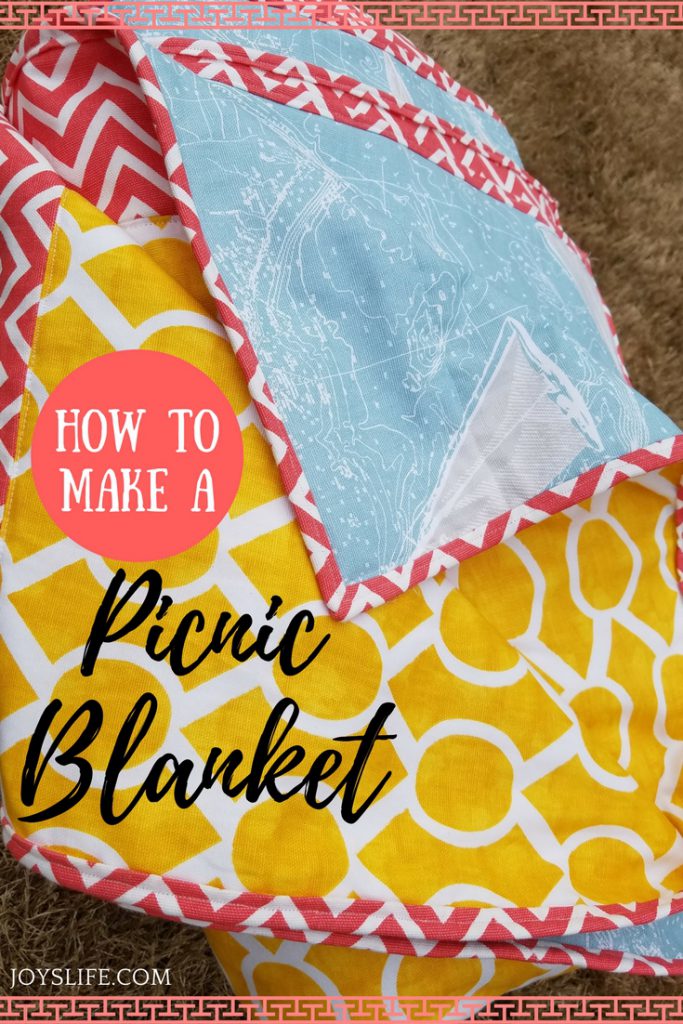
How to Make a Picnic Blanket
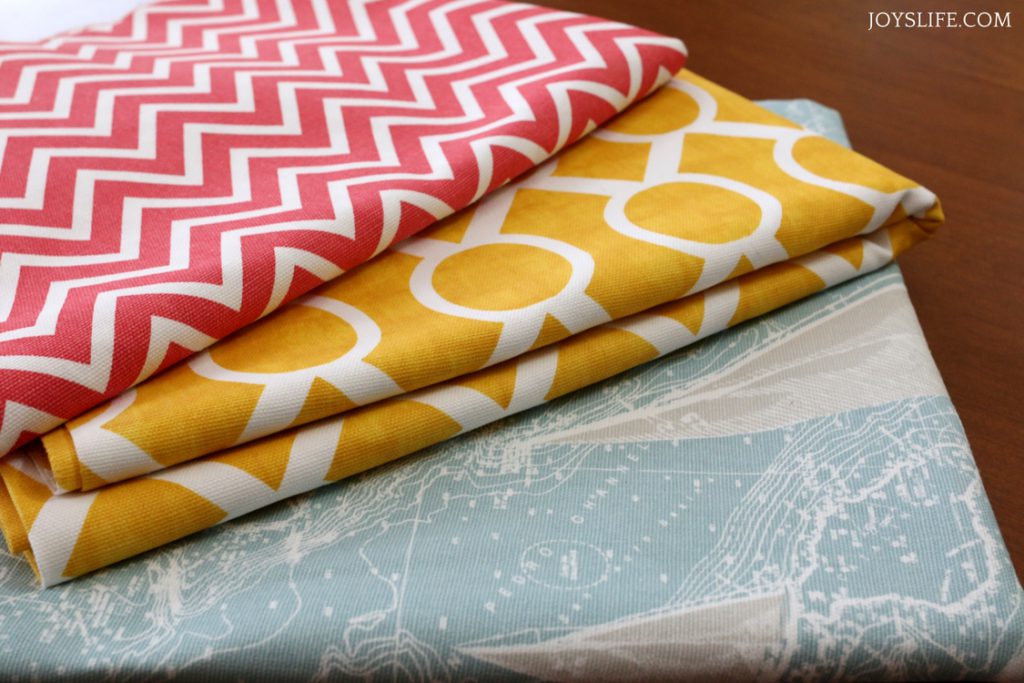
Choosing the Fabric
First, you need to choose your fabric. There are a lot of options, but I suggest something durable, like duck cloth/canvas, that’s what I’m using. If you want it to be waterproof, or water resistant, you should use laminated cotton fabric, oilcloth or tablecloth vinyl. TIP: Want to keep this super easy? Sew two vinyl tablecloths together. Yep. You’d be done right there. So, why didn’t I do that? I wanted something that I could wash in the washing machine and I actually made this one with my daughter in mind. These are fabrics that we picked out together. Lastly, this was pretty much all that was available in my local craft store, that wasn’t hideously ugly. The truth comes out. LOL!
Supplies: You’ll need fabric for the back and front (and for the binding if you’re adding one), a sewing machine, thread, scissors, seam ripper (just in case), rotary cutter, measuring tape, safety pins, quilting pins, ruler, painters tape and a self healing cutting mat.

Problems? Get Creative!
I decided to make this picnic blanket 2 yards (6 feet) x width of fabric. I ran into one problem. There was enough of the sailboat fabric for the front, but the store didn’t have enough of the yellow fabric. If that happens to you, it’s a blessing in disguise. Really! This is where you can get creative!
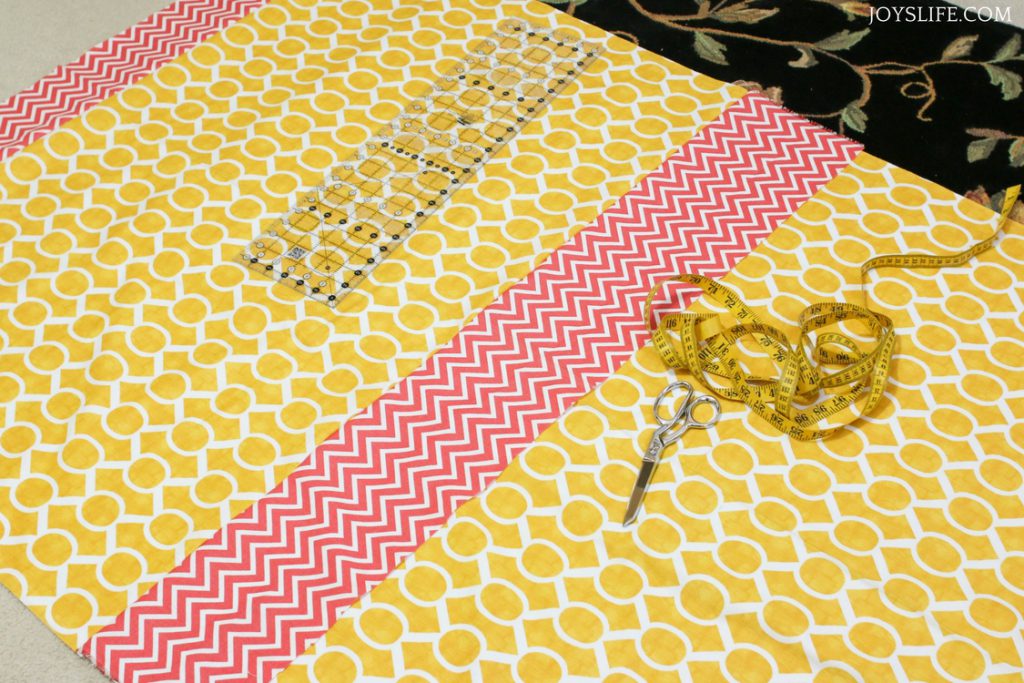
I decided to cut the yellow fabric in half and add in the chevron red fabric that I wanted to use for my binding. That meant that I had to get more of the chevron red fabric, but that was no problem…it actually solved my problem! So, don’t let anything stop you. Think outside the … blanket.
What size should you make the blanket? I decided to make mine 6 feet long (2 yards) x the width of the fabric. The width of fabric varies depending on the kind of fabric you purchase. Make it as big as you need!
Blanket Sandwich – Tape It To the Floor
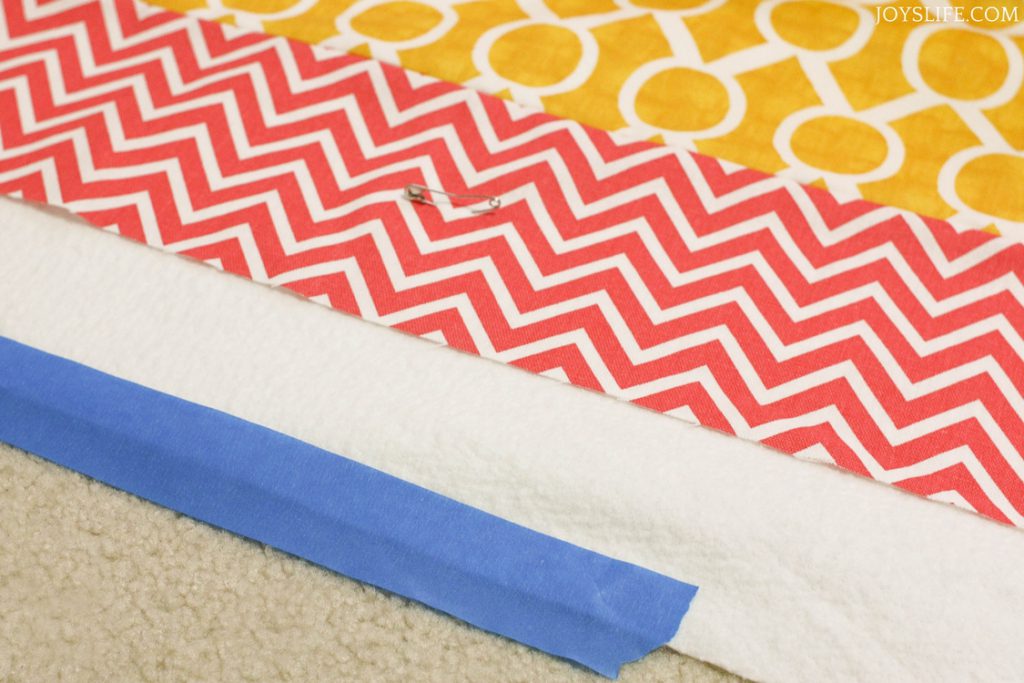
When you’re ready to put your blanket together, put one side of the fabric face down (right side down) on the floor. (My blue sailboat fabric is already RSD under this batting.) Lay the batting, that’s the part that goes in between the layers, on top of the first piece of fabric. To keep it in place, tape the batting to the floor using painters tape. Lay the top fabric face up over the batting.
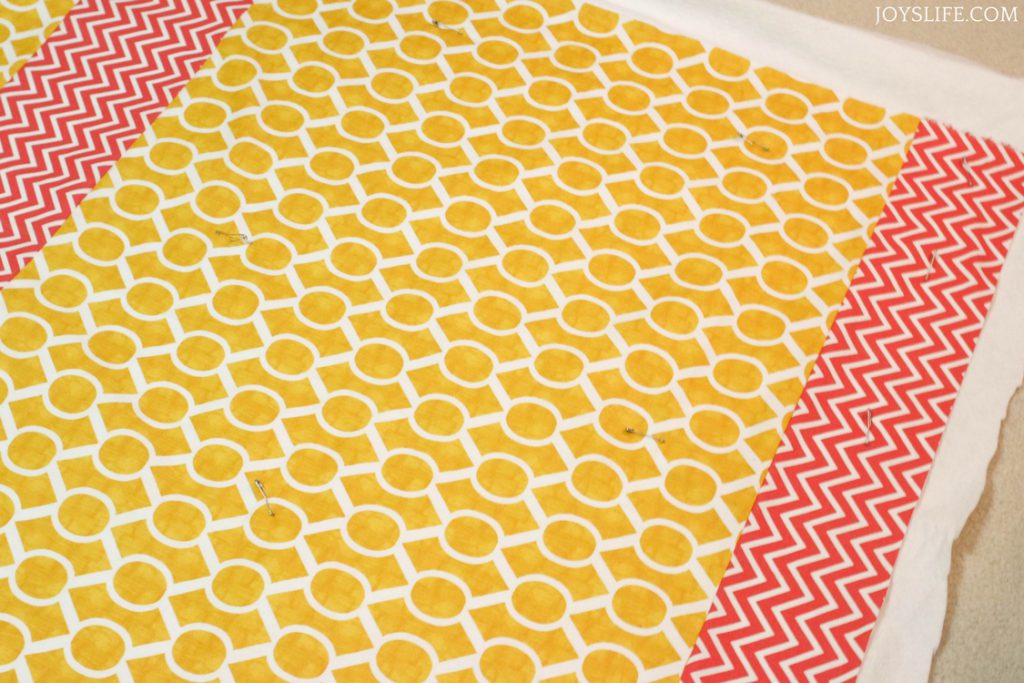
Use the safety pins to pin all of the layers together. Pinning the pieces keeps everything in place. Place pins a few hand widths apart. Try not to pin the floor. TIP: If you have a really large cutting mat or a non carpeted floor, that’s the best place to do this.
You can quilt using simple lines or as intricate a design as you can make. After quilting, trim away any excess batting and prepare to bind the blanket/quilt.
Add Binding – for a pretty finished edge
First, I squared my blanket by drawing lines across the tops and sides of the fabric using a long ruler. I followed those lines when sewing on the binding. I cut the red chevron fabric to 2-1/2″ strips to create a 1/4″ binding. Are you new to adding binding? I am! So, I still refer to tutorials when I need help. TIP: I collected some helpful binding information and videos in this post if you need help.
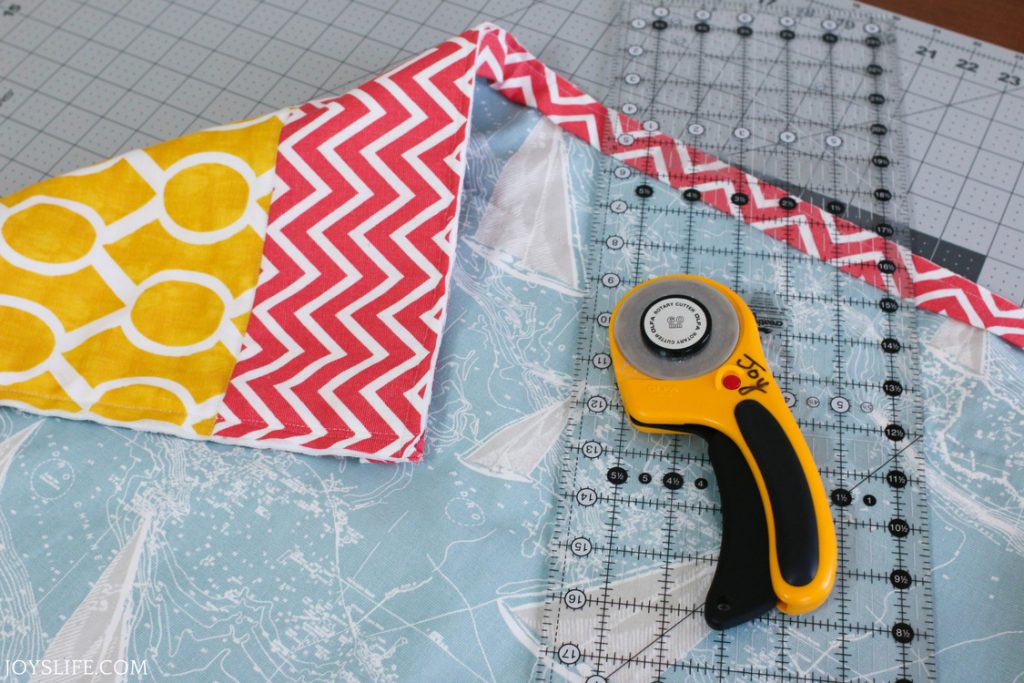
After adding the binding to the front, trim the edge flush with the binding. Be careful not to cut the binding, especially at the corners! Fold the binding over and sew it according to the binding tutorial.
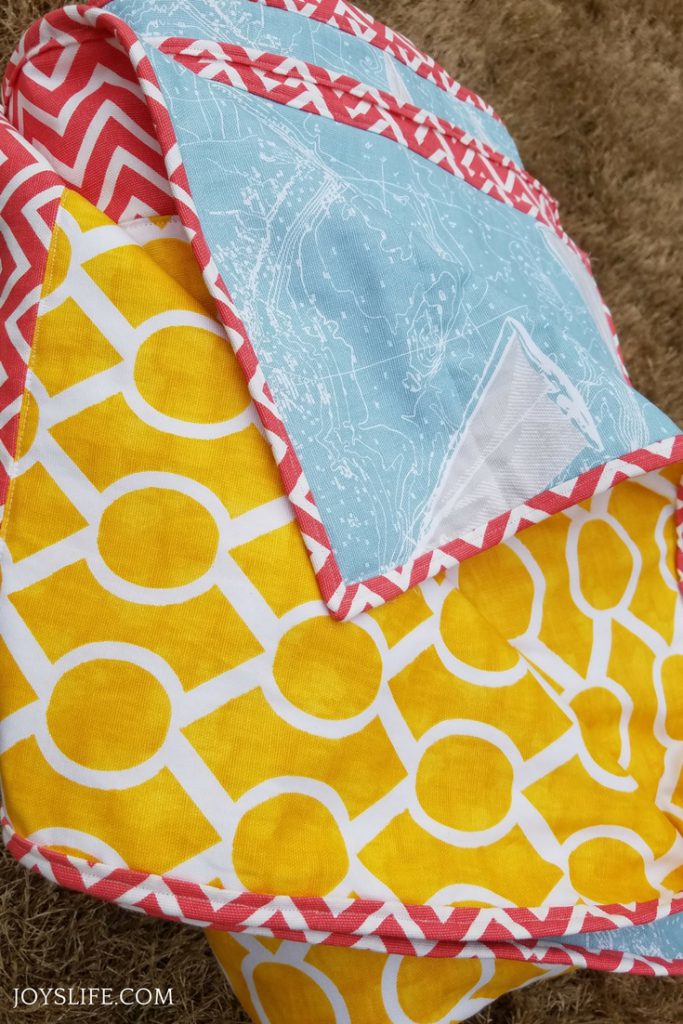
I’m so excited to have this blanket…even though I think I’m going to have to make another one right away. My daughter wants to use this one to take outside at school for studying. She graduates from college soon, and has plans to take this blanket for watching fireworks as well as picnics this summer. I’m so glad it’s already loved and appreciated!
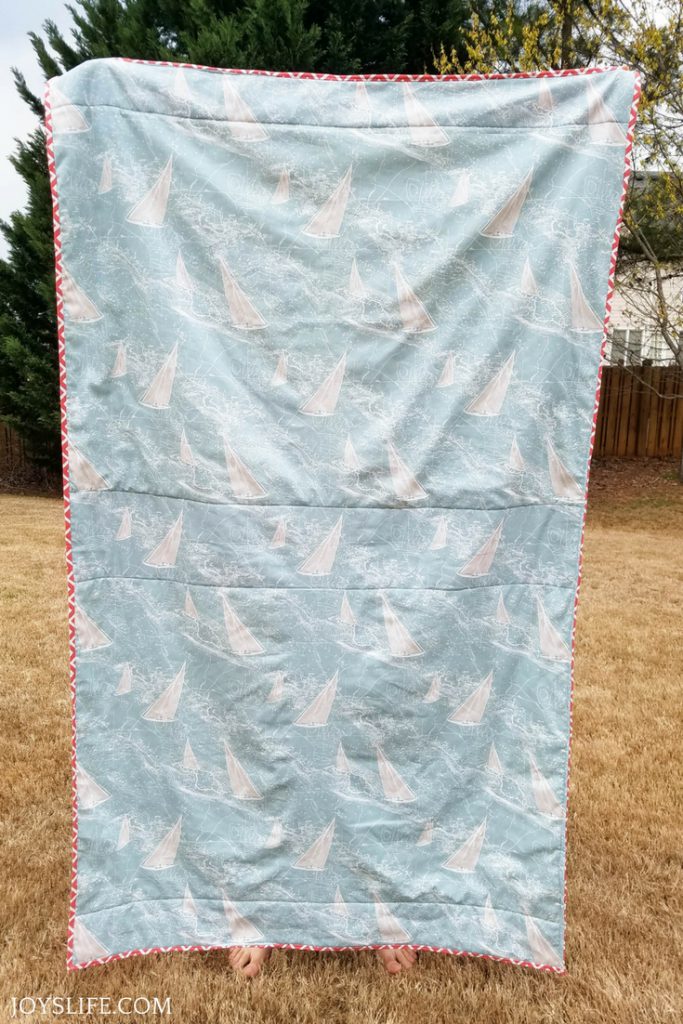
My son did me the favor of holding this up. Here’s the front!
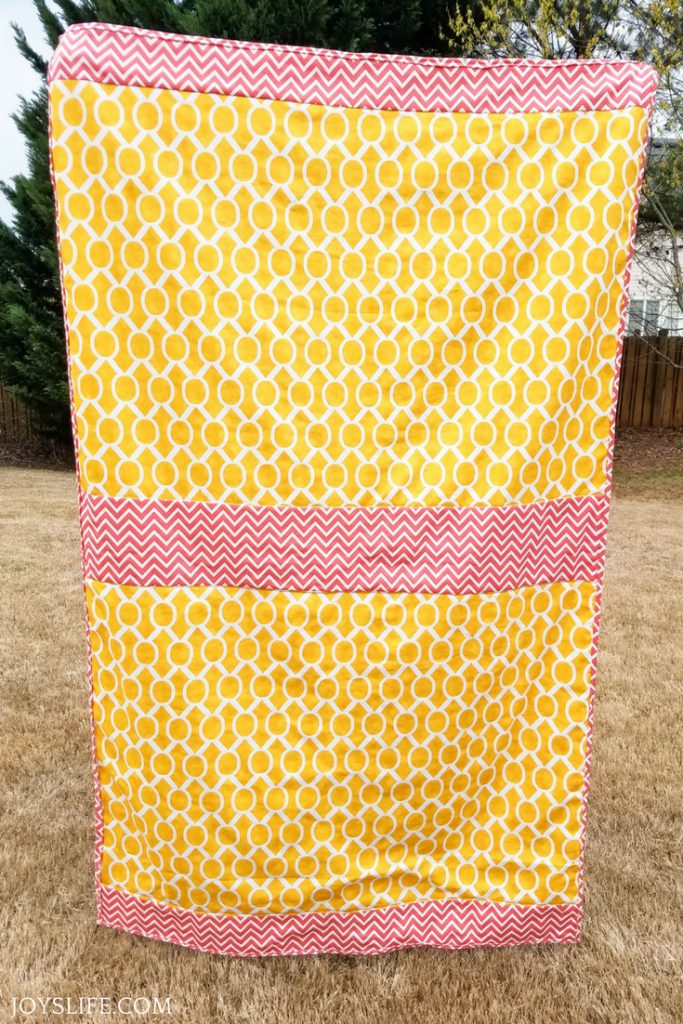
It doesn’t look even in these photos, but it is! Thank goodness…and rulers.
Have a blast making your picnic blankets!


I need to sew a pretty picnic blanket! Thanks for the easy to follow tutorial. #client
Great tutorial what sewing machine is required for something like this ?
Hi Zoe, I was using the Juki 2010q, but most sewing machines can handle this. Happy creating!