Looking for an easy way to update your home decor? This is it! I made a simple envelope pillowcase for throw pillows, and it turned out to be the perfect beginner-friendly project. Whether you’re new to sewing or just want a quick fun project, this tutorial shows you how to create custom pillow covers without the stress of zippers or complicated techniques.
Why Make an Envelope Pillowcase?
Adding a custom envelope pillowcase is one of the easiest ways to update your home decor. Unlike zippers, this beginner friendly method is fast, forgiving, and budget friendly. You only need straight stitches, so it’s perfect if you’re new to sewing or want a quick weekend project.
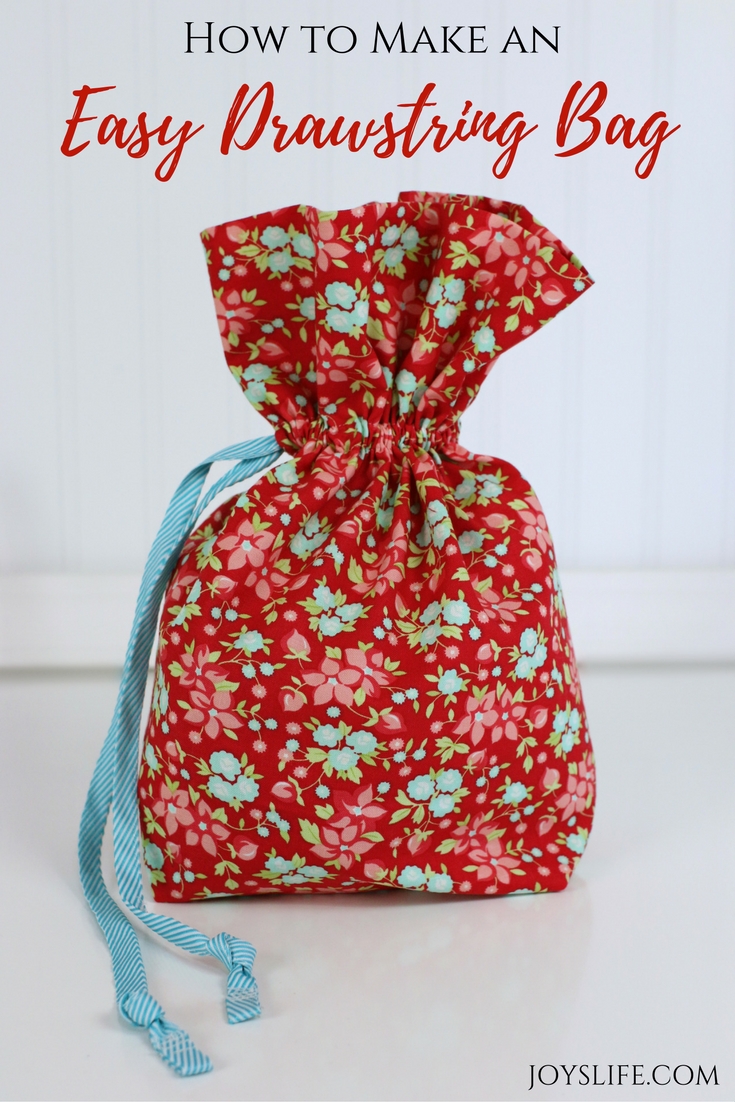
Looking for more beginner sewing projects? Try my Easy Drawstring Bag Tutorial for another simple, useful and even gift worthy idea.
Supplies You’ll Need
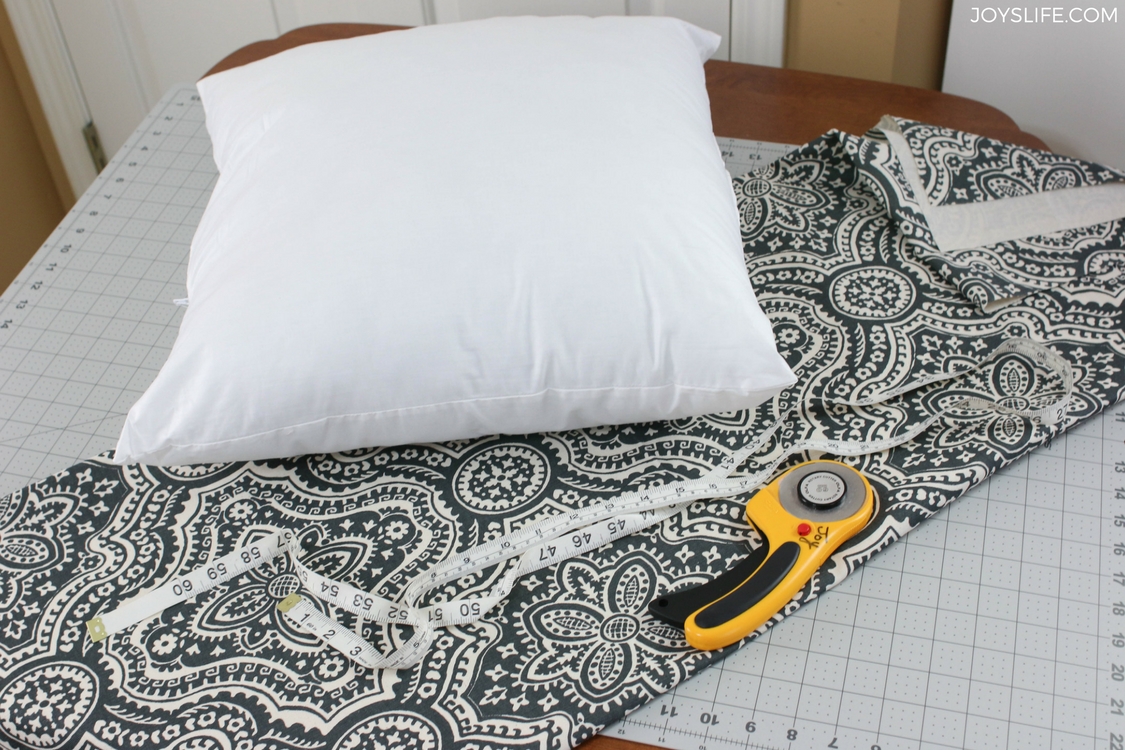
To sew a throw pillow envelope cover, gather these basics:
- Pillow forms (this tutorial uses 20″ x 20″)
- 1 ½ yards of fabric (Duck cloth fabric works well for this project. 1 1/2 yards is enough for two covers.)
- Self-healing cutting mat
- Rotary cutter or sharp scissors
- Measuring tape
- Sewing machine + thread
- Ironing board and iron
- Optional: 1/4″ foot and 1/2″ foot for more accurate seams
Tip: If you love organized sewing rooms, you’ll also want to see my fabric scrap storage solution.
If you’re like me and have a tough time keeping your seams accurate, you might also like to get a 1/4″ foot and a 1/2″ foot for your sewing machine. Keeping an accurate stitch is important in most projects, but in this one, you’re going to get a really good result even if everything isn’t perfect. This is a simple project where you’re just using a straight stitch, so don’t worry!
I bought a yard and a half of duckcloth to create two pillowcases (and I had a little left over), but I’ll tell you how to get the measurements you need for a single pillow.
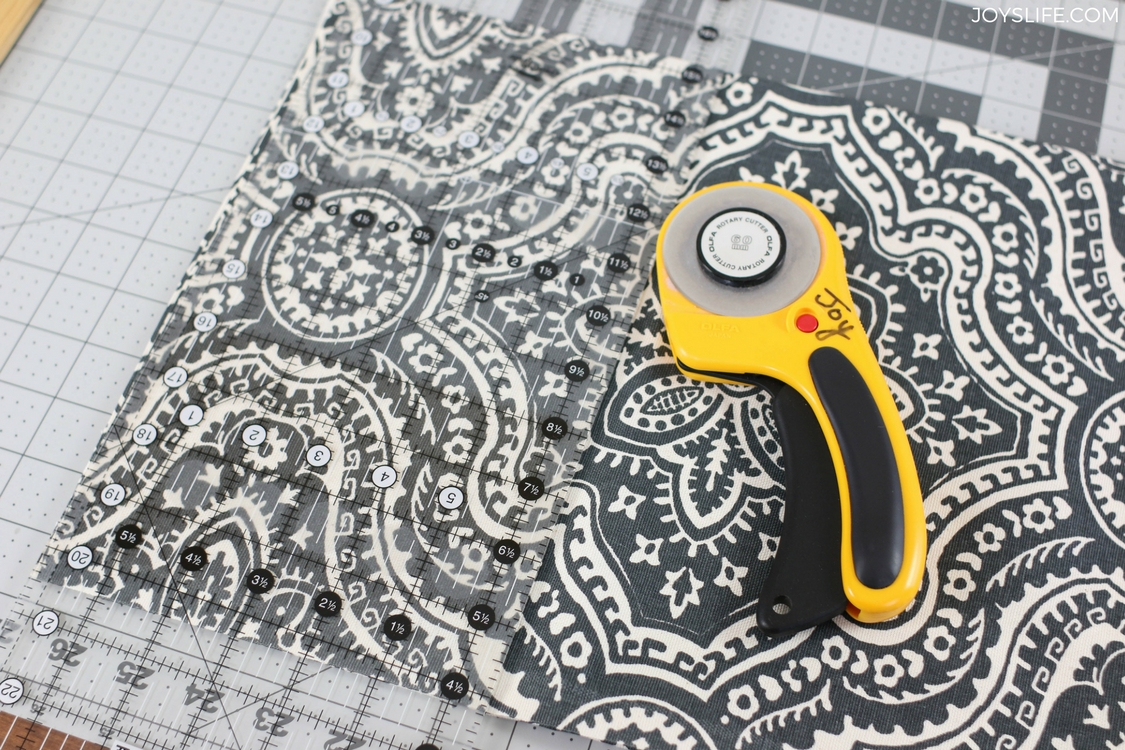
How to Measure Fabric for Envelope Pillowcases
For one 20″ x 20″ pillow form, cut your fabric to 20″ x 44″. (That’s 20″ for the pillow width. Next, multiply the pillow size 20″ x 2 for the length = 40″, add 4″ for hemming = 44″. You can use this formula with any square pillow, just adjust the 20″ for the size pillow you are using.)
Here’s the formula (works for any square pillow):
Pillow Width × 2 + 4″ (for hems) = Total Length
So for a 20″ pillow:
- 20″ (width) × 2 = 40″
- 4″ for hemming = 44″
- So, cut fabric to 20″ × 44″.
Step-by-Step Sewing Instructions

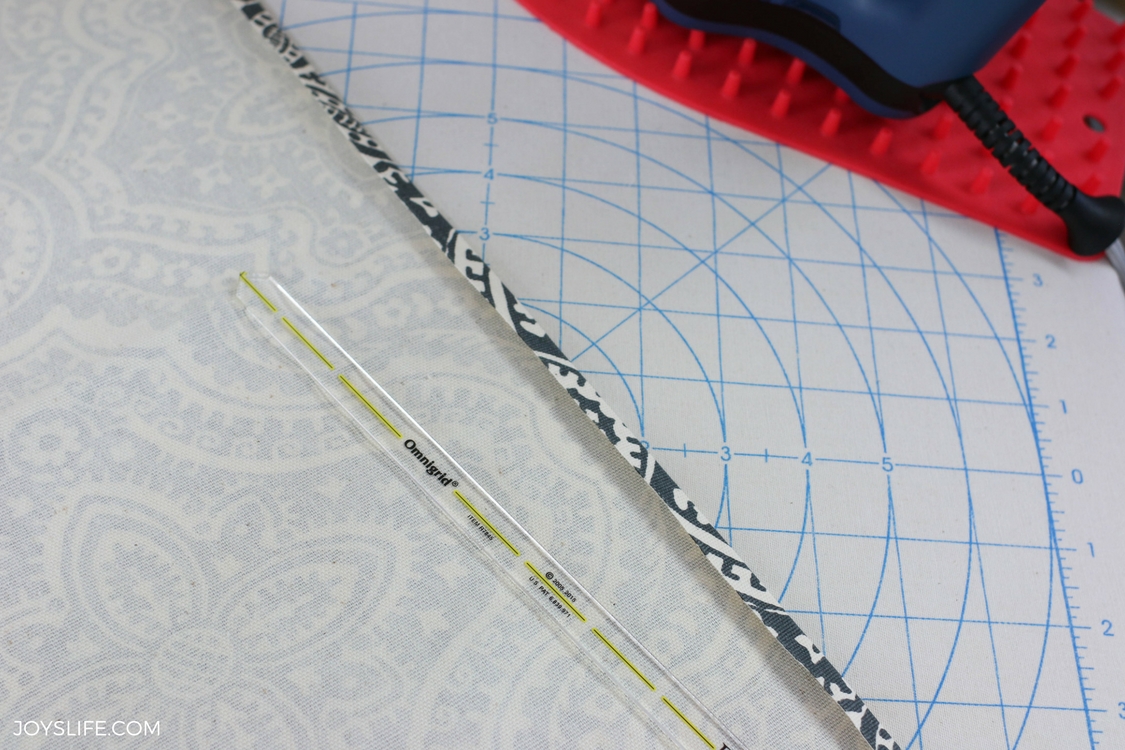
Step 1: Hem the Short Ends
Fold the 20″ edges under 1/4″. To help you keep the fabric folded for sewing, give it a quick press with an iron and stitch.
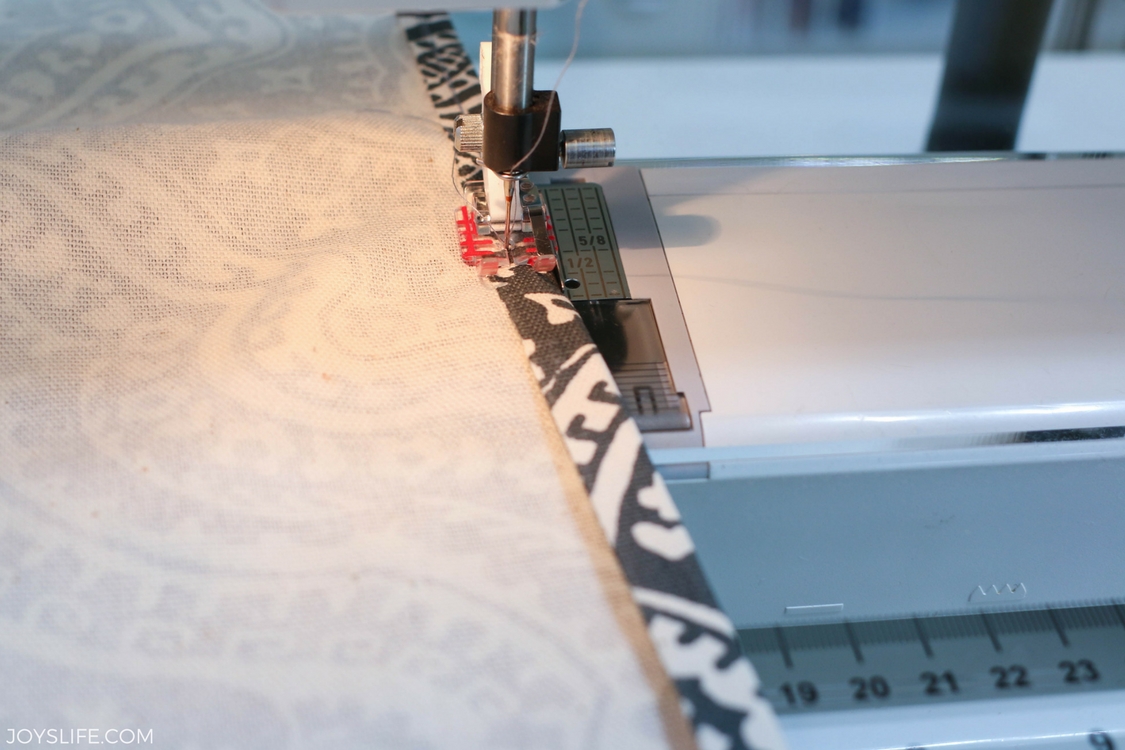
Fold again and sew another 1/4″ seam to hide raw edges. Doing this also adds strength to what will become the opening for inserting the pillow form.
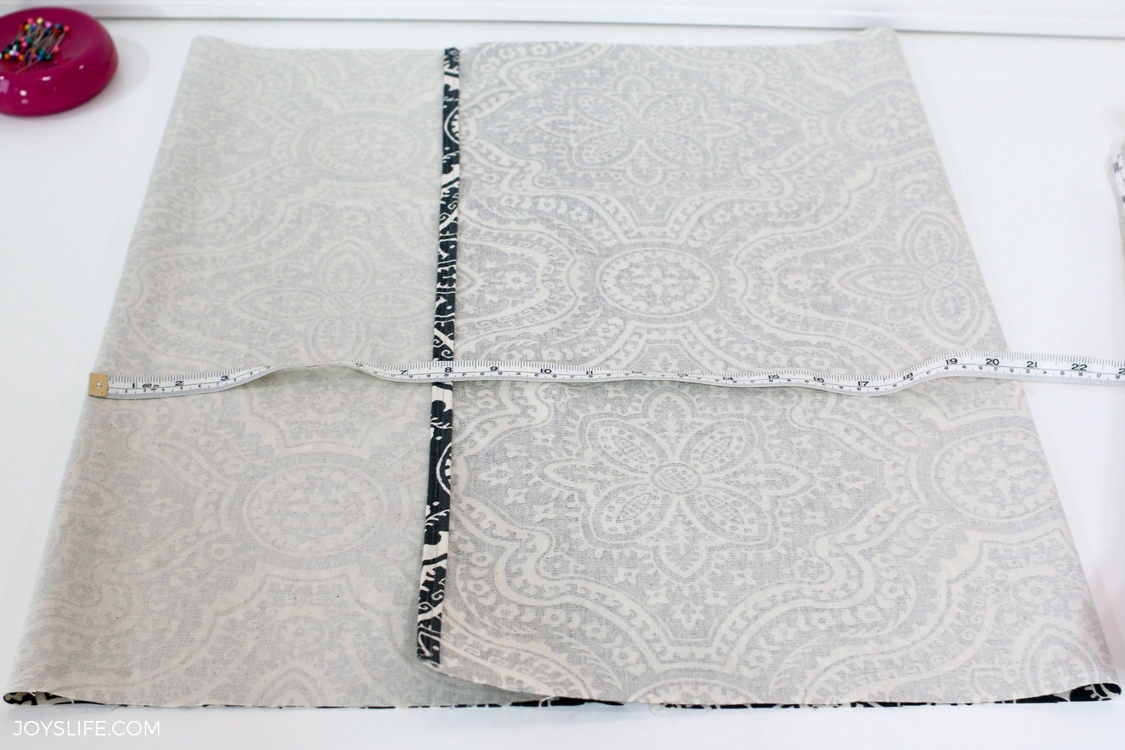
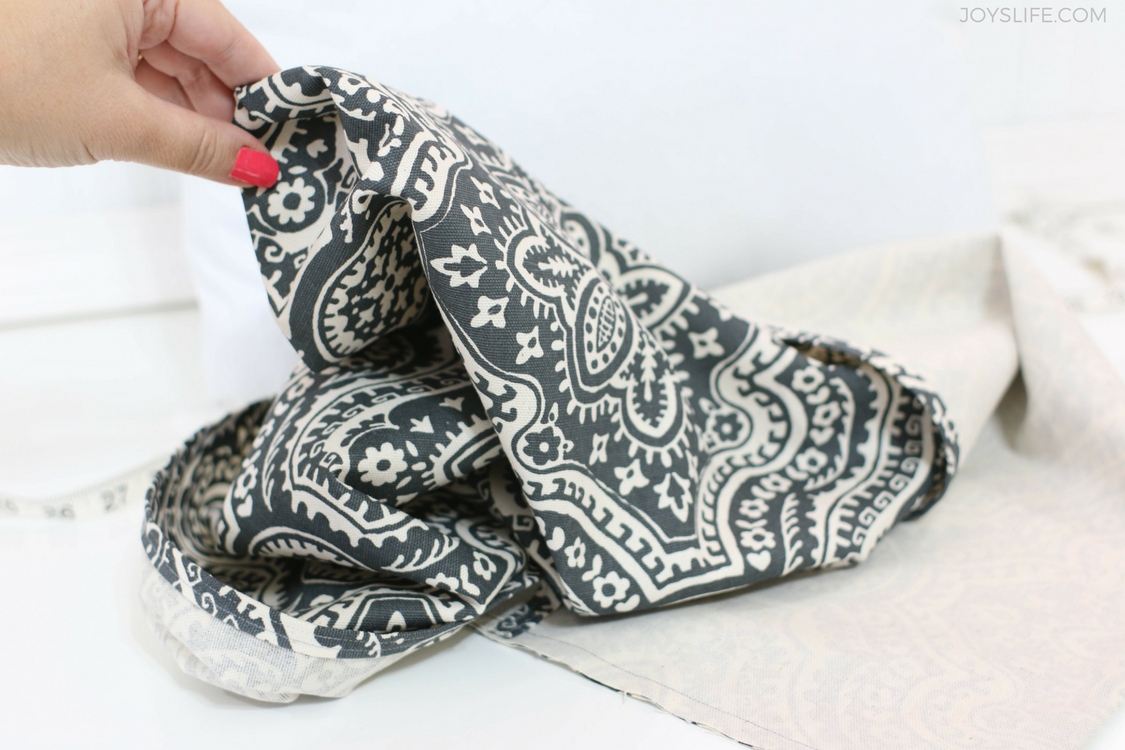
Step 2: Create the Envelope Overlap
- Place fabric right-side up.
- Fold ends inward so they overlap at least 3″.
- Adjust until the distance from side to side is at least the size of your pillow form, in this case 20″. (You can adjust your pillowcase for a squishy, not full pillow by reducing the size a little (here’s how!), but make sure that your case is big enough.)
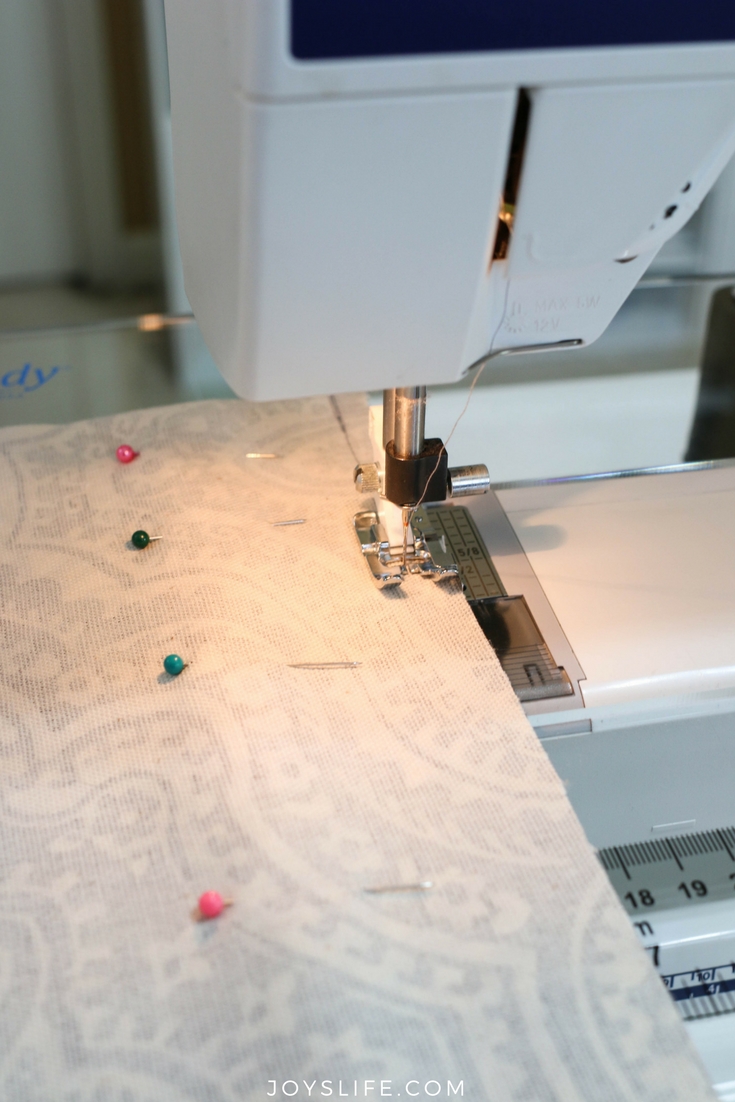
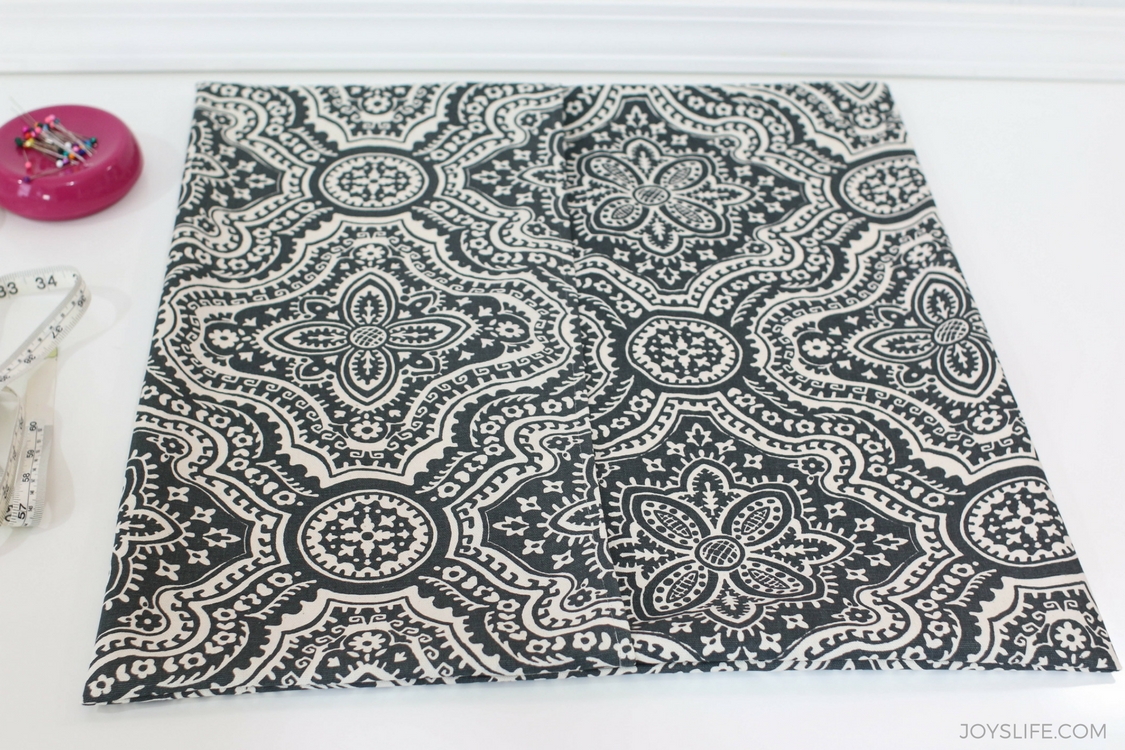
Step 3: Stitch the Sides
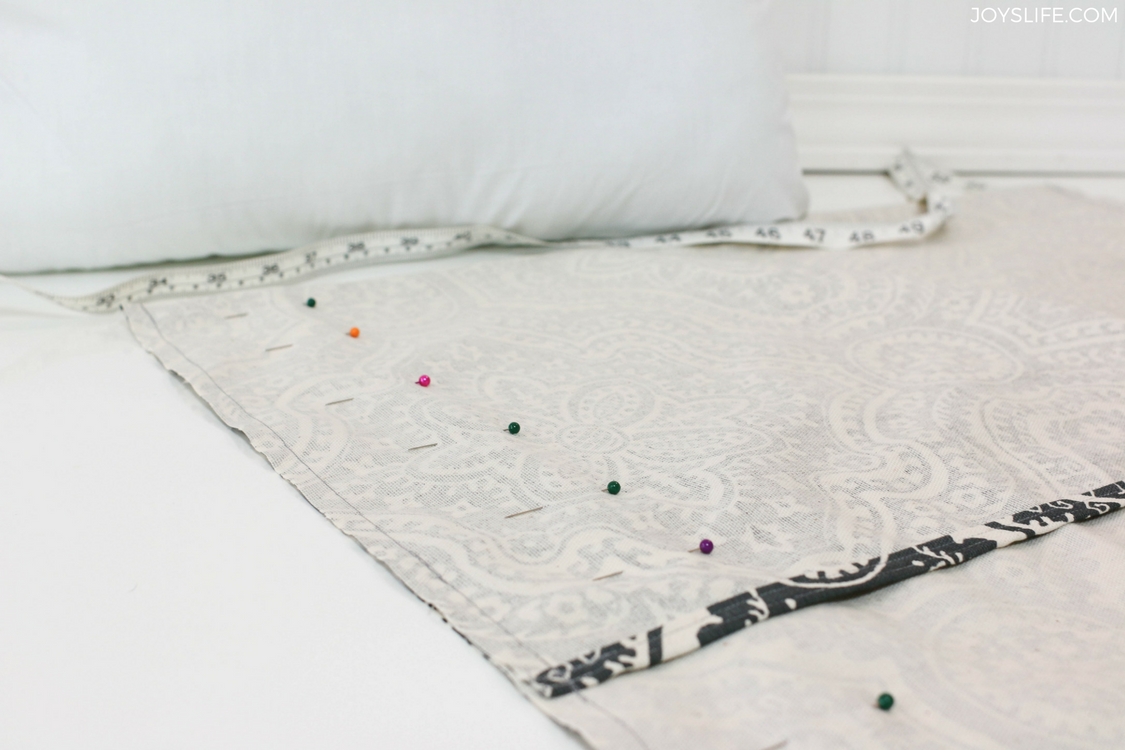
- Pin along both long edges.
- Sew with a 1/2″ seam allowance.
- Remove pins as you go.
Pin your pillowcase and stitch a 1/2″ from each unstitched edge.
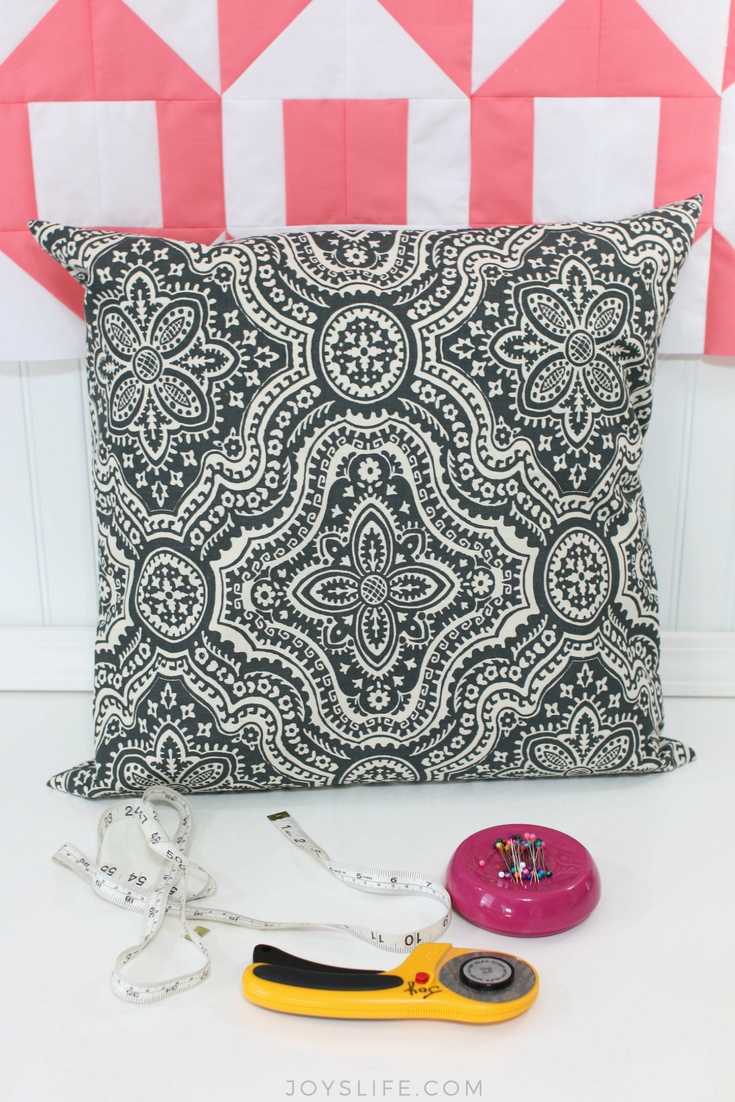
Step 4: Turn and Finish
- Flip the case right-side out.
- Insert pillow form.
That’s it your DIY envelope pillow cover is ready!
You just need to add the pillow form.
My favorite place to buy pillow forms is Crate & Barrel. I’ll be honest, the feather down filling has been inconsistent over the years, but I prefer a squishy down. It used to be very nice and full but these days is trending towards a little flat. I still shop there because the overall quality and size options work well for my sewing projects. I always buy a 20″ x 20″, if I’m not buying a totally different kind of pillow.
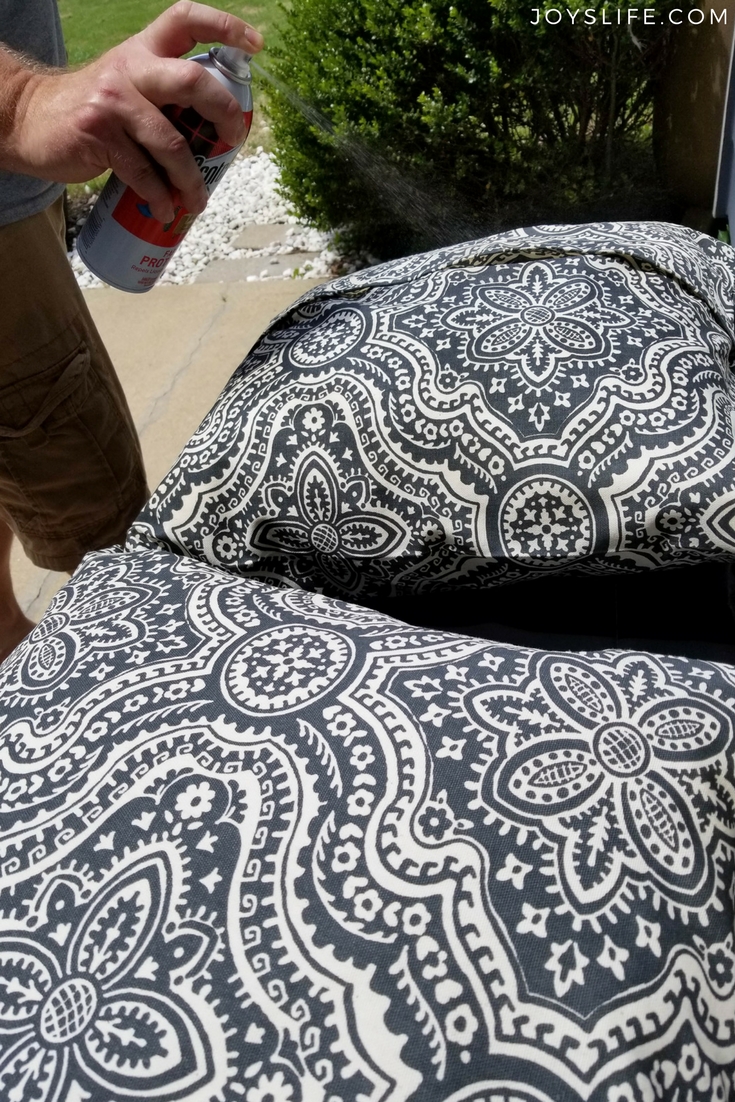
Protecting Your Pillowcases
If your pillows get daily use (pets, snacks, or Netflix nights), protect them with fabric protector spray. Two light coats keep them looking fresh and block stains.
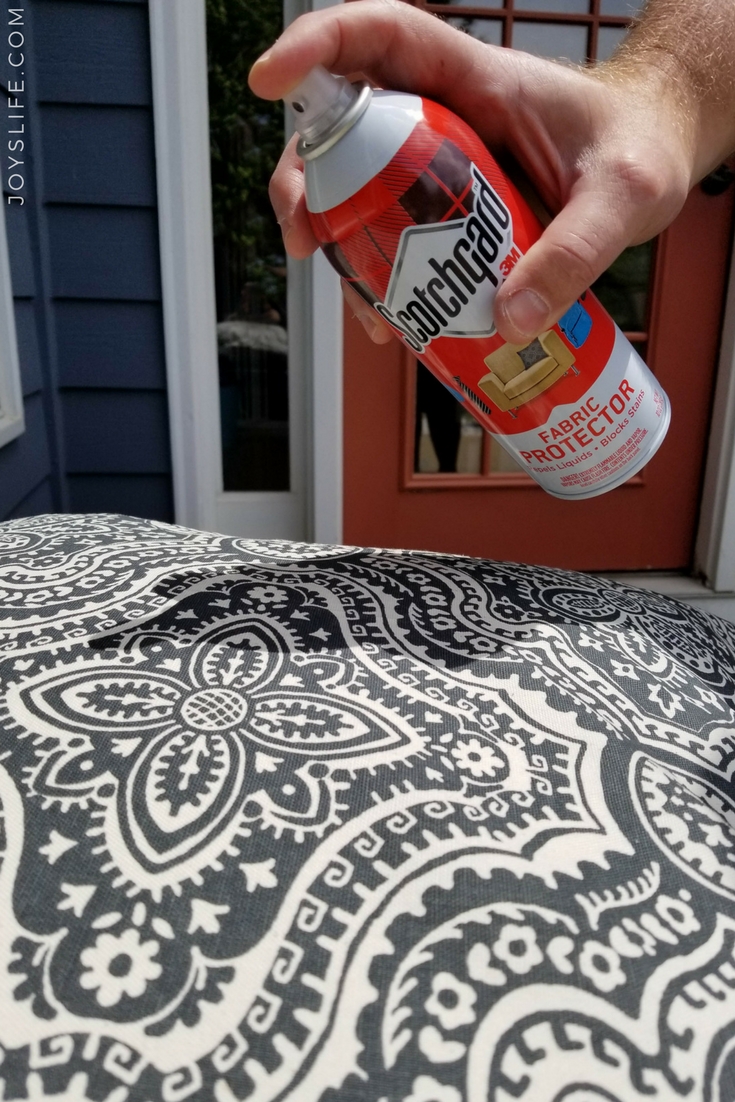
When you’re ready, hold the can upright 6″ from the fabric surface. Overlap spray using a slow, sweeping motion. Two light coats are better than one heavy coating. Allow it to dry between coats. That’s it!
Quick Tip for Faster Pillowcase Sewing
Want to sew pillowcases in record time? Use a serger. If you’re new to serging, check out my Beginner Serger Class Recommendations for easy projects that teach essential techniques. I sew with the Bernina L890 serger, but most machines work for these beginner serger projects.

You Might Also Like
- How to Make a Custom Pillowcase – a great project for practice and gifts.
- How to Make an Easy Drawstring Bag – a beginner favorite you’ll use again and again.
- Speedy Serger Shoe Bag – my very first project with the Bernina L890 serger.
- Fabric Scrap Storage Idea – simple storage to keep your sewing space organized.
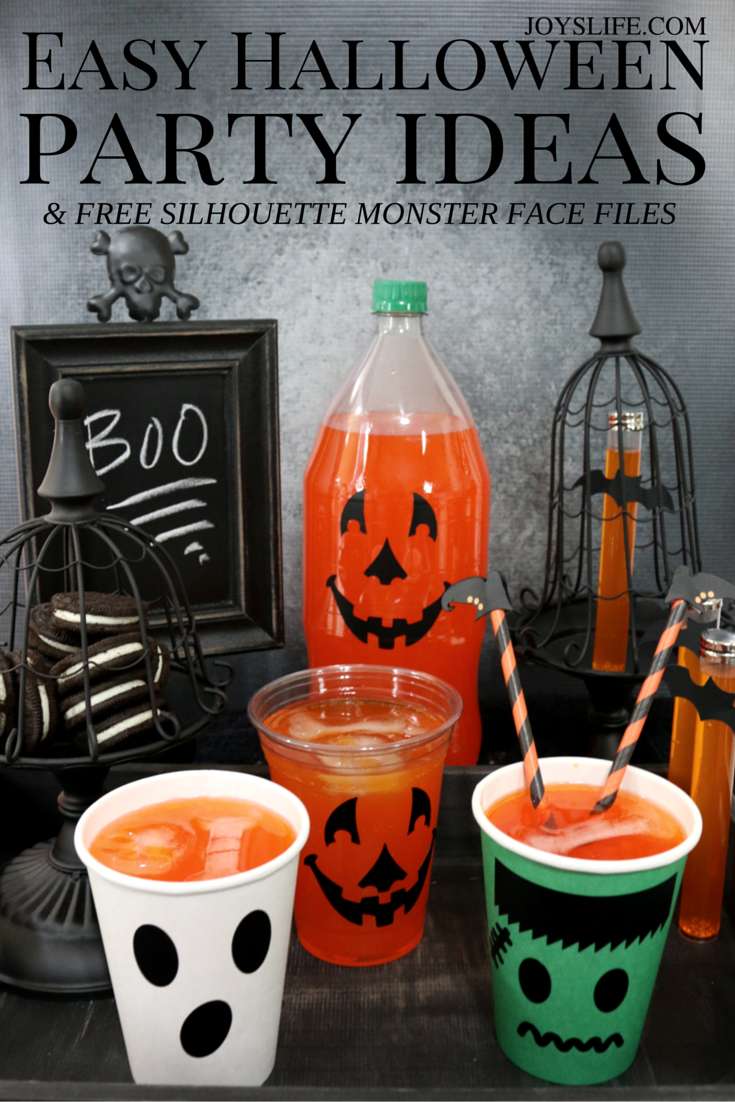
- Looking for seasonal fun? These Halloween Vinyl Pillowcases are a Cricut project with fun seasonal impact.
- If you’re in the mood for a makeover, see how I gave a chair (and pillow) new life in my DIY Chair Makeover.


If you will push a small amount of loose fiberfill in each corner before placing the pillow inside, it will take care of your dog eared corners and look more tailored. Great blog. Very easy to understand.
Great suggestion, Alicia! Thank you so much for the kind words too! 🙂
I love your idea and can’t wait to try it.
You explained it wonderfully.
Thank you so much, Jane! I hope you have fun making yours!
If your pillow form is 20″, do you need to add more than 20″ for width to allow for seams?
Hi Denise, I used using a 20″ pillow in this post. For one 20″ x 20″ pillowcase, you’ll need fabric cut to 20″ x 44″. That’s 20″ for the pillow width. Next, multiply the pillow size 20″ x 2 for the length = 40″, add 4″ for hemming = 44″. That’s how you get to 20″ x 44″. You can use this formula with any square pillow, just adjust the 20″ for the size pillow you are using. Happy creating!
Hands down for the so very comprehensive post. With the instructions being clear and concise it will have a any beginner sewer feeling like a professional sewist in no time!! I really wanna try it now but crocheting a couple of pillows, will definitely going to try this for my weekend project. I will subscribe to your blog for more posts like this.
xxx
Hannah
Thanks so much, Hannah! Oh wow, crocheting pillows! That will look awesome!