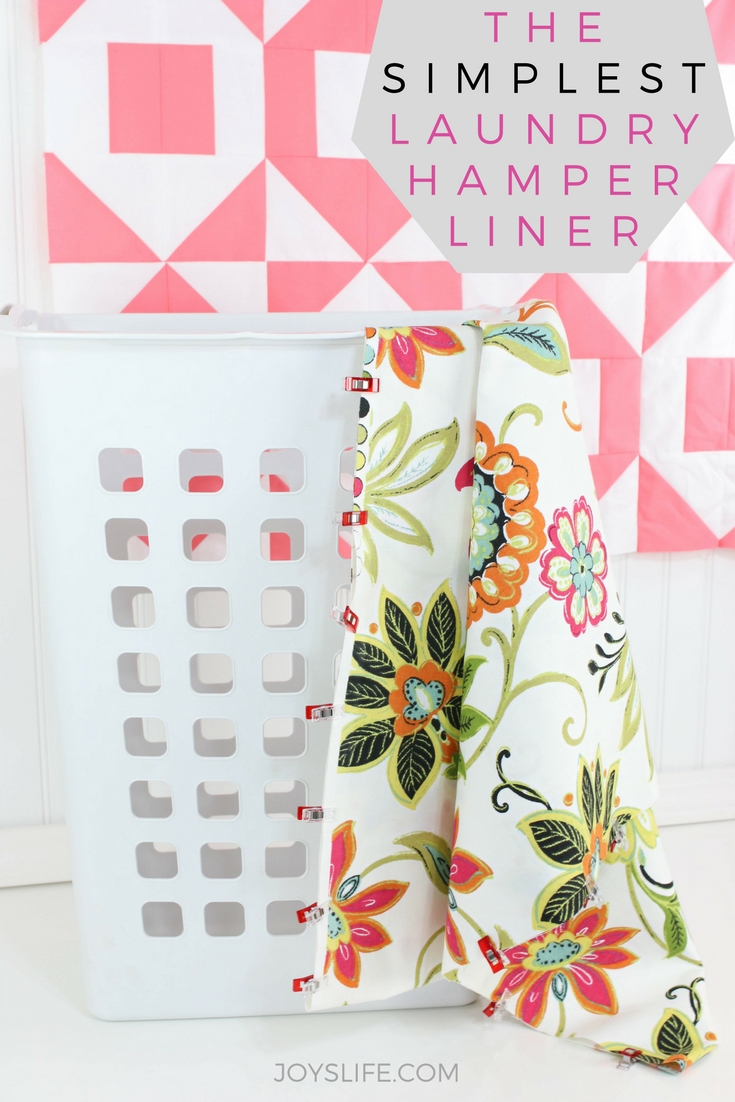
Looking for an easy way to hide laundry and keep hampers neat? This DIY laundry hamper liner tutorial shows how to sew a custom liner with just a few seams, perfect for beginners!
Why Make a Hamper Liner
Years ago, I bought about fifteen laundry hampers. One was for each bed/bath, a few for the laundry room and the rest lined a super long closet where my boys kept their toys. That long closet, and what seemed like a million Legos, is what sparked my need to make the simplest laundry hamper liner, ever. I should have purchased tall thin garbage cans to hold their toys in that closet, because garbage cans don’t have laundry breathing air holes in them that allow Legos to fall out causing untold pain to anyone who finds them with their feet, but I didn’t. Laundry hampers were on sale, so that’s what I got.
Back then, I didn’t sew much at all. Maybe I’d sew a straight stitch every few years, but that was it. So, I was pretty proud of myself when I came up with a hamper liner so simple that I was able to solve my problem with just a few straight stitches. No more escaping Legos! Flash forward to today, no more seeing dirty laundry through this hamper.
Supplies You’ll Need
- Fabric (duck cloth, canvas, or quilting cotton)
- Measuring tape
- Scissors or rotary cutter
- Sewing clips or pins
- Sewing machine
- Optional: Velcro, snaps, or buttons for a cuff/band
Step by Step: DIY Laundry Hamper Liner Tutorial
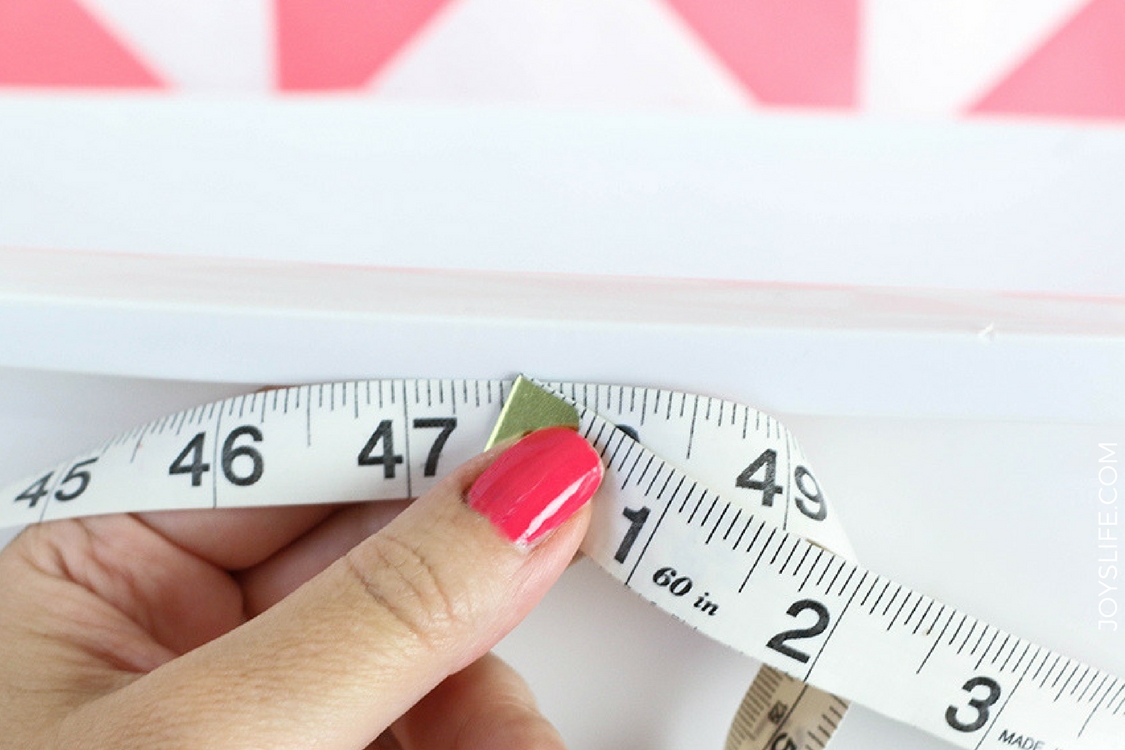
Step 1: Measure the Hamper
Wrap your measuring tape around the widest part of your hamper, that’s usually the top. Don’t forget to include the handles because the top is going to fold down over them. Add at least 1″ for seam allowances.
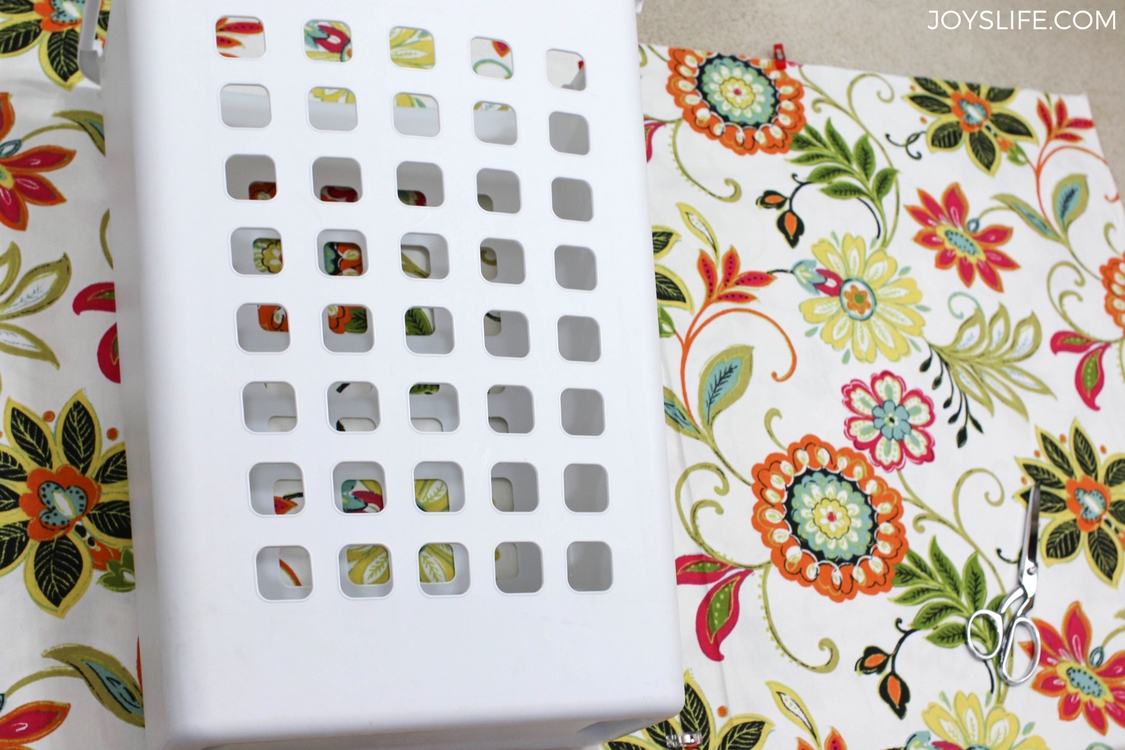
Step 2: Cut the Fabric
Cut your fabric the width you determined above. For length, add about 10″ more than the height of the hamper. This gives room for the fold over the top and the bottom seam.
The length measurement can vary depending on how long you want the fold over the top of the basket. I ended up bringing mine down about 7″. You want to make sure there’s enough fabric left, after you create the fold over the top, to be able to sew the bottom closed and still be the proper length for your hamper.
Pin or clip the fabric together prior to sewing and make sure you’ve got the kind of fit you want. What we’re creating is essentially a big bag.
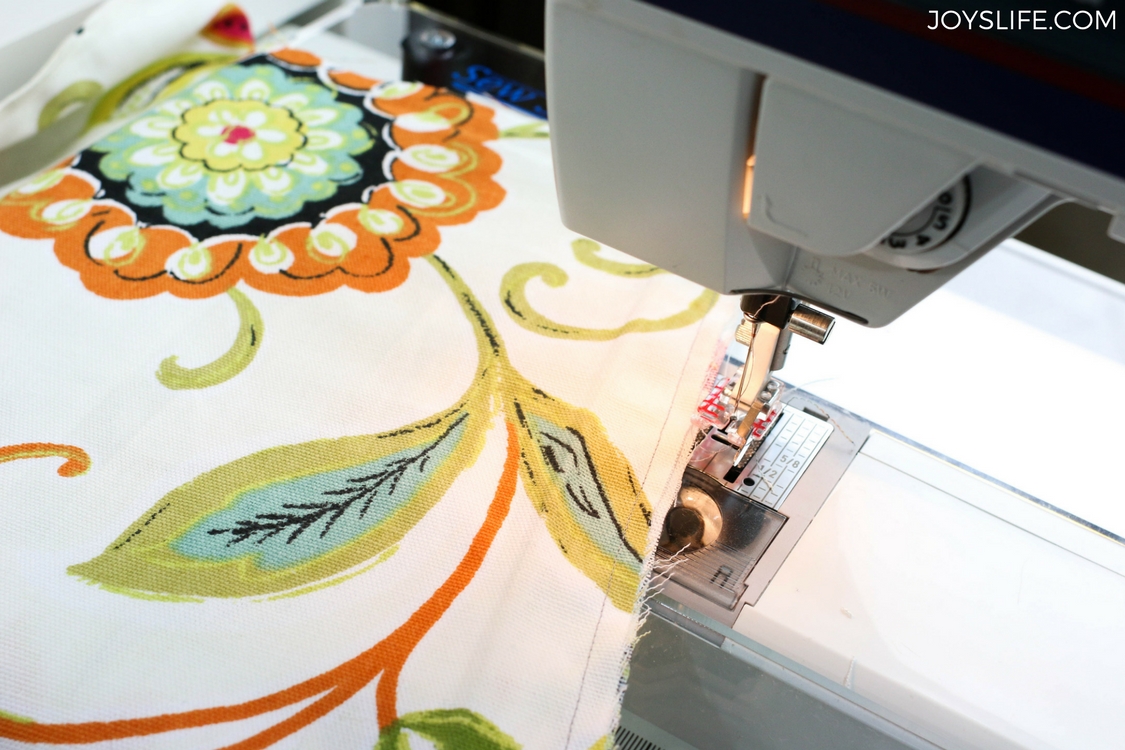
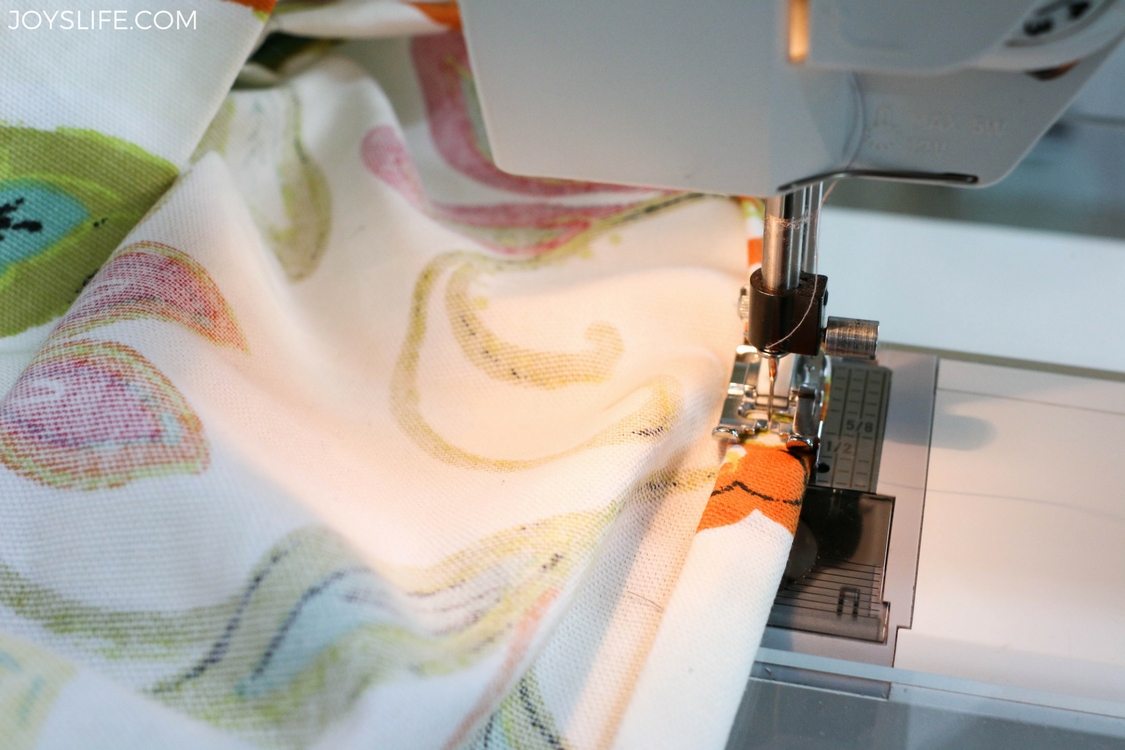
Step 3: Sew the Side Seam (French Seam Option)
With wrong sides (the plain or dull side) together, sew a 1/4″ seam up the long edge. Turn right sides (the printed or pretty side) together and sew a 1/2″ seam to enclose the first seam. You just made a French seam. Strong and tidy.
About a French seam
A French seam hides the previous stitches and creates a much stronger bag. The seam allowance is fully contained inside that second seam, like a little fabric tunnel, creating a tidy, reinforced finish.
Quick Alternative:
If you don’t want the extra step, just sew right sides together, along each long side, with a 1/2″ seam.

Step 4: Close the Bottom
Turn the bag inside out. Stitch across the bottom with a 1/2″ seam. Backstitch at the beginning and end. Boxed corners are optional, but we are keeping it simple.
Press the finished seam.
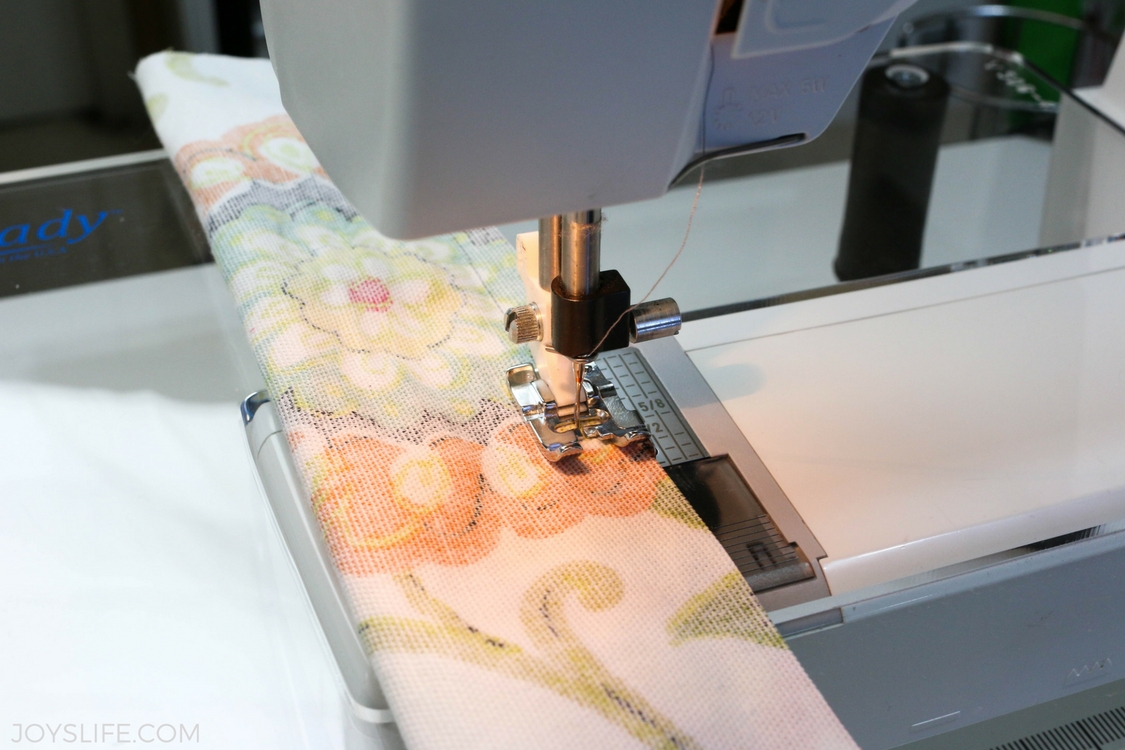
Step 5: Hem the Top
Fold down the top of the liner 1/4″ press it and sew a 1/4″ seam. Next, fold it over 1/2″ and sew a 1/4″ seam. This will make a nice strong hem.
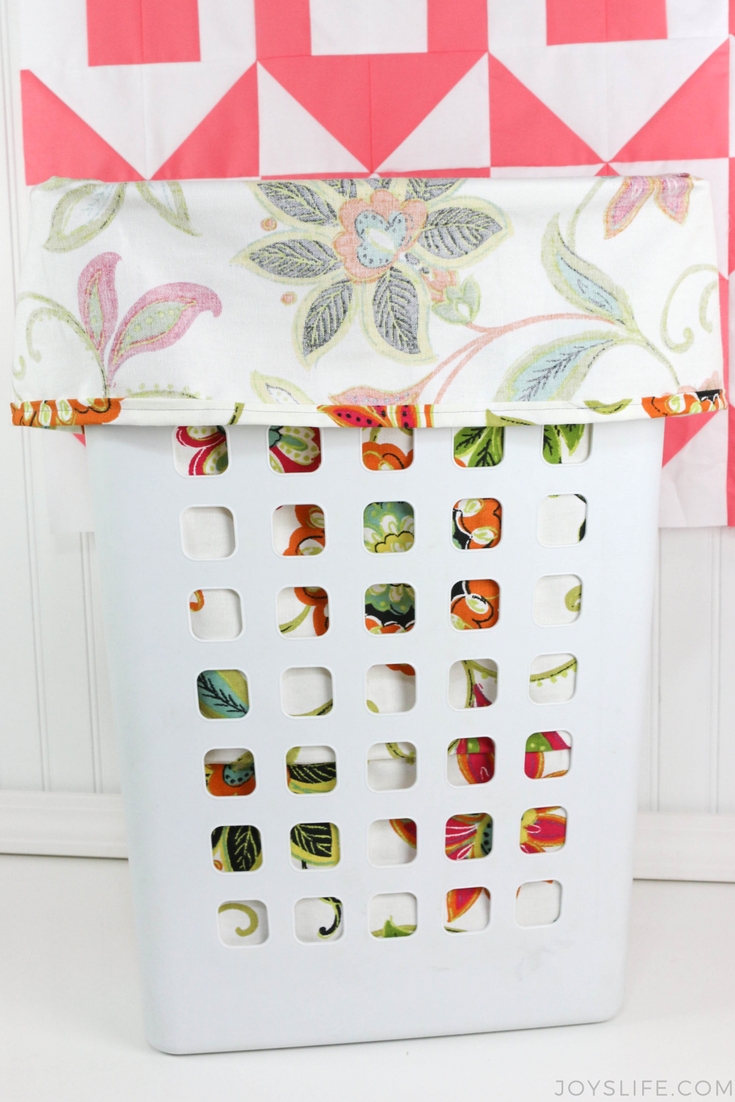
Step 6: Fit the Liner
Place your liner into the hamper and adjust it until you like the look and are sure that adding clothes to it won’t make the bag slip down.
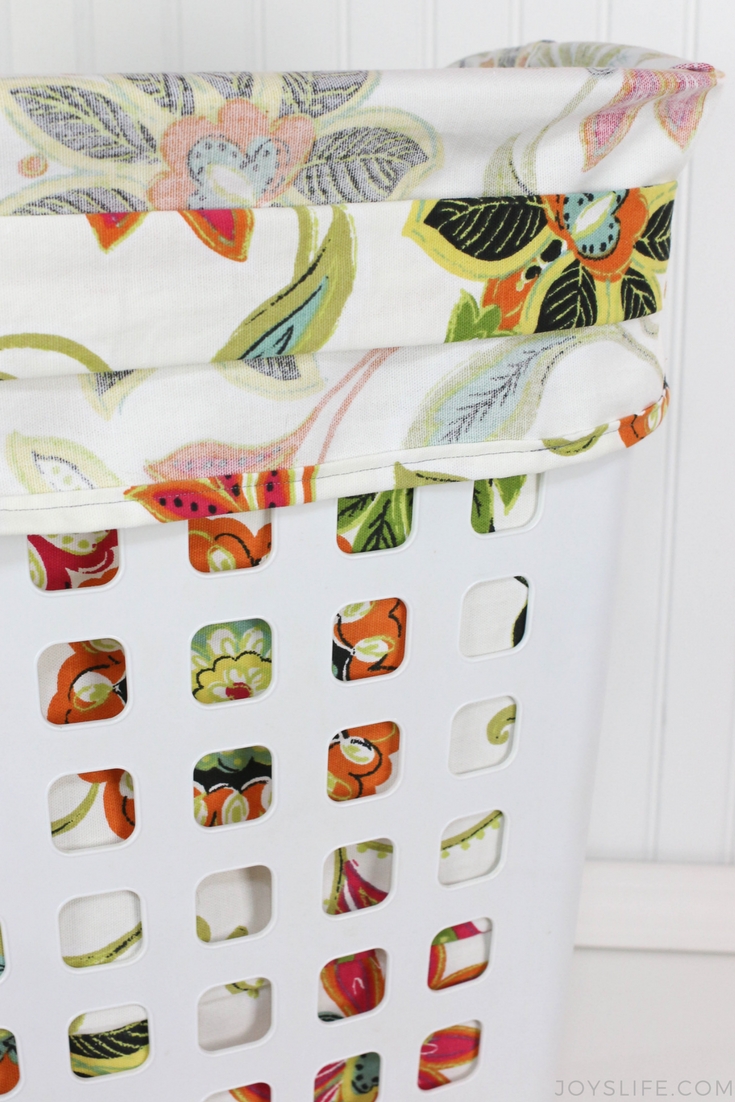
Keep It Simple … or Accessorize It
My husband suggested flipping the bag so the cuff wasn’t so plain. He’s not wrong, but I liked seeing the floral print peeking through the hamper holes. You could double line the bag if you want it pretty on both sides, or even add a drawstring or boxed corners. But remember, this is supposed to be The Simplest DIY Laundry Hamper Liner Tutorial. The fanciest step we’re taking is the French seam, and you don’t even have to do that.
That being said, I agreed the cuff was super boring, so I stitched up a quick fabric band from scraps and secured it with Velcro. At that point, the “simplest” liner becomes a little less simple if you decide to give it accessories.
And because I can’t leave you without a laugh: I cut my fabric too short and had to sew the trimmed piece back on. That’s why you see a line near the bottom. Lesson learned? Measure twice, cut once. I like to ignore that rule, which means I spend extra time kicking myself later.
Optional: Add a Band or Cuff
This is exactly what I did after deciding my cuff needed a little something extra. It’s fast, easy, and makes your liner look less “basic hamper bag” and more “custom project.”
I used leftover pieces to create a basic band to go around the top of the liner. I simply sewed a long piece of fabric, with right sides together, forming a tube. You can secure it with a button or snaps, whatever you like. Pull the fabric through the tube until it’s turned right side out. (You can use a hemostat or EZ Point Turner for that!) Press it flat and sew both ends closed. I made sure that the ends overlapped so I could add a little bit of Velcro to hold it in place. Wrap it around the top edge of your liner for instant color.
Project Notes
Cut a little long. You can trim. You cannot add length without a visible seam. Ask me how I know. Measure twice. Cut once. LOL! Enjoy!
You Might Also Like
- How to Make an Easy Drawstring Bag – A beginner-friendly sewing project that’s just as handy for laundry, travel, or gift bags.
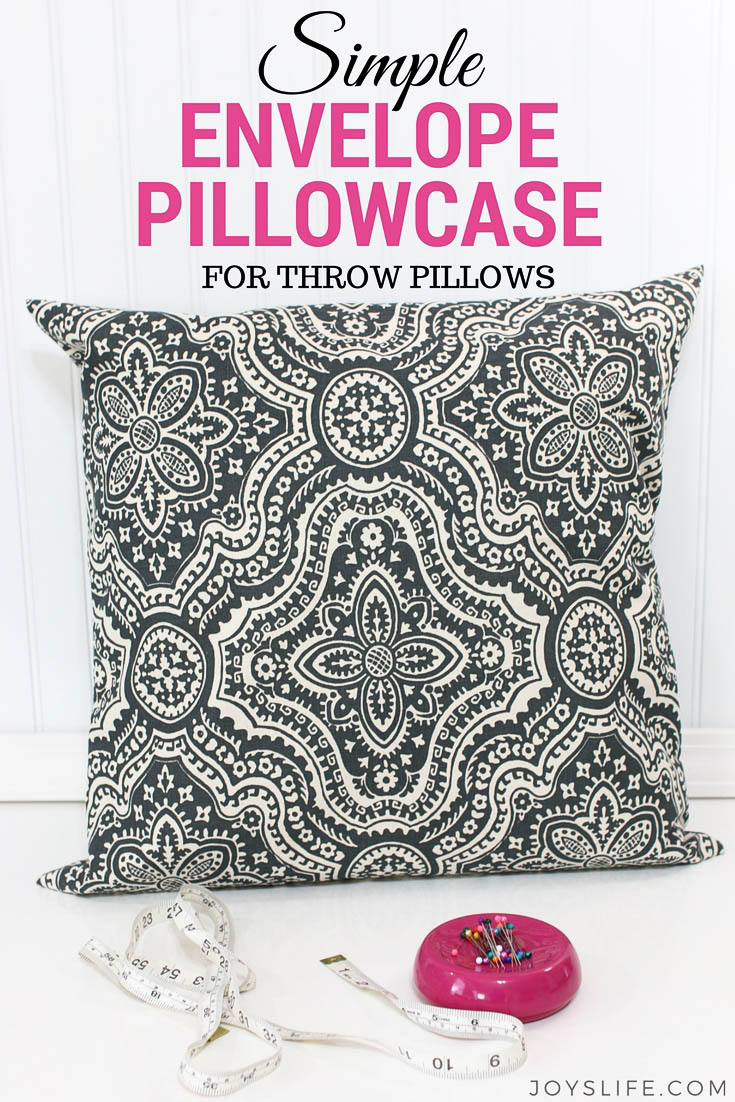
- Make a Custom Pillowcase – Another quick fabric project that brightens up any room without a lot of sewing steps.
- Fabric Scrap Storage Idea – Keep your sewing room tidy with this clever way to organize leftover fabric pieces.
- Speedy Serger Shoe Bag – My First Sookie Sews Project – The serger project that started it all for me, and still one of my favorite beginner-friendly makes.


Thanks for sharing this sewing tutorial. I used to sew all the time when my kids were babies, but I rarely get around to doing it lately. We are moving soon, so I think I’ll have to sew some new items for my home. This may be a good one to try! #client
If you want the fold over to be pretty, you don’t have to double line, just extend the height of the bag.
EG, say your hamper is 20″ tall, and you want a 10″ fold over. Your height should be 20+10+10. Follow all directions in the article, then fold up the fold over to the middle, pretty side out, and sew it in place.
This gives you pretty on the outside to show thru holes, as well as pretty on the overhang that would otherwise be wrong side out.
It’s just one additional straight stitch, helps the bag to hang more securely, and saves you a lot of fabric because you’re only using what you need to see. 🙂
I love the idea, I would just add an elastic on the top gen to keep in place and fitted…..
Cute, well-written tutorial!