Learn how to sew a beginner-friendly drawstring bag with just fabric, thread, and ribbon. This simple sewing project is perfect for handmade gifts or organizing small items.
A Simple and Useful DIY Drawstring Bag
It’s amazing what you can make with just a little fabric, thread and a piece of ribbon! This easy drawstring bag is created from those simple things. It’s a great way to give a gift or to carry pretty much anything. I actually use it to store the pedal of my sewing machine when I pack it up for travel. If you’re a sewing beginner, this is a great project for you. I’ve just started making a variety of drawstring bags, with different sizes and fabric prints to hold some holiday gifts.
If you need a simple fabric storage idea, check this out: Fabric Scrap Storage Idea.
How to Make an Easy Drawstring Bag
What I love about this bag is that it is super useful and easy to make. Plus, you can personalize it for thoughtful gift giving by varying the fabric, the drawstring, adding embroidery, tags and even charms. Today, we’ll just keep it simple. You’ll need a needle and thread, or a sewing machine, thread, fabric and a drawstring of your choice. I used a piece of ribbon.
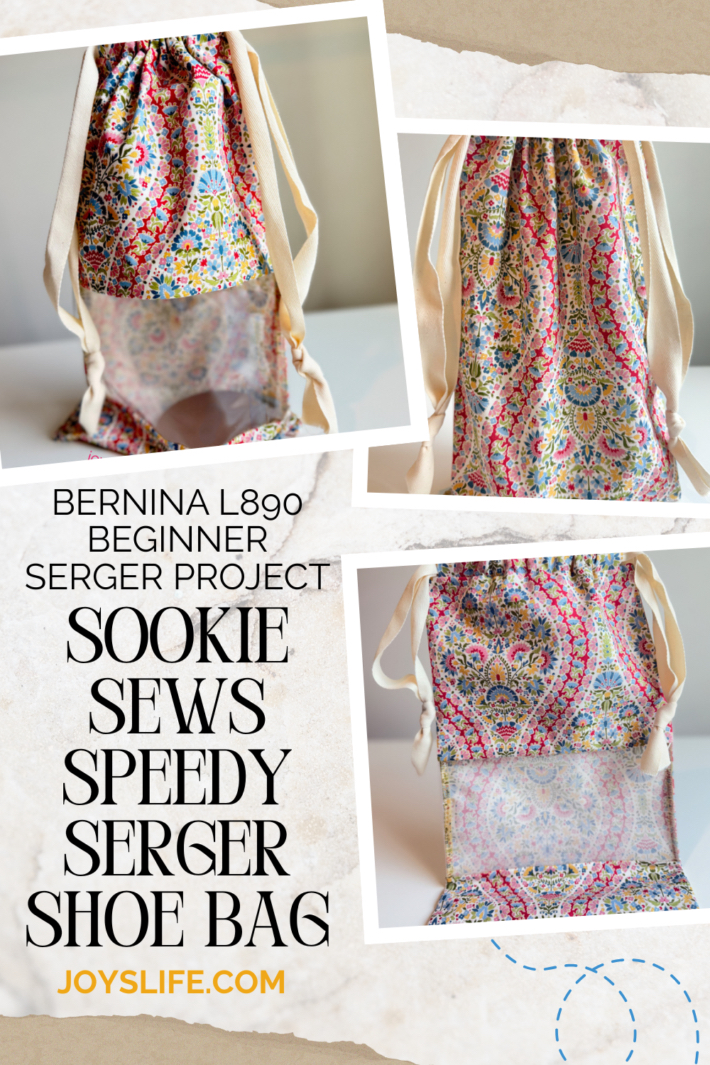
I used ribbon for this bag, but I’ve also sewn with these 1″ drawstrings when making the Speedy Serger Shoe Bag, and they worked beautifully.
Cut Your Fabric
Cut your fabric to 11 – 1/2″ long by 9 – 1/2″ wide. You can adjust the length and width to fit whatever you want to carry. Keep in mind that you’ll probably want to adjust the other measurements if you do that.
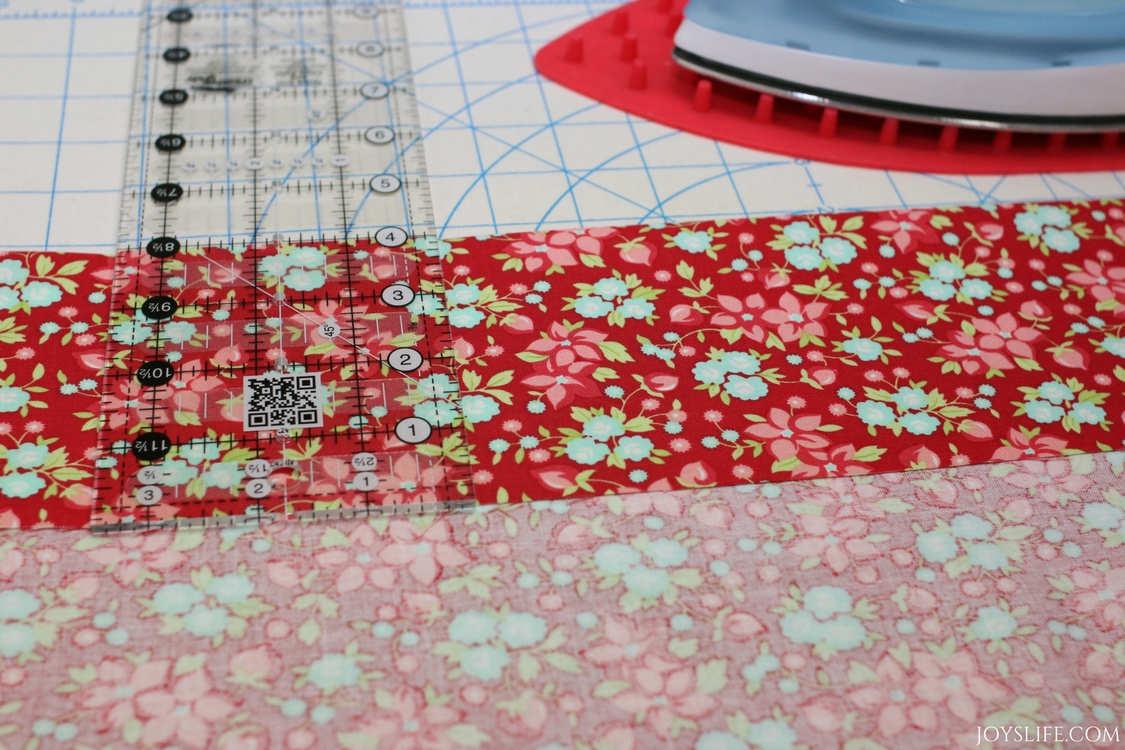
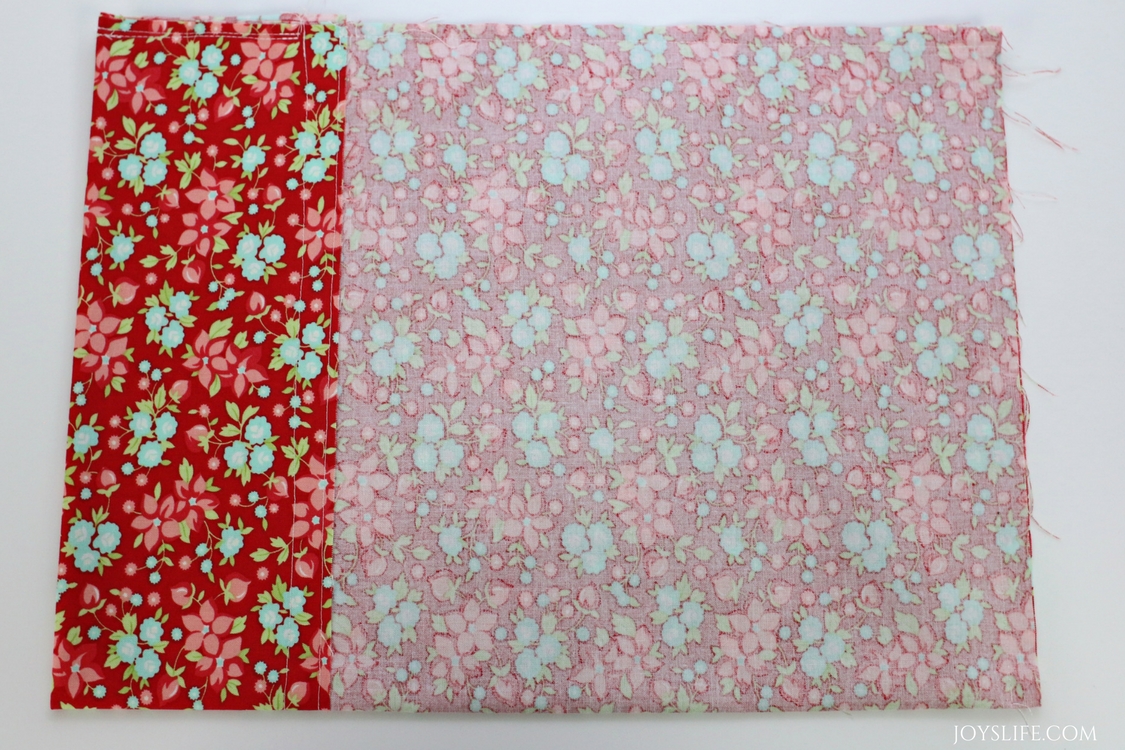
Fold and Press
Fold down the top edge 4″. Press with an iron.
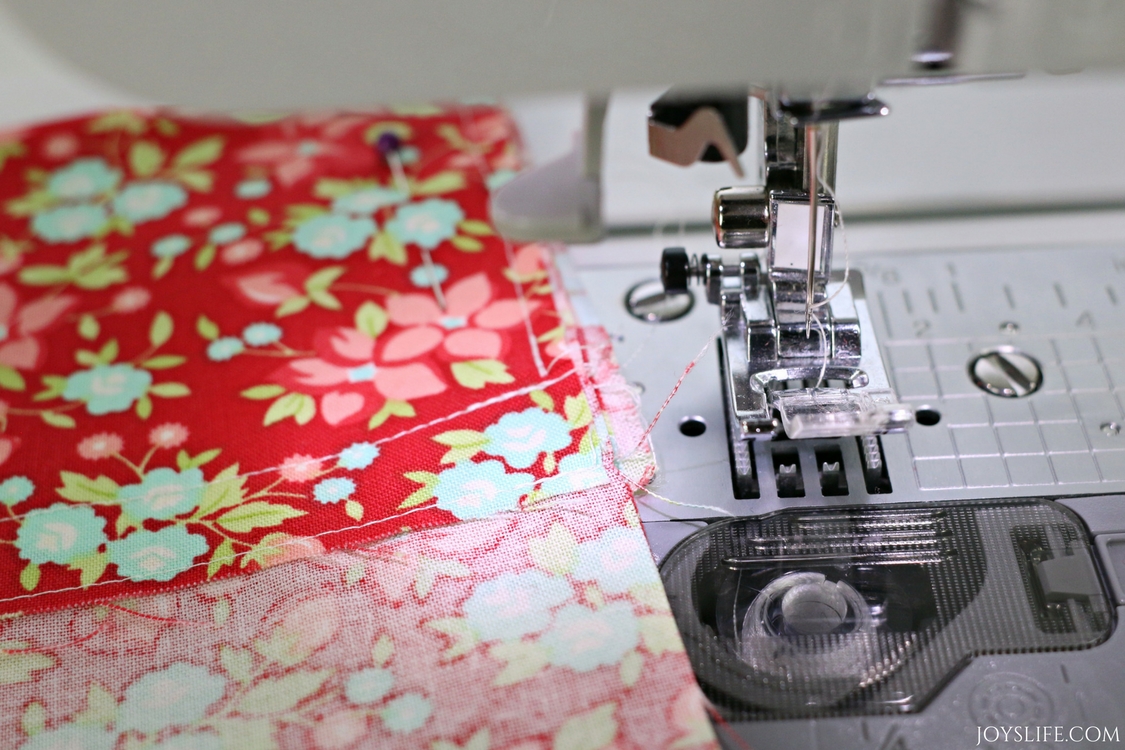
Sew the Drawstring Channel
Sew a straight stitch 1/4″ from the bottom edge of the fold, all the way across the fabric. This is going to be the bottom of the drawstring channel. (Where you place and pull your drawstring.) Backstitch at the beginning and end.
Did you know you can make a drawstring bag with a serger?
If you have a serger and you’re ready to try something new, check out the post below where I made another drawstring bag.
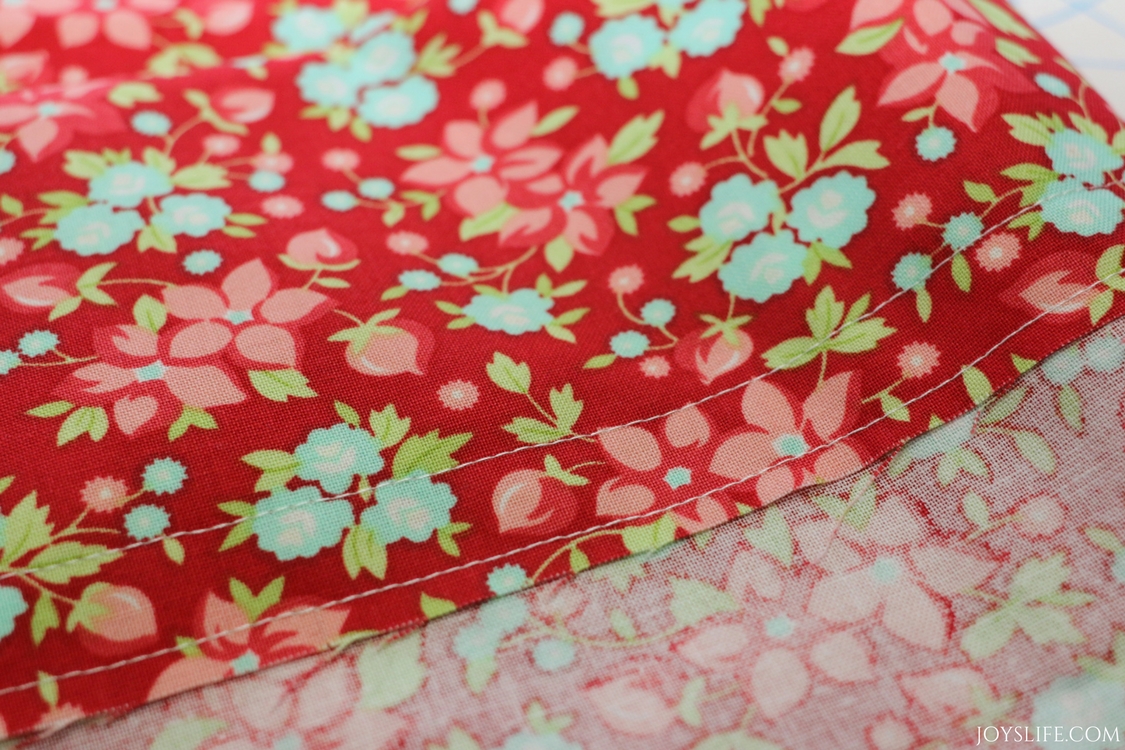
Sew the Second Channel Line
Sew another straight stitch 1″ (or more) above the previous stitched line. Remember to backstitch when you start and stop. Those overlapping stitches keep your work from coming undone.
If you want to use a wider piece of ribbon, rope or fabric, you can adjust the distance from the first stitched line to this one.
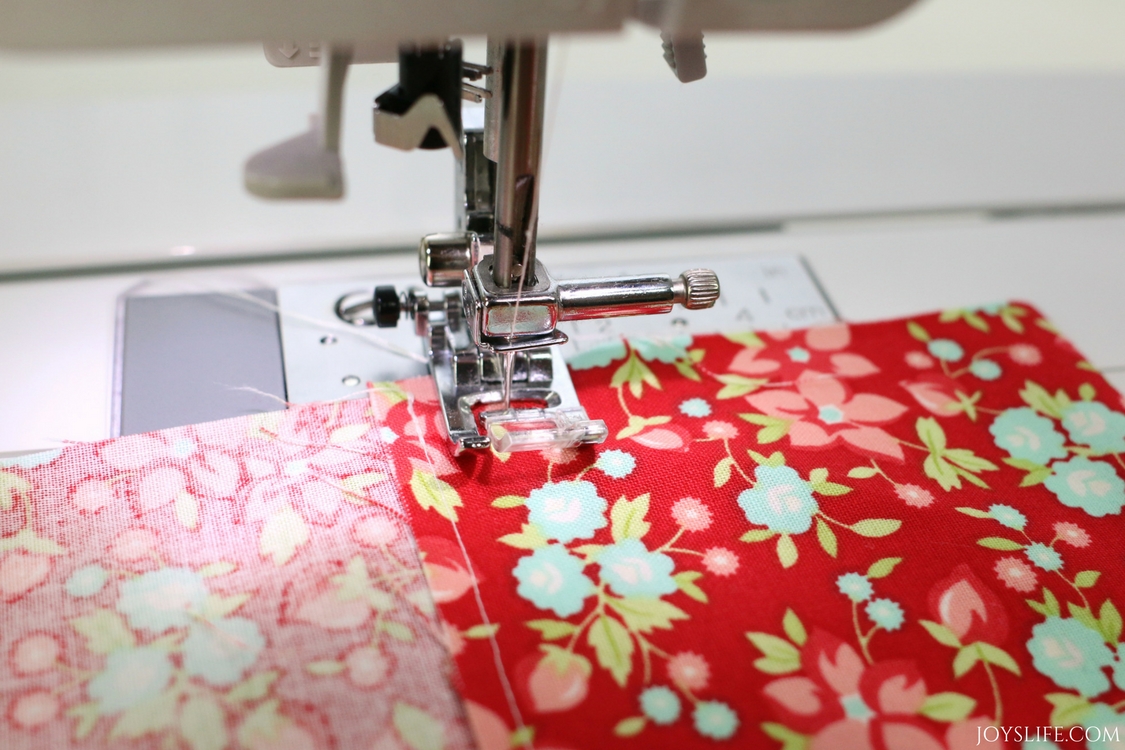
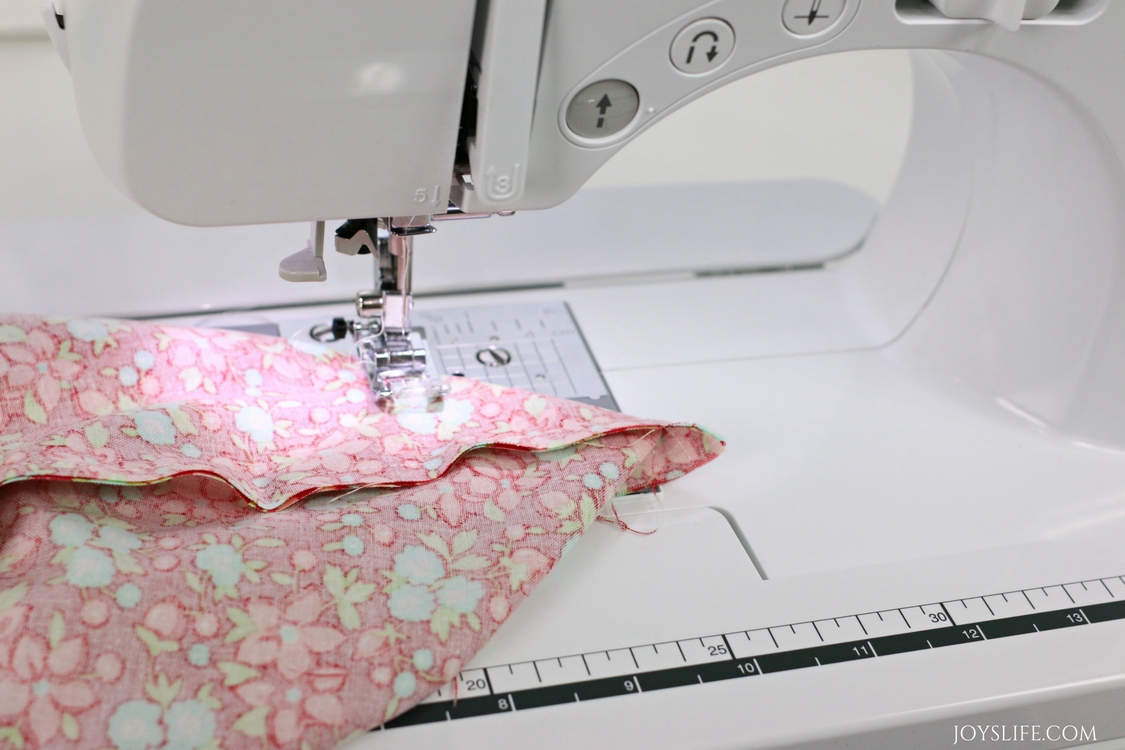
Sew the Bag Sides and Bottom
- Fold your bag with right sides (pretty sides) together and pin in place.
- Sew from the top of the bag down to the top of the first drawstring channel, then backstitch.
- Stop and remove the bag from the machine.
- Start sewing again from the bottom of the drawstring channel, continuing around the side and bottom of the bag.
- Be careful not to sew the drawstring channel closed!
Add the Drawstring
Just add the drawstring and you’re finished!
Or…you can give it boxed corners first.
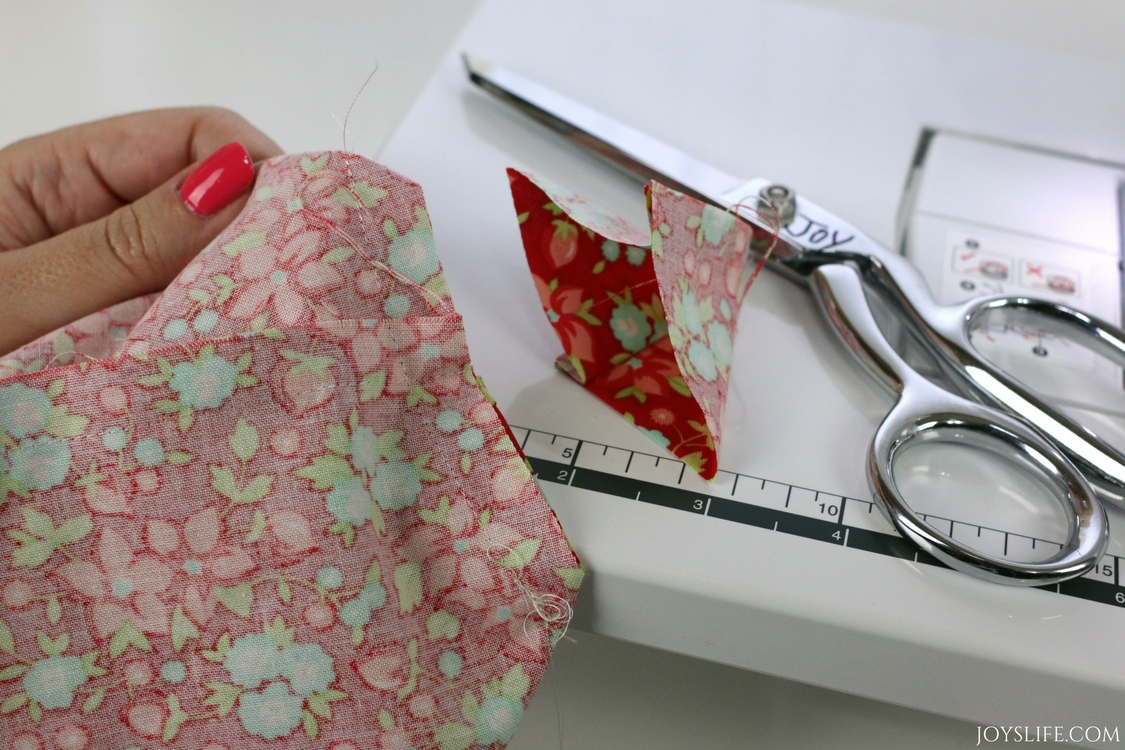
Sewing Boxed Corners
To sew boxed corners you pinch and pull the corner until the fabric makes a point. You want to match the seams on top to the ones in the back. Pinning will give you the best result, but I just went for it. Sew a line about to 2″ to 2-1/2″ from the point. Repeat to the other side of the bag, making sure to keep your measurements even on both sides. For the best reinforcement, stitch over your initial line several times. Backstitch at the beginning and end!
Clip off the corners, but don’t get too close to the stitches!
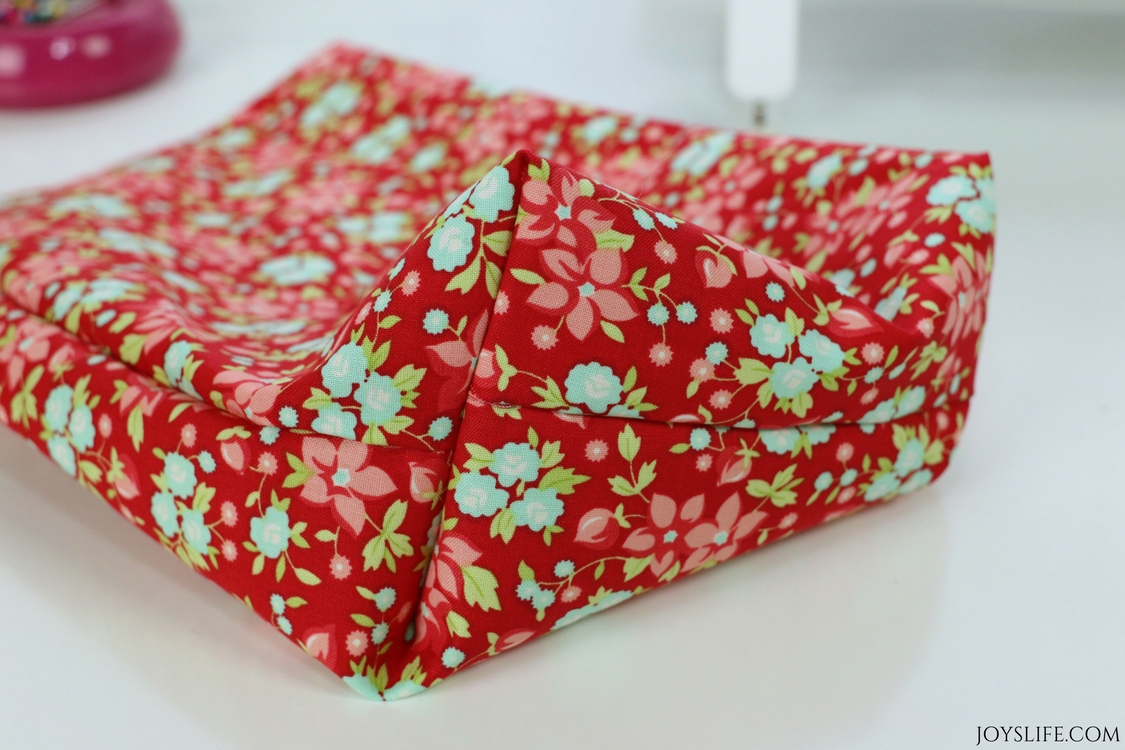
You’ve got a boxed corner! Ok, this one looks a little off, but still… That’s why you should pin and measure.
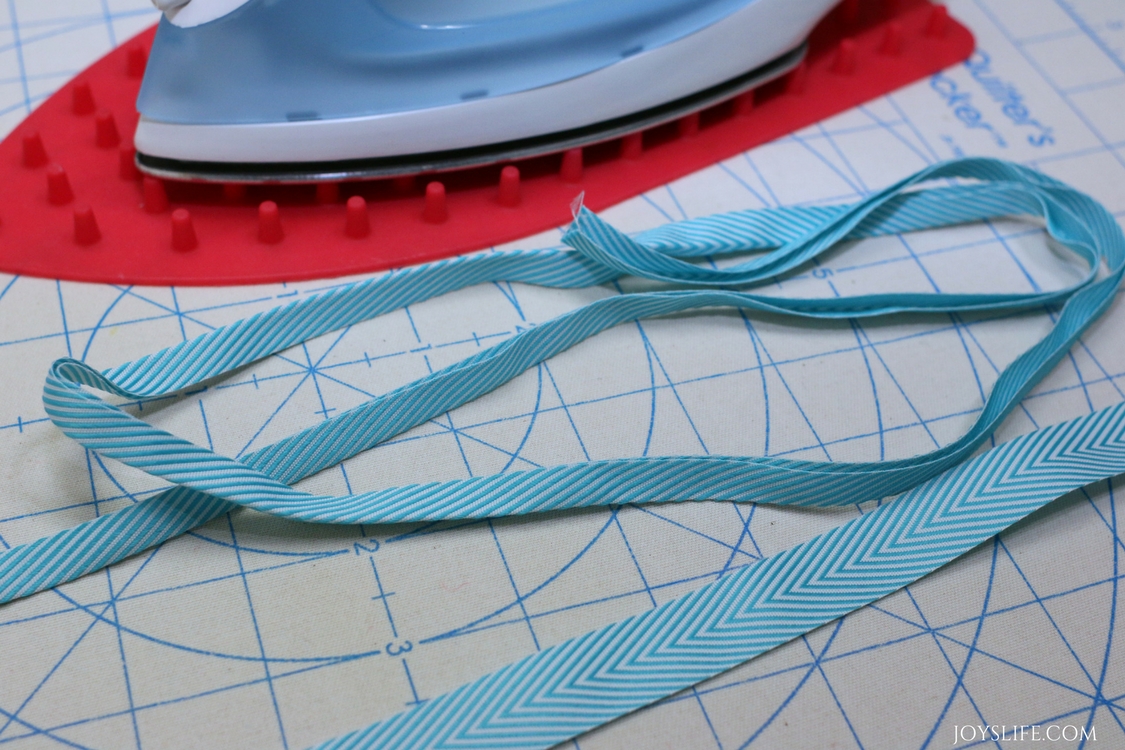
Sewn Ribbon Drawstring
I thought I had some cotton cording left from this project, which would have been perfect for my drawstring needs, but I couldn’t find it anywhere. Sad. All I had was a too wide piece of ribbon, so I folded it in half. Pressed it and stitched it! It was perfect!
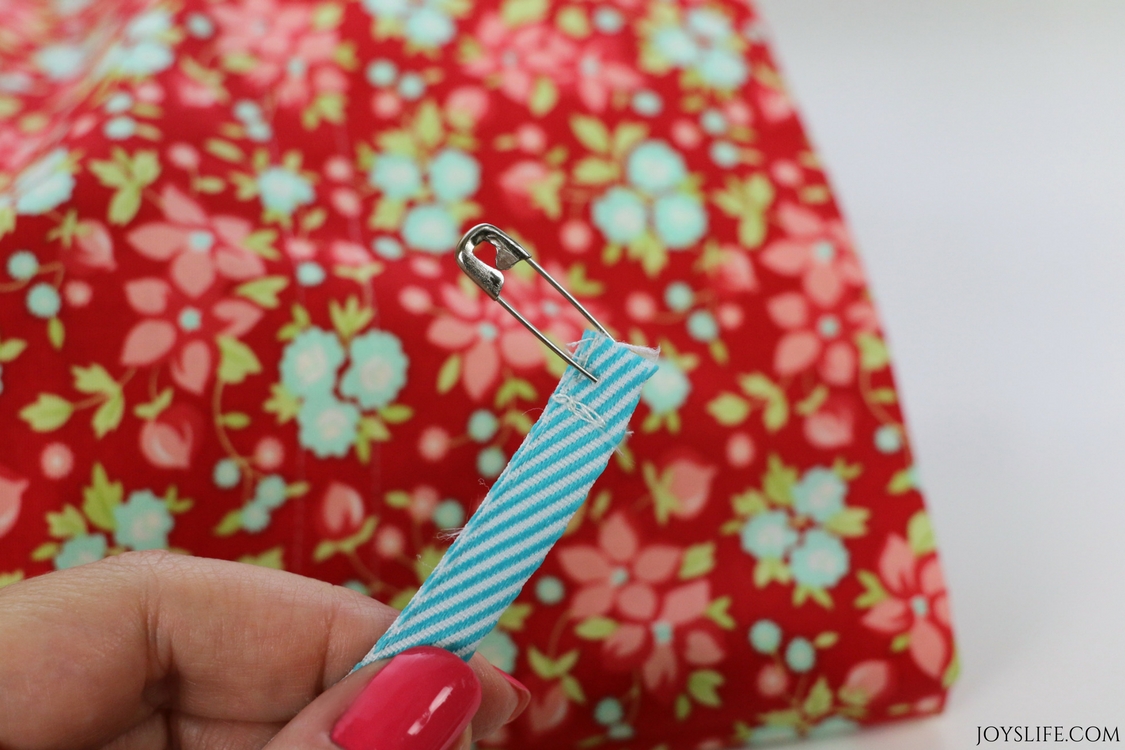
Threading your Drawstring
To thread your drawstring, stick a safety pin through one end of the drawstring and thread it through the drawstring channel.
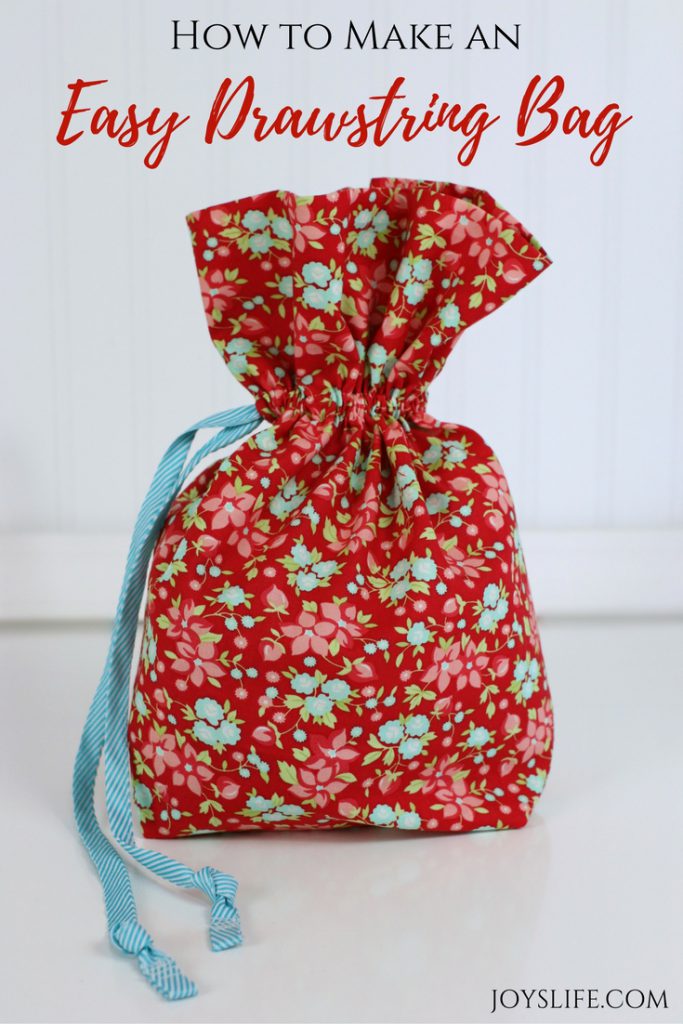
Your Finished Drawstring Bag
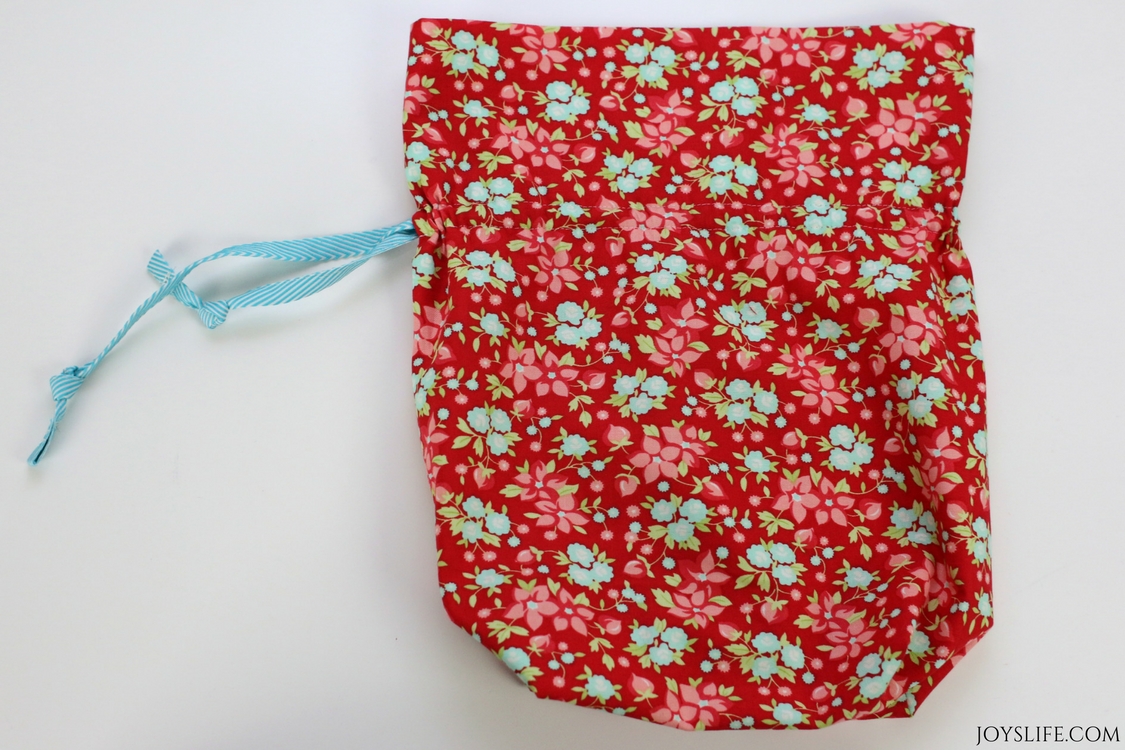
Here it is empty and open.
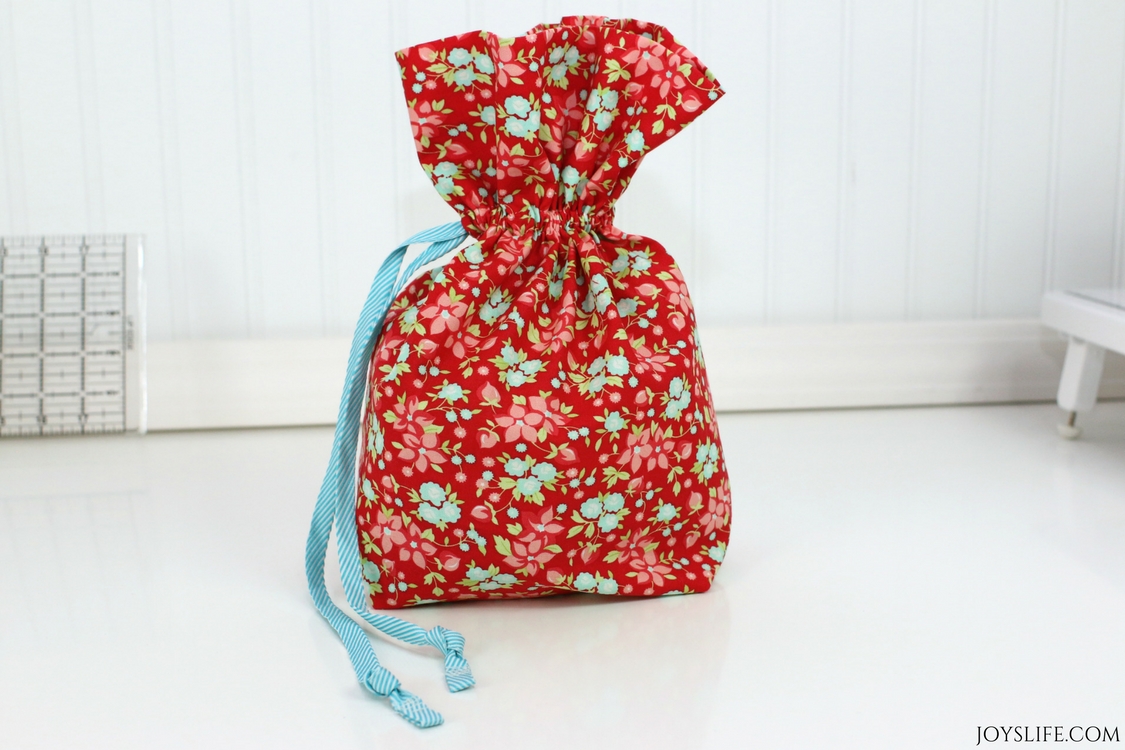
Here it is full and cinched closed!
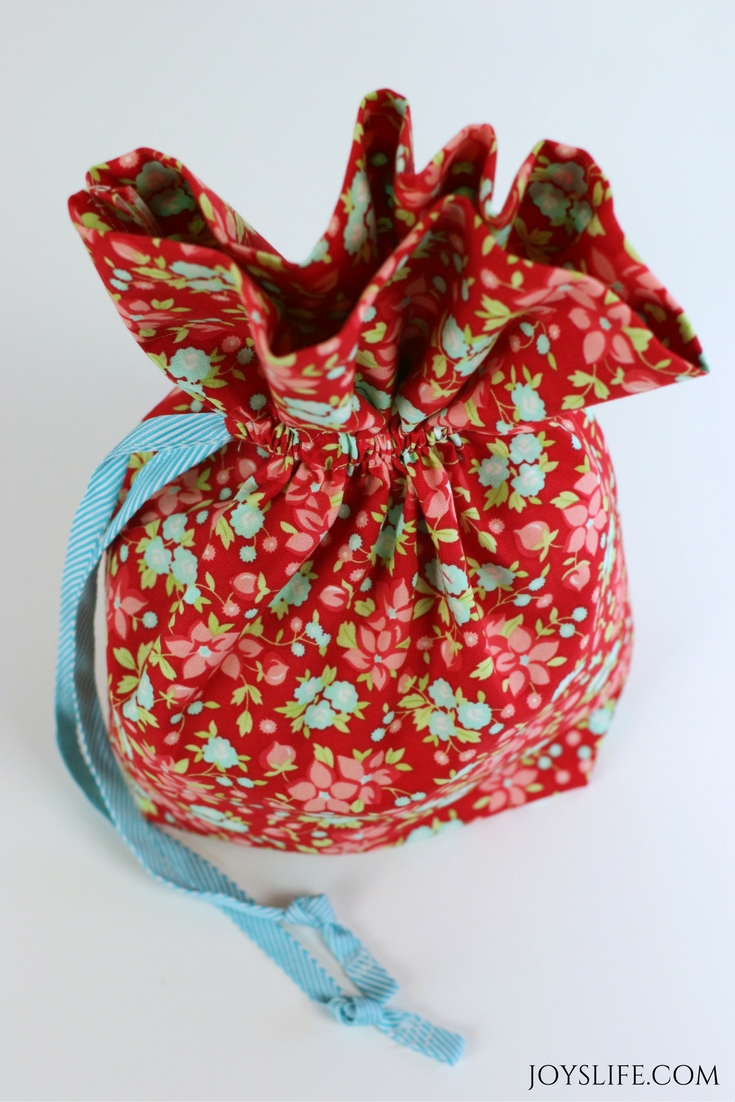
A super simple drawstring bag from the top! Literally.
This bag is perfect for gift giving or for putting a few things in and hitting the road!
Let me know how your drawstring bag making goes!
You Might Also Like
- No Sew Felt Gift Card Holder – a quick handmade gift project that comes together fast.
- Make a Custom Pillowcase – an easy sewing project that’s both practical and fun to personalize.
- Bernina L890 Speedy Serger Shoe Bag – a beginner serger project that builds on your bag-making skills.