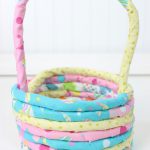
Make a DIY rope and fabric Easter basket with just hot glue, fabric strips, and cotton cord – no sewing machine needed! Perfect for handmade gifts, spring decor, or college care packages.
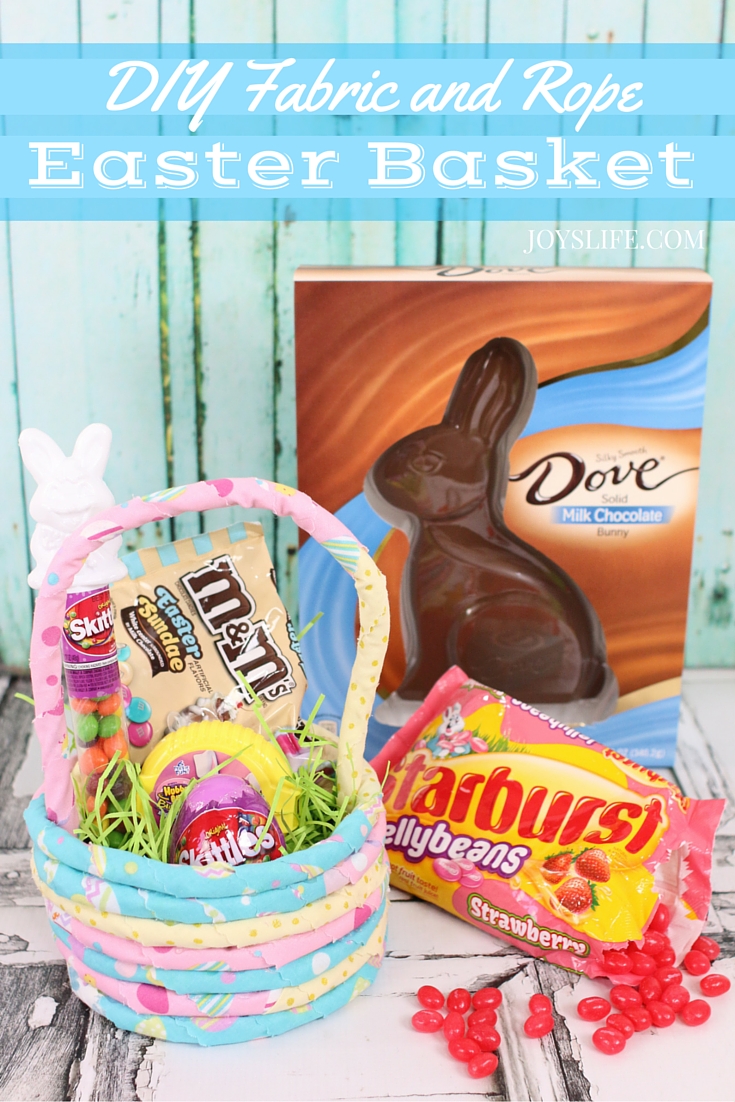
DIY Easter Basket with Rope and Fabric – No Sewing Machine Needed!
Looking for a handmade Easter basket idea that’s thoughtful, personal, and actually doable? This DIY rope and fabric Easter basket checks all the boxes. It’s the perfect mix of shabby chic and sweet—and you don’t even need a sewing machine (just a hot glue gun and a little patience).
Whether you’re making a one of a kind Easter basket for a family member, a college student, or just for the fun of it, this simple rope and fabric project is a creative way to put your own spin on the holiday.
The only problem was that I had no idea how to do that. Then, I found a bunch of tutorials on Pinterest, like this one, showing how to make a fabric and rope Easter basket. Perfect! I made a few adjustments and made one too! Instead of sewing everything, I used a glue gun. I wish I had a sewing machine that could sew rope, but using a glue gun makes this project doable by most adults. No kids though, because hot glue is nobody’s friend. Just ask my fingerprints. LOL!
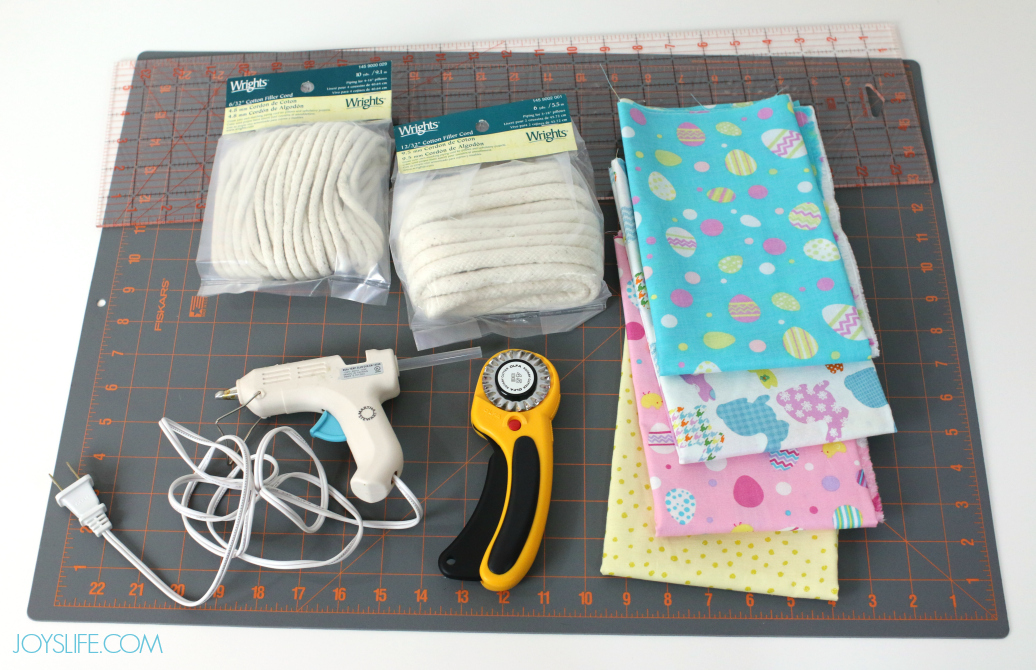
DIY Fabric-Wrapped Rope Basket Supplies
You don’t need fancy tools or years of sewing experience – just a few basics:
- 1 yard of fabric (cotton works great, consider spring prints or pastels!)
- Cotton filler cord (I used 1 bag of Cotton Filler 6/32 Inch Cord – 10 yards)
- Rotary cutter (or scissors)
- Self-healing cutting mat (if using a rotary cutter)
- Hot glue gun + 4 – 5 glue sticks
- Optional: pinking blade, finger protectors, fabric clips
Note: Hot glue is HOT and blades are SHARP. This project is best for adults or supervised teens.
If you’re using a rotary cutter, make sure you have a self healing cutting mat, or you’ll get some permanent designs in your table as an unwanted result. Also, I use a 45mm rotary cutter with a pinking blade just so these pieces would have pinked edges. Pinked edges is not necessary, but a rotary cutter is super helpful.
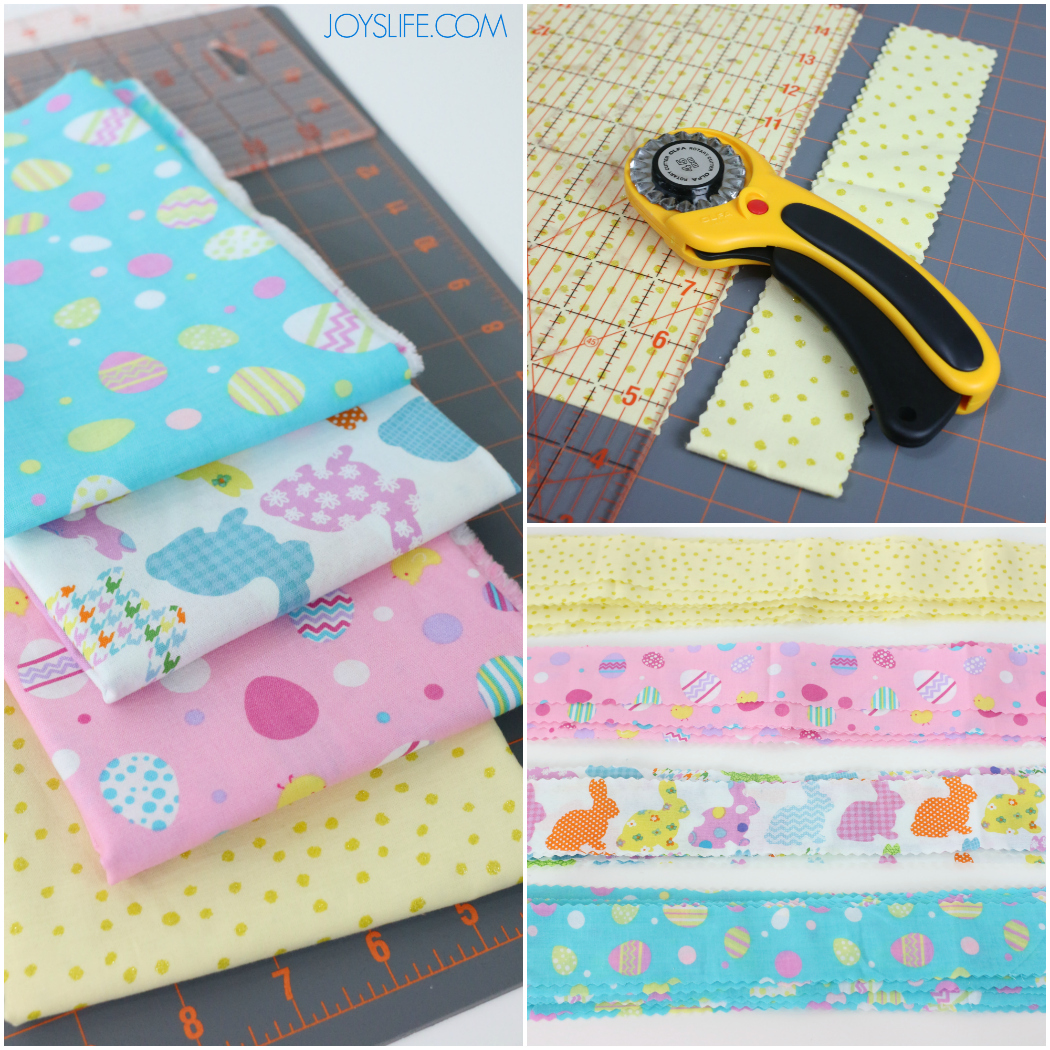
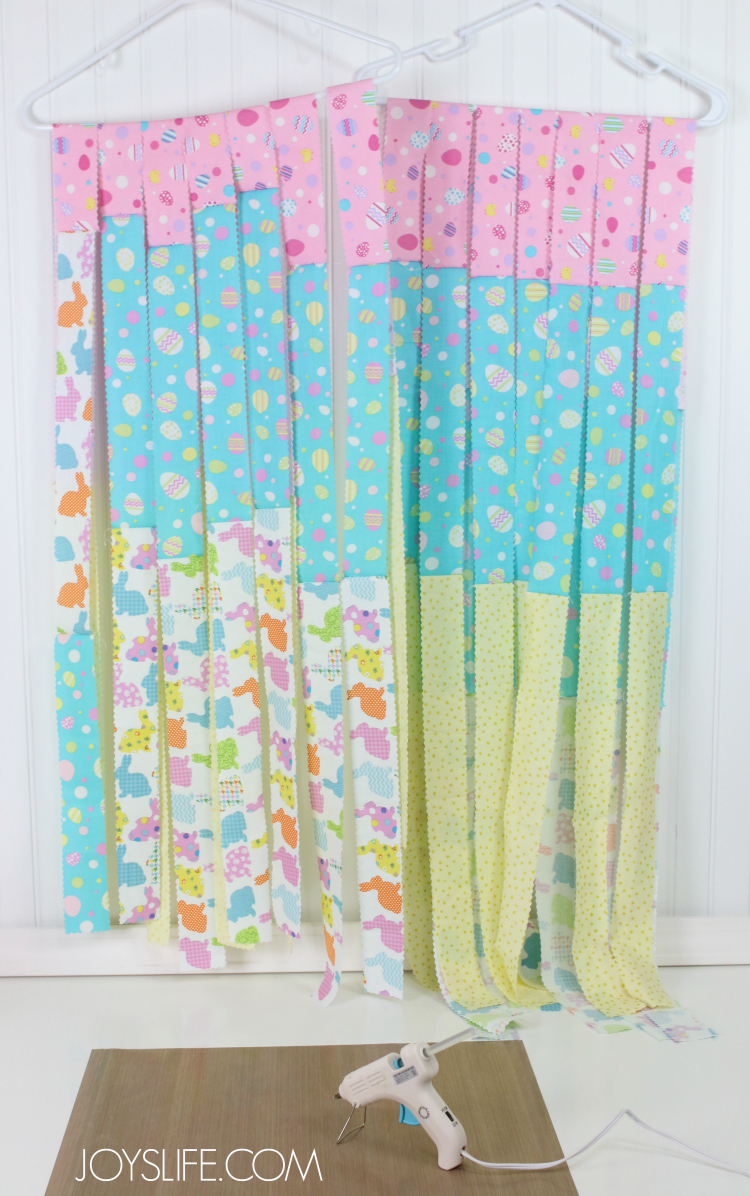
Prep Your Fabric Strips
- Cut your fabric into 2-inch wide strips. I used a rotary cutter with a pinking blade for extra texture, but regular scissors work too.
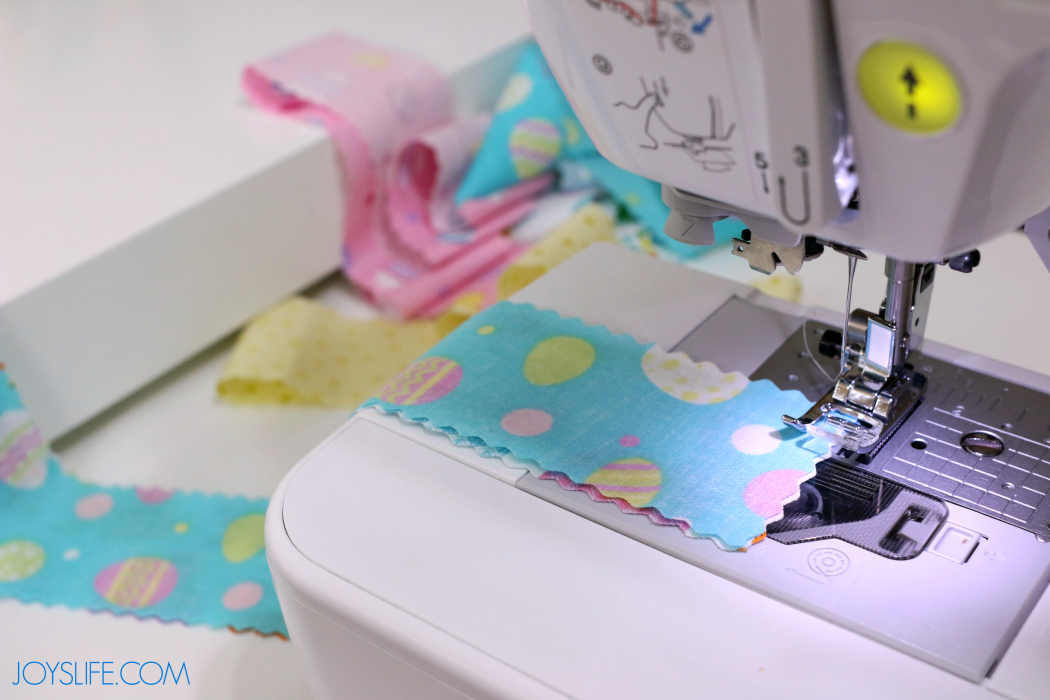
- For easier wrapping, I recommend sewing or gluing a few strips together end-to-end before you start. Keep each joined strip under 3 feet long so it’s easier to manage while gluing.
I cut my pieces into 2″ strips, but I think they could have been even thinner. It’s really up to you. Honestly, you can’t mess this up, so don’t spend too much time worrying about it. Just jump in and get started!
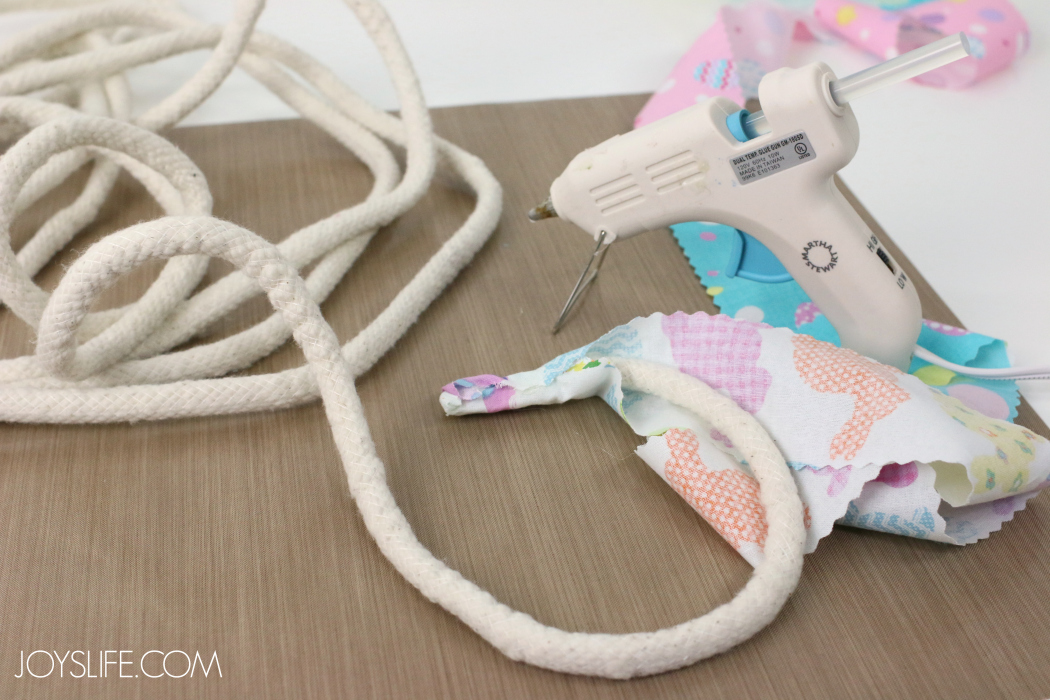
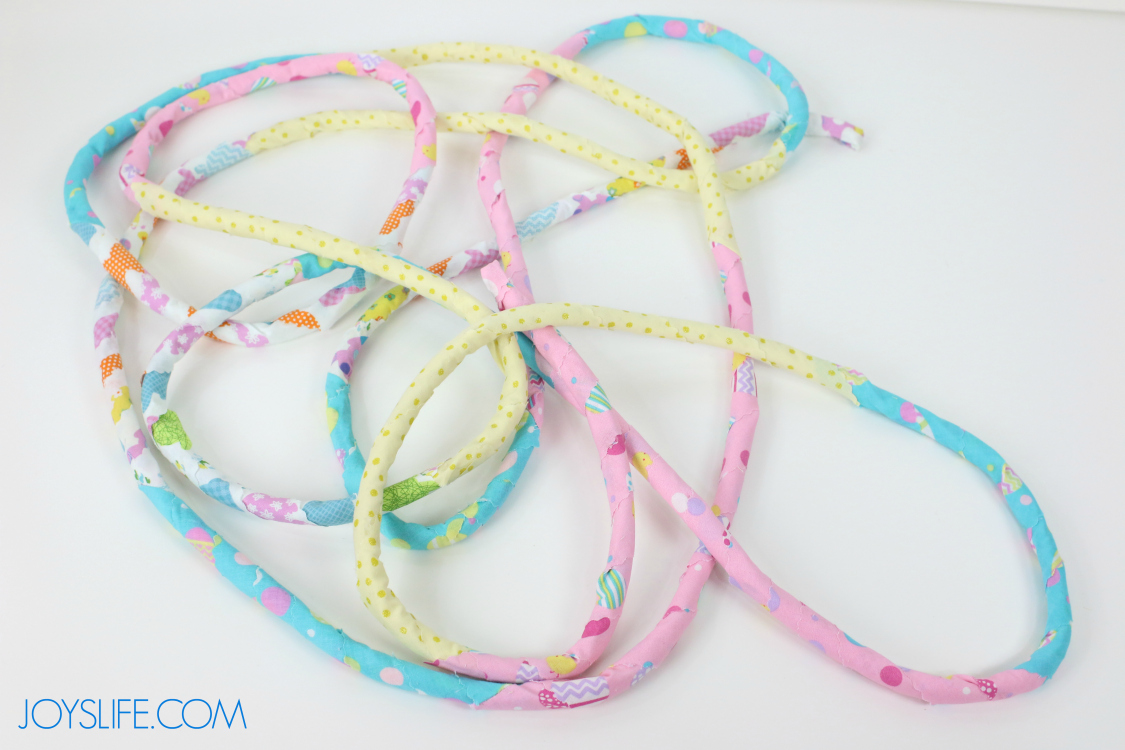
Wrap the Rope
- Start by covering one end of the rope completely. If you can, begin wrapping at a slight angle to make it easier and faster to cover.
- Add hot glue a little at a time and wrap the fabric as you go.
- Keep going until you reach the other end. You’ll need to cover both raw ends—this gives it a clean finish.
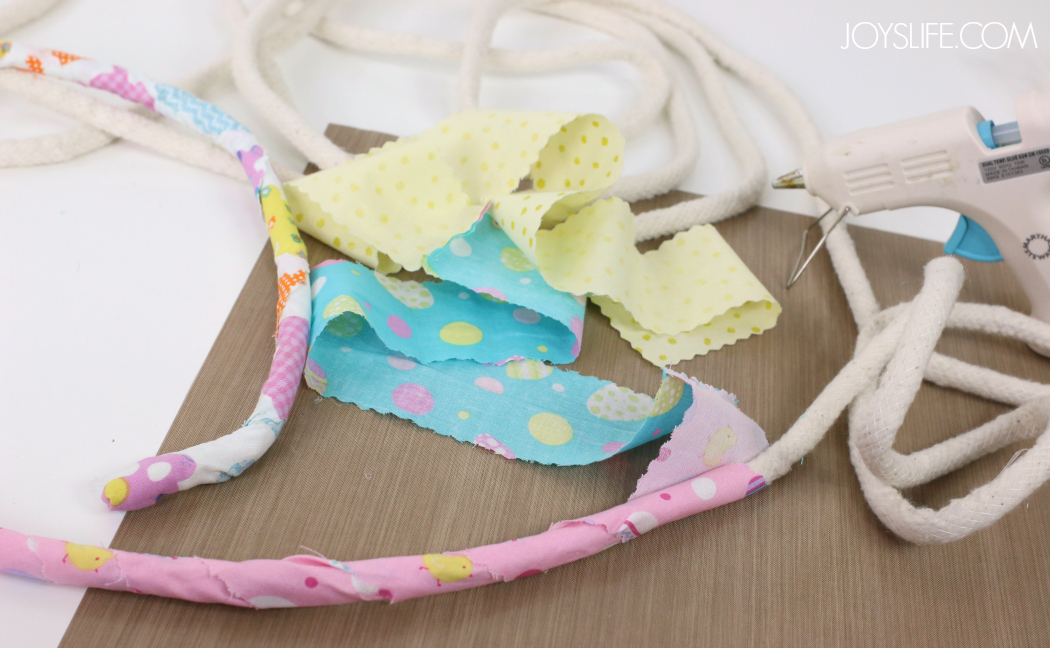
It doesn’t need to be perfect. Handmade is the charm here! You can always add embellishments or more fabric later if needed.
This part isn’t mandatory but if I make another basket, I’ll still do it. After I cut out the pieces of fabric to 2″, I picked about five or six strips and sewed them together. It allowed me to just grab a strip, wrap, glue and move on. Don’t make them too long though because super long pieces can make it more difficult to wrap while gluing.
I might have made a few too many. LOL! Well, this will definitely make more than one Easter basket, so I’m set there!
I’d say that the most important part of this whole project is covering the cut ends. So, make sure they are covered well.
The first one will be for the center inside of the basket, so you want that to look as good as possible. If you can cover it starting at an angle, that’s best, because you want to wrap the rope at an angle.
Wrapping at an angle will help you cover more of the rope, faster. If you find that yours doesn’t look perfect, then you’re in good company, mine doesn’t either! Don’t worry about it. It’s going to turn out just fine and if it doesn’t, add more fabric, more glue or some embellishments. It’s not a big deal. This ends up having a shabby chic look and I’m sure that whoever you give yours to will love it!
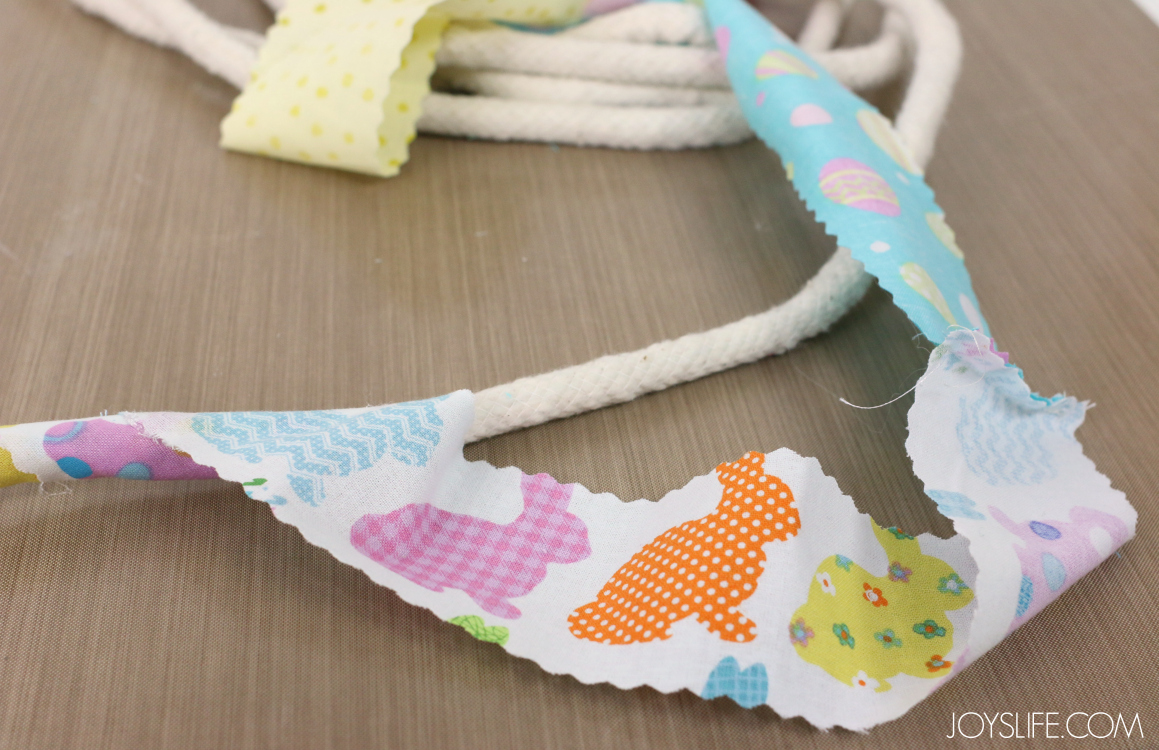
You just wrap and glue and wrap and glue until you get to the end. You will need to cover the end of the rope, just like you did when we started.
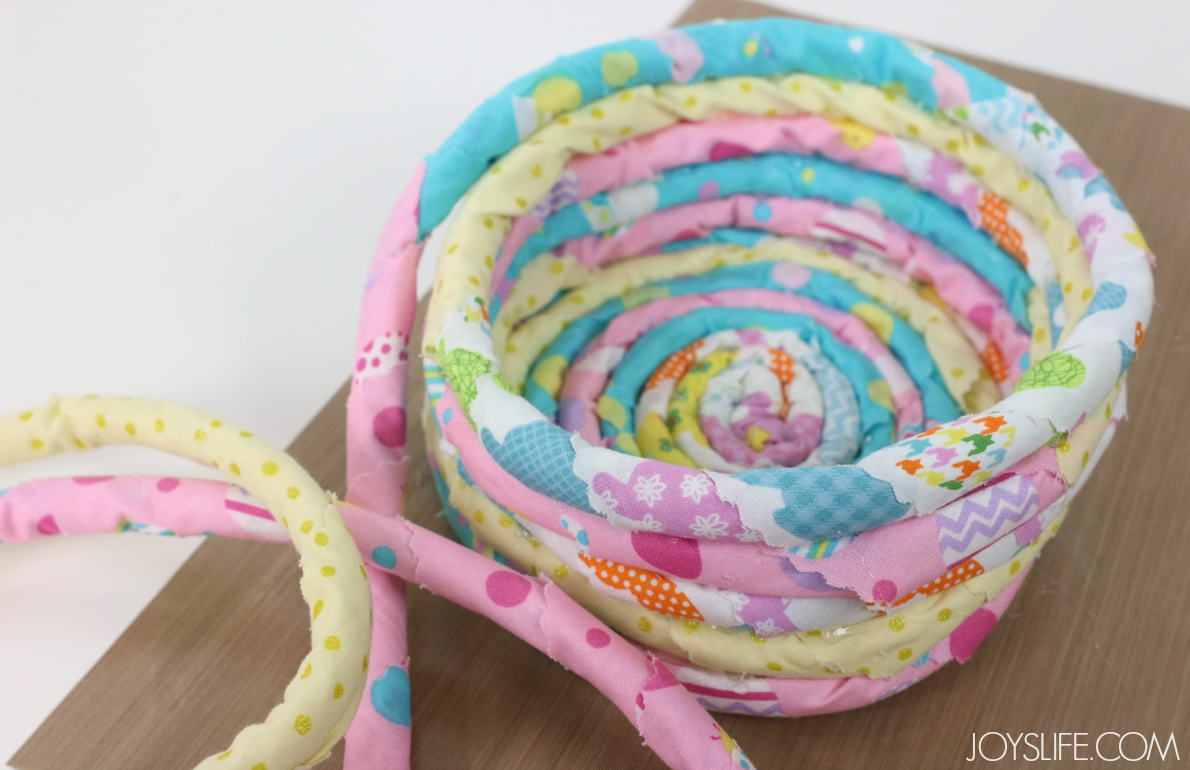
Finally. Now we can start building the basket!
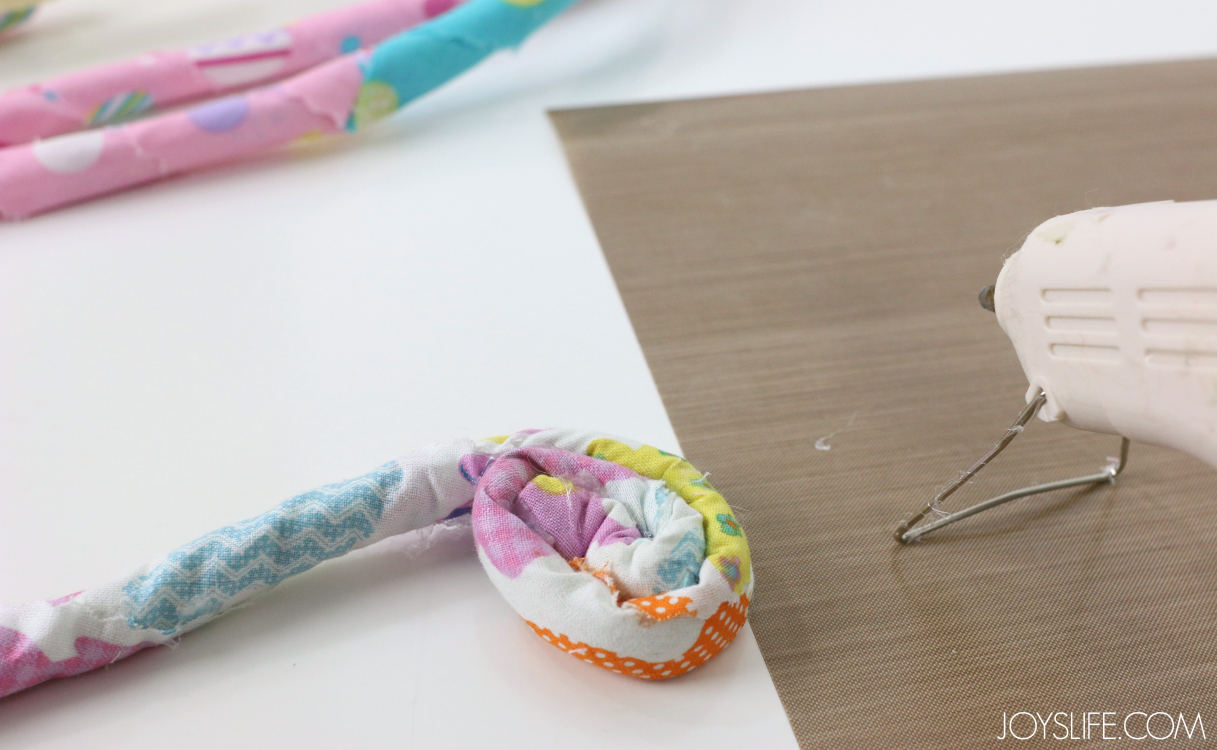
Shape Your Easter Basket
- Start coiling the rope tightly, gluing the inner edges as you form the base.
- Once your base is about 8 inches wide, begin building the sides of the basket by layering the rope on top of the outer edge.
- Keep gluing and coiling upward until you’re happy with the height.
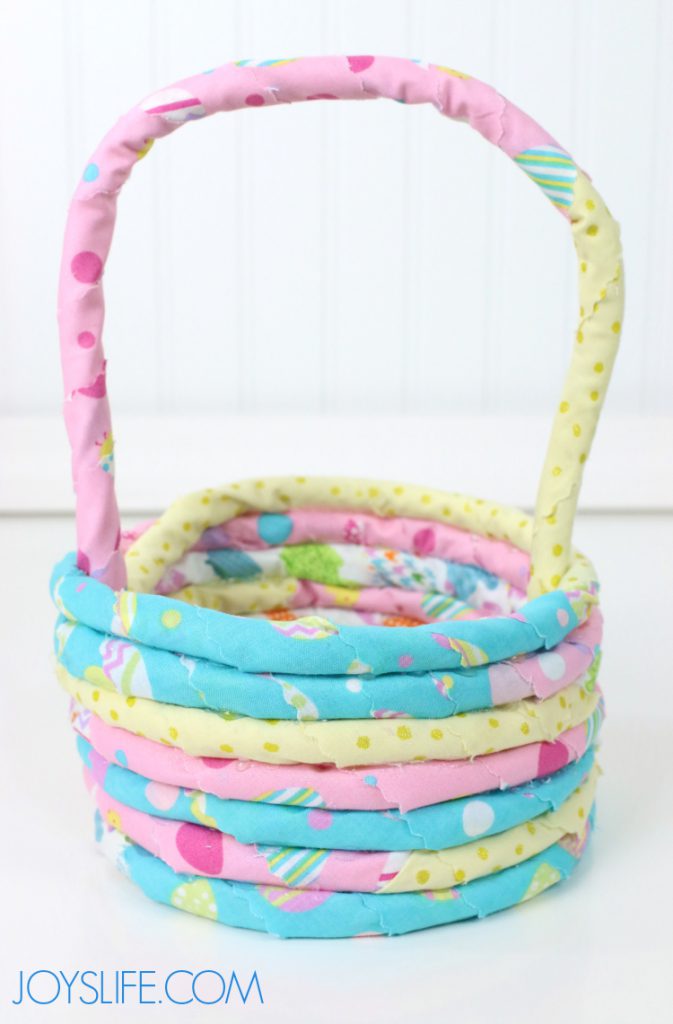
- Finish by trimming the rope, tucking in the raw end, and gluing it securely inside.
Want handles? Just loop extra rope, wrap in fabric, and glue each end to the inside rim.
Do your best to make a tight circle while gluing the insides of the fabric covered rope as you roll. If you have some finger protection for glue guns, wear it. There’s a reason for the saying, “I craft. Therefore, I have no fingerprints.”
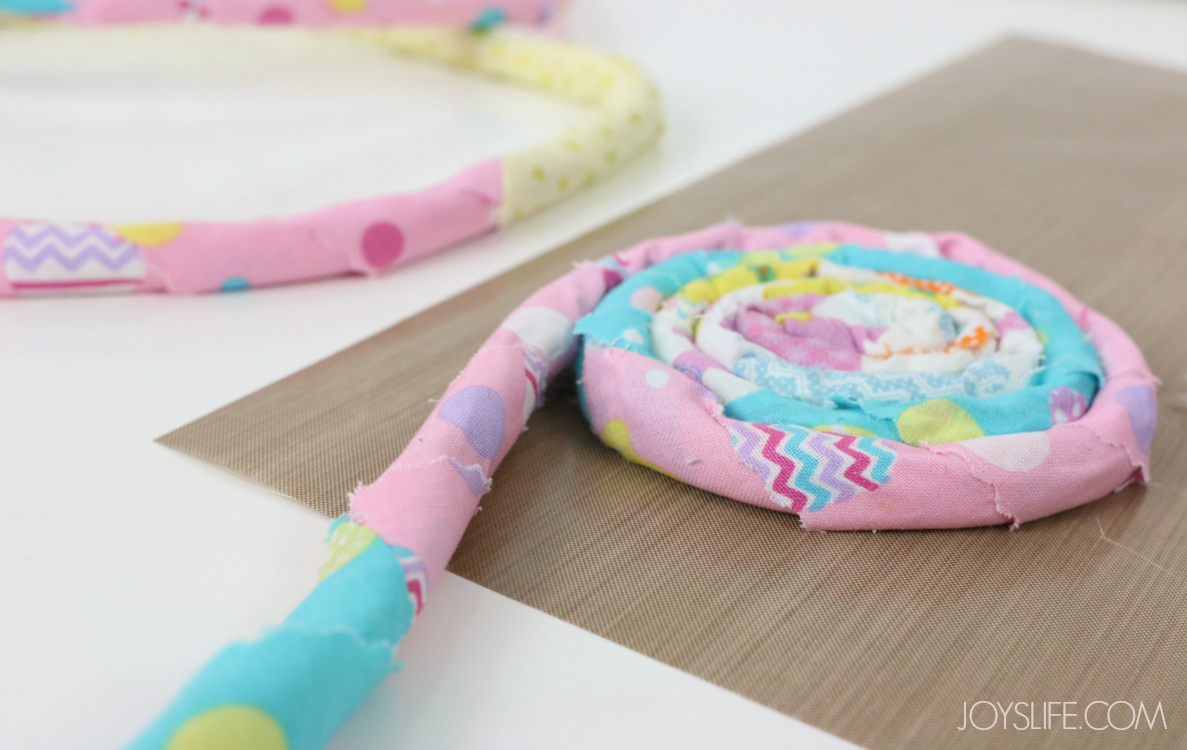
I think it looks pretty already.
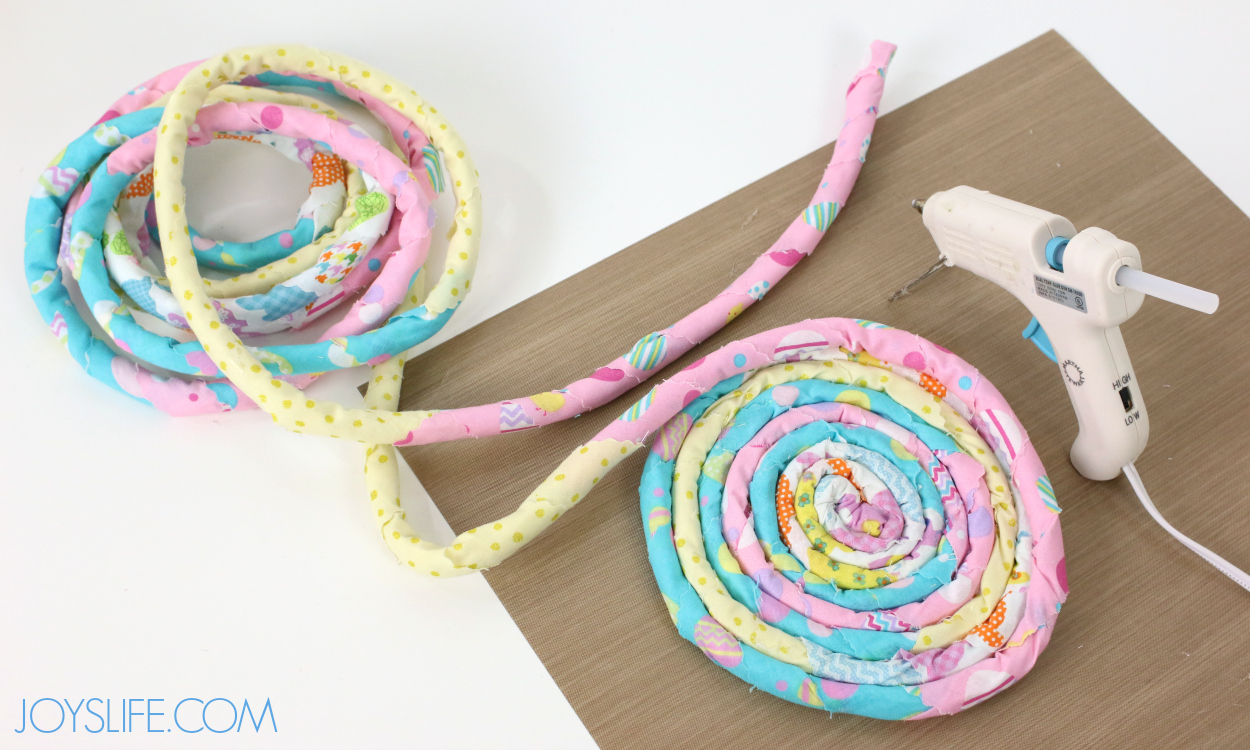
After creating a base of about 8 circles wide, I started creating the sides of the basket. When you’re ready, simply begin gluing the fabric wrapped rope on top of the most outward layer.

Keep going up and gluing until you’re close to the end of the rope. Yeah, my glue gets everywhere. I’m not a neat gluer, or is it gluist? LOL!
It’s almost finished!
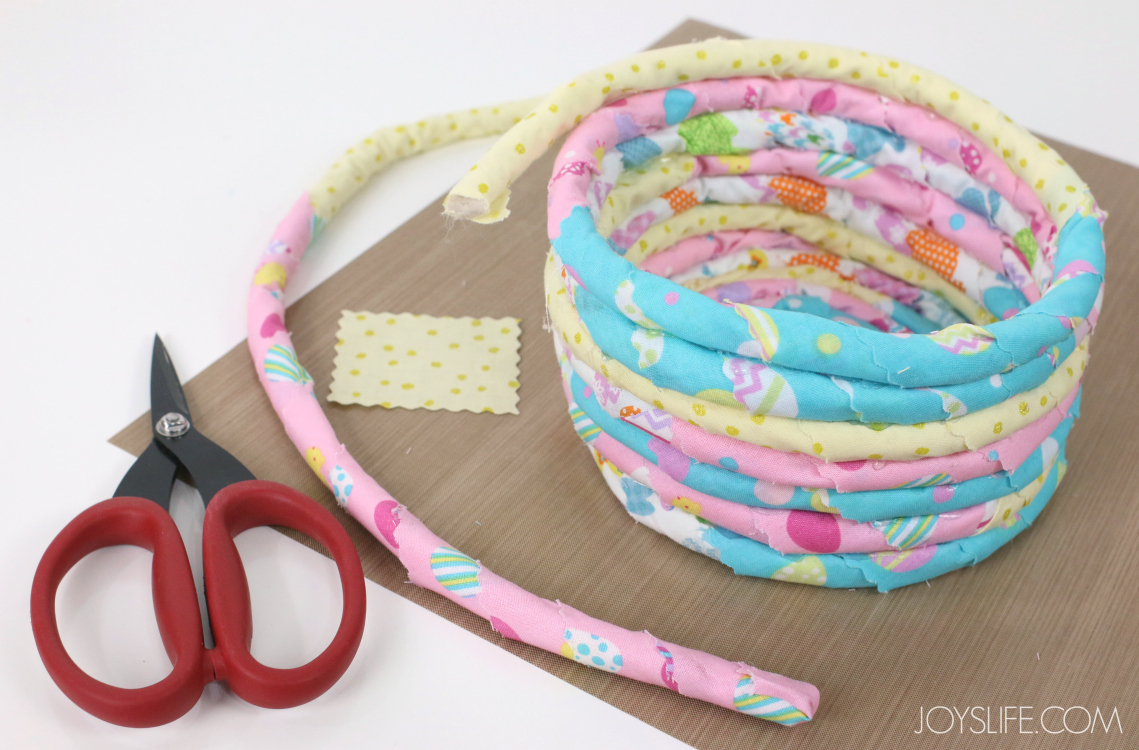
At this point, I cut off part of the rope and covered each raw end with fabric. I glued the loose end to the inside of the basket. Next, I glued the handle sides too. By the way, these are my favorite scissors. They are tough enough to handle a variety of jobs and can still cut paper well too. I’ve been using them since 2010. They rock!
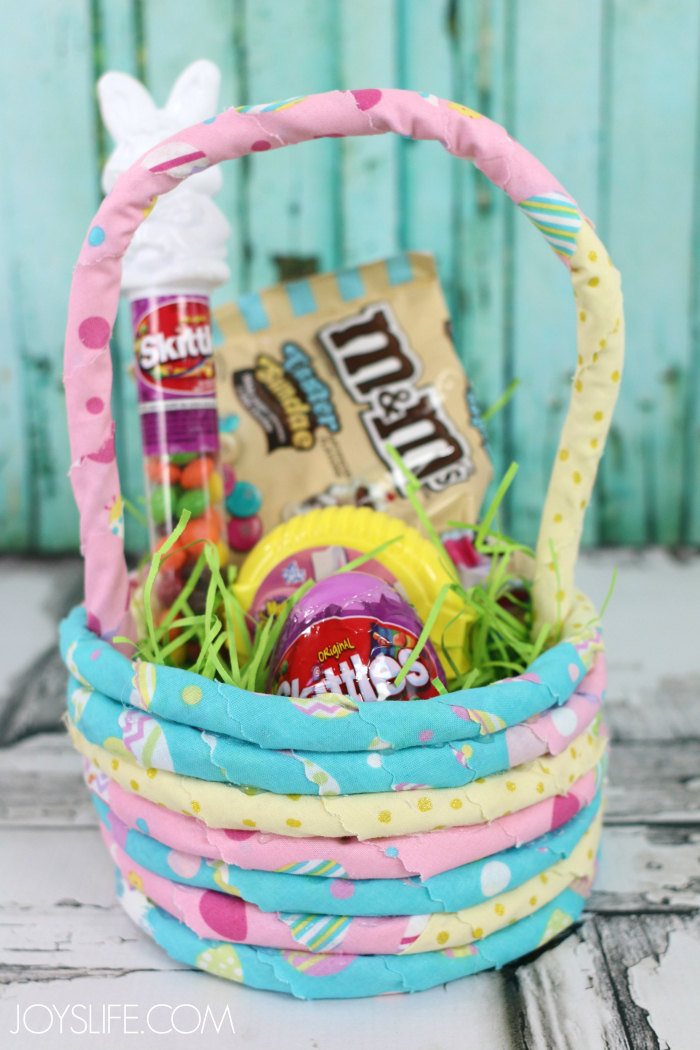
Make It Personal
Customize with:
- Ribbon or bows
- Felt flowers or bunny ears
- Fill with favorite Easter candy, small gifts, or a sweet note
This pretty basket is for my daughter who is away at college. She usually can’t get home for Easter due to exams, so this is a way that I can share the wonderful day with her. Try making one of these baskets! Pick your favorite fabrics and colors, add candy, and share it with someone special this Easter!
Related Crafts You Might Love
- 3-Ingredient Peanut Butter Cookies – for filling that basket!
- Easy to Make Desserts and Easter Party Ideas
- Butterfly & Flower Candy Gifts for Spring with Skittles and Starburst


SO cute! Love this. Going to pin for you.
Found you from SITS. 🙂
Hi Courtney! Thank you so much! Headed off to check out your no dye Easter eggs! 🙂
Adorable! I have a bunch of extra fabric and this would be a great product for it! (client)