How to Mount Rubber Stamps for Use with Acrylic Blocks
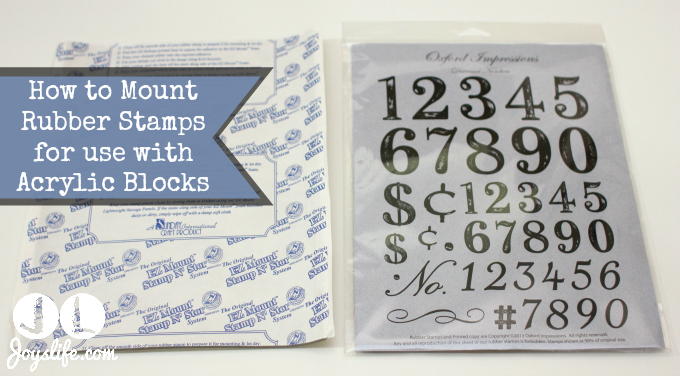
I recently bought myself these Number Stamps by Oxford Impressions. I kept finding myself needing a variety of numbers and I thought these were the prettiest I’d seen. I know, I know, numbers are numbers right? Well, maybe. I liked that these were rustic but still had a lovely fluidity to the shape. Plus, you get three sizes in one set! Yay to that! The only downside? They are not mounted. You have to cut them and mount them yourself. Bom, bom, bom. Yuck. Well, here’s how to do it.
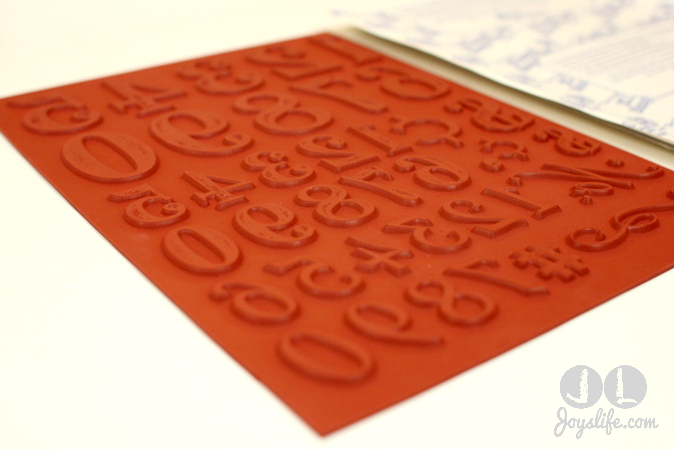
When you take them out of the package you can see how flat they are, except, of course, for the raised stamp image. See that foam on the right? That’s EZ Mount Stamp N’ Stor. That’s what we’re going to mount these stamps on…in one little second.
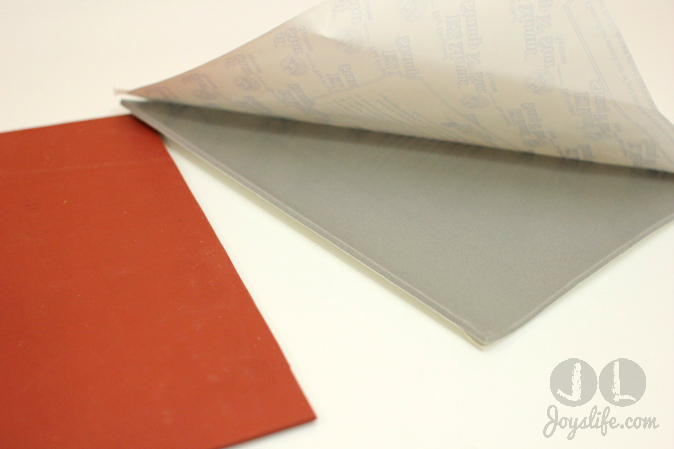
Turn your stamps over to the flat side. Remove the printed cover of the EZ Mount and carefully place your stamps, flat side down onto the sticky foam.
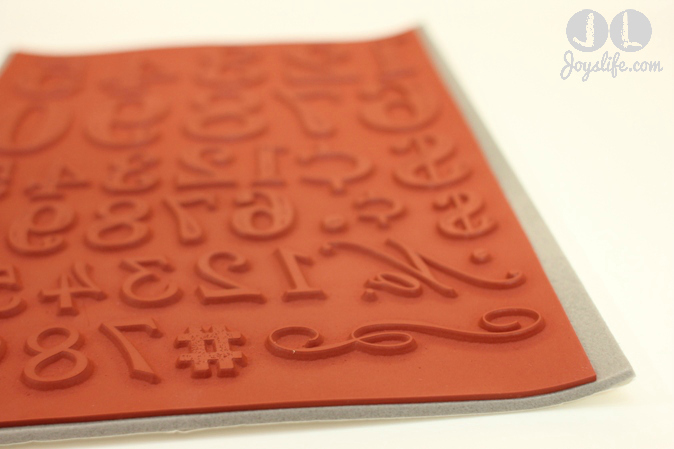
TA DA! You did it! Do you have some excess foam? Me too. You can just cut it off. You can do it now or when we cut each of these stamps out because…you guessed it…that’s what we have to do next. Ugh. Yep. Each one. Sigh.
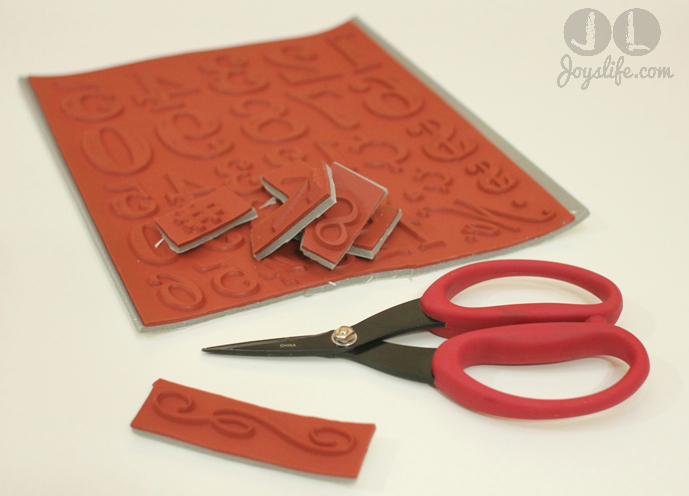
I’m using Tim Holtz Tonic Studios scissors. They’re great. They can cut through this rubber, snip thin wires, cut paper, basically be your best crafty friend. I bought this pair in 2010 and they are still terrific. I highly recommend them.
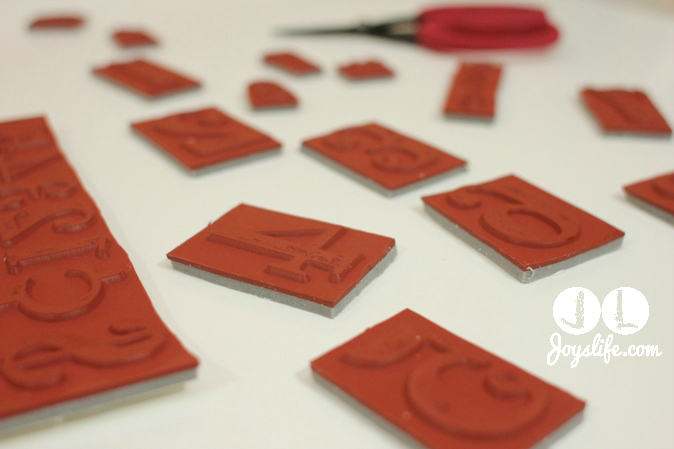
So, now you just need to cut all these stamps apart. The hard part is that they can’t all be cut square due to the way they are laid out. Just do the best you can. My most important suggestions are to not cut too close to the numbers and not to trim your stamps too much. That’s really important for getting a nice stamping result.
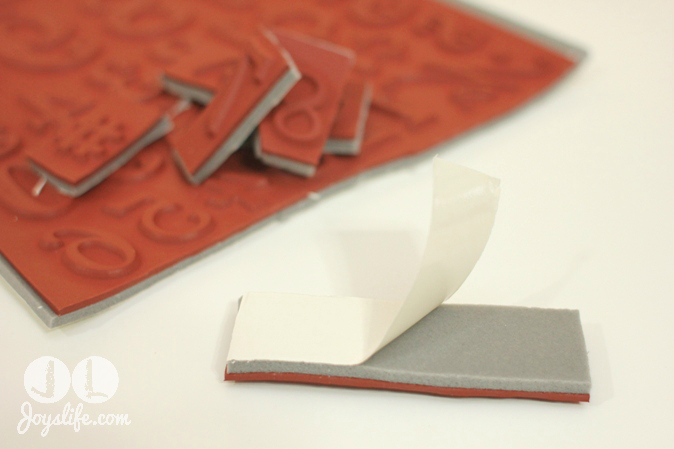
Once you’ve got them all cut out, you’re almost done! Simply remove the white backing and stick them to an acrylic block. Now you can start stamping!
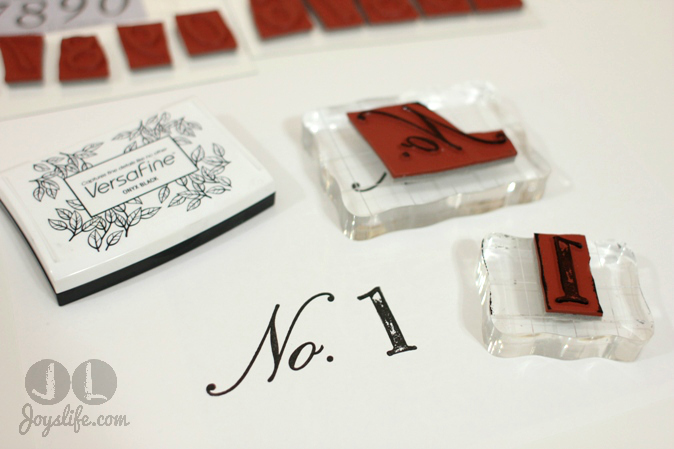
I’m using Versafine Onyx Black. Versafine ink is great if you want to show a lot of detail. I try to use it most of the time. Those are my favorite acrylic blocks. I like them because they’re easy to hold due to the scalloped sides.
With all that stamp talk, I need to shamelessly plug Joy’s Life stamps…so here it is! Take a look at Joy’s Life stamps, they’re clear acrylic stamps and all you have to do is stick them on a block! No mounting foam necessary. Whew! 😉
How to UnMount Rubber Stamps
You know what else you can do? You can RE-mount all of your rubber stamps that are on blocks so that they will go on acrylic blocks. That way they aren’t so bulky and are easier to store. Here’s a post I wrote about that waaaay back in 2009.



Thanks for the info on how to mount rubber stamps for acrylic blocks. I really enjoy your blog. Merry Christmas to you and yours.
Thank you so much, Barb! Merry Christmas to your family too! 🙂
~Joy~