Unmount rubber stamps by removing them from their wood blocks, attaching them to EZ Mount foam, and storing them in CD cases for easy organization and space-saving storage.
Why I Switched to CD Case Stamp Storage
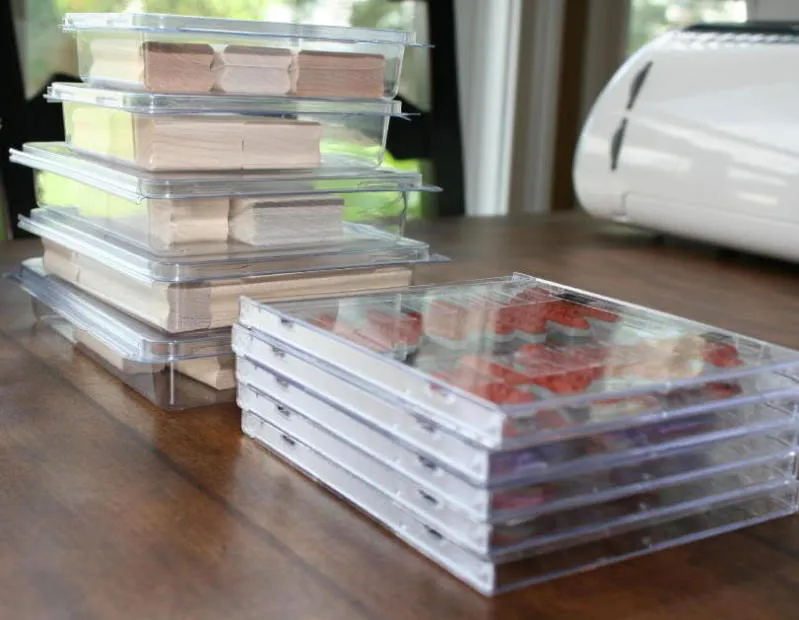
Five Stampin’ Up stamp sets reduced to five easy-to-store CD cases!! Woo hoo!
I finally did it! I got all my rubber stamps unmounted, stuck them to EZ Mount and now they easily cling to acrylic blocks! Yay!
One of the biggest reasons I did this was to save space. Those wood blocks take up a lot more room than you realize until you start stacking them up. Switching to CD cases made everything more compact and so much easier to store.
Another reason was switching to acrylic blocks instead of wood blocks. With wood blocks, you really can’t see exactly where you’re stamping. With acrylic blocks, you can see right through them, which makes placement so much easier and more accurate.
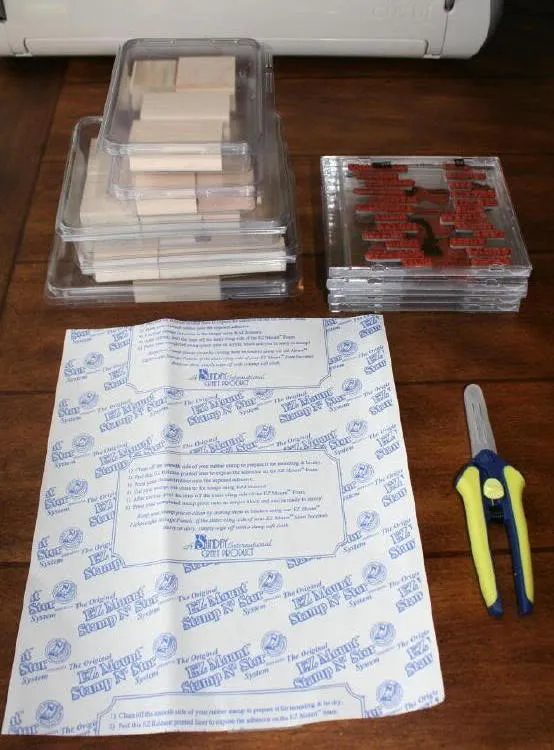
Supplies You’ll Need to Unmount Rubber Stamps
TIP: You can use WD40 to clean the sticky off the scissors, but make sure they’re wiped of the WD40 before using them again. They even make these precision WD40 pens now, which are much easier and less messy, to use!
Is It Hard to Remove Rubber Stamps from Wood Blocks?
If you’re trying to unmount rubber stamps, here’s what I found.
I started by using new Stampin’ Up rubber stamps.
They were easy.
I just peeled them off their backing and had no trouble at all. Of course, they hadn’t been attached to the wood blocks yet.
I did run into trouble with old stamps.
You can microwave the rubber stamps for a few seconds and they should peel off. This was true for me with a lot of my stamps, but not all.
Don’t Miss This Tutorial
How to Mount Rubber Stamps for Use with Acrylic Blocks
Frankly, I ended up throwing a few stamps away because I didn’t want to deal with the hassle and I wasn’t in love with the stamp anyway.
I found that those attached to black backings (for me) was a real pain.
Best Way to Store Unmounted Rubber Stamps
There’s actually a CD container box, so that helped!
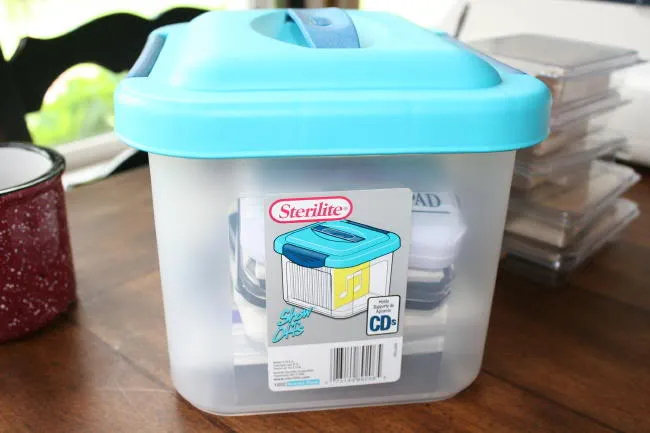
You see I have some ink pads in mine, but I noticed when I turned it around that it’s made for CD’s, among other things.
Using CD cases for unmounted rubber stamps keeps them flat, visible, and easy to flip through.
Tips for Cutting and Mounting Your Stamps
This is the final product.
Luckily, it doesn’t matter if you don’t cut it perfectly. Just cut as close to the raised edges of the image or text as you can, so you can tell where you are stamping and get a good, clean print.
Leave a little more space around text than images so it sticks well to the blocks without rolling off, because text can get really thin.
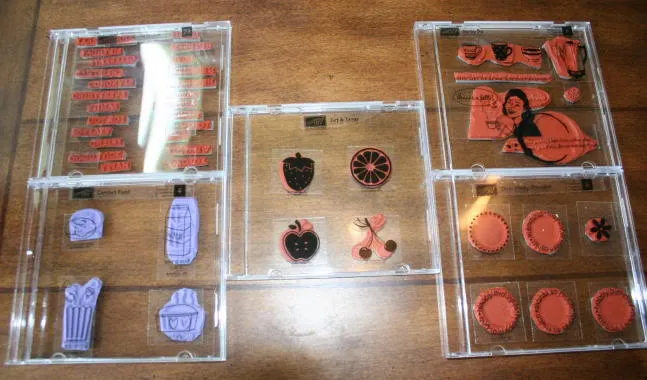
How to Label and Organize Your Stamp Sets
These are the 5 Stampin’ Up sets all attached to the EZ Mount and clinging to the CD cases.
I just put the stickers that say what they are on the outside of the cases.
You can just stamp an image on the insert that comes with your cases, or make one out of cardstock if you don’t have any. Then you can tell what you have without staring at the rubber and trying to decipher it.
Now that I’ve accumulated so many CD cases full of stamps I’m really starting to see the need for labeling on the sides.
If you make an insert…make a side label too. I use this label maker.
More Stamping and Organization Ideas
If you are working on organizing your stamps or improving your setup, these will help you take the next step.
How to Mount Rubber Stamps for Acrylic Blocks – This is what you will want to do after unmounting your stamps.
How I Clean My Stamps and Acrylic Blocks – Keep everything clean so your stamps last longer and stamp clearly.
How to Make Clear Sticker Sentiments from Craft Stamps – A simple way to actually use your stamps once they are organized.
DIY Wax Paper Bags – Useful for packaging or organizing small craft items.
Another storage idea you might enjoy!
How to Create Fabric Scrap Storage – Another easy way to keep your craft space organized.


I can’t watch the video from work so I’ll forward this to my home email and watch it tonight. It looks really cool and would be a super way for me to get more space in my craft room! I’m wondering…can you use Staz-On ink to stamp the image onto the EZ Mount (before you put it on the back of your stamp of course!)? That way, you could put the EZ Mount on the stamp like you put the stickers on the Stampin’ Up blocks and you would be able to see the image through the acrylic block to make sure you don’t stamp upside down! Just food for thought…..
That sounds like a great idea! If I didn’t already have everything mounted, I’d give it a try. Ok, you have to test that out and report back!!
I have just started getting into stamping, only have a couple of SU sets. So this will be great info for my future purchases. Thanks!
“smileyone”
Hey Laura..
there is a video on YouTube that shows exactly that…the lady uses Staz-On to stamp on the foam. Worked PERFECT!
…and I just realized this is a YEAR after your post! OOPS!!!
Thanks so much – this will be an upcoming project. I dont have many rubber stamps to unmount but I really want to get my clear stamps into cases so they are organized better!
Deanne G
[email protected]
Yahooo!!!! I was using my clear stamps last night and thinking how I’m frustrated with my current storage of these stamps and other waiting-to-be-mounted stamps, and here you are, coming to my rescue again, Joy! Never thought of using CD cases! Thank you again! : )