Upcycle an Old T-Shirt Into a Useful Bag
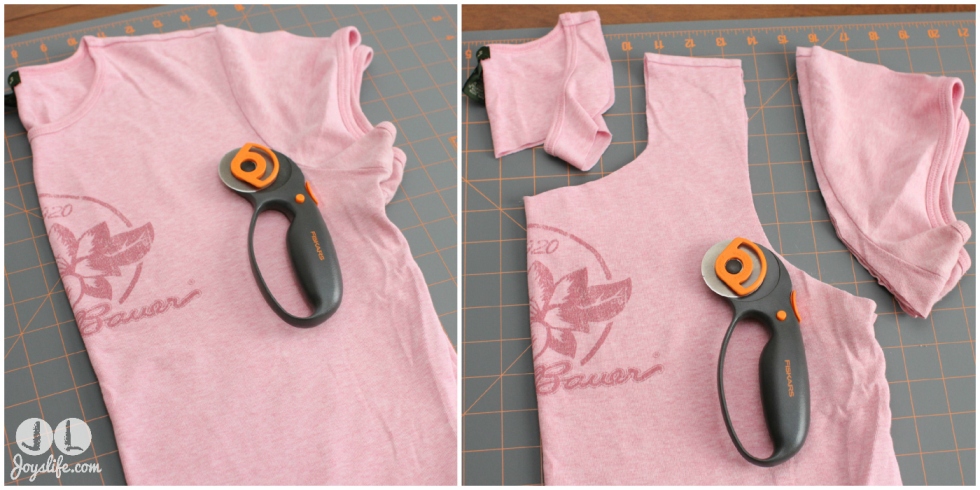
I’m super excited about one thing. I lost enough weight from exercising that this shirt is too big! YAY! That made it a perfect candidate for turning it into something I really did need. A bag to hold my kickboxing gloves. This is definitely not my original idea, though I added in a few changes. I saw so many tutorials on Pinterest for making awesome things out of t-shirts, I just had to try it. (I followed this one.)
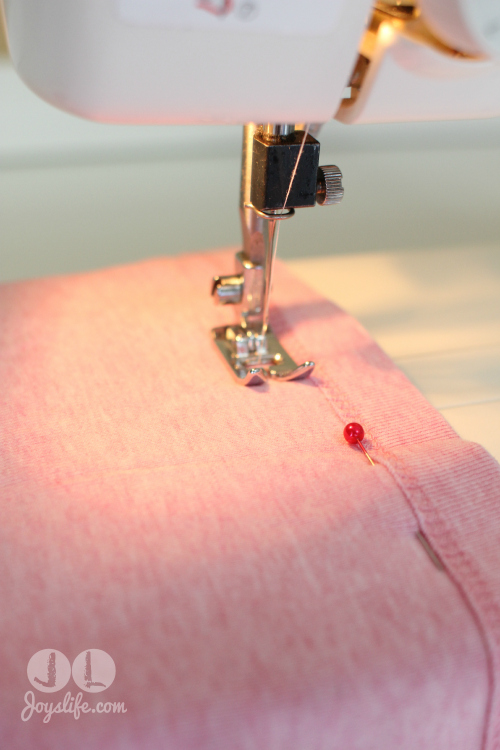
What?! I rocked the straight stitch twice in one week! Alert the media! LOL! I’m trying to sew a little bit more. Here, I’m sewing the bottom of the shirt closed. By the way, I pinned that wrong. I’m reading this sewing book and you’re supposed to pin vertically not horizontally. I’m a beginner. 😉 I’m using a 20 year old Brother sewing machine that I bought from WalMart but I bought this machine last year…and have yet to do anything with it except turn it on. Bad me.
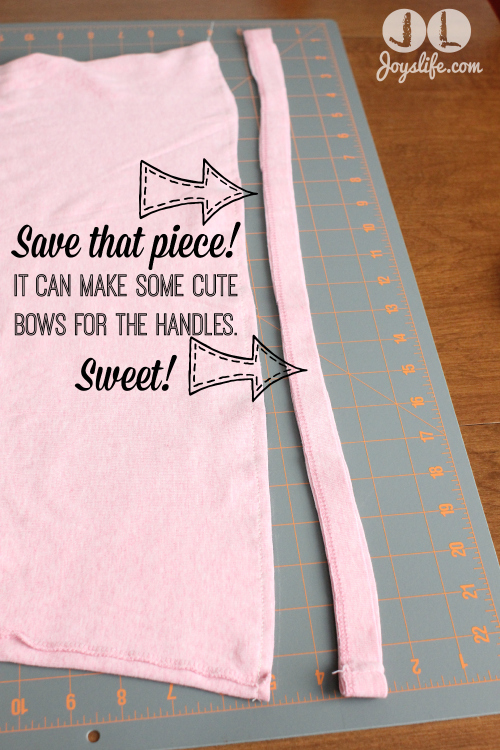
After you sew the bottom closed you can cut off the bottom of the shirt. I saved it and cut it to a size that I liked to create some bows for the handles. (Also because my finished bag looked hideous without them. Just sayin’.)
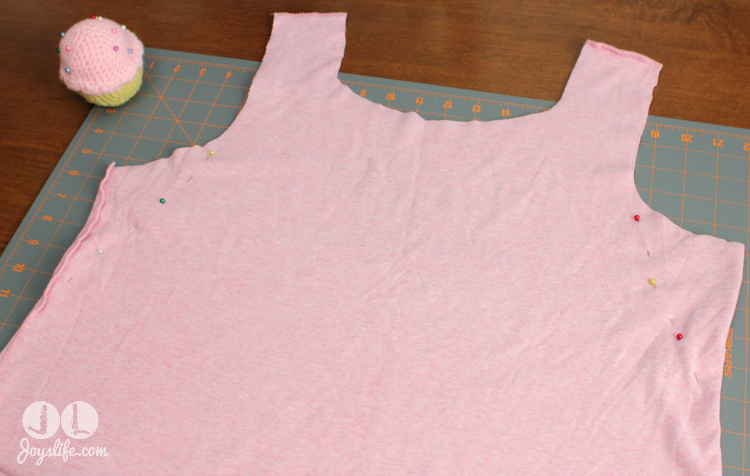
Honestly, the bag is finished at this point. However, I turned mine inside out and it was so ugly that I just had to do more surgery on it. I decided to taper the sides of it some, so I just pinned it again and sewed those areas.
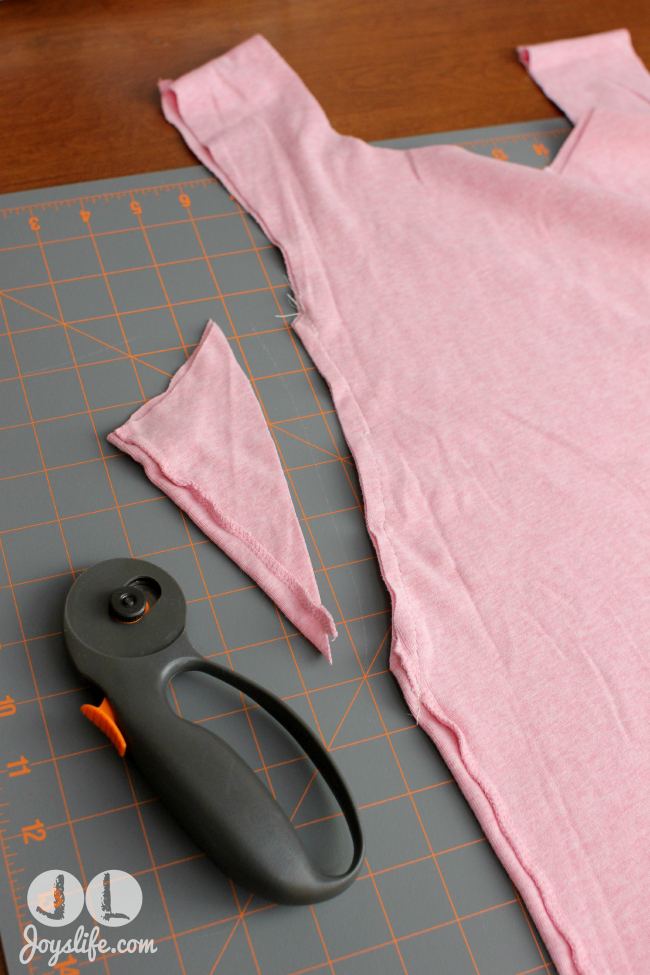
Then I cut them off, just like with the bottom of the shirt. Those changes really helped the overall look! I’m using a Fiskars Rotary Cutter to make my cuts and I’m cutting on a self healing mat.
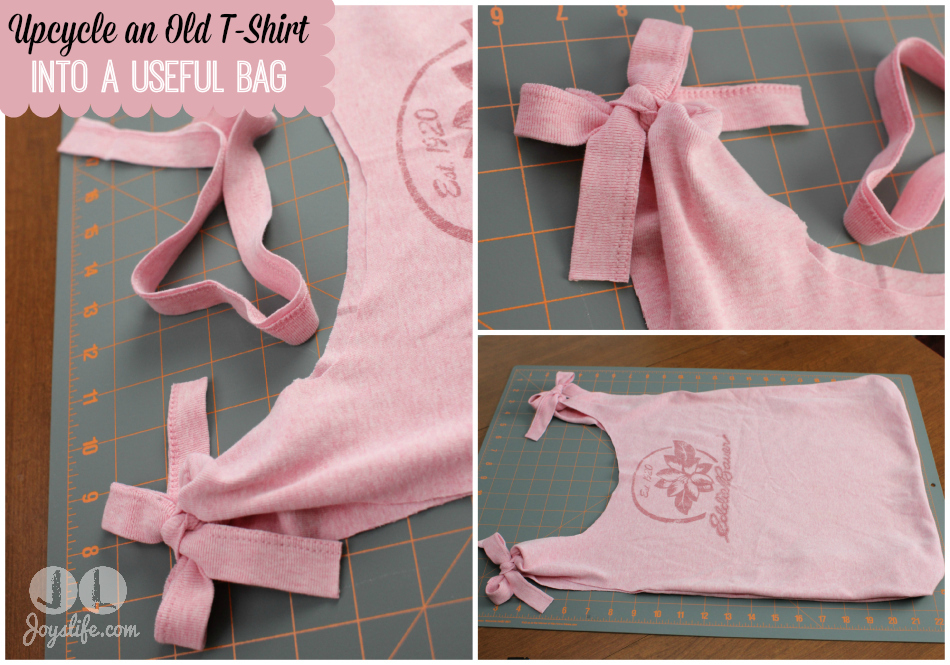
See?! I told you! Save that leftover bottom of the shirt piece and turn it into bows. Cute, huh? Plus, you reused almost the whole shirt. Almost. 😉
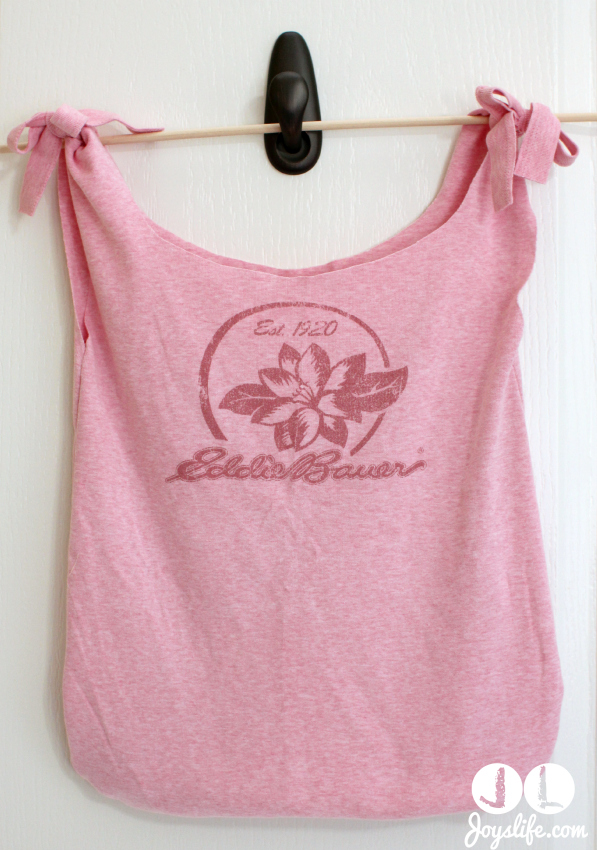
Alright…I made the shirt bag and it was fun. Really! I had a nice time putting it together, adding some of my own changes and working with my sewing machine.

However, this shirt with my kickboxing gloves in it looked HIDEOUS when it was actually being toted around! (On the table here I think it looks fine.) I DID take this to the gym with all my stuff in it…and it fit. So, that’s a yay. Then I came home and ordered myself a proper gym bag (gym sack) that fit my needs and didn’t look like I was carrying a shirt full of fighting kittens in it. The awful look probably came from the stretchy fabric of this shirt, which might just be stretchy due to time and wear. I still think this is a fabulous DIY idea and it’s incredibly resourceful and useful. Two thumbs up to the original creator. So, my suggestion? Maybe tie a knot in the bottom of the shirt you’re thinking about using and see if the items you want it to hold look good in it. Smart! Want a no-sew option? This one is great.
Happy Crafting!



Joy, that is rather unseamly of you. You had me in stitches with your “hideous” comments. But I think you are doing sew well. 😉 Anyhow, you reminded me of high school, did a similar project, however, we did ours upside down. Sewed straight across from armhole to armhole, then slit the hemline open at the side seams and ran two pieces of cording to draw it shut…Home Economics 101.
Blue Rose,
You’re so much Pun! 😉 I should try a drawstring bag. That’s what I ended up buying after all. LOL! Sad that I missed out on Home Ec. Now I’m doing “at home” ec. LOL! 😉