Sewing Machine Light that You Can Afford and Install Yourself
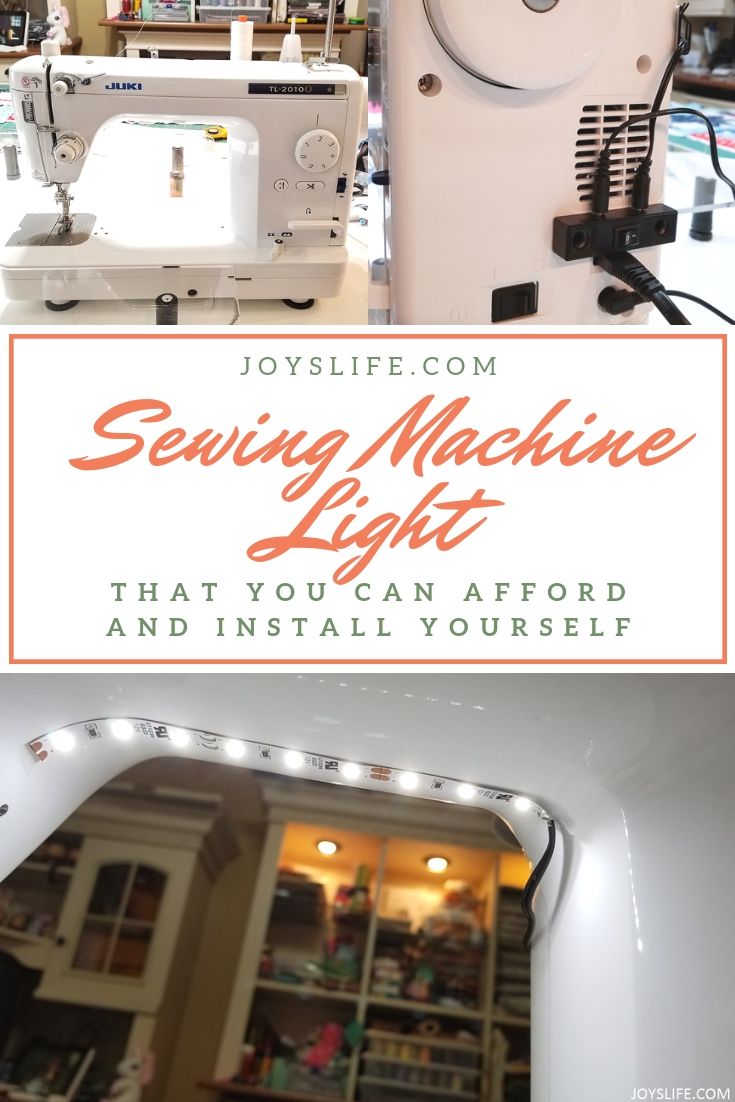
I don’t know about you, but it can get SUPER DARK under my sewing machine, or at least I find myself straining to see some things, especially after sewing for a long period of time. The perfect solution to that is to light it up! I found a super easy to install sewing machine light that you can afford and install yourself. YAY! Seriously, I installed mine in a few minutes and finally lit up my machine.
Sewing Machine Light
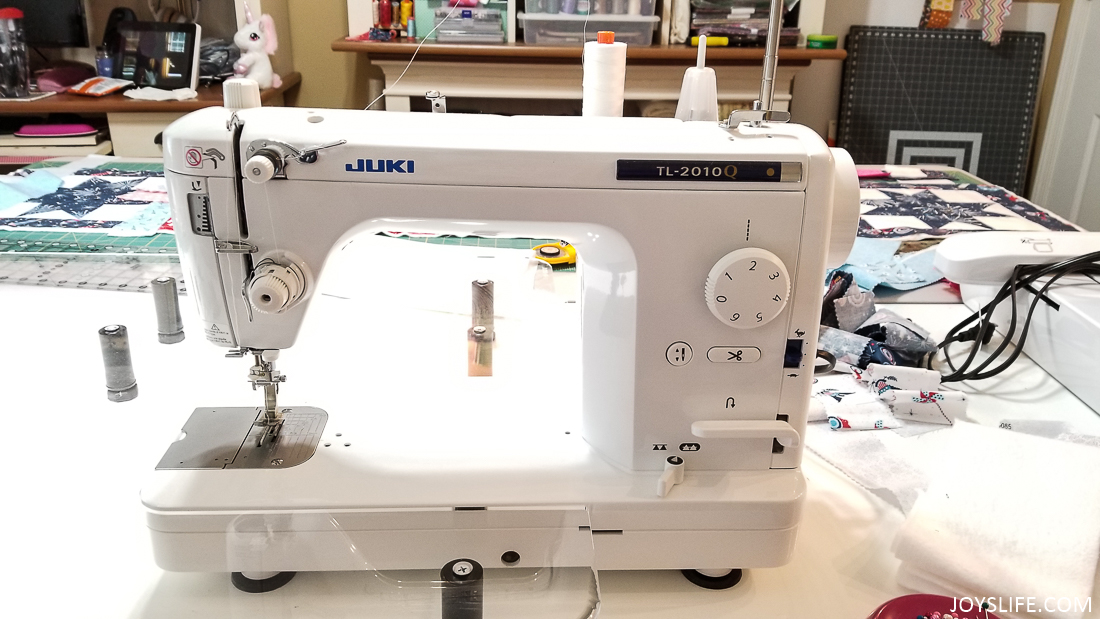
I purchased this Sewing Machine LED Lighting Kit on Amazon. It says it fits All Sewing Machines and it had no trouble fitting my bulky Juki TL 2010 Q, which I love, by the way. It’s an awesome machine!
Cut, Peel, Clip & Stick
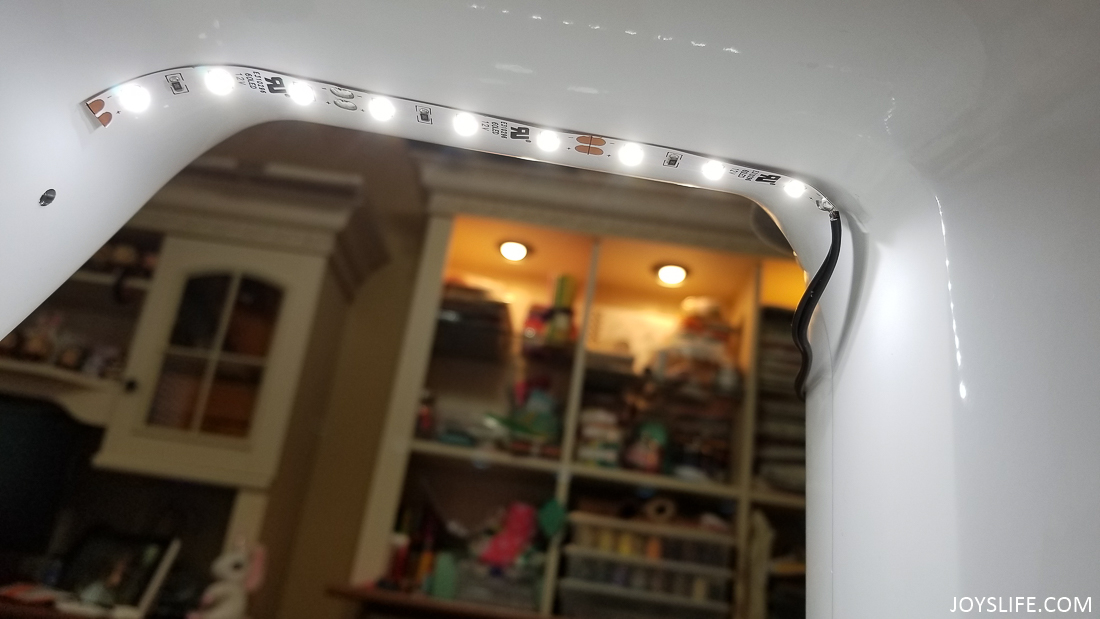
The light kit is really just a cut, peel, clip and stick situation. You cut the LED light strip to the length that you need. Peel the adhesive off of the back of the strip and stick it along the neck of the sewing machine.
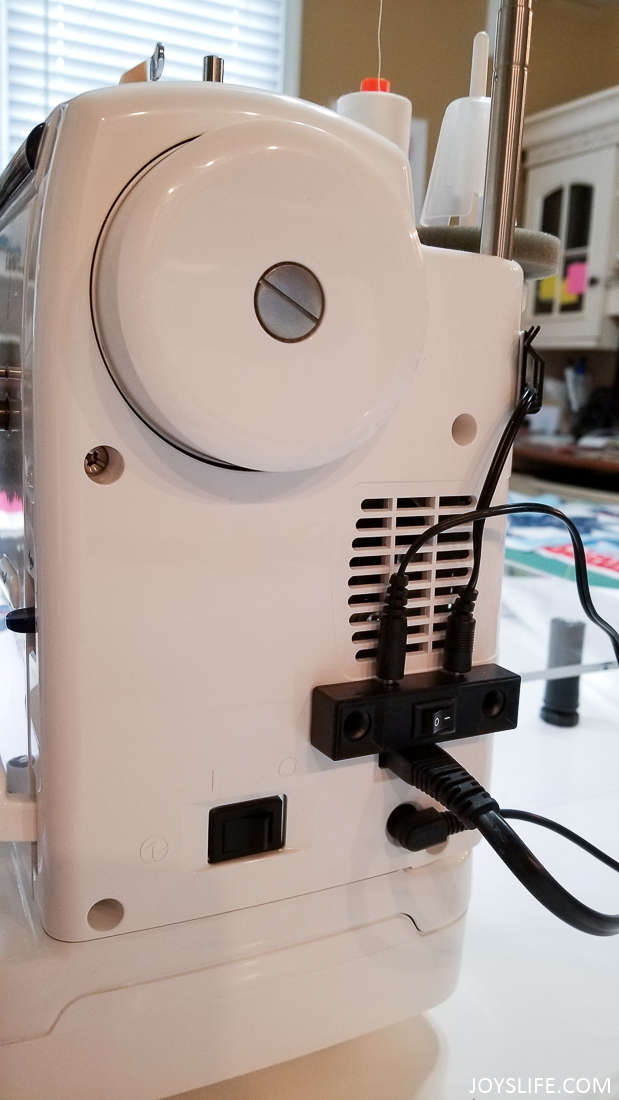
Stick that Switch
Next, you peel and stick a clip on the back of your machine to keep the cord out of your sewing lane. Then, you peel and stick the switch to the side of the sewing machine. Plug the cable on the LED strip into the switch input and plug the power supply into the switch output. Next, plug the power supply into an outlet and turn on your light! TA DA! You can see! I highly recommend adding one of these LED sewing machine lights to your machine. I really appreciate the additional light it gives my sewing surface.

