You know what I think is exciting? Learning new things. I’ve been taking baby steps to learn how to make a quilt and this coffee mug rug is a great step on the way to that goal, because a mug rug is just a little quilt! It’s made small to fit a delicious cup of coffee and a yummy snack. That’s some great motivation, right? Learn something and have a place to put a cup of coffee?! I’m all in on ideas like that. So grab a cup of coffee and let’s get started!
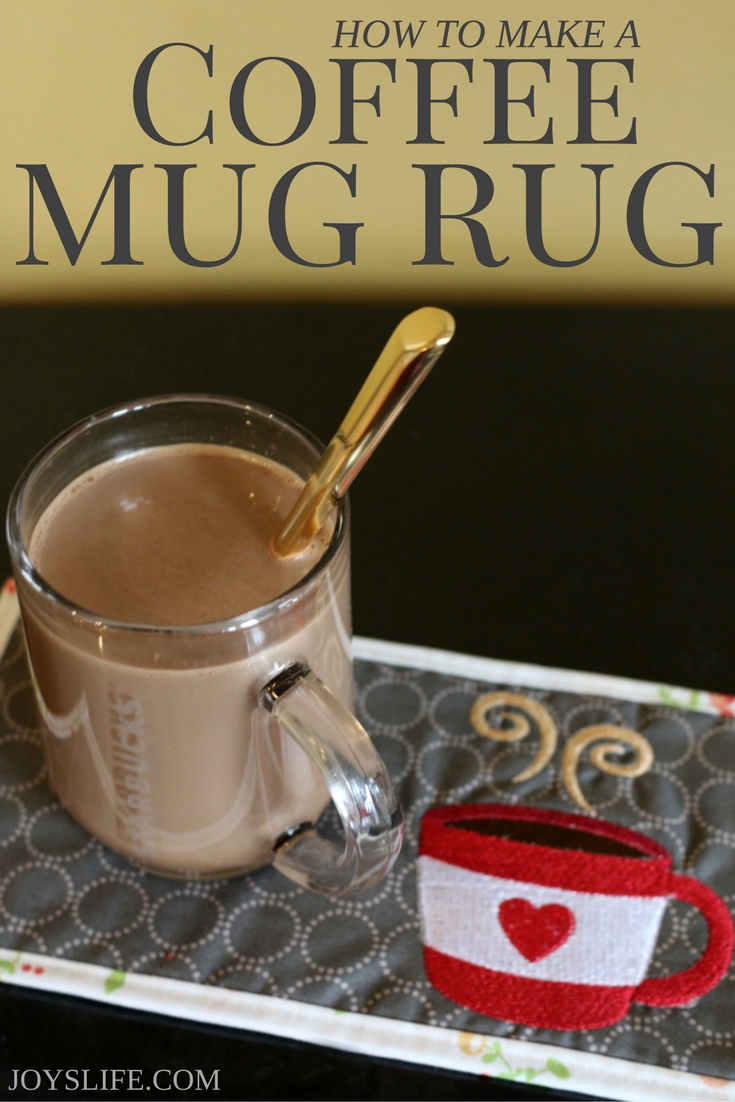
How to Make a Coffee Mug Rug

The size you make your mug rug is up to you, but in general it should be larger than a coaster and smaller than a placemat.
I’m using 3 – 5″ x 10″ cuts of 100% cotton fabric and 1 – 5″ x 10″ cut of quilt batting. If you want to theme your mug rug, you can use a variety of options, from ironing on cut fabric or vinyl to embroidering by hand or machine. You can also create and use your mug rug without any additional embellishment. When I was creating this tutorial, I made a test mug rug without any embellishments and it’s adorable! I’ve been using it since I made it, so however you want to design yours is just fine! Make it your own!
Optional – Embroidering the Coffee Mug
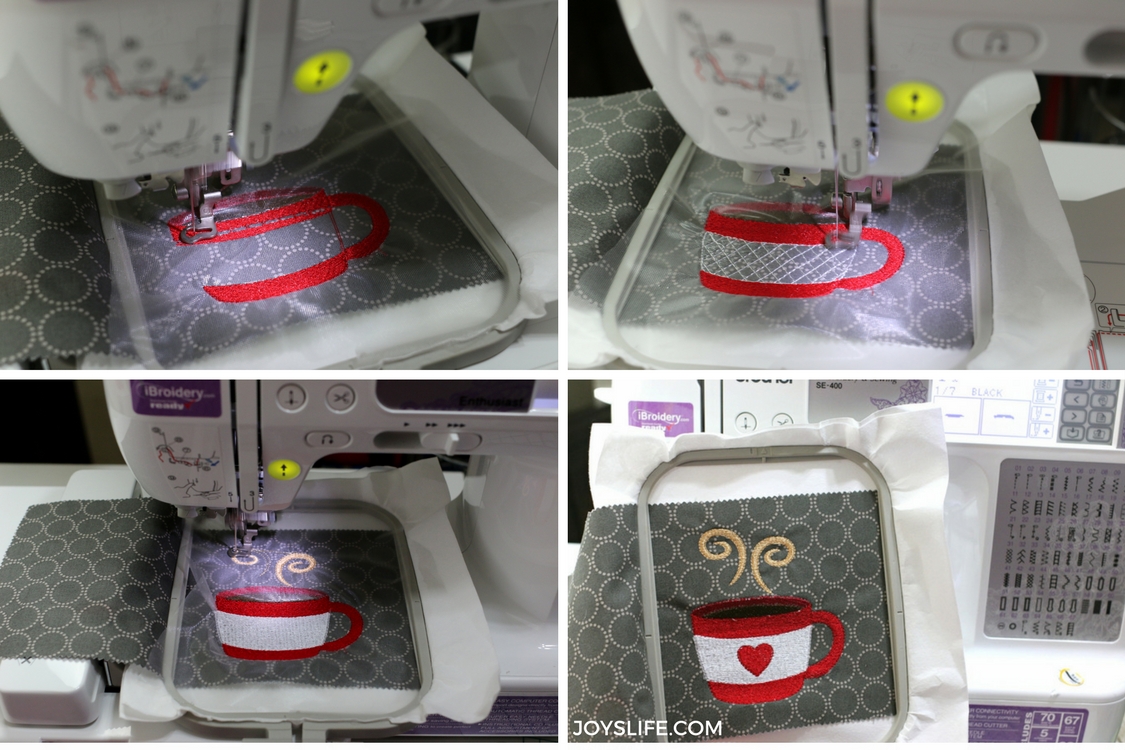
If you want to add a coffee cup like this one to your mug rug you’ll need this coffee file and an embroidery machine. I used the Brother SE400. Here are some other projects I’ve done with it. It’s a great machine. I think it’s so much fun watching the coffee cup come to life! If you use this embroidery file, consider doubling the stabilizer and adding water soluble stabilizer to the top. There are a lot of stitches and that helped me get a good result. I talk more about water soluble stabilizer in this post.
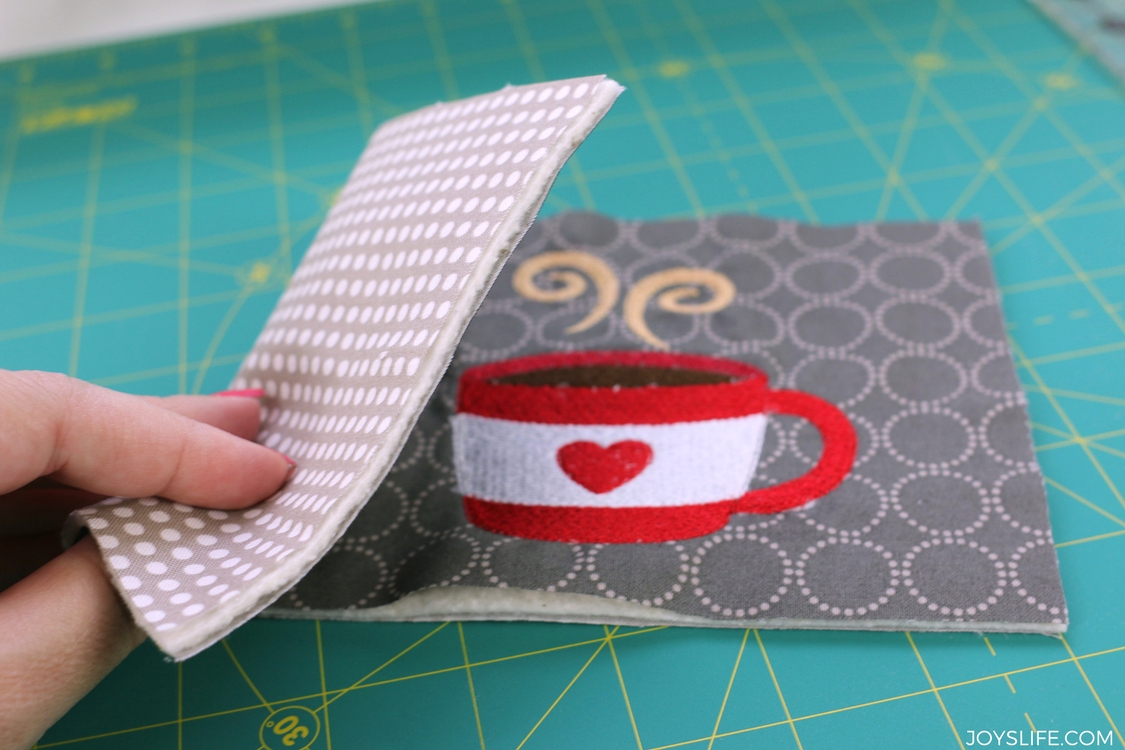
Layer the fabric + batting + fabric, with right sides facing out. The “right sides” are the pretty ones with the most vibrant print.
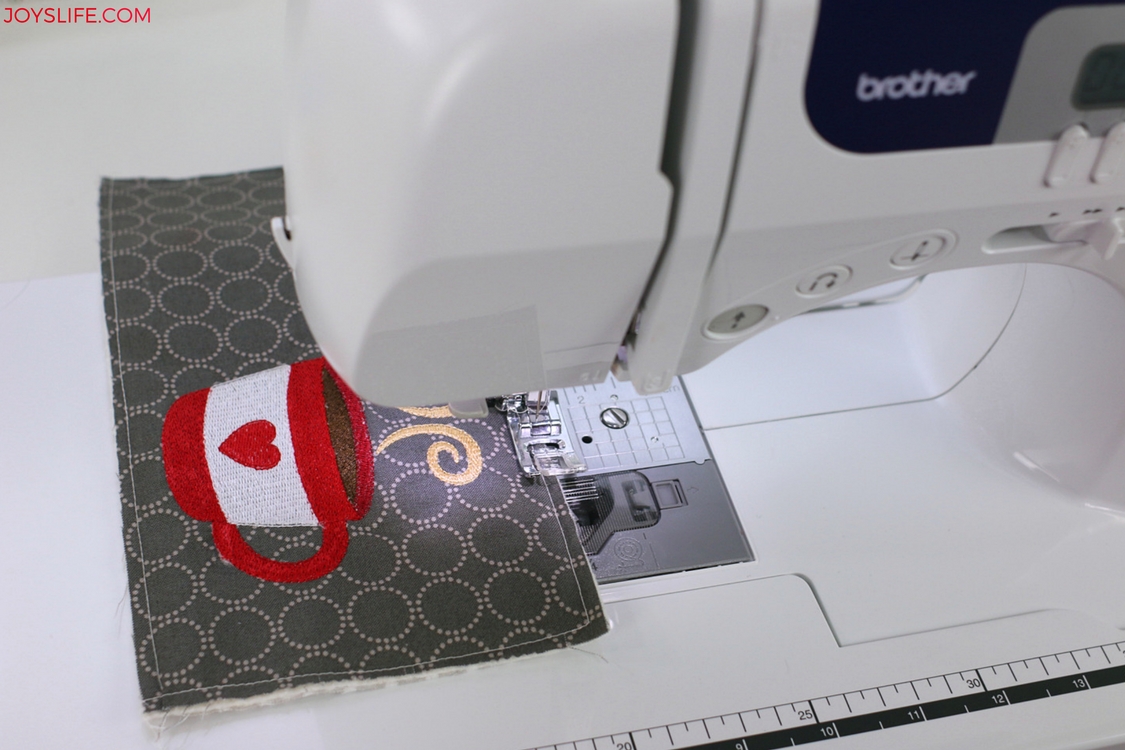
Sew a 1/4″ seam around the edges of the fabric, batting, fabric “sandwich”.
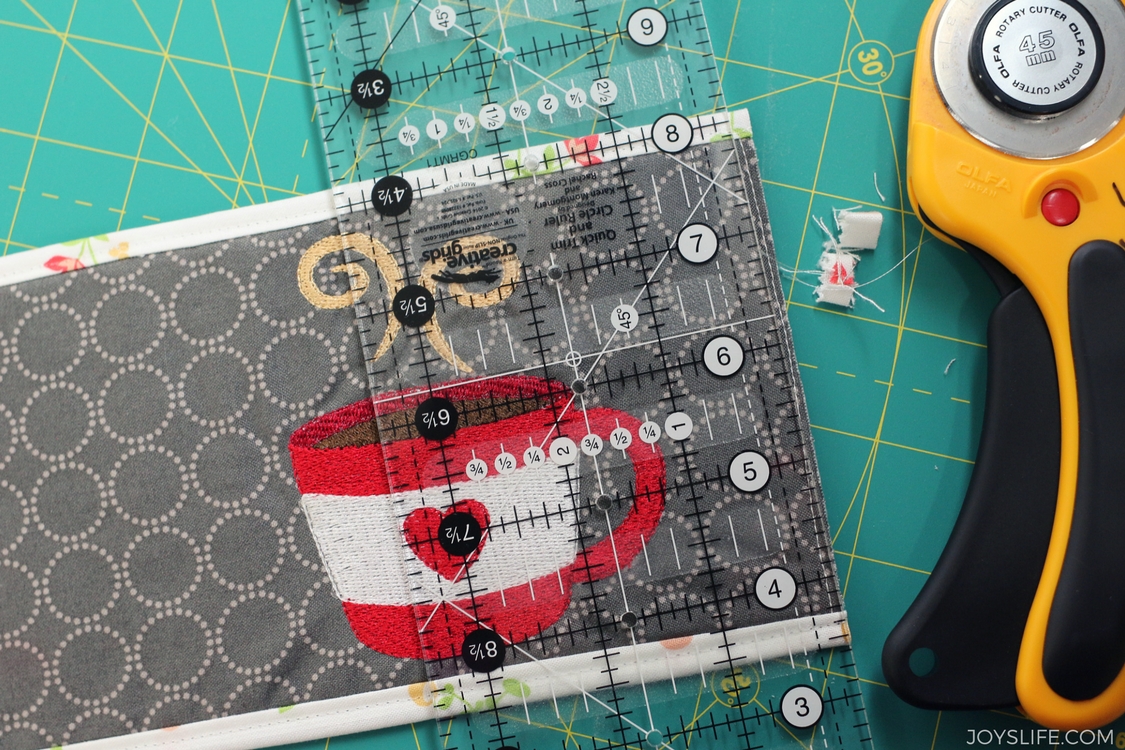
Cut off excess material by squaring the edges as much as possible. Use a ruler, cutting mat and rotary cutter or scissors. Be careful not to cut off the seams you just sewed, like I did. LOL! If you just nick a little off, it’s really ok. The binding will take care of it. If you cut a lot off, go sew a new seam. It’s ok.
Cut binding pieces from your remaining piece of fabric.
Cut 2 pieces 1-1/4″ wide and the length of the long sides.
Cut 2 pieces 1-1/4″ wide and the length of the short sides.
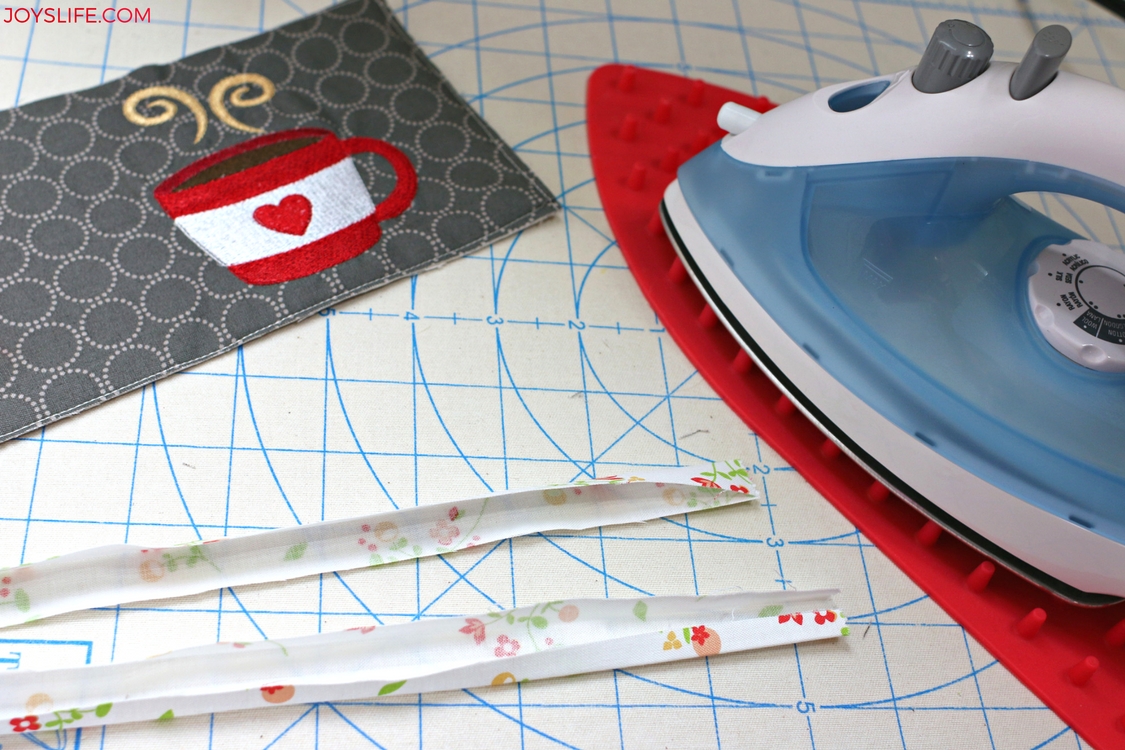
For the best result, fold the binding in half and press it with a hot iron. Next, fold the sides so that they almost meet in the middle and press those. This will help the binding fold in well when you add it to the mug rug.
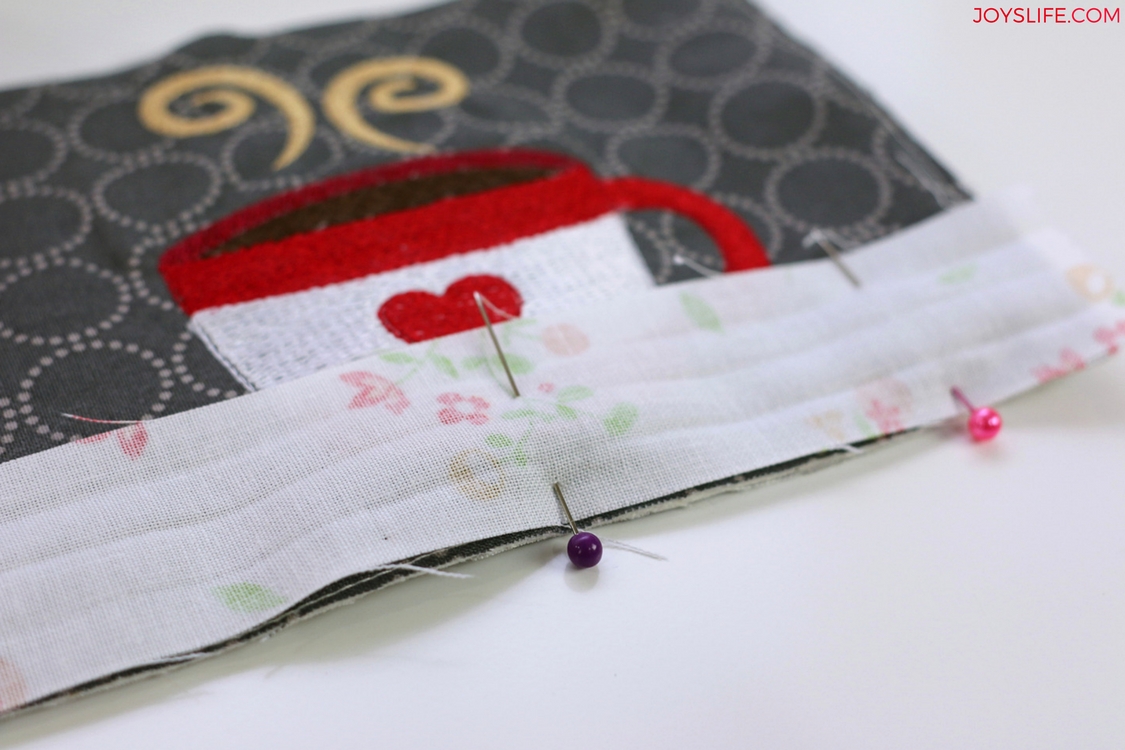
Pin the longest side with a long piece of binding, keeping wrong sides together. The binding should be opened completely at this point.
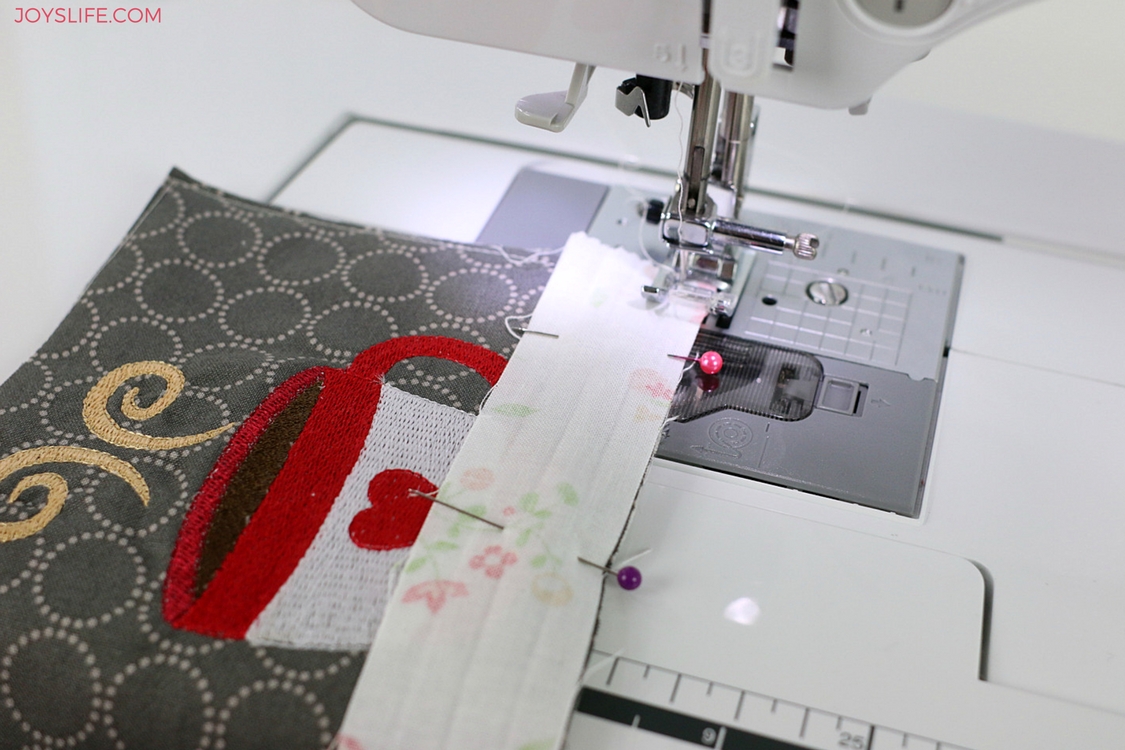
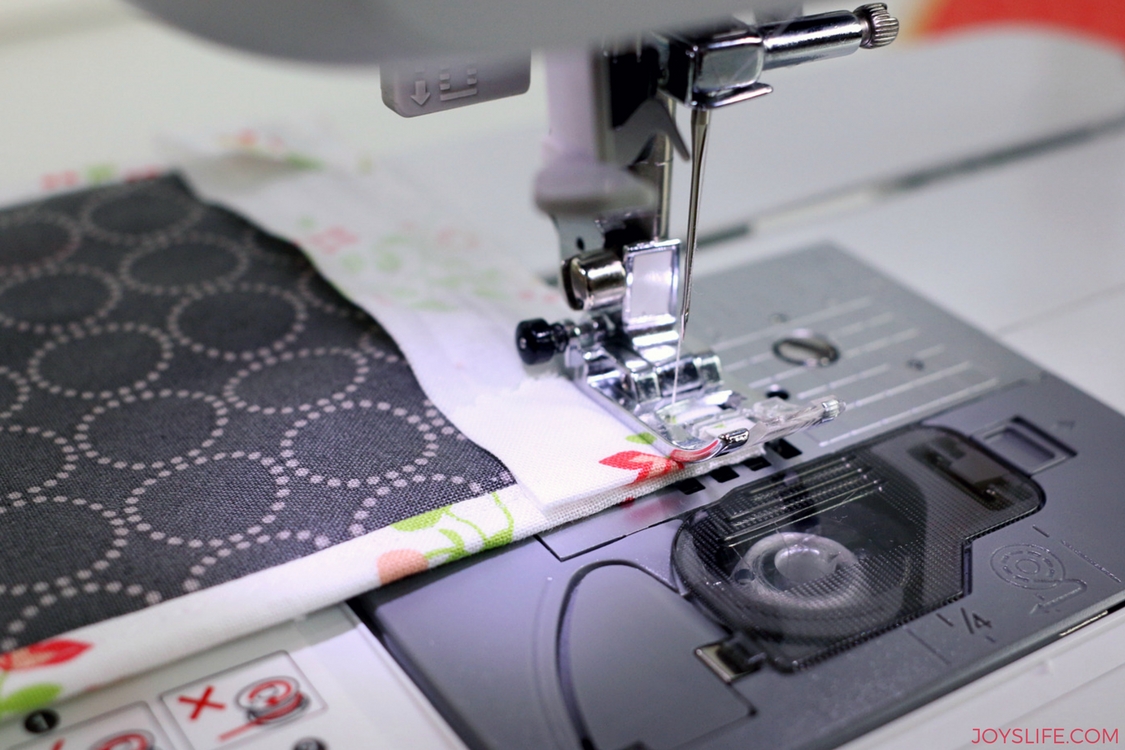
Sew the binding to the mug rug using a 1/4″ seam.
Use a thread that will contrast nicely or blend in for the best look for the finished binding.

When you’re finished sewing the binding to the long side, is should look like this. Fold the binding to the back, using the previously pressed lines to help you achieve a nice fold.
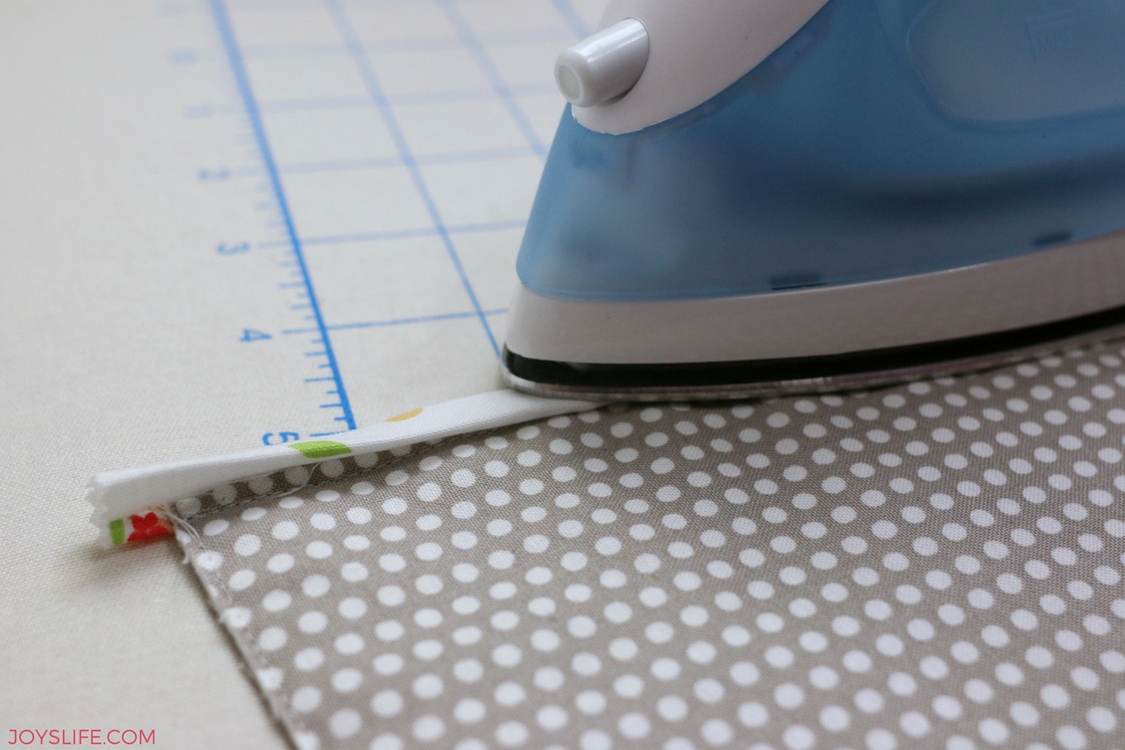
The binding probably won’t want to lay flat, so after I fold it, I like to press it in place again. This step makes it easier to pin and helps it keep its shape.

Looking good! Pin the binding in place and take it to your sewing machine. Sew a scant 1/4″ seam.
After you’ve adding binding to the bottom and the top of the long sides, trim the excess binding so that it is flush with the mug rug. I use a ruler and a rotary cutter (on a cutting mat) to make sure I cut those ends off evenly.

Pin the end pieces just like you did the long sides, except this time, leave about 1/2″ hanging off each end. Fold that end inward and pin it in place. You’re going to sew that down to create a finished edge.
Sew the folded piece, and the rest of the binding, just like you’ve done before. Make sure to fold in the opposite end too. When you’re finished with that fold it over, just like you did when you bound the long sides, but keep the ends tucked under. Pin and sew. I used a scant 1/4″ seam here too. When you finish the binding, you’ve got a completed mug rug!! YAY!
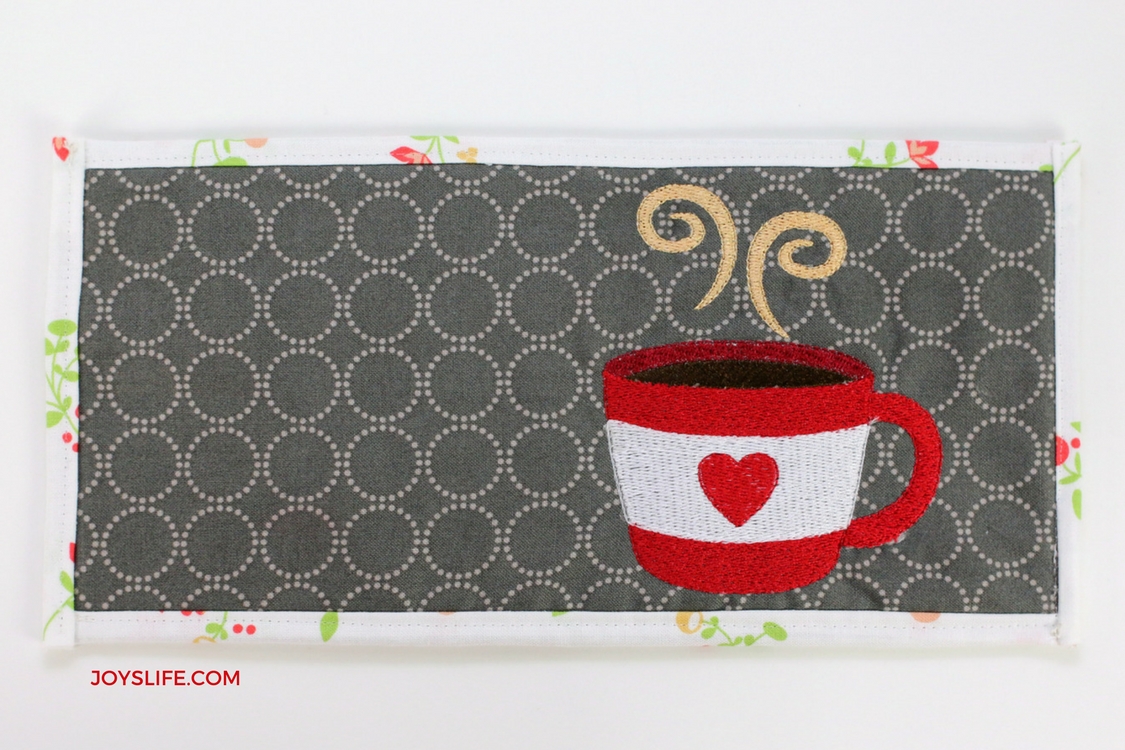
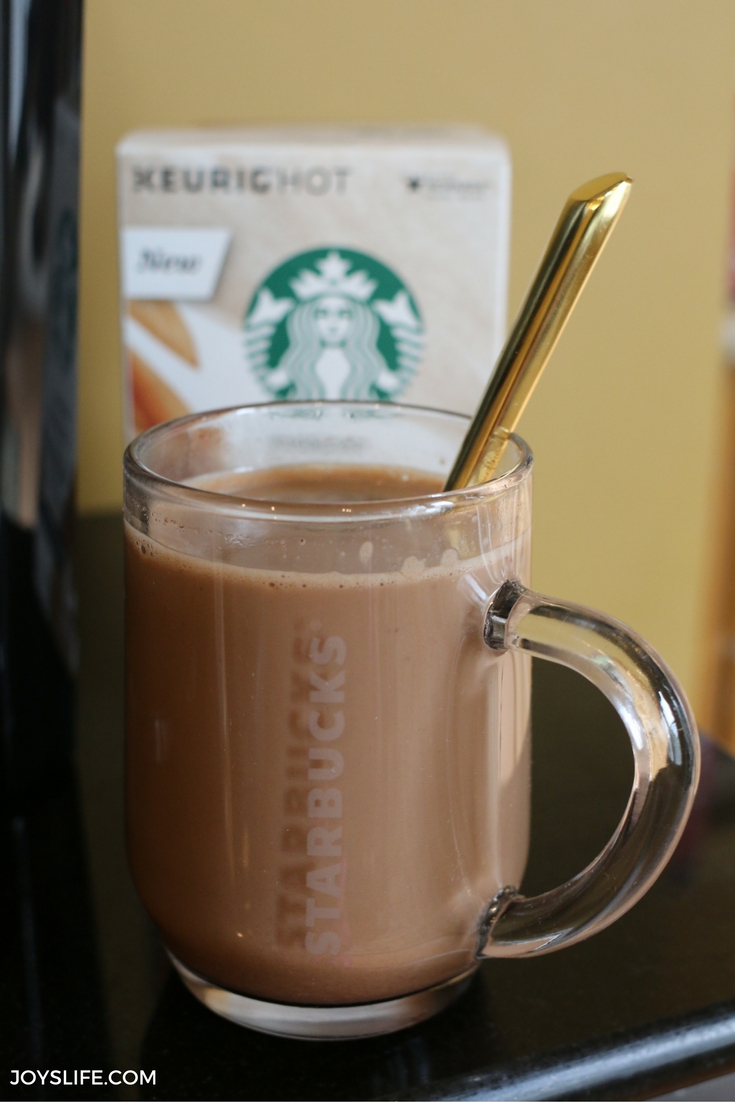
Now you’ve got a new home for your coffee cup!
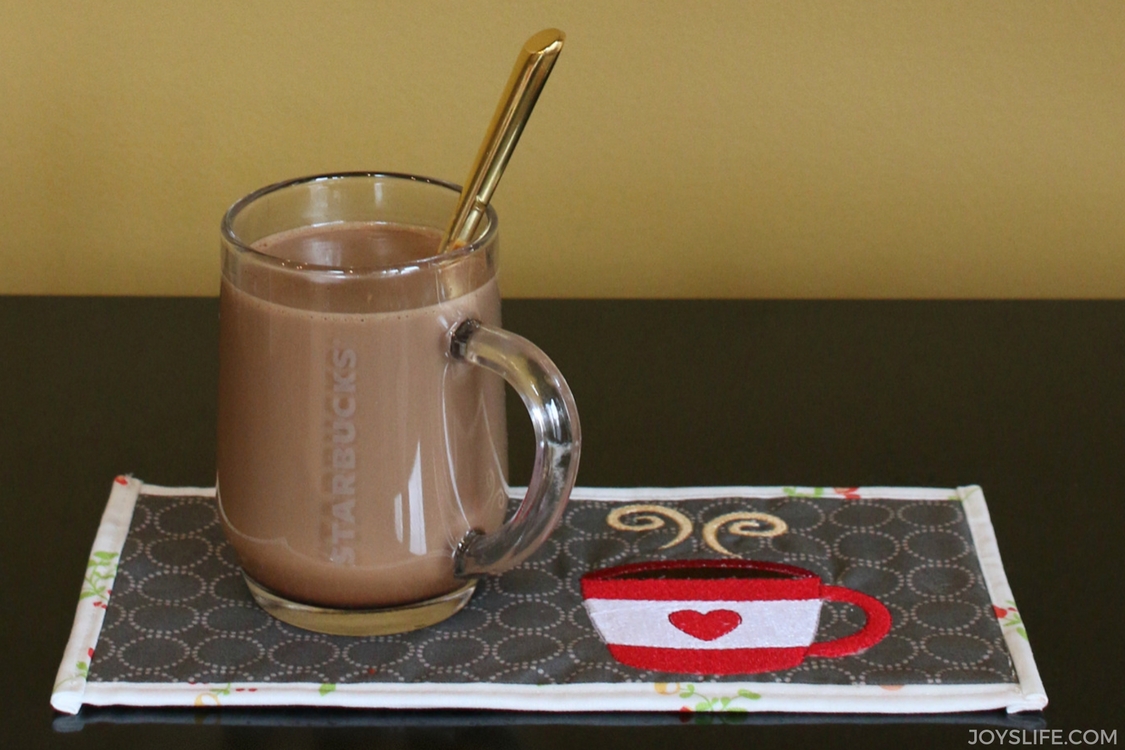
Something I love about this cup of Starbucks® Caffe Latte is that I can make it at home … in my Keurig®!
I’m using the new Starbucks® Caffe Latte K-Cup® pods. Check out how easy this is, just 2 steps!
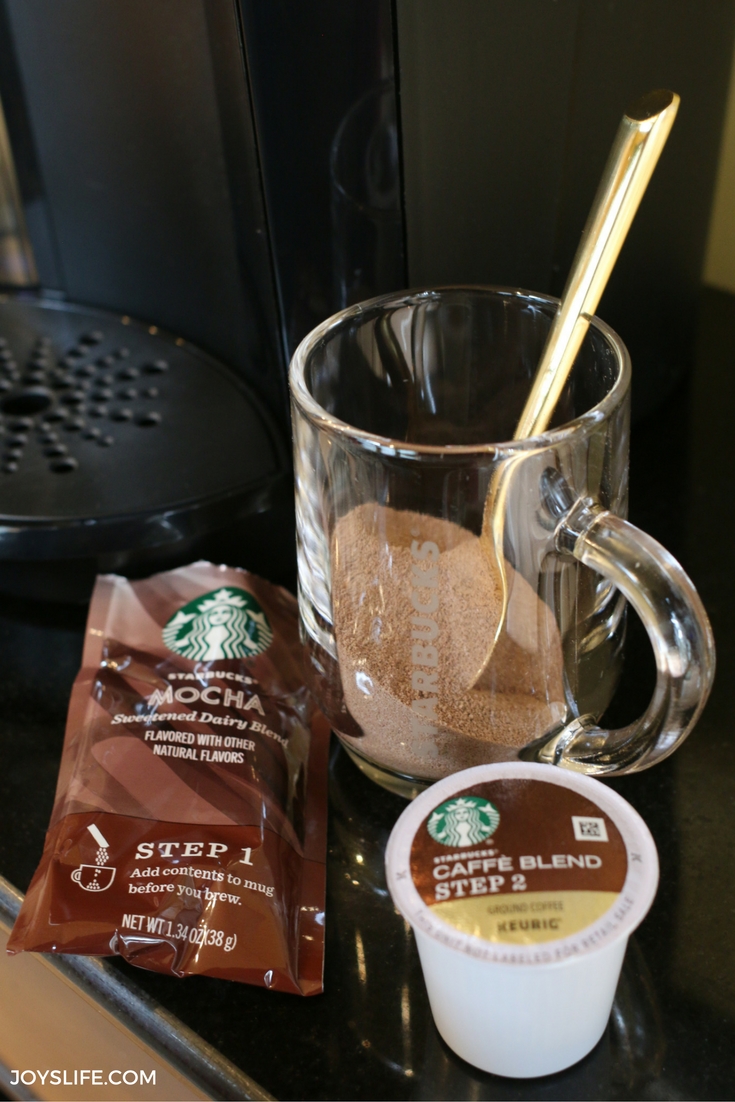
Step 1 is to pour the flavor packet into the mug.
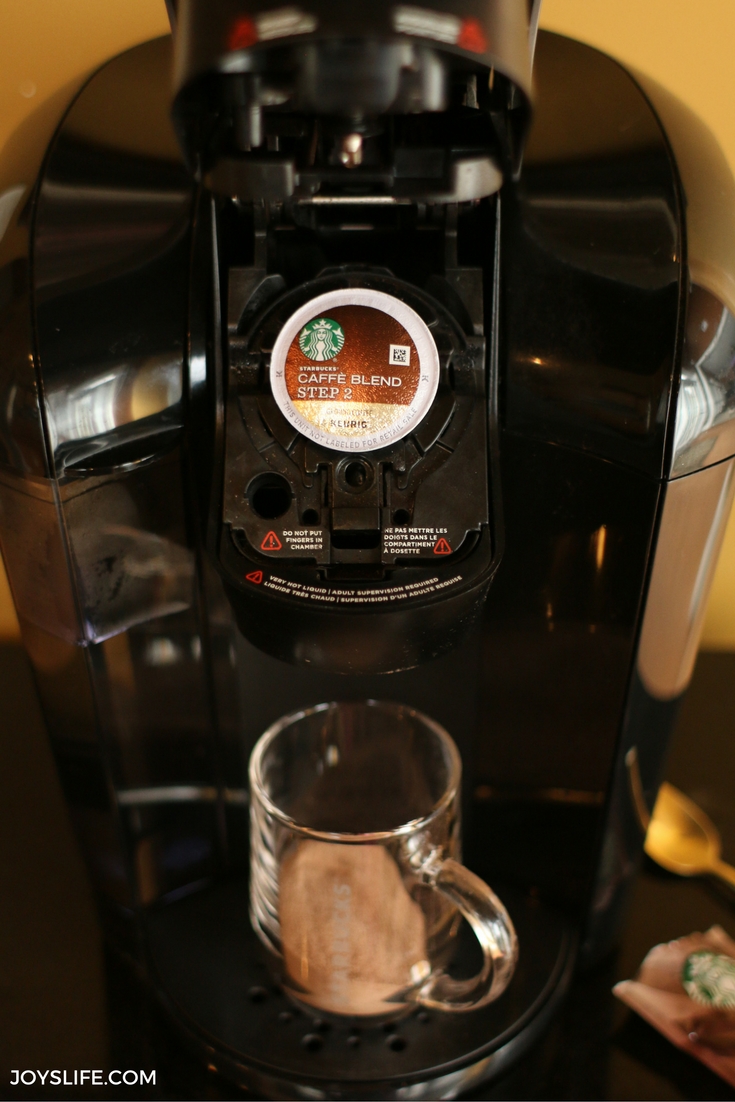
Step 2 is to brew the Starbucks® Caffe Blend K-Cup® pod in your Keurig® brewer and stir to enjoy!
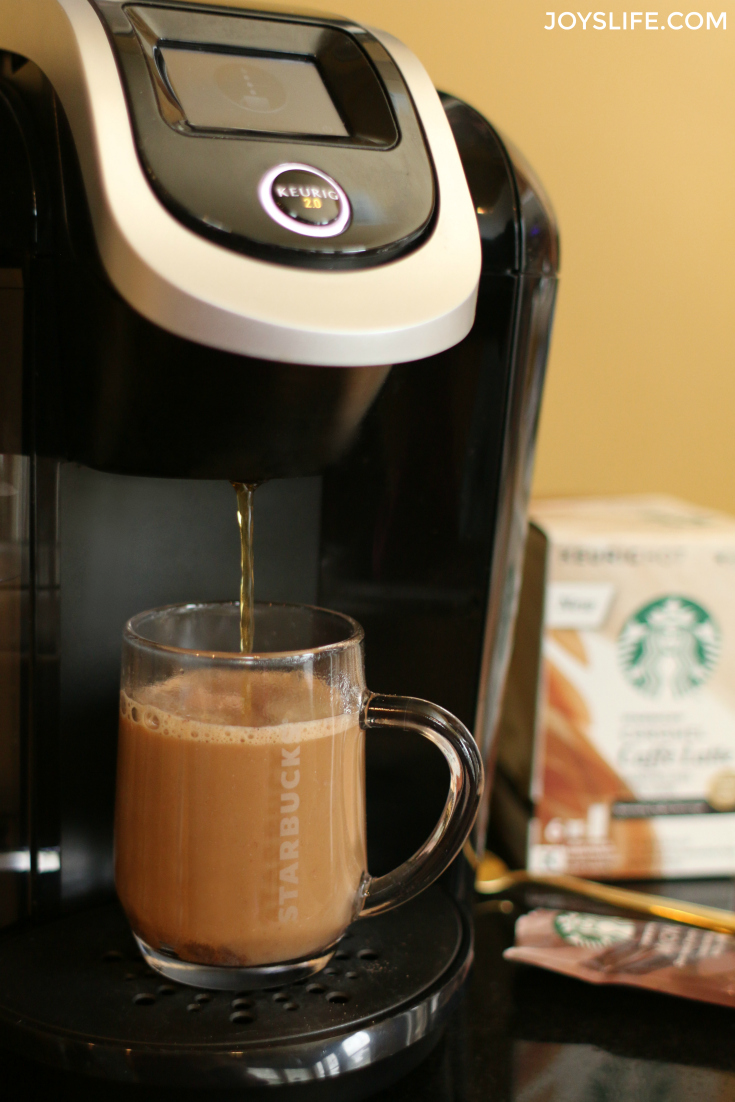
The Starbucks® Caffè Latte K-Cup® Pods are made from milk, with no artificial flavors, and they come in 3 great Starbucks® signature flavors (Caramel, Mocha, and Vanilla) and 2 beloved Starbucks® seasonal flavors (Pumpkin Spice and Peppermint Mocha, available for a limited time).

You can find these nationally at your local grocery store! Now grab a cup and make a mug rug! You + Starbucks® Caffè Latte K-Cup® pods + your Keurig® brewer means you can have a happy time crafting away and drinking a Starbucks® Caffè Latte anytime you want to – in the comfort of your own home. Sweet!
2016 Starbucks® Corporation. All rights reserved. Keurig, Keurig HOT, K-Cup and the K logo are trademarks of Keurig Green Mountain, Inc., used with permission.
This post has been compensated by Collective Bias, Inc. and its advertiser. All opinions are mine alone. This post was sponsored by Starbucks as part of an Influencer Activation. I received compensation and complimentary products to facilitate my review. #StarbucksCaffeLatte #MyStarbucksatHome #CollectiveBias


Oh my heart I just love that coffee mug rug! My husband’s Grandma made us one similar and it is seriously my favorite. But I LOVE the embroidery on yours!! Now I need this one too! -client
Aren’t Grandma made things the best? Thank you, Amber! 😀