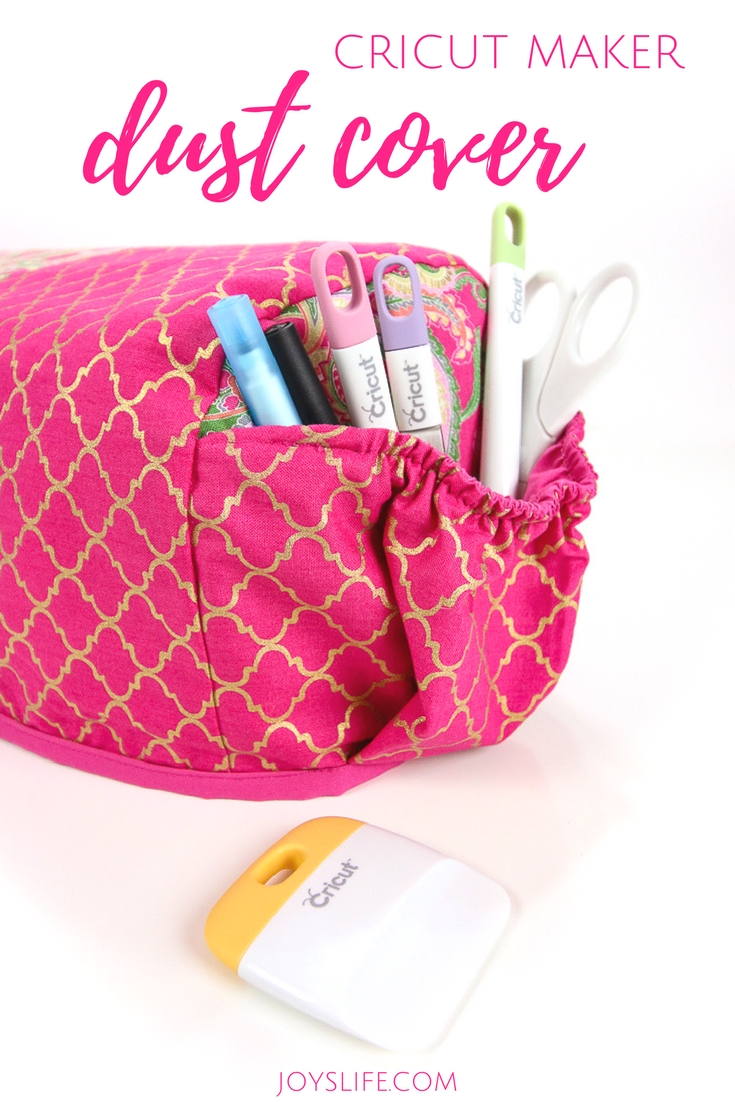
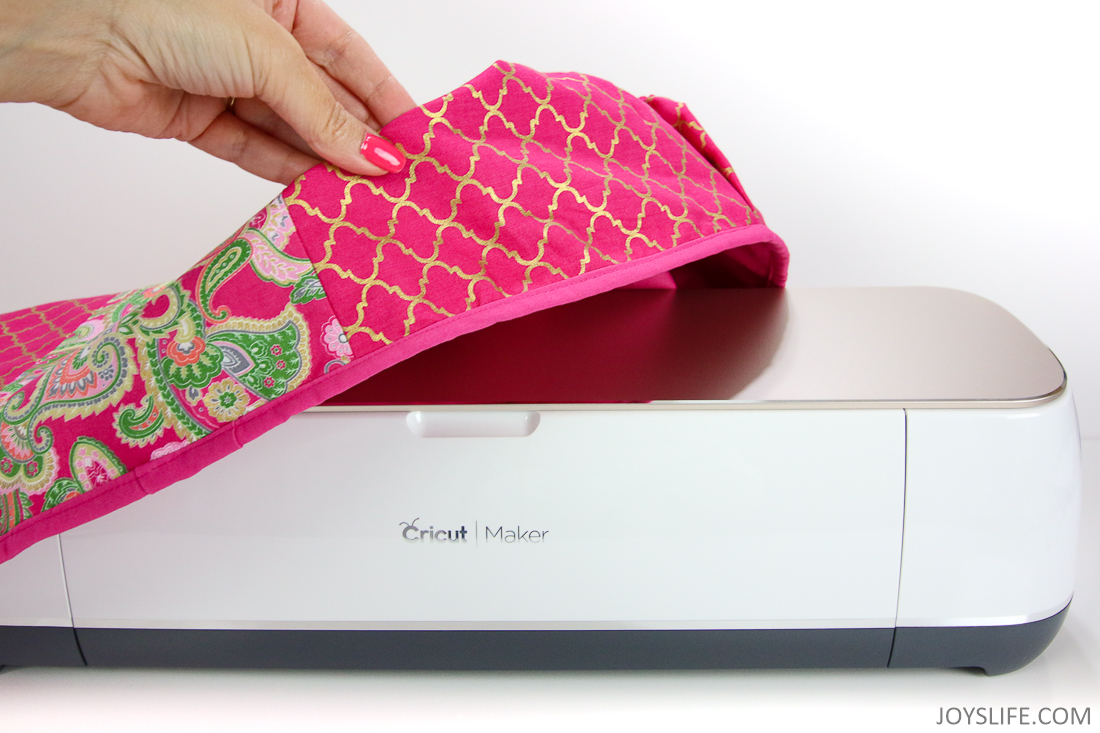
When I first got my Cricut Maker, I scoured the sewing projects in Cricut Design Space. My excitement over what the rotary blade could do was the main reason I bought the Maker. When I saw the Cricut Maker dust cover project, I wanted to make it right away!
Curious about the Cricut Maker? Read this review.
What I think about this project: It’s a good skill builder and a great way for new sewers to gain confidence and try some new skills, like adding elastic.
Do you remember this fabric? You also saw it in this pillowcase post!
Get the Long Fabric Mat
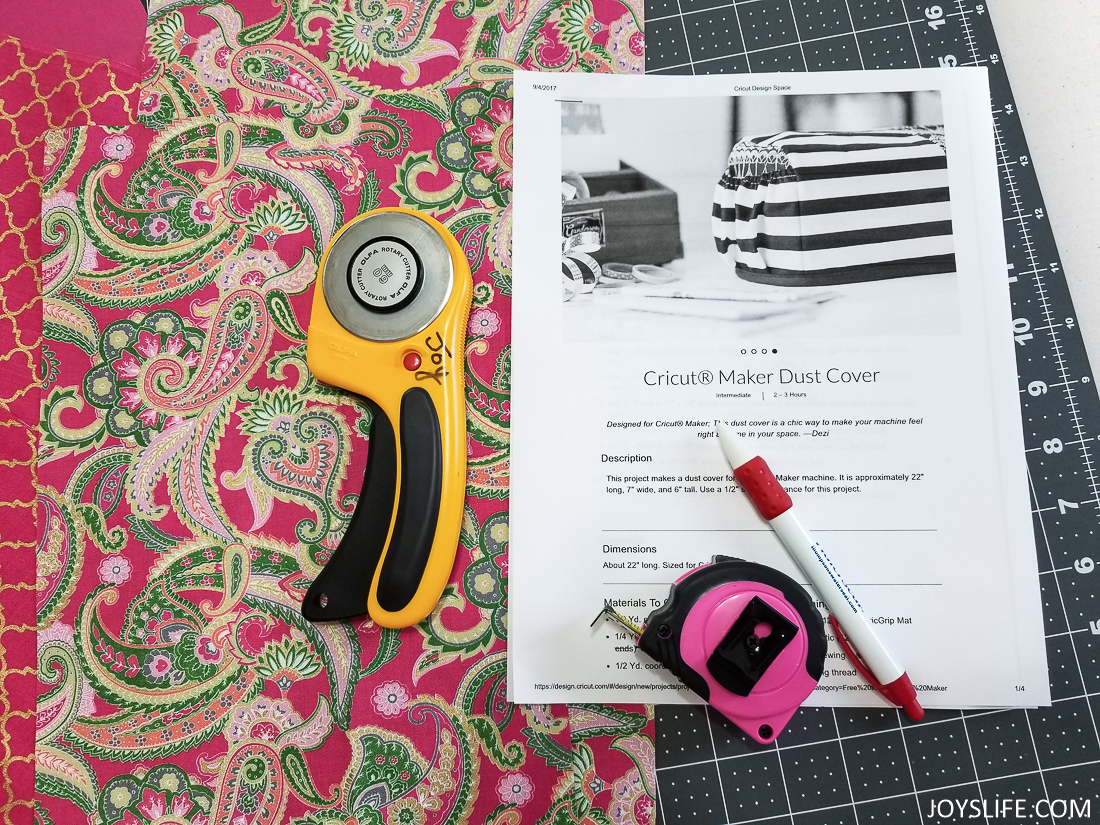
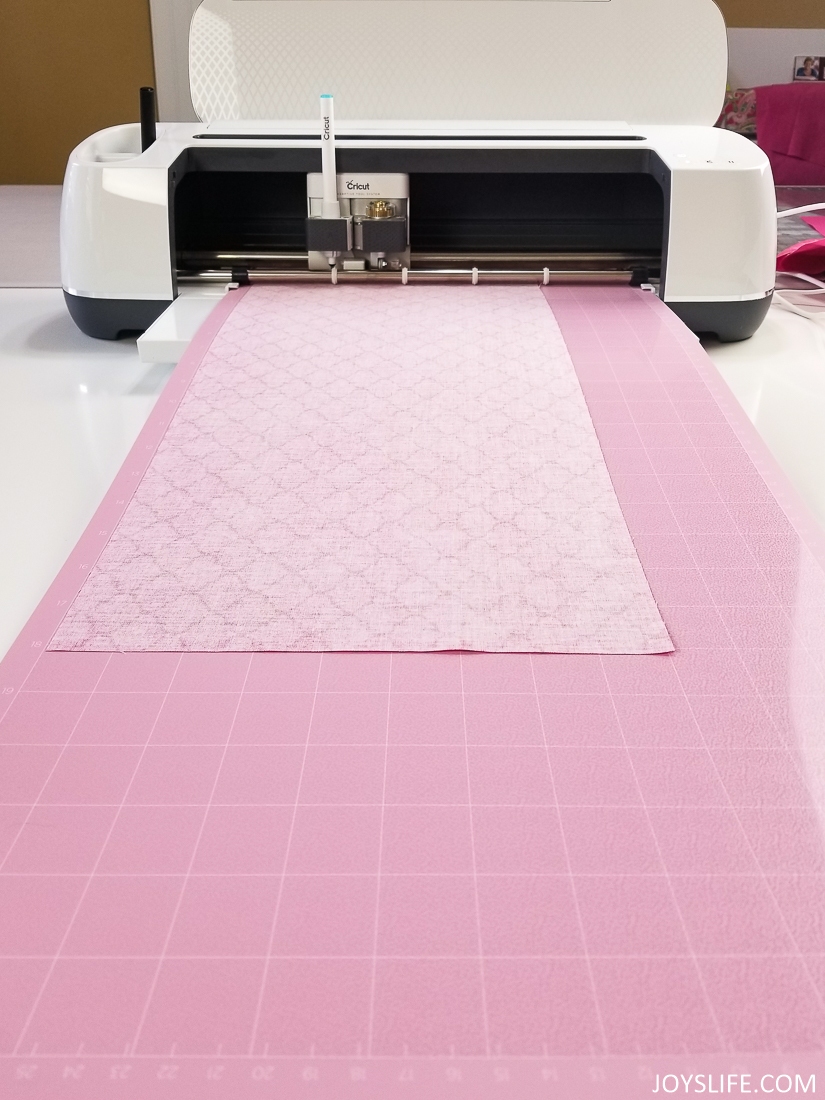
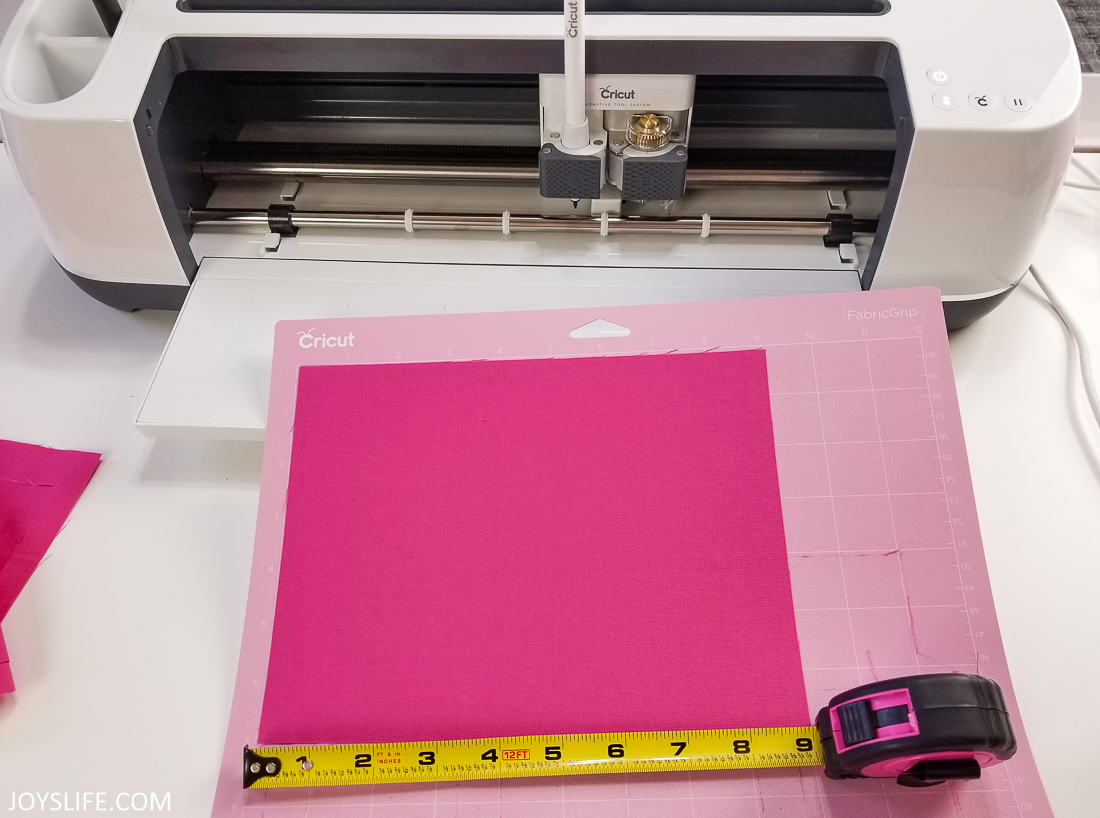
The only thing that held me back from making the dust cover sooner was that I had to get a 12 x 24″ mat. So, if you’re going to make this too, go get that mat, you’ll need it. You’ll also need space for that long mat!
The Cricut Washable Fabric Pen
This project also calls for the Cricut washable fabric pen, which you’ll need if you want your pieces marked. Keep this in mind…if you’re using a light colored fabric the washable pen might show through. It showed through both sides of each of the materials that I’m using. If you’re making something that you don’t plan to wash, keep in mind that you might see the pen marks and plan for that.
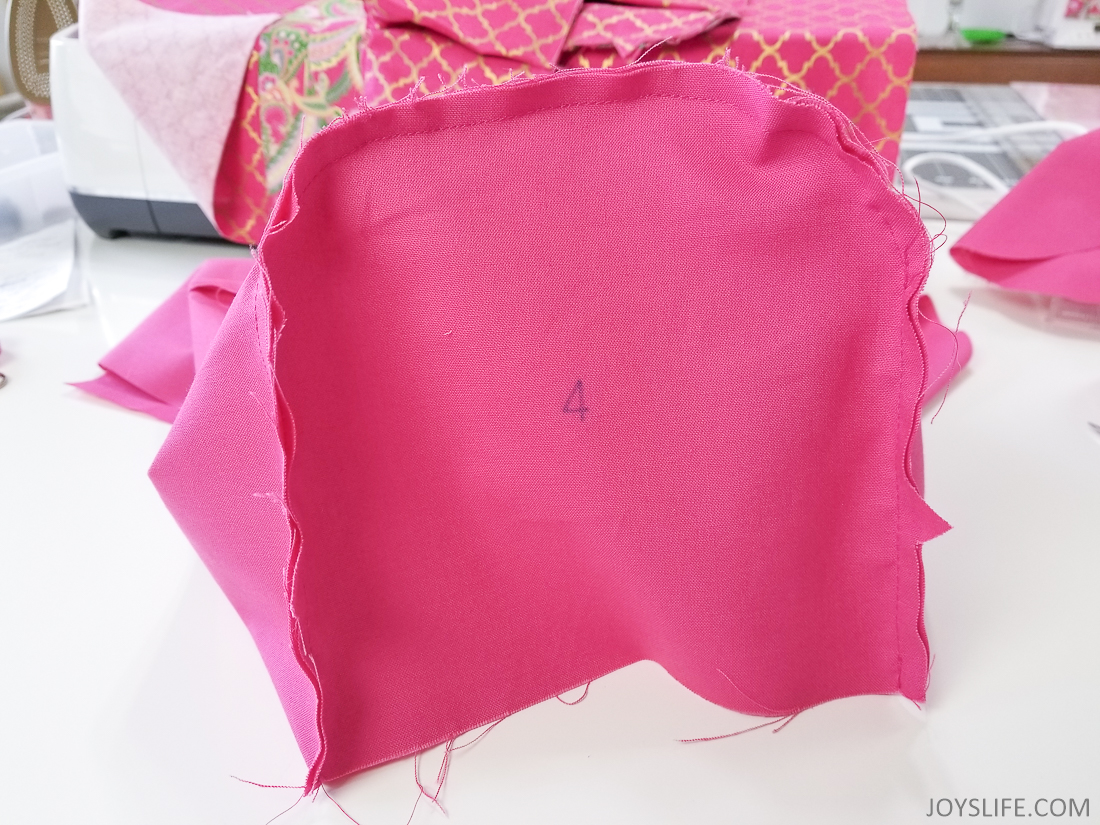
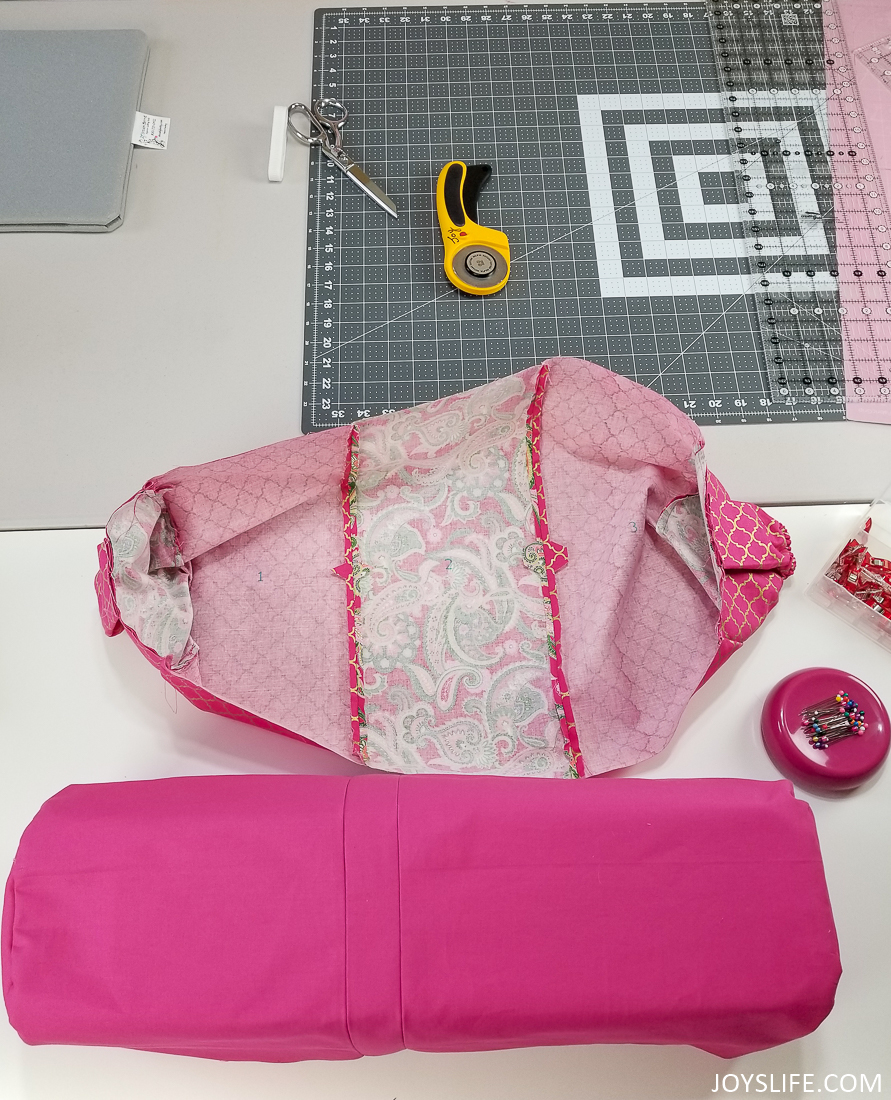
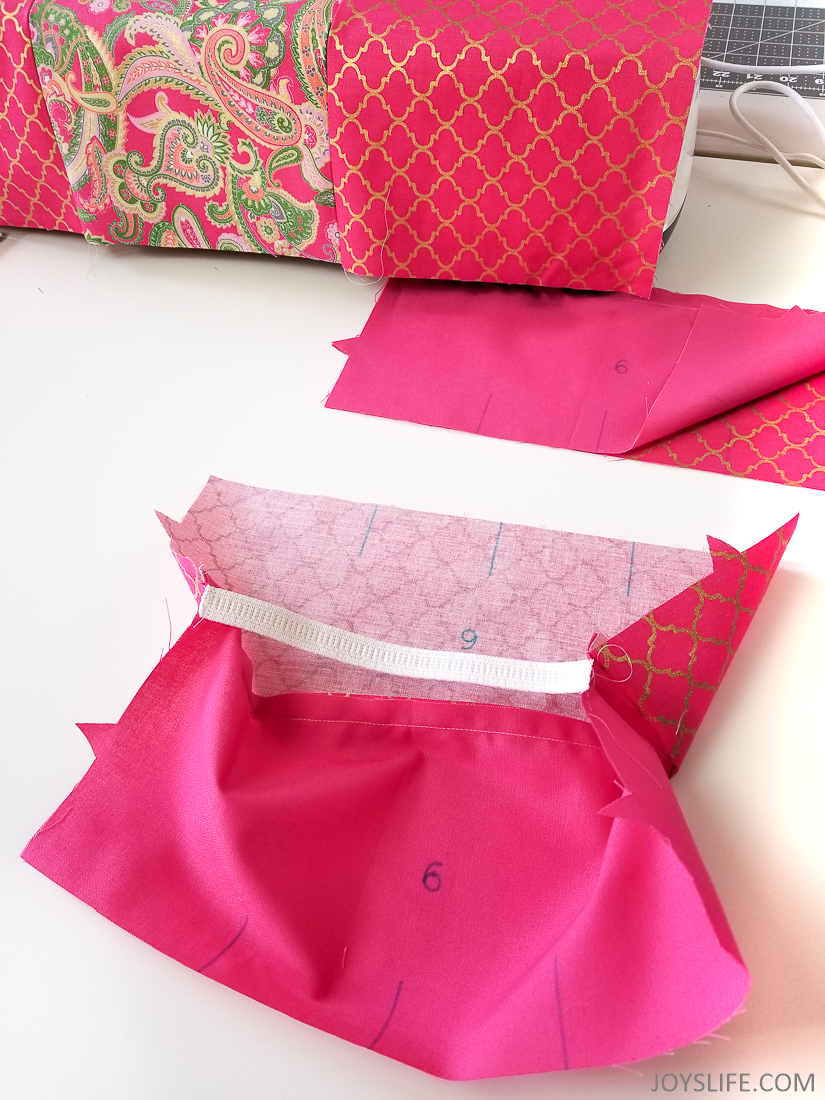
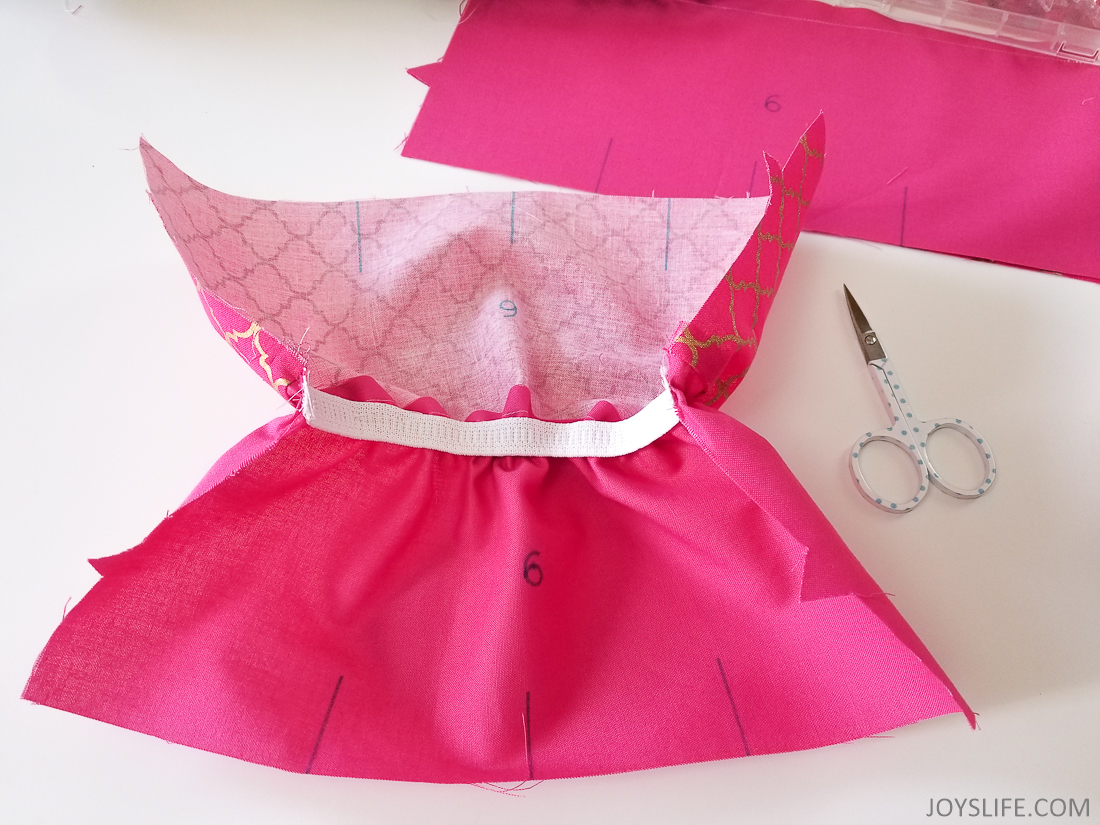
It’s so cool when it begins coming together!
One suggestion before you get started, add 1″ to the 17.5″ x 20.5″ fabric requirement. It could just be me, but I thought I measured well and my seam allowances were spot on, but that fabric liner was TIGHT! I was using MODA fabric for the liner. I went back, cut the liner in half and added an 1″ (after including 1/4″ seam allowances). So, I say, cut it 17.5″ x 21.5″. Feel free to ignore this suggestion completely. Maybe it will work out perfectly for you, if not, you can do what I did and cut the liner to add 1.5″ to accommodate 1/4″ seam allowances.
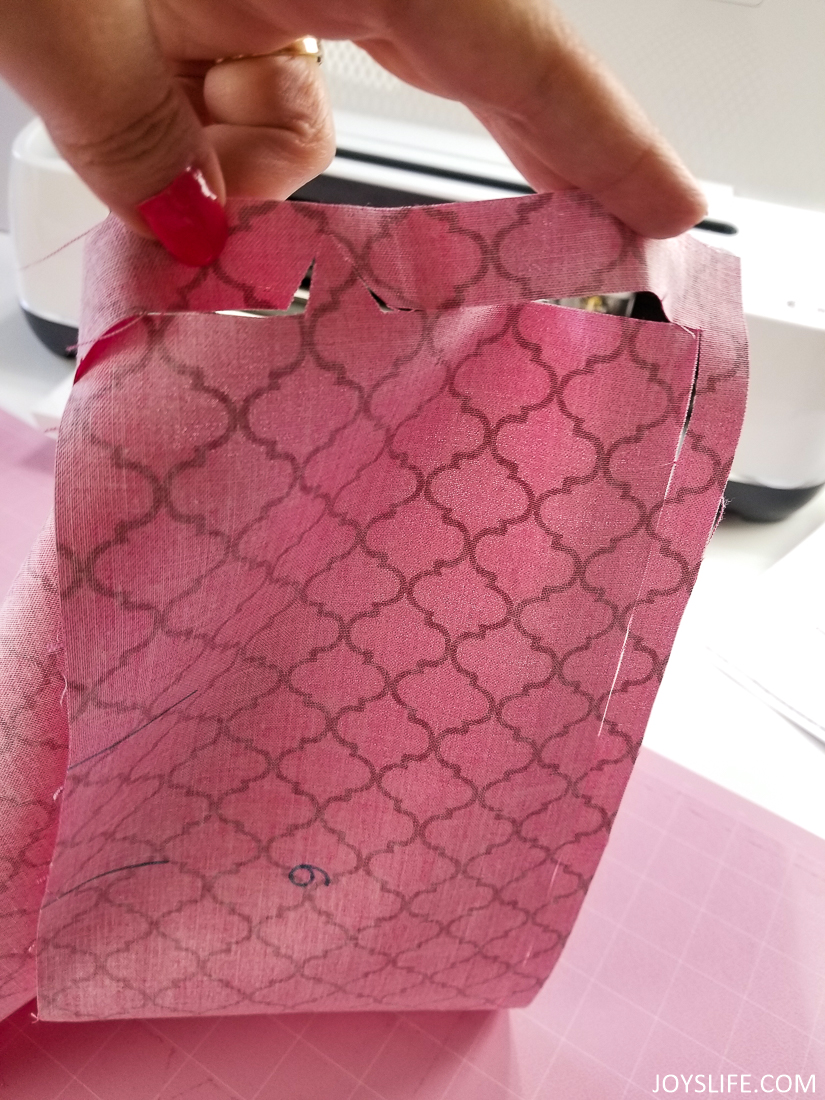
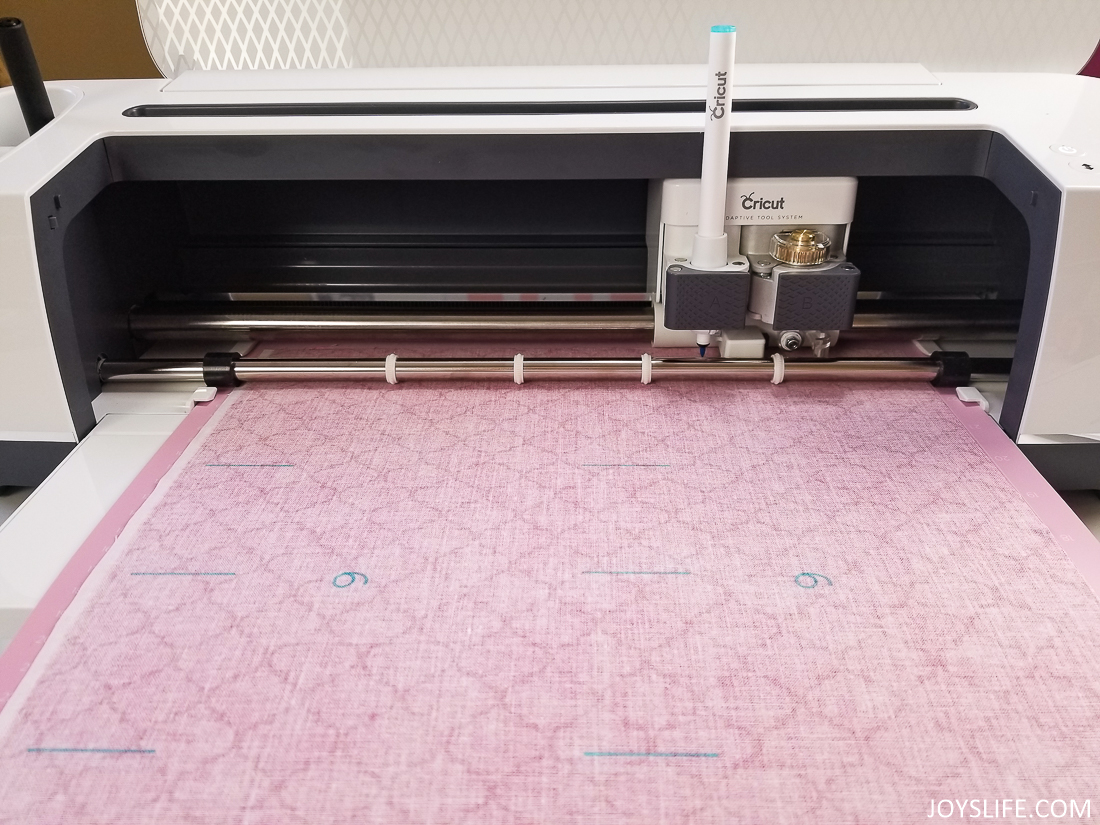
Problems with this project: Besides (for me) the liner fitting too tightly (add an 1″ as stated above), I experienced the rotary blade not cutting the pieces out cleanly. About every 1-2″ there were threads that had to be snipped to remove the mostly cut pieces. I had to do that for every piece. That was disappointing. Is it an art/actual computer line drawing issue or…what? The blade was only used to cut out the project and circles from this post and the mat was right out of the package. Hmmm. I’ll have to see how it goes on future projects because that was weird. I did contact Cricut about it and they’ll be taking a look at their art, so maybe it will get fixed. Maybe it’s my fabric? I used MODA Bella Solids in Magenta for the liner and binding. For the outer cover, I used Buttercream Olivia Collection Cotton Fabric Paisley Metallic Gold and Pink Quatrefoil Gold Metallic from that same collection. I’d say the problem could be the metallic but it also happened with the solid fabric soooo…there ya go.
Mat 7 Fabric Placement Tip
When you get to Mat 7 it calls for a 9″ x 7″ piece of lining fabric to be placed on your mat. Place it with the 7″ along the side and the 9″ part across the top and bottom. It doesn’t say that in the directions so you might be questioning it. I figured it out and wanted to share so you don’t mess up your fabric. (’cause fabric ain’t cheap)
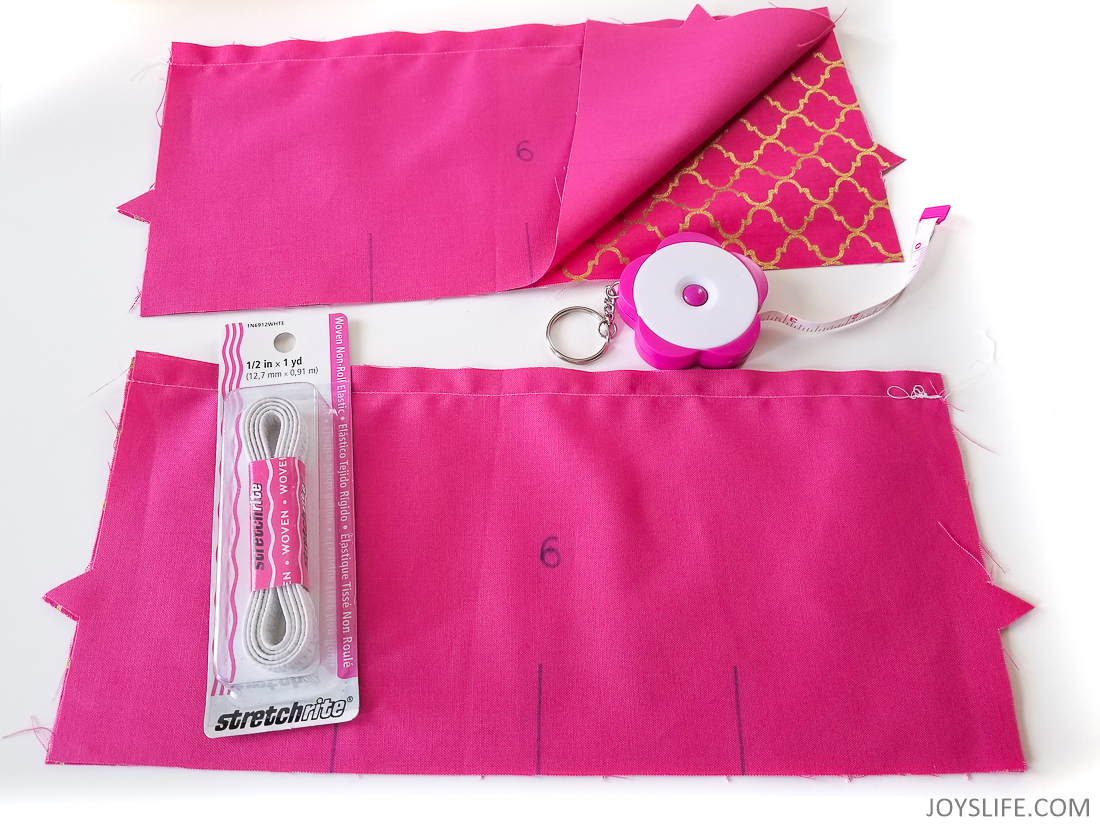
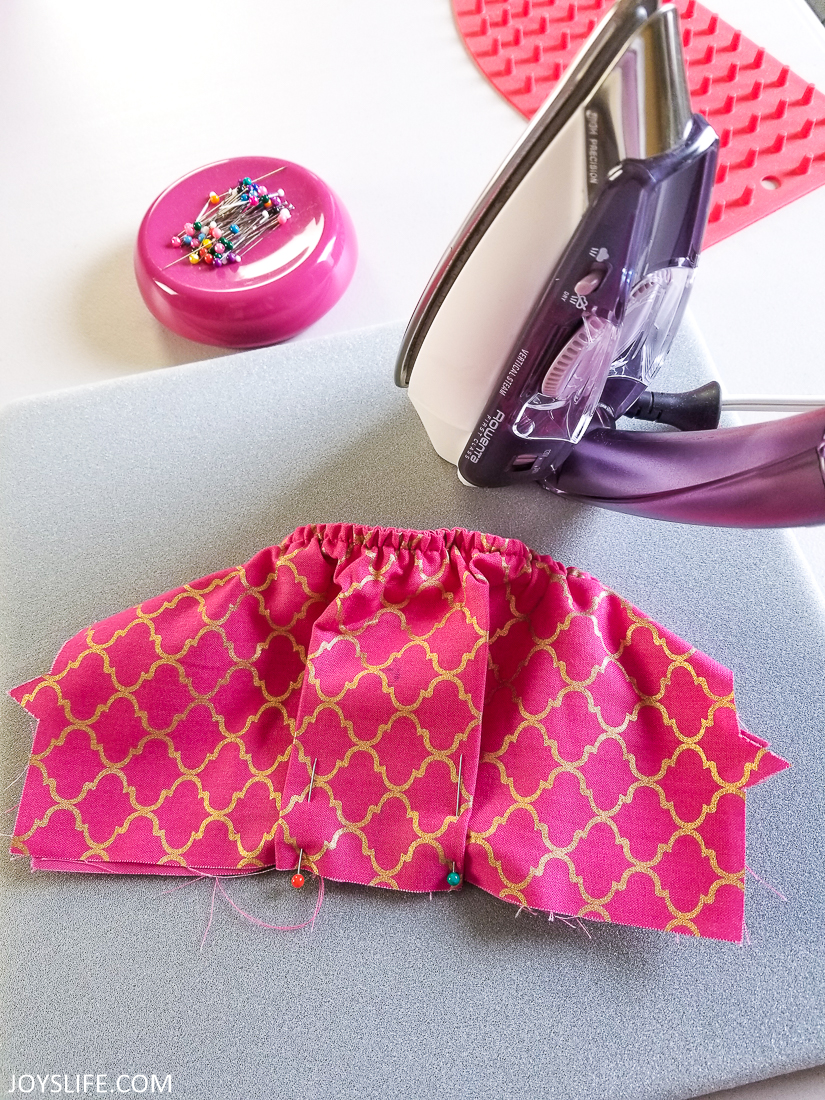
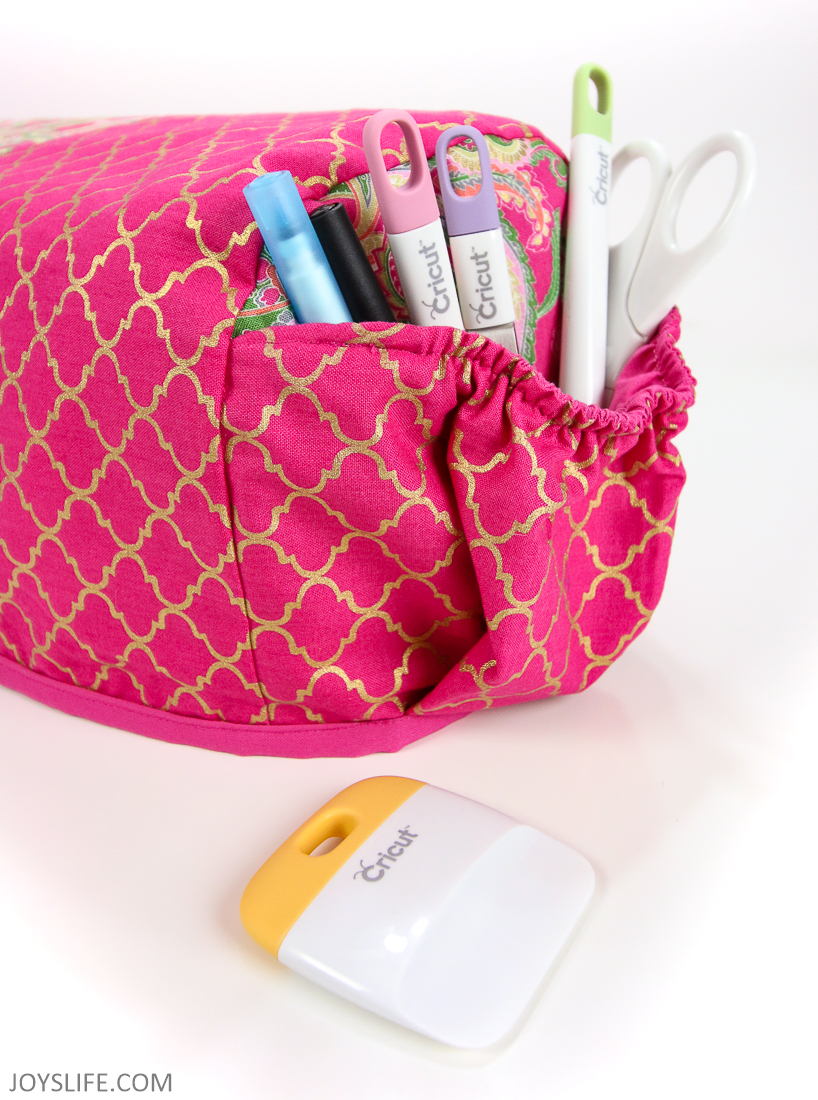
Add Elastic to the Pockets
This project calls for 1/2″ elastic. You can find it in the sewing area of most craft stores. I found this unopened elastic in my sewing box. When in the world did I buy it? I have no idea. This non-roll elastic by Dritz is also a good choice.
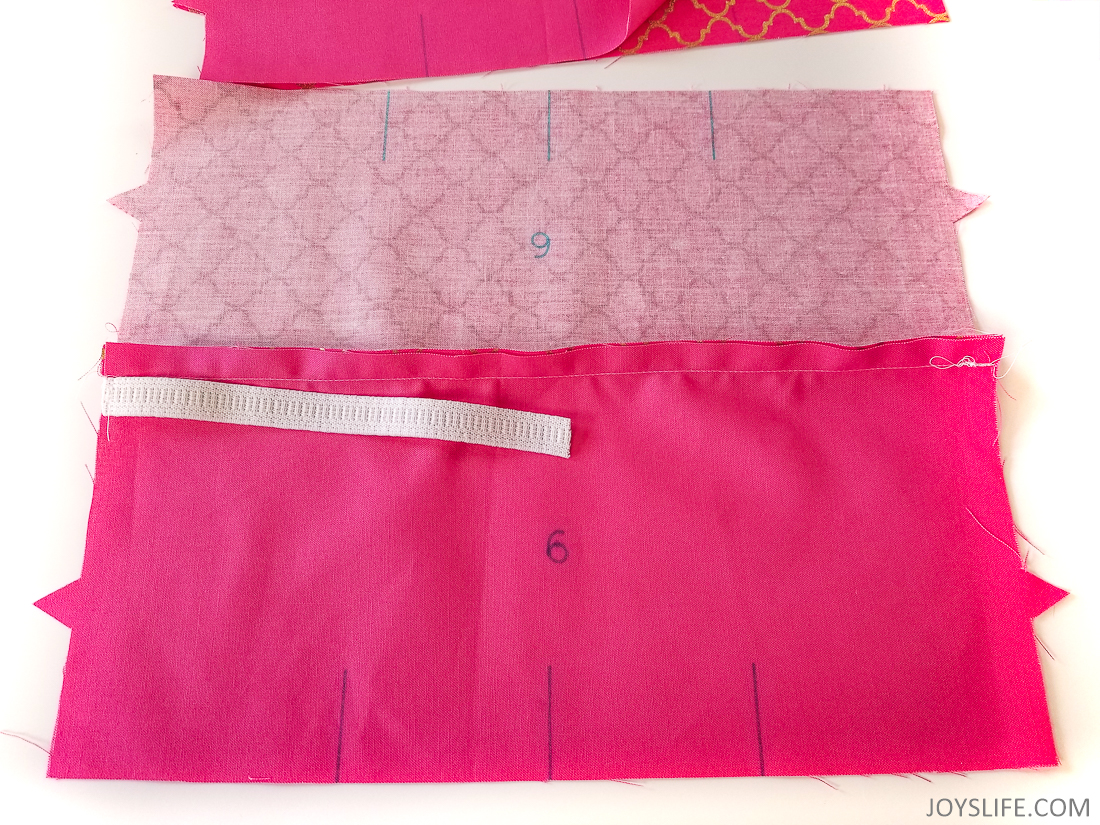
Sewing elastic was a bit of a challenge for me. The directions say to sew the elastic to either end of this pocket piece, then stretch it flat and baste in place 1/4″ below the seam.
It was tough to hold the elastic down and sew it at the same time. My best results came from using a 4.0″ stitch length and holding both ends stretched out while I sewed. It really helped when I started sewing at 1″ below the top tacked down part. That way, I was able to hold it stretched out without pulling it out from under the needle. When I was finished sewing the majority of the elastic, I turned it around and sewed down the other end.
Ta da! Here’s the elastic after it’s sewn down completely.
A Few Useful Sewing Items
I find my magnetic pincushion to be SUPER USEFUL in all of my sewing projects! I got it for my birthday a few years ago and I LOVE IT! I’m also using a Rowenta travel iron and a Steady Betty pressing board. A travel iron is nice when you’re doing something small, otherwise I use this larger Rowenta.
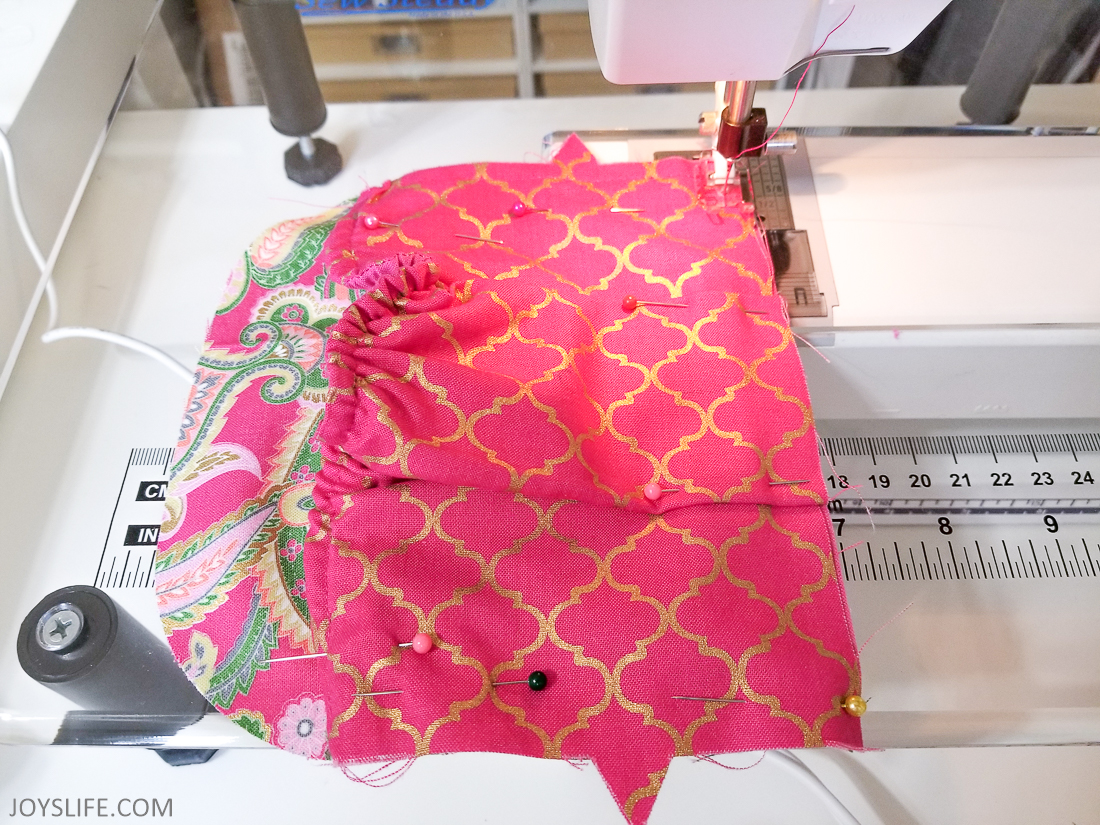
Pin and sew the pocket according to the instructions.
Binding Instead of Bias Tape
This project calls for extra wide double fold bias tape to be used as a binding around the bottom. I just created a standard binding so it would match my dust cover exactly. I’m awful at doing bindings, and I machine sew them on. Any real quilter is cringing at that declaration. One day I’ll get good at it, but today is not that day. In this “How to Get Started Quilting” post, I link to some good binding tutorials.
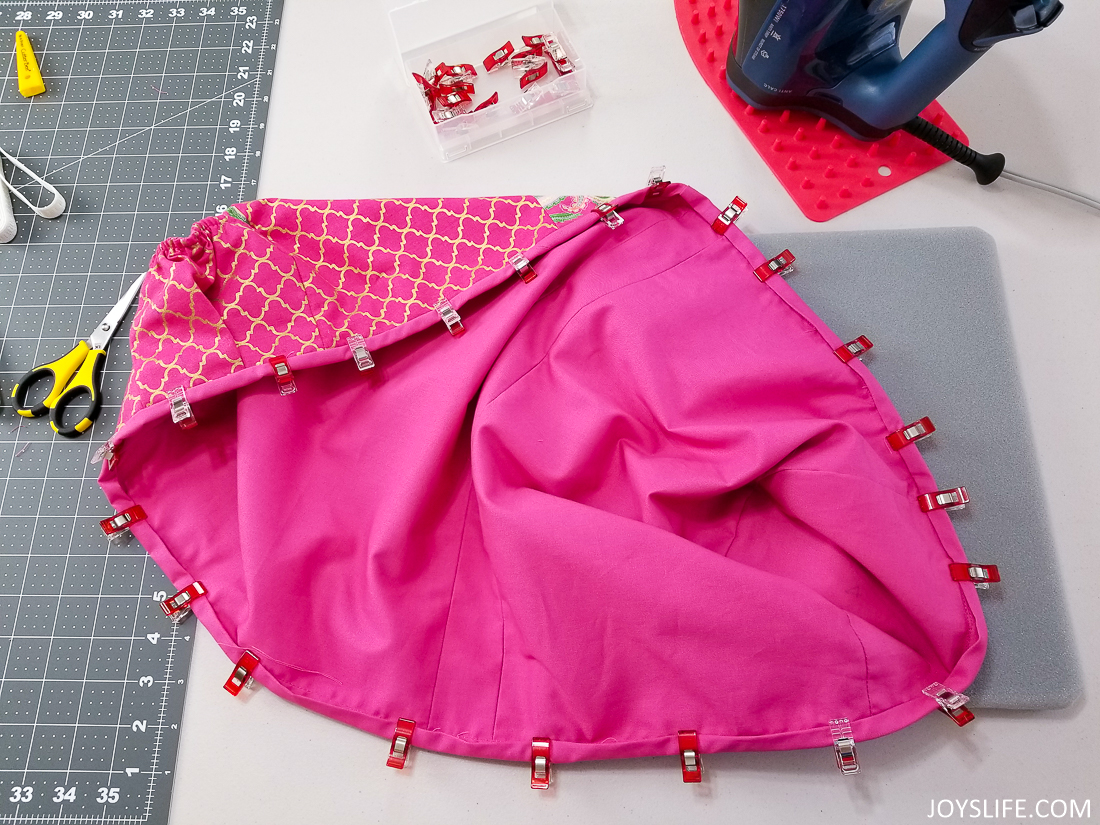
One thing I can attest to when it comes to bindings, is that these Clover Wonder Clips are GREAT for holding on the binding. Best of all, you will not stick yourself with pins!
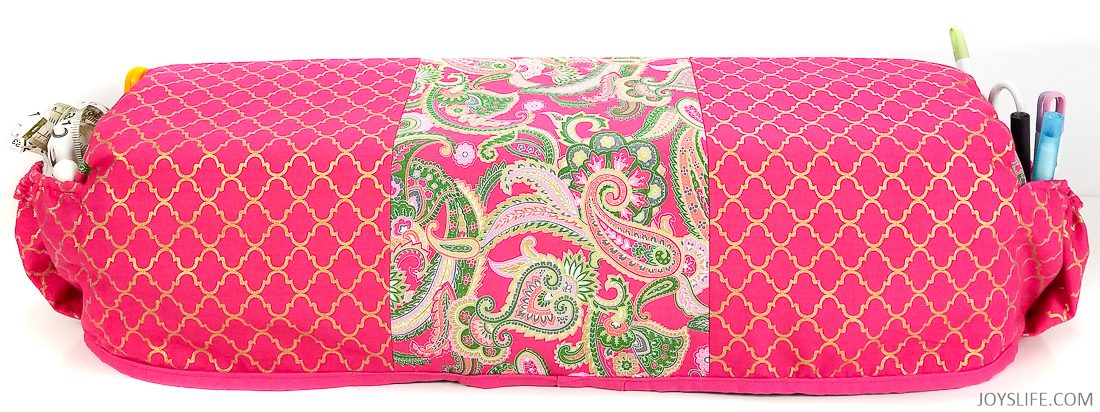
Here’s the finished Cricut Maker dust cover from the front.
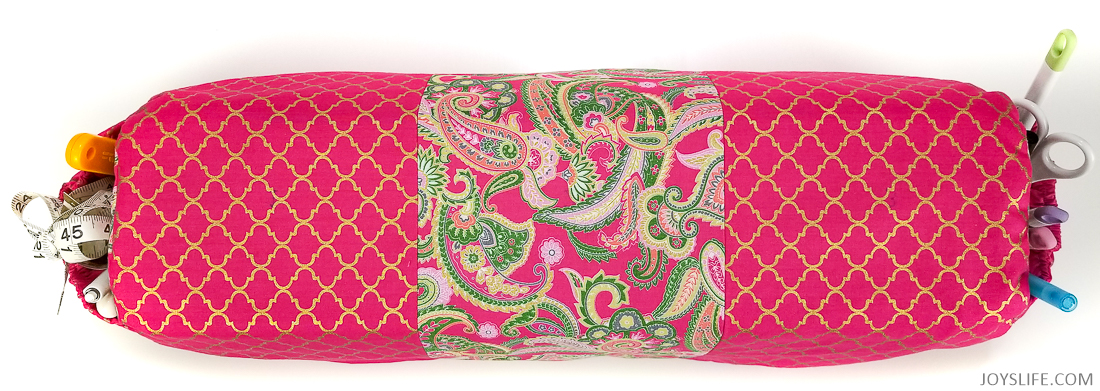
Here’s the finished Cricut Maker dust cover from the top. You can still see those pen marks, but I’ll just try to ignore them. Maybe I’ll wash them out at some point, but not today!
Even with the issues I mentioned, I had A BLAST making this! I LOVE when a machine can help make things for itself. That’s just freaky cool.
If you have a Cricut Maker, what projects have you made it so far? This is my second project if you count the kite card! LOL!
Here are some other sewing projects!
Happy Crafting!


What a great project run through! I work developing some of the projects here at Cricut, and we’re constantly striving to make our project experience the best it can be. I’ve given this project an update incorporating this and other customer feedback. It’s lovely to see people enjoying the projects, and we’re always open for improvement!
That’s fantastic, Erika! It’s wonderful to know that the people at Cricut are listening to their community! Thanks so much for your comment!
I love your instructions with the pictures. I noticed right off the bat that the lining was to small for a 22 inch machine. It said to use 1/2″ seam allowances. Did you use 1/2″ or 1/4 “. Thank you so much for this. It was amazing. I love your material and dust cover.
Thank you
Sue Collins
Thank you so much, Sue! I’m going to be sad when I run out of this fabric, LOL! About the seams, once you drill down a little further into the directions you’ll see that there are specific places where it calls for 1/2″ seams, I used them there. In all of the other places in the project, I used 1/4″ seams. Happy Crafting!
Hi! This was also my first project. I am quite adept in my sewing room and I also struggled with this; however, I did do a few things my own way. Lol
I hear ya, Bonnie! 😉
Your cricut maker dust cover turned out so beautiful. Thanks for sharing the details of how you did it.
Sandy
Thank you so much, Sandy! I’m still using my dust cover every day. That was a fun and useful project! 🙂
Hello!! Just recently got my cricut maker and I am looking to completely the dust cover project. I have read over and over all the instructions and the beginning where it states materials to cut gives the amount of fabric; however, when I go further into the steps it just doesn’t seem to add up! How much fabric of each is actually needed?
Hi. Where do I find the PDF of this project? Thanks. Cricut COver Dust
Hi Yolanda,
I don’t have a pdf, but you can find it on Cricut Design Space listed as Cricut Maker Dust Cover. Here’s a link they are sharing, but it goes to Design Space for Windows: https://design.cricut.com/landing/project-detail/598de5ae036d5443f99049f3
I hope that helps!
Joy