Learn how to use Fill Color in Silhouette Studio to add vibrant colors, patterns, and gradients to your designs for better previews and creative project planning.
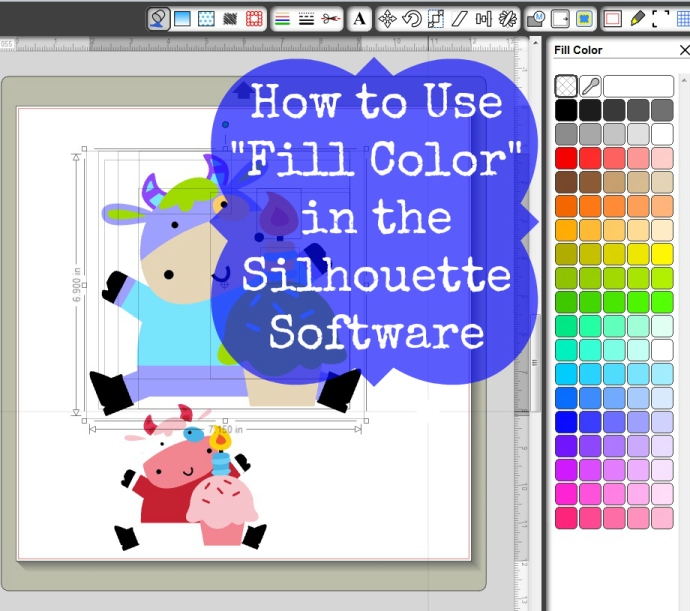
Using Fill Color
Using “Fill Color” in the Silhouette Software opens up so many unique options for you! You can change the color of almost anything that you have. Here’s how… (this works for the Silhouette Cameo and other Silhouette models too)
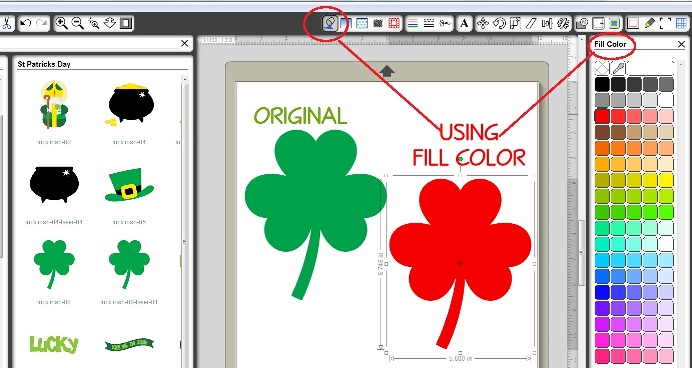
Here I’ve imported a clover from the Luck of the Irish set from Lettering Delights. To change the color of the clover from green to red, I opened up the “Fill Color” window by clicking on the spilled paint can icon. I selected the clover on the right, which was originally green like the one on the left. Next, I clicked on red from the paint palette on the right. TA DA! A red clover!
Great, Joy, but what if your design is more complex, how do you change just a few colors among the many? Glad you asked! Scroll down and let’s talk about that next.
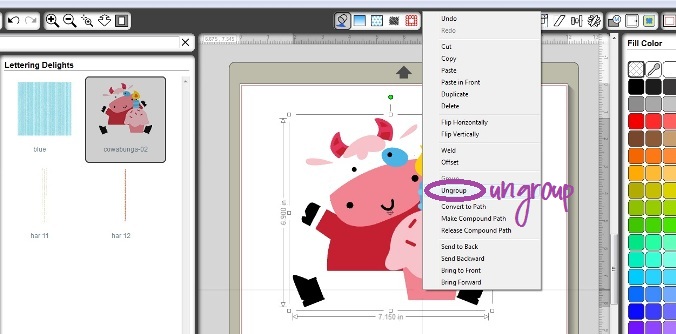
How cute is this cow from the Lettering Delights Cowabunga cut it set? Answer: Very. 😉 Ok, so I’ve imported that cute cow. If I just try to change his colors, like we did above, he turns a solid color. Hmmm…not what I was going for. To change a single part of this complex image: Select the cow, right click and choose “UNGROUP”. You can also go to the top of the screen to “Object” and then choose “Ungroup”.
Problem. Does your image have a big square around it? That’s so annoying, isn’t it? Even more annoying? You have to make “cut lines” for it. After you do that you can fill it. Here’s how to make cut lines.
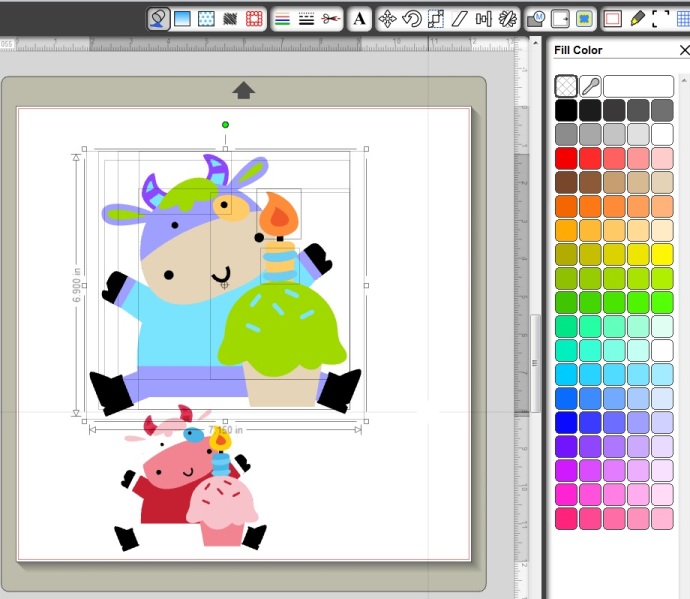
Now that we’ve got the cow ungrouped, we can proceed with changing his colors just like we did when we turned the clover red. The original cow is at the bottom.
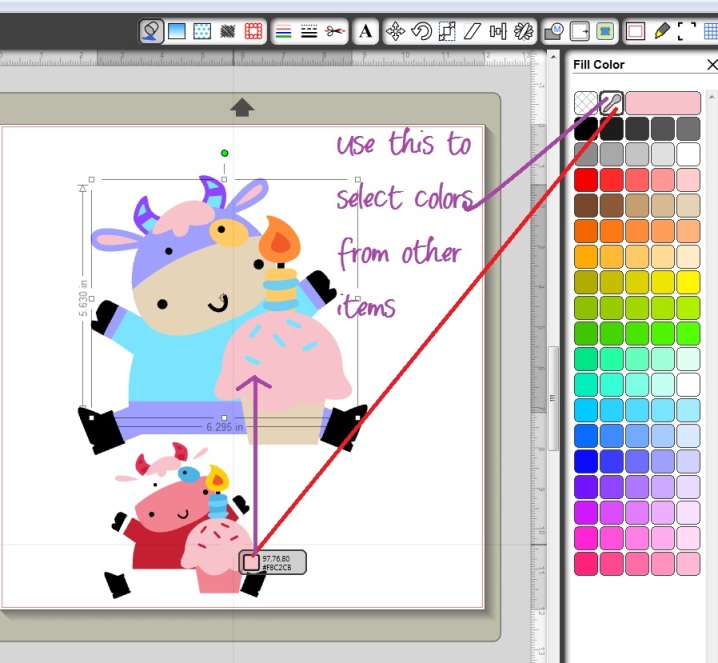
Want to match colors from another part of your project? This is helpful when you want everything to have a cohesive look and flow. Easy! Simply select the color item you want to change, then choose the “Color Picker” (it looks like a medicine dropper). Using the “Color Picker”, select a color from any object on your virtual mat. I chose a color from the cupcake on the small cow at the bottom which turned all of my selections on the big cow that pink color. Cool!
Advanced Options
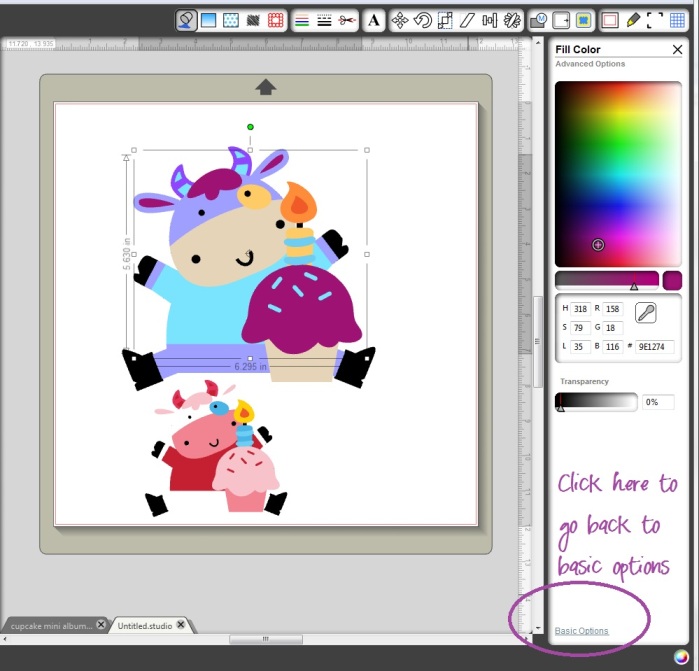
It’s time to get all advanced on ya. Well, actually this is pretty simple. Click the advanced options link to open the screen you see on the right. Then you can really get specific about your color choices! Use this option the same way you’ve used the others. Select the item to be changed and then make your color choices.
Have more Silhouette Questions? Check out these FAQ’s.
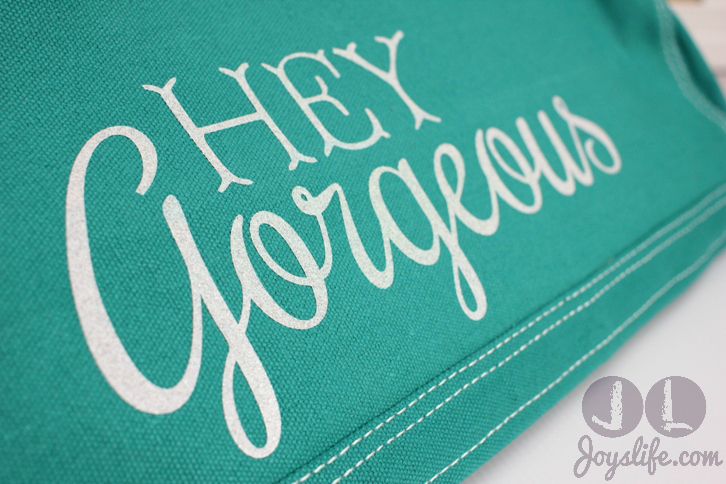
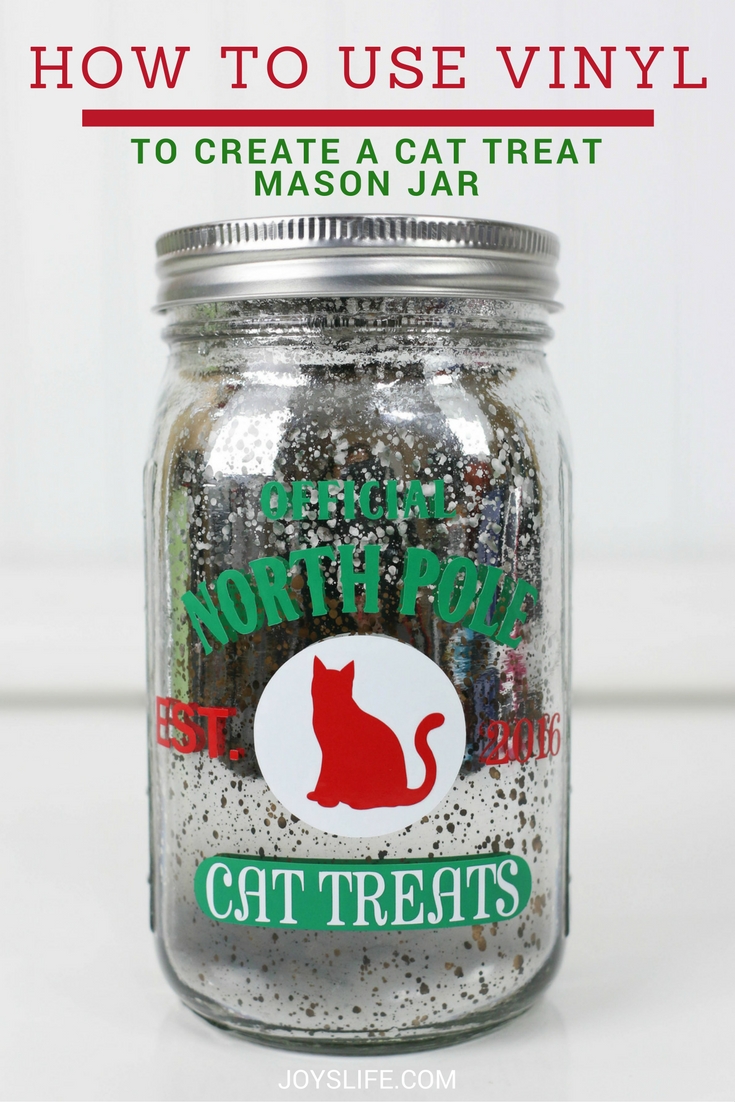
Here are things I’ve made with my Silhouette.
Now Go Color Something!


I’m still pretty new at the whole Silhouette thing….but what’s the point of changing the color of the shape if the machine doesn’t print? Are you planning on using the registration marks and printing then cutting? I’m just not seeing the big picture here, I guess.
Abby,
Yes, you can use it for printing and cutting where you print using your printer. You can also use it for digital creations. You can do the same thing with the Pattern Fill option. For example, I used Pattern Fill in this project recently: http://joyslife.com/how-to-print-and-cut-using-the-silhouette-cameo/ The frame around the calendar is a pink stripe (and could be any solid color using “fill color”) but the frame I purchased from Lettering Delights was originally green. The color it originally was didn’t fit my project. The “fills” allow you to make those changes. I hope I answered your question. 🙂
~Joy~
Here’s another project that I did that’s almost all fills from patterns and solids. Hanging Advent Calendar
~Joy~
Abby,
Here’s a link that might help too if you’re not familiar with the Silhouette’s Print & Cut features: How to Print & Cut with the Silhouette Cameo. I hope that helps! 🙂
~Joy~
I am also wondering how to print on the silhouette with the pens- can the fonts and pictures fill in color with the silhouette pens?
I’m new at all of this too. I have only made 2 things on my Cameo so far. In order to do the fill and import the photos you need the designer edition software correct? Does that basically act as a way to make digital scrapbook pages then? Can you also show us how to import svg files and how to make them work on the Cameo? so many questions! I also found a code to make the designer edition only $30–now I just need to figure out if I need it!
Hi Jksmitley!
I’ve had the Designer Edition for a long time, so I’m having a tough time remembering but I think it can do the fill and import photos. You will need the Designer Edition if you want to import .svgs though. Here’s a link about how to do that once you have the Designer Edition: How to Import .SVG files in Silhouette Studio Designer Edition Software and here’s How to Make Imported .SVG files Cut in the SSDE.
I hope that helps! 😉
~Joy~
Just found your site a couple of days ago. What an excellent resource! Got a new Silhouette Cameo for Christmas and your blog has already helped me figure out how to use some of the nifty features in the Silhouette software. You rule! Thanks for all of the tutorials and ideas.
– Lynne
Hi Lynne,
Thank you so much for your sweet comment! I surely appreciate it. 🙂 Congratulations on your awesome new machine! YAY to that!
~Joy~
Ahh, ok! I use a different program for changing the colors of things and for other graphic editing. I guess I just tend to keep the cutting and the printing very separate. I do want to learn more about the print THEN CUT feature of the Cameo, so thank you for the links!
HI! What a great site! I am trying to change the color of clipart like you did above, but cannot ungroup my clipart? Any suggestions? This is not silhouette clipart that I am trying to change. Also, how exactly does the dropper thing work? I’m clearly new to this. Thanks
Thank you, Morgan! I’m so sorry but I don’t know how to ungroup clipart. Hmmmm. I looked around on Google but couldn’t find an answer that was specific enough to point you to. The dropper is a “color picker” that allows you to choose a color from one thing and apply it to another. If you go down to the 5th picture in this post you can see it in action. Here’s a link to all of my Silhouette tutorials in case you need them. Happy crafting!
Thank you so much for all the help and I really appreciate your sense of humor. You made the directions easy and fun! Thank you again.
Thank you, Pam! I appreciate your comment and am so glad I was a help to you! 😀 Happy crafting!
Hi,
I am trying to color differents parts of an image but I can’t click “ungroup”. I’ve tried converting the image from png to jpg and nothing. Help, I’m going crazy
Hi Maria!
Try right clicking on your mouse and choosing “Release Compound Path”. Next, choose “Ungroup”. You should be able to select and color all of the individual parts now. I hope that does the trick!
Hello, I was wondering if anybody knows what is the color# or code for Gold in the silhouette studio. thanks!
Can you use the fill tool to change the color in the design studio without the designer edition?
Fill color will change the color on the computer- which looks nice in the screen— but how do you get Siliouette to actually fill in the color with the pen when it is printing??
April, did you ever find a way to use the pens for color filled areas? I nearly made myself crazy trying to figure it out last night and I still haven’t been able to do it today. I’m ready to admit defeat and say it’s not possible.
April, did you ever find a way to use the pens for color filled areas? I nearly made myself crazy trying to figure it out last night and I still haven’t been able to do it today. I’m ready to admit defeat and say it’s not possible.