No Wine Charms Needed!! I Made 12 Different Glass Etched Wine Glasses! How to Glass Etch…
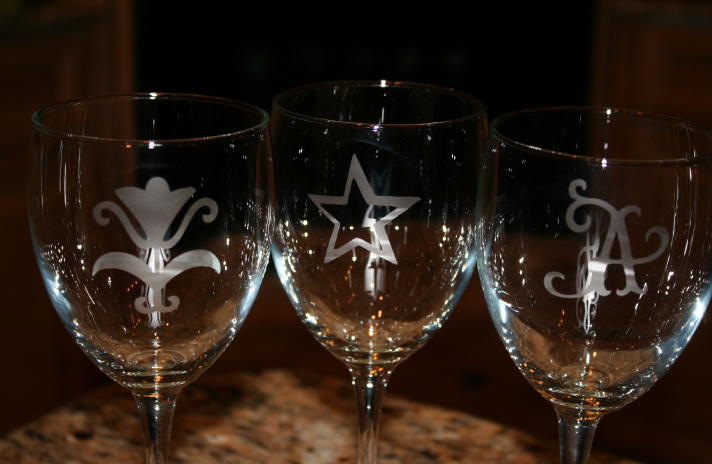
Oh, the things we do for the people we love. 😉
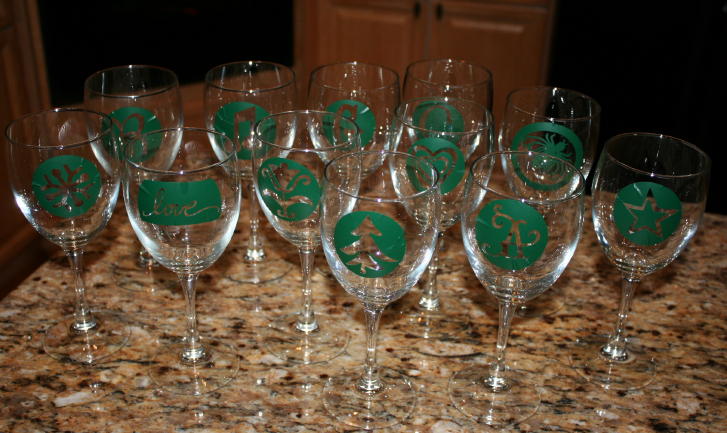
(You’ll find all 12 at the bottom of the post! Try not to be distracted by the weird light effects here. They really turned out great! 😀 )
Yep. You read that right. I glass etched 12 different wine glasses. They were for my inlaw’s. I LOVE the way they turned out AND they were QUITE THE HIT!! YAY!! So, that’s a thrill for me. It makes me happy when people like what I made. I enjoyed making them too, but I waited WAAAY too long to get started. Don’t make the same mistake I did and think you’re going to crank these out really fast just because you’ve glass etched before. The etching was only part of the time problem. The biggest trouble? It was that I waited so long to choose what images I was going to do. Not everything is a good image choice for a project like this. You have to remember you are working with the NEGATIVE IMAGE…not what you cut, but what ISN’T there. It might drive you crazy, but you can do it. Just don’t wait until the last minute…like I did someone I know did. 😛
Here’s How I Did It:
1st I spent forever choosing the images that I wanted. I used my Cricut Expression to cut the images out on cardstock to decide what I was going to use. Then I cut them out in vinyl. I teach you how to glass etch on both flat and curved surfaces in my Cricut Vinylology DVD. It doesn’t matter what color vinyl you use…I just had a bunch of green, so I used that. I weeded out the parts I didn’t need.
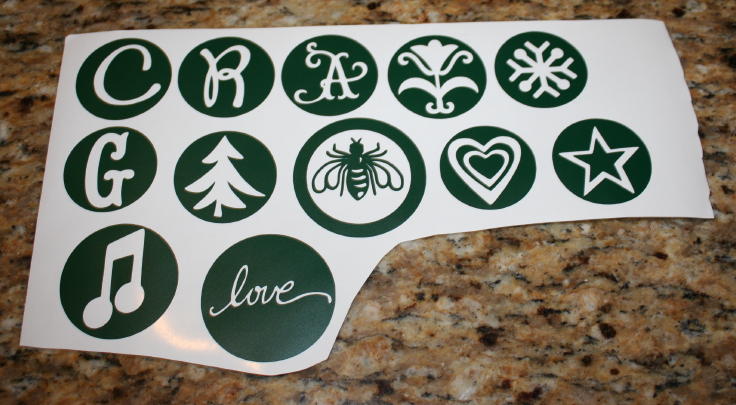
Then I cut the different images apart so I could get ready to adhere them to each individual glass. BTW, I made all those designs inside a circle so they would be easier to work with. This was especially helpful with the bee image…there I used a circle inside a circle.
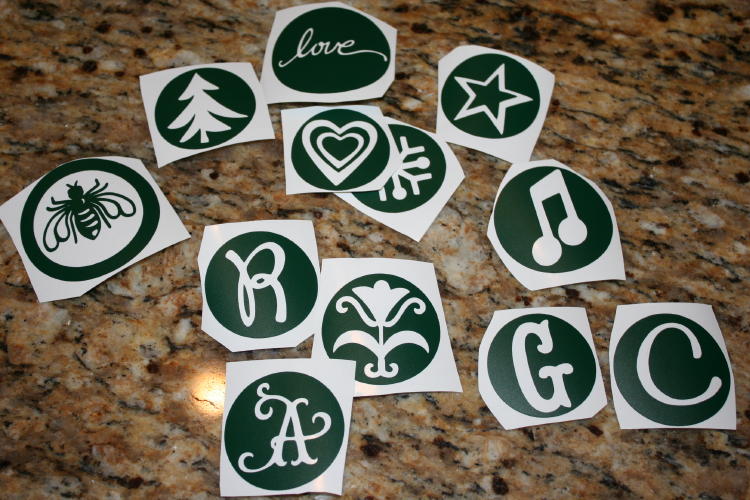
Most of the images and letters I chose are special to my inlaws (some are just ’cause it’s Winter/holidays). The letters are obviously the initials of the people I was giving these to. But the BEE? It’s really the closest I could get to a fly. I HAD to put a “fly” on a glass because last summer on 2 different occasions, both my MIL and SIL drank wine and swallowed a fly that had landed in their glasses. UGH!!! It’s not the tequila worm y’all!! Soooo gross. Anyway, I had to put a fly/bee on there. It turned out well too! 😀
Next, stick all of the vinyl onto the glasses. I used transfer tape to peel the image off of the backing and stick it to the glass.
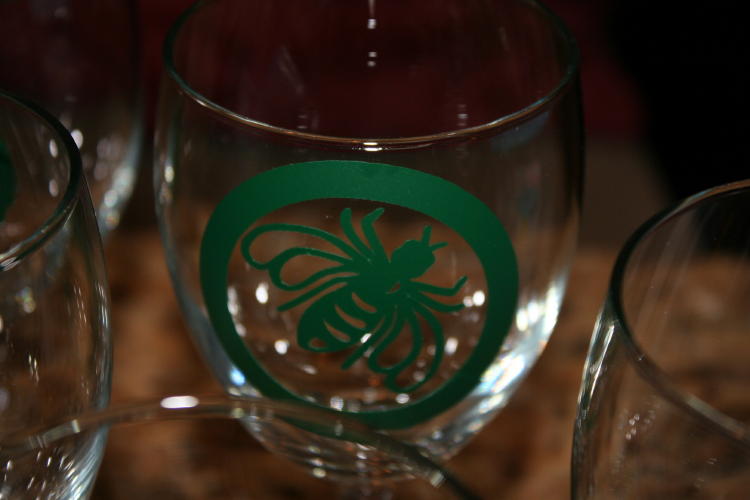
You want to get all of the bubbles out that are next to the cut areas you’ll be etching. I teach you how to do all of this in my Cricut Vinylology DVD.
Next step? You cover the image with Armour Etch Cream using a sponge brush. Don’t be stingy with it either, really pile it on there. Also, I’ve found that leaving it on for 15-20 minutes really gives you a good result. I know what the jar says…but I’m telling you what I do. 😉
Do NOT touch that Etch Cream with your bare hands!! Read the cautions on the bottle!!
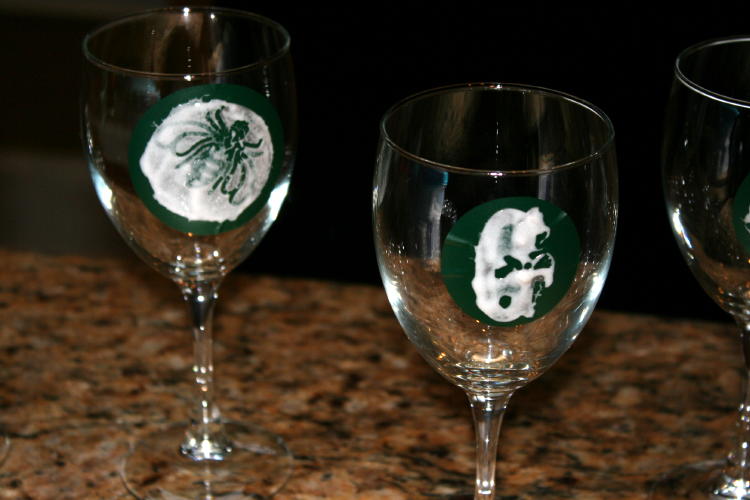
Hey, I know that “G” looks like there are bubbles near the etching image, but trust me…they’re further from it than they look and those edges are down flat. 😉
Ok…so next…THE FUN PART!! I washed the etching cream off of the glasses. Yep, I just stuck them under running water in my kitchen sink. Then after all the etching cream is off, you just peel off the vinyl and “Voila”!! You’ve got an etched glass! TA-DA!!!

The light made this look a little weird, but they look perfect in person. 😀
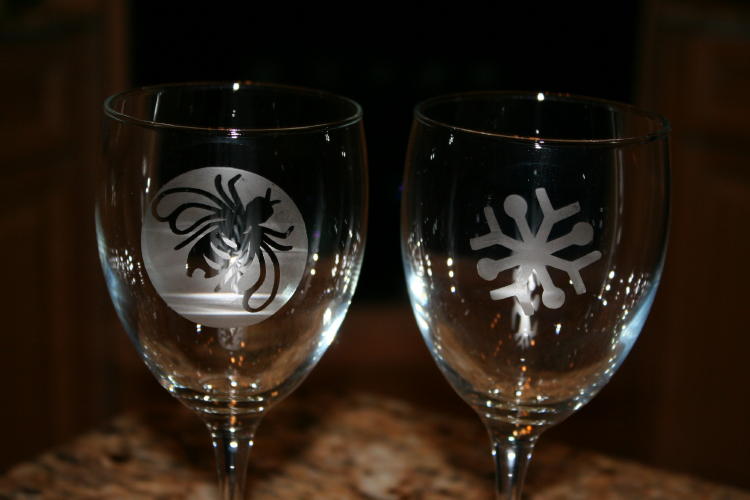
Again, some funky lighting, but the glasses were great!
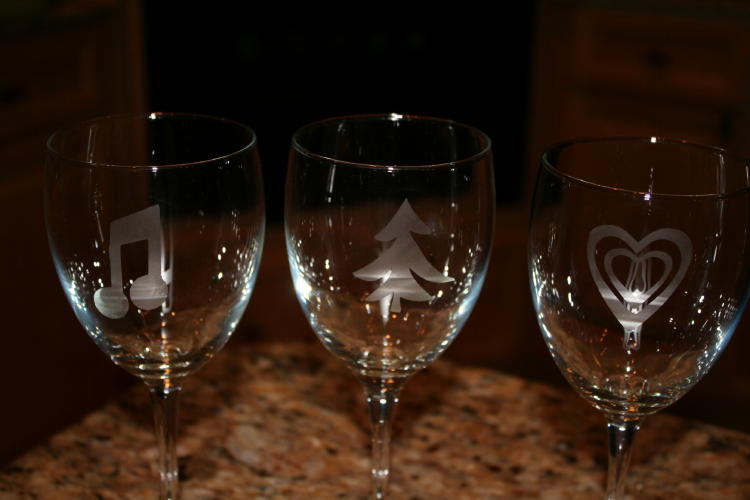
Crazy lighting, but the glasses came out without a blemish!
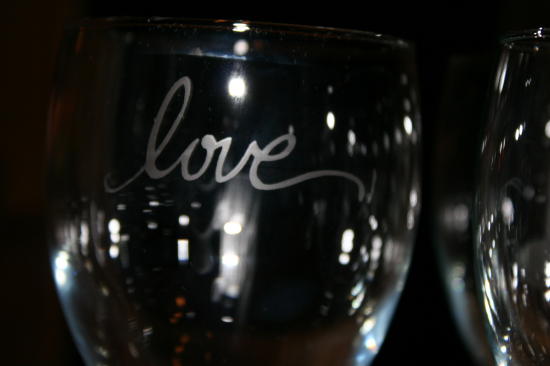
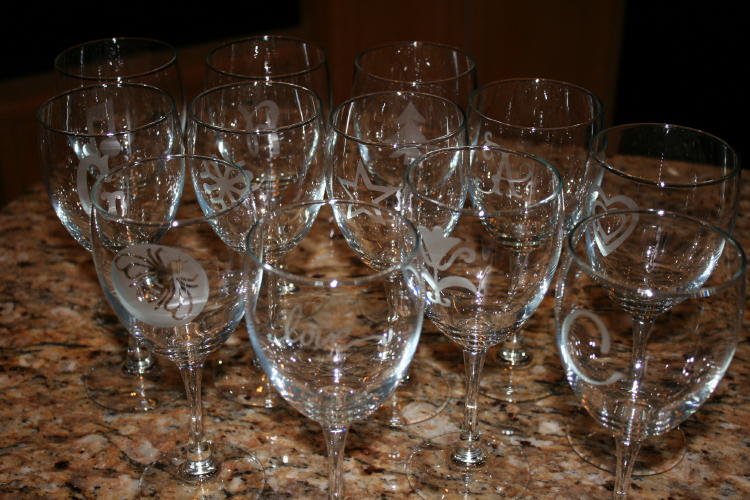
Yay!! Now what can I glass etch next? 😉
Cartridges Used: Home Decor (bee/fly) & (love); Wild Card (star); Gypsy Wanderings (heart, I put one inside another) & (musical note), Lyrical Letters (letters C & R); Storybook (letters A & G) & (flower); Don Juan (tree); George & Basic Shapes (circle around all shapes & letters); Joys of the Season (snowflake)


These came out lovely! My favorite is the snowflake glass 🙂
It is a lot of work to etch so many glasses… I made 14 mugs for my husbands co-workers as Christmas gifts… whew! I think the worst part was lying the vinyl… what do you think?
[email protected]
I totally agree!! Laying the vinyl down flat is a CHORE!! It’s good that the finished results are so gratifying, or no one would ever bother, LOL! 😉
I bet your mugs were so appreciated. I think it’s wonderful to give and receive things people have made. It’s so special!
I like the snowflake too! Thank you!! 😀
The glasses look great!!
Thank you!! 😀
thats awesome…I wish I had the actual courage to get started on a project like that…I am so chicken scared sometimes lol
You can do it, Nenaceli!! 😉
~Joy~
This is the instruction I have been longing for. You are too much! You are truly the Cricut GURU! I am going to use my Easter cartridge to make my Mother in Law’s hostess gift for Easter dinner. She’s psychotically picky (and really doesn’t like me) so I am hoping to impress her. And you just helped! Awesome! Rock on!
Yay!! I’m glad I could help! Also, you’re totally cracking me up. 😉 I hope this blows her away <and if you don't like her you can take that either way…LOL 😉 ) Good luck!
~Joy~
I love these! This is what we will be giving for Christmas this year. I found some lovely stemmed blue goblets and etched the snowflake….no one could believe that they were not expensive wine glasses.
I will be teaching a glass etching with the cricut expressions class the middle of this month and can hardly wait!
Awesome!! I’m SO doing this!
Tried my 1st glasses last night. They did not come out well. The vinyl bunched in places while I was applying it and in those bunched places the etching cream got under and ruined my image. I am very sad. Applying the vinyl to the glass is very hard. I don’t have transfer tape, is there something else I can do??
Any advice would be greatly appreciated.
Awww Deanna,
That makes me sad too! I hate hearing that that happened to you! I know you don’t want to hear this now, but the most important thing is getting your vinyl down well before applying the etching creme. 🙁 Use your fingernail or whatever you have…like a bone folder or a credit card…to help you flatten any of the edges that will come into contact with the etching cream. Using vinyl to etch glasses IS very hard. It’s tough to work with vinyl on curved surfaces. You can try a hairdryer to heat the vinyl so that it might be easier to flatten. You may want to practice on some Dollar store flat mirrors or glass. I know you can do it!! Just try again and get all those bunched places flat first! 🙂
~Joy~
Thank for the encouragement Joy. I was told I couldn’t touch the vinyl and the glasses due to fingerprints..
Can I actually touch this stuff with my fingers? I think that would help me a lot. But if I get a finger print on the area that I wish to etch, won’t it negitively affect the etching? I’ve been using rubber gloves to handle everything and it’s been akward.
You’re the best –
Deanna,
I know how awkward doing this with rubber gloves can be. That’s what I did the first time and it was really a pain. What I did with these glasses was to not use gloves. I put the vinyl on with my fingers (just have clean hands) and stick the vinyl down well. Then put the etching creme on heavily, like I show in the photos. Leave it on a bit longer than the bottle says too. Just be really careful to not get any etching creme on your fingers. Now, you’re not going to start dissolving the second it touches your skin, so don’t panic…but hurry over to a faucet and wash it off. 😉 Let me know how it goes!
~Joy~
Thanks Joy, I’m going to try another one tonight. I guess that practice makes perfect! 🙂 Guess you’ve had a lot of practice!
What frustrates me is that I made a vase with Mickeys a while back and it came out great. Don’t know why the letter Z has beaten me up so! 🙂
In just the short time since I found this site you have helped me in all kinds of ways. Thank you so very much. Please keep experimenting and teaching, and encouraging. And by the way, the wine glasses look fantastic!
These are great Joy! I am planning on trying some etching this weekend 🙂 After I get my craft room set up. Wish me luck!
Thanks Erika! Good luck…but I’m sure you’ll do great! Have fun and don’t get that etching creme on your hands! 😉
~Joy~
i made my first vinyl project a few months ago (a beer mug with my dad’s company logo etched on it). i cut the vinyl and put the etching cream on for like 15 minutes. i went to go rinse it off and peel the vinyl and i was so mad b/c the glass looked liked nothing had happened! i was so disappointed but when i dried it, it had etched beautifully and i felt so much better :0) i just had a moment when my heart sank b/c i didn’t think the etch would look clear when it was wet lol now i know
Beautiful, now all I have to do is get some vinyl and etching cream, and glasses and I’ll be on my way. Can’t wait to try it….Great job!!!!!
Love this. I found an idea online the other day to etch last names into the underside of 13×9 pans….so I made those for my sister-in-law’s Christmas gifts. This would be a great gift for my mother-in-law though! Might have to give it a try!
I did this as a wedding gift….2 steins, 2 wine glasses , 2 tumblers and 2 shotglasses. Yes, they went over quite well !
So, am I crazy to think I can do 150 etched glass wine glasses for my class reunion this summer?