
Yesterday I had one of those, “Is it JUST ME?” problems with my Silhouette Studio Designer Edition software. I almost went crazy-er. Part of me wants to regale you with the entire problem/discovery process, but you’re not here and can’t see my confused face, “what’s up with that” hand gestures or allow me time to get side tracked telling and showing you all the cool features of the Silhouette software I discovered while I kept shouting, “Why am I so stupid?”. Hey, sometimes that’s my process. All this has been my intro for giving you my “long story short” explanation.
.SVG FILES IMPORT WITHOUT CUT LINES
Will this always be true? I don’t know. I’m hoping Silhouette will improve that feature with future software updates. It took me a LONG TIME to figure out that the reason none of the .svg files that I imported would cut. NONE OF THEM! I’m not talking about things I bought from the Silhouette store, they open without a problem.
I showed you how to import .svg files in THIS POST.
HERE’S HOW TO MAKE CUT LINES FOR .SVG IMPORTED FILES
AKA = FIXING YOUR PROBLEM
If you are like me and have this problem you can fix it by following the short list below:

- Open the Cut Style Window. (Scissors button, see above.)
- Highlight the image you want to cut. The Cut Style box will then show your options (No Cut, Cut Edge, Cut, etc.).
- Select your choice. You can hover over each choice to read a description.
")
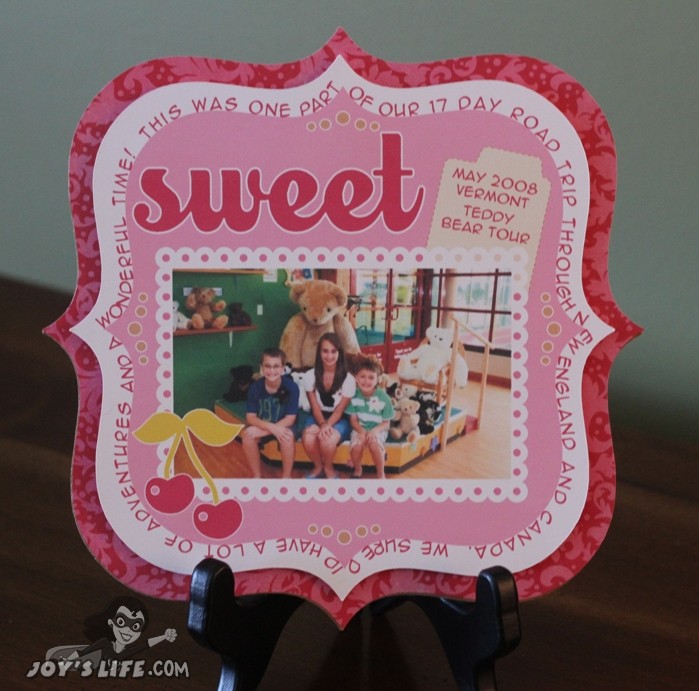
If the file I’m working with looks more colorful than a file you’re using it’s because this is a Print & Cut file. This file is “Fall Tree” by Lori Whitlock.
Now you are ready to cut!
IF YOU DID THAT AND YOUR IMAGE STILL SHOWS NO CUT LINES:
Really? Still no cut lines? Yeah. That happened to me too. You need to make the cut lines yourself. Click HERE to read about how to use the OFFSET WINDOW to make cut lines.
Here’s a link to all of my Silhouette Studio Designer Edition tutorials.


Oh my !! If I would have had that problem I would have said the heck with this and forget it but I don’t have the silhouette and I guess I will not be getting one if you have these kind of problems with it.
Mimicaro,
I do think that the Silhouette’s take some getting used to especially if you’re used to Cricuts but they aren’t as hard as this post made them sound. 😉 For example, if you were just downloading something from the Silhouette store it imports into the software really easily and fast. It’s just this .svg importing that can be a pain. 😉 I think you would probably like the Silhouette after you tinkered around with it a little. 😉
Hugs,
Joy
Thank you for this quick tutorial! I just upgraded to the Designer Series and was wondering how to do this! Thank you so much for saving me from needless hours of trial and error!
Hi Craftydiva,
I am so glad this helped you! Thank you for letting me know it helped! Happy Crafting! 🙂
~Joy~
OMG…. I had the problem and felt just like your description. Thank you soooo much! I’ve had a Silhouette SD for about a year and just got my Cameo last week. I use Corel Draw and have many files. My cutting program with my Corel Draw does not recognize the Cameo and there are no upgrades to take care of the problem. It finally occurred to me to open the Corel Draw file, save it as a SVG. file and then import it into the Silhoutte designer program to be able to cut on the Cameo. In the past, I would trace the design to be able to cut it but that was not working like I wanted. Your way worked perfectly.I had not explored the scissor tool. WOW!! Thank you!
Hi GrannyM! I’m so glad that my post helped you! It was enough to drive a person crazy, wasn’t it? 😉
Thank you for letting me know it helped AND that I wasn’t alone in having that problem. 🙂
Have a great day!
~Joy~
I am experimenting with SVG files this morning. I am finding a lot of times after I click ‘cut edge’ nothing happens, but if I go over the image, right click, and select ungroup my lines suddenly appear. It doesn’t make any sense but it WORKS.
Thank you for sharing that tip Sweethavenarts! 🙂
~Joy~
I was unable to achieve the “cut out” effect using either of these methods. After much frustration, I was have found an alternative route: (my task was to isolate a “free up” small people in an SVG of people lined up… just to give you some context)
Make sure the clip you are working with is actively selected
Go to the Trace Tool (to the right of the offset button)
Hit “select trace area”, then draw a box around the area you’d like to cut out
Uncheck “High Pass Filter” and “Low Pass Filter” (if already selected)
Increase threshold to 100%
Hit “Trace and detach”
… and viola! Free as a bird.
Hey Lady,
I was fooling around with the software over Christmas and discovered that too! It was like finding the Holy Grail…well, not THAT special. LOL!
I’ll make a new post about it soon so we can help others! Thank you for posting it here in case anyone needs it while they wait.
Have a super crafty day!
~Joy~
Lady !!! You saved me hours! Thank you for posting!!!
**MISTY**
Misty,
I’m so glad I helped! 🙂
~Joy~
This may old news to you as I see this is an older post. But to get svg sut lines in Designer Studio select the svg, right click and choose release compound path, then right click again and click make compound path….Viola….you have an svg with all the cut lines…my techie son figured this out for me after many frustrating attempts LOL!
Enjoying your blog hop today!!!!
Thank you, Sue! 🙂
~Joy~
I tried Sue’s trick, but here’s a warning…I had dashed lines in my SVG, and after releasing and making the compound path, the lines were solid.
But here’s what’s weird: After importing the SVG I could select the imported object, go to the scissors, select Cut Edge, and have everything turn red, maintaining my dashed lines. When I exited Cut Style, everything went back to black, BUT THE LINES STILL CUT.
Since this comment is more than a year after the last, I should mention that I’m on the latest, v. 2.7.18d.
Thanks Super Joy! Going to try your advice…
I hope it helps you, Stephanie! 🙂
~Joy~
Be sure to check out the recent Silhouette tutorials on my Cutter Tutorials page.
~Joy~
Hi, Joy,
I’m new to your posts, and have found it a GREAT help so far!!
I purchased my Silhouette Cameo MONTHS ago as a tool to help in cutting stencils for my custom signs. I am JUST NOW digging in to it and I SOOOO wish I had done it sooner! Here’s my dilemma…. while designing and cutting stencils using the Designer software (complete with bridges, thanks to an older post of yours!!) my stencils have cut flawlessly, however, sometimes I want to “tweak” the lettering a bit for different looks, and this is where I run into problems… I have Adobe Illustrator and have exported the file in .svg format. I can open it in Silhouette with no problem, but am having problems with putting in the bridges….. can you help me?? I have done a “test cut” on a file, and the lines were very jagged, due to the bitmap look of the file, I guess. Any suggestions?? The Silhouette has works GREAT on straight line text, created within the software, but I am really hoping to “master” the imported files, too!! Any help would be appreciated!!
Hi Ms. Crow,
I want to help with this but I’m pressed for time and want to make sure you get your answer soon. You might try the MTC forum for answers to that. I know that many people find help there on more complex software questions. I hope that helps!
~Joy~
I just had this problem and found your post by googling my question. I went back and “ungrouped” the file and viola! All the cutlines suddenly appeared!
So happy to help, Heather! 🙂 YAY!
The two of you combined have solved this for me. THANK YOU!!! 🙂 I, too, was banging my head against a wall. I now love this blog and want to read the whole thing.
After 2 hours of struggling to cut a svg file and a phone call to Silhouette with no response, I found your post! THANK YOU, THANK YOU, THANK YOU! I was so frustrated and you really and truly saved me more hours of frustration.