Cricut Paper Doll Dress Up Vampire Candy Bag
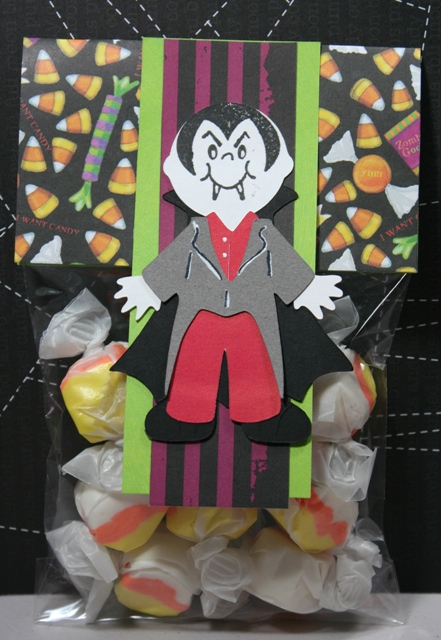
Treat Bags are One of My Favorite Quick Crafts
I love to keep these medium cellophane bags on hand. These are by Stampin’ Up. Decorating them can be as simple or elaborate as you would like. Basically, all you have to do is fill your bag with something. Next, you fold a piece of paper over the top of the bag and staple it. A monkey could do this. Really. I mean I was busy eating a banana and swinging from tree to tree when I had to come in and make this, so I should know.
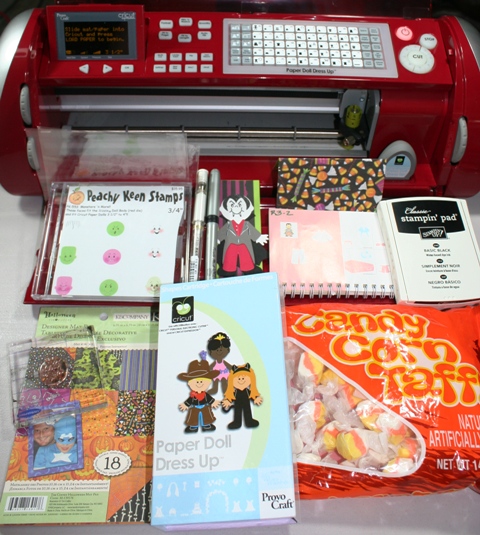
That’s my Red Cricut Expression.
A lot of things went into making this little bag of goodies. I used the Cricut Paper Doll Dress Up cartridge to create the vampire, but his face was stamped using Stampin Up ink, a clear acrylic block and the Monsters & More 3/4″ stamp set from Peachy Keen stamps. I used a white Signo pen to color in the vampire’s teeth and to add some eyeballs. The printed candy paper came from Michael’s and is by K&Co. The striped purple background paper is from Stampin Up. Can you tell I love their stuff? The candy corn taffy is from WalMart.
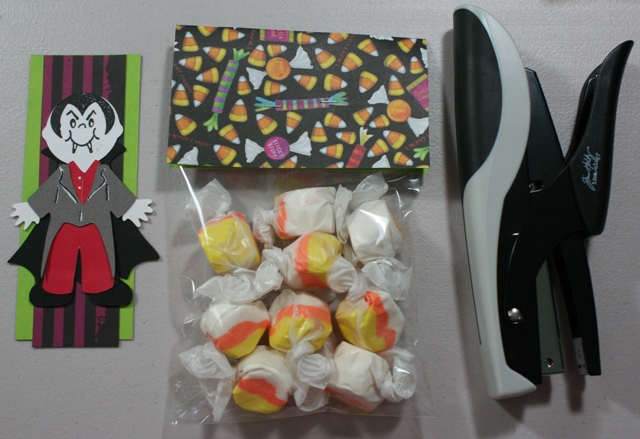
That’s not just any stapler! That’s the Tiny Attacher. I LOVE IT! I bought that thing about 10 months ago and have enjoyed using it more than I thought I would. It has very small staples which are perfect when you want to hide them or at least not make them the focus of your project. Here’s a link to a post I wrote comparing the Tiny Attacher with a regular stapler.
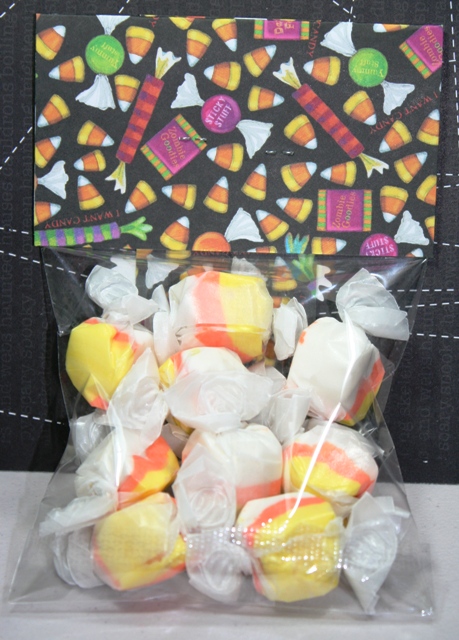
Because the staples are so small they are easy to hide. I usually cover both the front and the back of the bag where the staples are. I like to do that to give it a more finished look, but also because I don’t want anyone to scratch themselves with a staple.
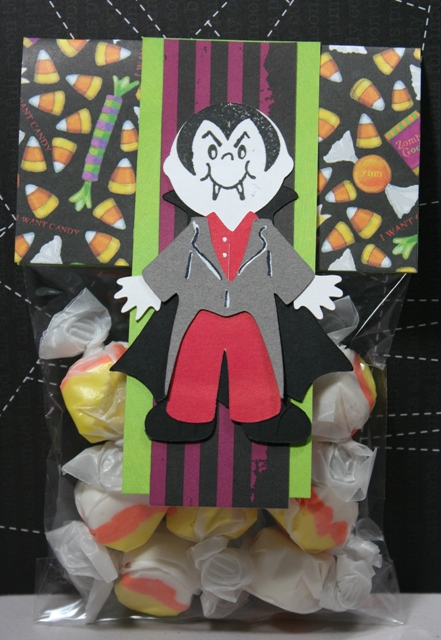
ALL DONE!
I cut the vampire at 3 1/2″. There are several layers to the paper dolls, so you might not want to create them when you’re in a rush! 😉 I used my ATG gun to tape the vampire to some leftover pieces of paper I had and then I taped that whole thing to the bag topper.
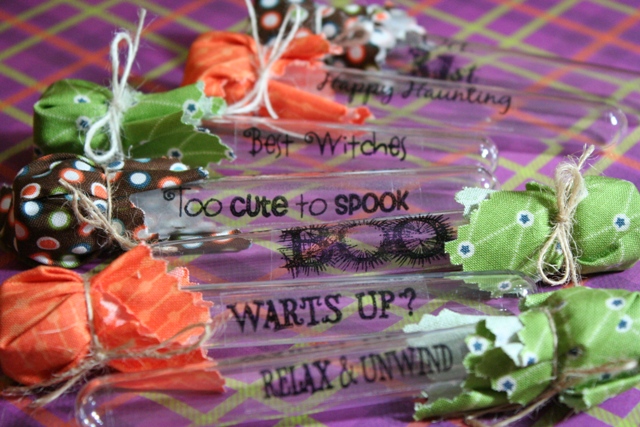
Here are some links to other gift bags I’ve made.
Here’s a treat bag for bath fizz bombs (see the 2 bags at the post end too).
Here’s a treat bag I made for cookies.
Here’s a Spongebob Treat bag I made.
Don’t forget to leave a comment…
At the end of October, I will pick 5 winners who’ve left a comment on any non-give away post on Joy’s Life during the month of October. Those 5 winners will win some crafty surprises. So, you can leave a comment on all the give away posts AND on non Give Away posts and still have a chance to win! 🙂
Don’t forget to leave a comment to be entered for the Cuttlebug dies and folders AND the deep cut blade from Thursday’s BLOG HOP! Click HERE for that!


That is so cute! I love a great gift bag idea!
that’s really cute! I have a really tiny stapler that takes little tiny staples that I use in the same manner. I think its a little red Swingline, no bigger than my little finger!
Very cute!! Love these 🙂
Love it! You make the cutest treat bags! Thanks for sharing!
Dracula really pulls it all together. Too cute!
Love this idea, nice and quick, just the way I like it since I do everything last minute! What size are those bags? I’d like to see if I can pick up something similar locally. TFS!
Love the Vampire bags! They are so cute.
How adorable…oops I mean spooky…lol…love the treat bags…paperdoll dress up is one of my fav carts
That taffy is the perfect treat for your treat bags! Love it. Thanks!
wow what great giveaways . i love mkinghalloween decorations they are soo cute .. thanks for sharing..
Lynn
Cute! I love the vampire face… I need to head to the PK site now…
I’ve made treat bags like this before, but not since I’ve had my cricut. I’m definitely gonna have to make these…they’re way cuter with the cricut. TFS!!!
Cute! I too, love making treat bags. I will have to get me one of those staplers! Thanks for sharing!
Your posts remind me of things I had forgotten I even had (like the vampire on the Paper Dolls cart.!!) Thanks!! 🙂
Very cute candy bag..love the paper…
Super cute.
I need to get those PKS set. Love how your vampire turned out.
GREAT PROJECT!
those are cute!! question for ya – I am a teacher and have purchased halloween cookie cutters to go in my kids treat bags – any idea on how I could use them in some crafty way other than just putting them in the bag with the other stuff???
I love your treat bags! Kathy
kschenckATbresnanDOTnet
Love the treat bag, these are ideal for all the little callers we have.
Kim xXx
These look so cute and simple to make. Thanks for the great ideas.
These are fabulous! I can totally see them for my little one’s preschool Halloween party! Too cute!
So that’s where you can get those bags!!!!!!!!!
I was sure wondering!
Really cute!