
I used the Cri-Kits embosser and metal along with the Happy Hauntings Cricut cartridge to create this Halloween sign. The whole sign is at the end of this post. 😉 If you look at my video from 2 days ago, you’ll see how to use the Cri-Kits embosser.

Here are the things that I used:
Those Tim Holtz Tonic scissors do a GREAT JOB cutting metal and all kinds of other things. I bought that photo frame at WalMart for about $3. 😉 I’ve just about worn out that Happy Hauntings cartridge this season. LOL! I love the purple Cri-kits metal. Purple is one of my favorite colors.

Here’s the Cri-Kits embossing tool doing it’s job on the metal. What I’ve done here is lay the purple side down and used the FLIP button on my Cricut Expression. I’ve done that because I wanted to have the raised “Spooky” word on the purple side so I can sand it. You’ll see that next.
")
Isn’t that COOL?! Next I used that sanding tool to distress the metal and really bring out the word “Spooky”.

I used my Gypsy to help me place exactly where I wanted the metal to be embossed. The Gypsy was really important here because I first embossed the inside of the bat and then needed the Cricut to go back and line up perfectly to emboss the outside of the bat. The Gypsy is the perfect tool for that. 🙂

Pretty nice! Uh…I mean really creepy and spooky. 😉

Awww MAN!!! I cut all 3 of the metal sheets too short. Oh well.
The “spooky” panel doesn’t show it as much, but you can really tell on the orange metal. Wait! I know just what I’ll do. I’ll stick a bow on it and people won’t notice because they’ll be distracted. LOL! (No, that doesn’t work entirely.) Let me suggest the old adage, “Measure twice, cut once.” Not my saying, “Cut cut cut until it looks right and then shout loudly at people when they get too close so they don’t notice your mistakes.” I think my saying will totally catch on.

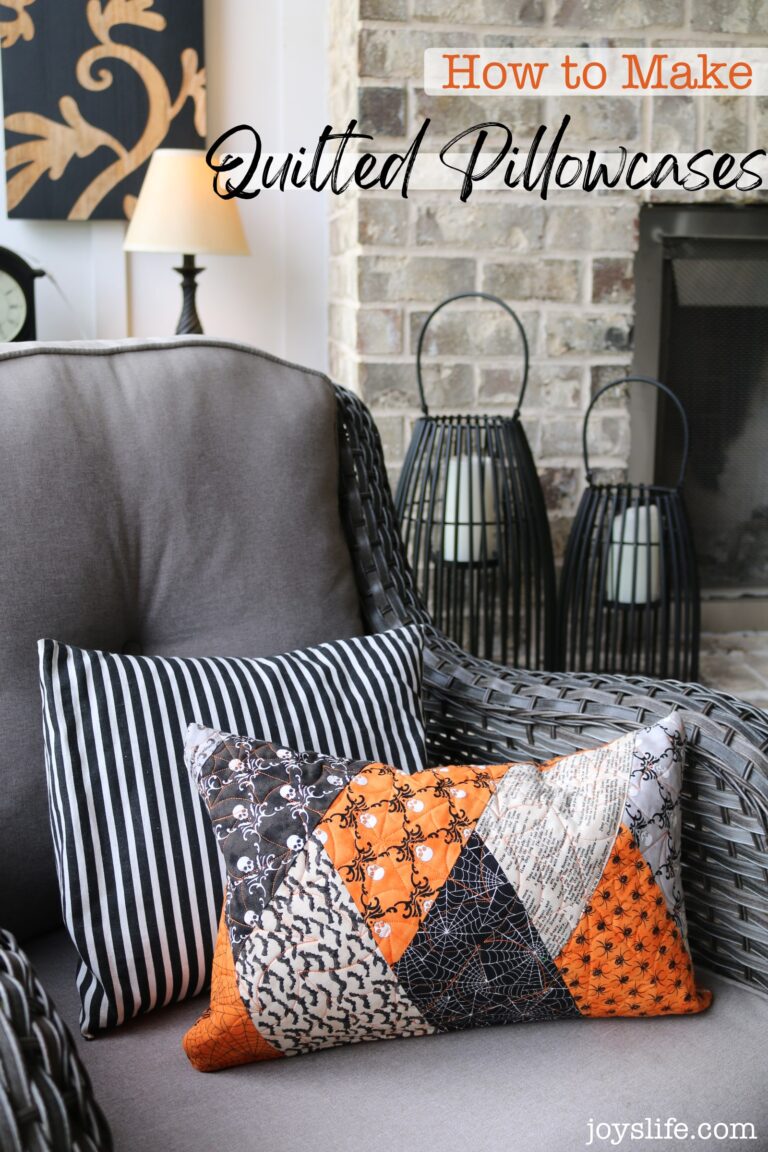
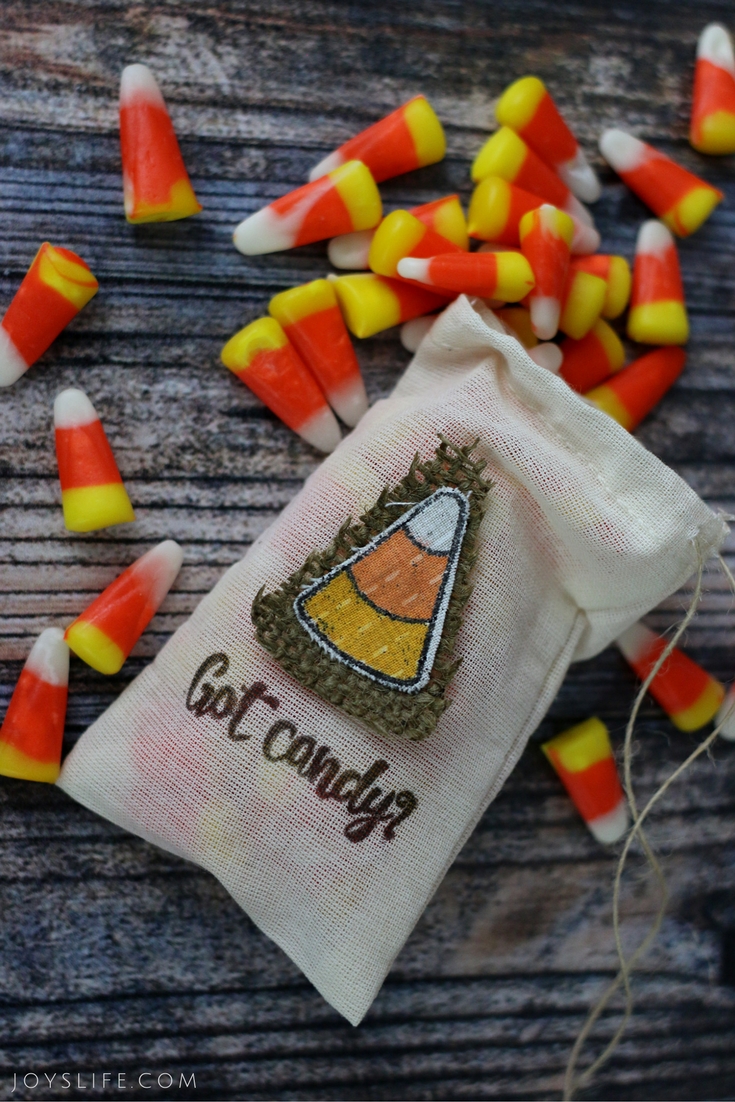
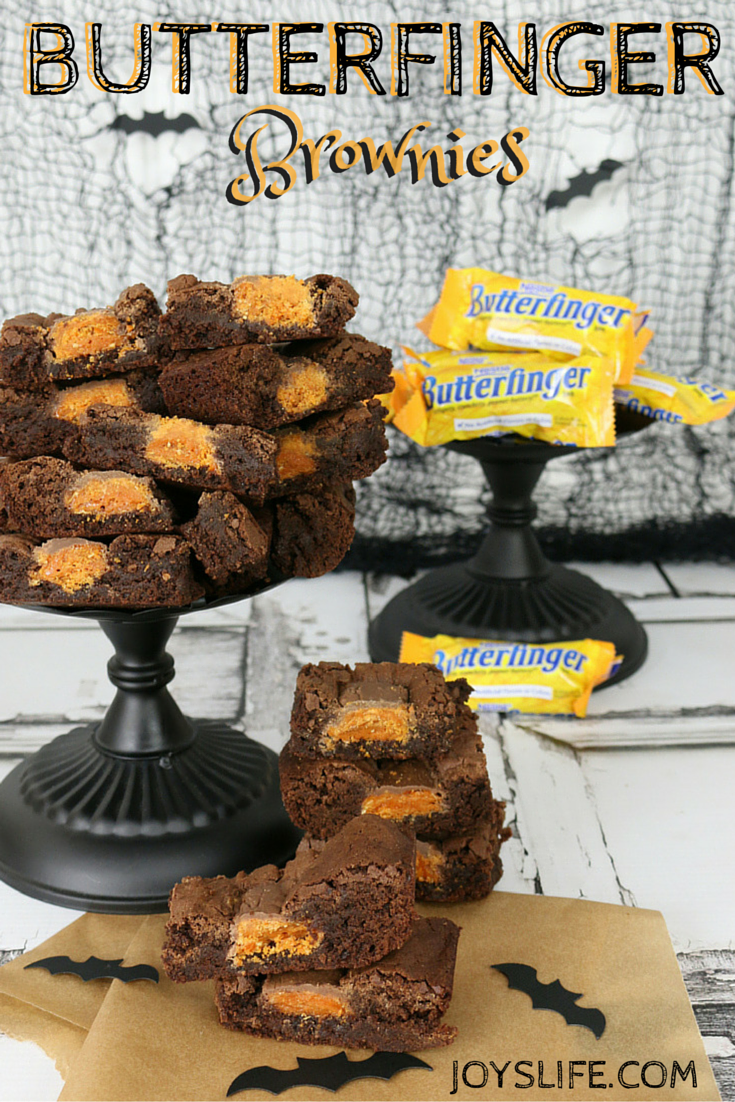
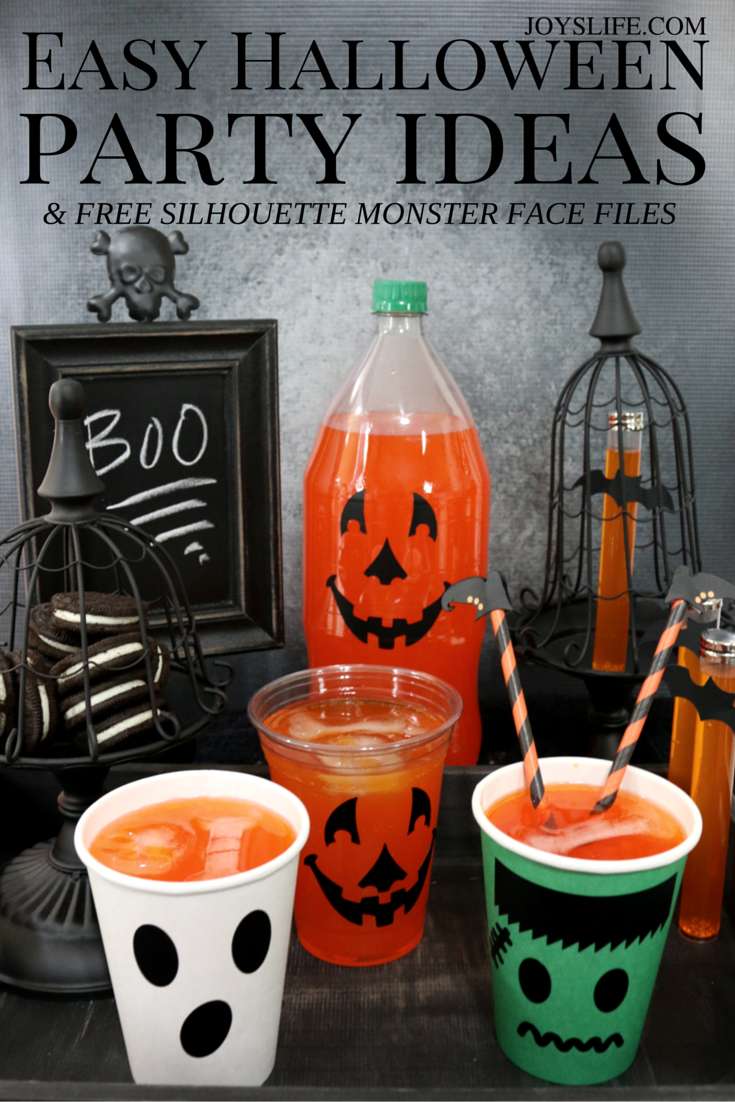
Check out these Halloween Posts:


I hope you have a fun Halloween weekend!

Wow very nice .. My favorite color is purple too..thanks for sharing..
I love the embossed metal. Great project! I like your saying, that is what usually happens to me too. 🙂
I would really love to try this embossing on metal. Yours always turn out so nice. Love your video turoitals.
angel hugs
Debby
What a neat project! I love the look of embossed metal!
Awesome sign. I love the purple metal too and it looks great with the way you distressed it.
This is my favorite, you can’t even see your mistake. It is perfect. I really want this embossing stuff. Great Job, Thanks again Joy!!! Have a Super Spooky Halloween!!! Be Safe!!!
That is so cool! I love how the metal looks after you sand it! And the finished project is FANTASTIC!
LOve the look of the embossing on that metal. You did a great job and we cant see the inperfections. Silly ..lol. Hey thanks for sharing. This month has been great and Im sad to see it go. Im sure your not..lol Thanks again, Cindy
Great looking sign!!!!!!!
I really like embossing…never tried it on metal…thanks for giving us a great month of inspiration and fun…I surely looked forward to your Halloween dailies…Must start doing more projects and having more fun myself!
-Tanya
thomfam at inreach dot com
Joy,
This is so cute. A mistake? I don’t see one.
Thanks so much for sharing all these spooktacular projects.
STacy
Is there anything you don’t think of? This is so cute. I think the embosser is on my ” want” list!!! TFS and have a fabulous Halloween!!!!!
This is so cute. I can think of so many ways to use this idea.
What a great project! I said that I wasn’t going to buy anything until after Christmas because I have bought so much this year. But that may have to start next week. lol I really need that embosser. TFS
I’ve been to afraid to try embossing metal but your slowing winning me over. I”m starting to get some ideas of projects I’d like to try. Thanks for the inspiration.
I so have this kit on my christmas list, but the more I see it the more I want it now. TFS
This is soooo awesome Joy! Love the look of embossed metal
I’m practicing: “Cut, cut, cut until it looks right”… seems to be catching on!
I’ve already got the shouting part mastered! (-:
I love them Joy, and I wouldn’t have noticed they were short.. Super super cute.
I don’t see the mistake either! That is your gift of creativity and thanks for sharing!
Loe it love it love it!!!!! What a fun idea – you could change the metal out for the different holidays oh so cute!
Very spooky! I really want to try this embossing metal kit! You have so many great ideas – must be why I come back daily to visit.
I really must try some of that metal!! what a great project!!
This is really effective, l especially love the ‘spooky’ wording that shows up great.
Kim xXx
I really like this – thanks for sharing!
Another great project! And I wouldn’t have noticed if you didn’t say anything! Thanks for sharing!
Fun!
Joy, I had no idea this embosser existed and then you go and do the most amazing project!! I love it! And the way you took care of the fact that your panels were to short was brilliant! It looks like you planned it that way! Very cute!
I love the purple spooky sign. Your video on embossing and cutting metal was very good and informative. tfs
Wow, This looks awesome! I love it!
great project! I would love to do this with pictures of kids on each end in their costumes!!How cute!
KAcee
[email protected]
I am loving your Halloween projects! You are so creative! Thanks for sharing!
oh so cute! and at chritmas you can just trade it out for red and green ones with trees and such!
Great results – thanks for sharing all your terrific ideas!
I LOVE THIS!! I have to get the embosser and some metal. Would be really cool to do some stuff to hang in my new craft room. Thanks for the great ideas 🙂
woooooooooowooooooooooooooo
am I scaring ya Huh huh huh?
hahahahhahahahahhahahah
just cracking me up.. or maybe I’m just going batty too!
Great job!
Amazing, I actually bought some of that tin and was to scared to try anything with it. Thanks for showing me.
I love it great project. I need to get me some tin and the cri-kit embosser
super project Joy, I am loving this embossing on metal….. thanks for all the great ideas….
Wow Joy…you amaze me again! Love the sanded metal look! Who would have thought? Oh yea, you would! Love your comments on the pictures too!
Thanks again!
Love this idea! I’m always looking for wall decorations for every holiday! This may work for me…… 🙂
That is a really cool project. I love the sanded metal.
very cool!! Love the bow! 🙂 So, here it is the end of October and still no cruddy crafts…guess I’m going to have to tell you again how great you are!
Oh I love this!! Purple is my favorite and I love how you sanded it to bring out the embossing! I MUST get this tool!! There are these neat inventions called rulers, but for those of us who’ve never used one we cover things up with bows or in my case strips of paper (LOL!). You did a great job!
Ooopsy! The project looks great, even if cut too small. Thanks for showing it. Thank You for a chance to win cool prizes. Thanks for all you do.
quilt 4 fun 2 at hot mail dot com
you just amaze me with all the creative things you make for the house! Thanks for all the fun this month!
Great project! You’re not the only one with the ‘measure twice, cut once’ issue!! 🙂 TFS!
~Sharon C.
Awesome! Love this idea…but then again all your ideas are amazing!
Oh my gosh, Joy. This looks SOO COOL!! I want to do this for a Christmas one.
Great project.