Yes, you can stamp ink on fabric and even heat emboss it! This Halloween candy corn stamped fabric bag tutorial shows you how to stamp, emboss, and color fabric using burlap, a muslin bag for a fun fabric craft.
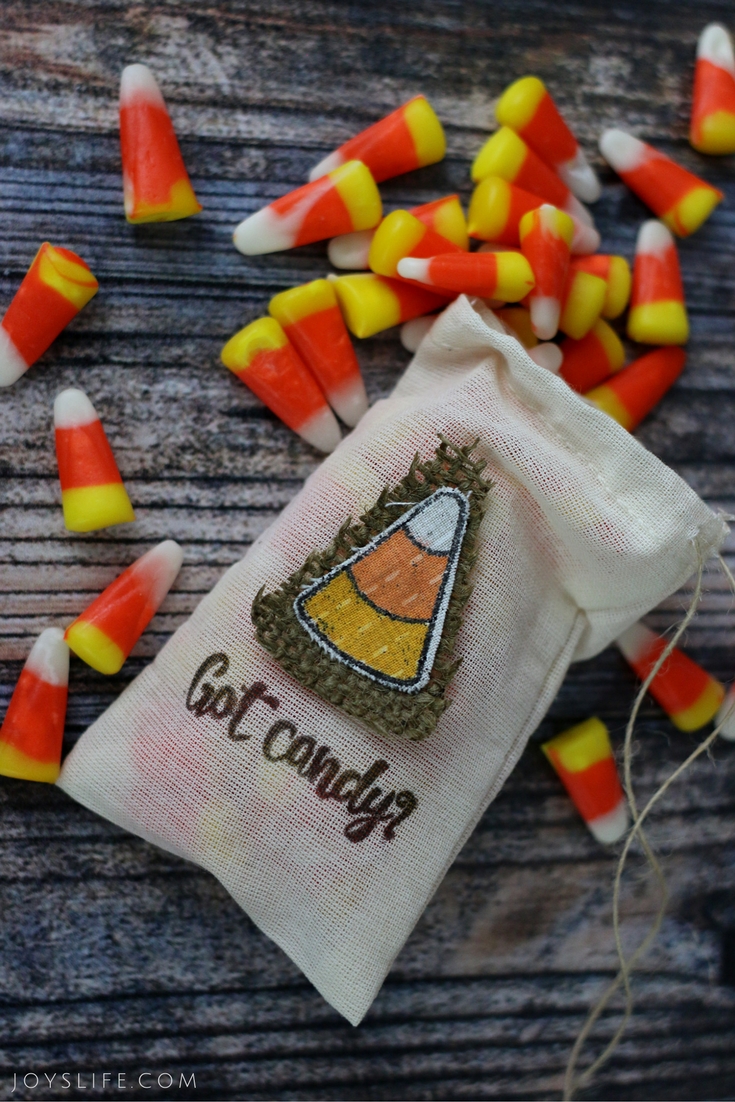
Did you know you can stamp ink on fabric? You did? Okay, but did you know you can heat emboss it too? You can! And it’s a lot easier than it sounds. This candy corn stamped fabric bag uses both techniques for a textured, dimensional look that’s simple to create. Let’s make one together.
Supplies You’ll Need:
- Candy Corn Kisses stamp and die set
- Burlap (small piece)
- White fabric (small piece)
- Dritz Fray Check
- Versafine ink
- Fine black embossing powder
- Heat gun
- Tweezers
- Faber-Castell Pitt Artist Big Brush Pens:
- Dark Chrome Yellow 109
- Orange Glaze 113
- Black
- Plastic sleeve or scrap cardboard (to protect the bag inside)
- Muslin bag or other small fabric bag
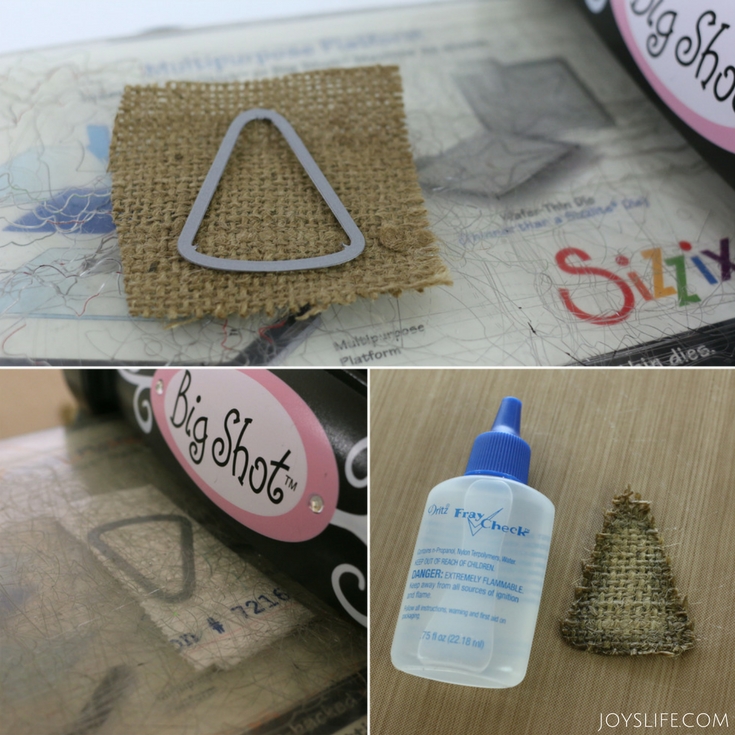
Step 1: Cut the Burlap
Cut a small piece of burlap. Place the large candy corn die on top of the burlap (cutting side down). Run it through your die-cut machine a few times.
If it doesn’t cut cleanly, add a shim (could befolded cardstock or a rubber mat) to increase pressure. You’re just trying to add flat, even bulk to make sure the machine rollers are making good contact with the die and the material.
Here’s a tip!
Burlap loves to fray. I added Dritz Fray Check to keep it from unraveling. It works great! It does need up to 30 minutes to dry though, so plan for it.
I love that this Candy Corn Kisses set has matching dies!
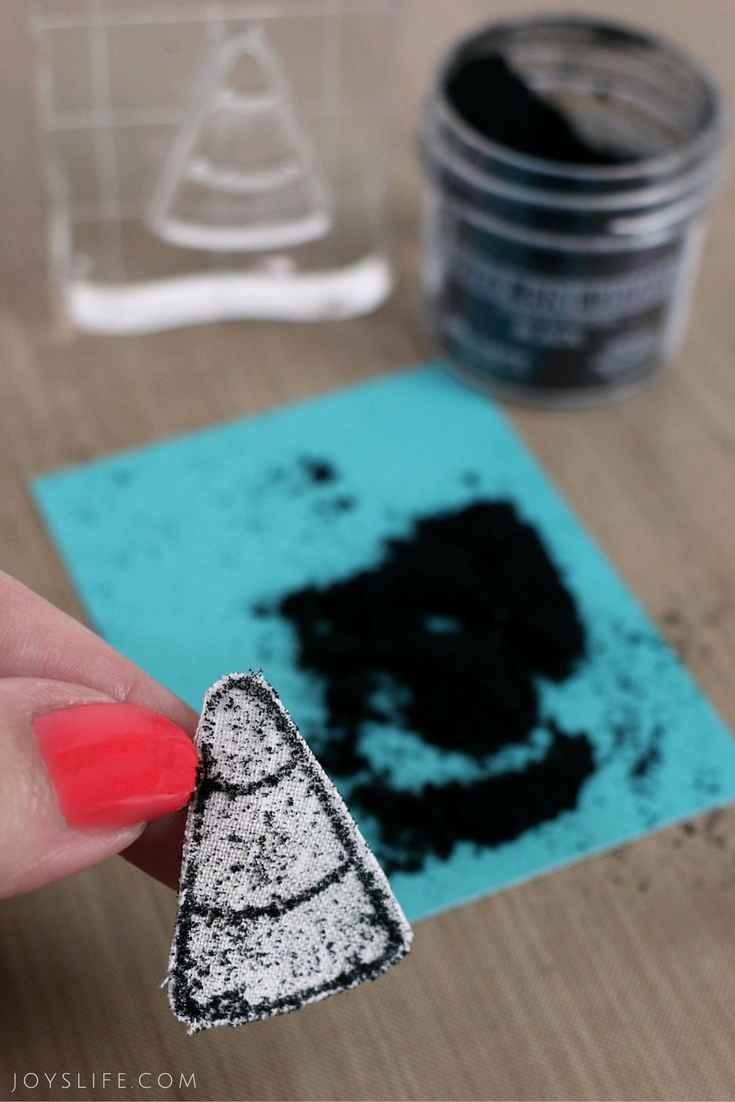
Step 2: Cut and Stamp the Fabric
Use the smaller candy corn die to cut out a piece of candy corn shaped white fabric. Stamp the fabric using the small candy corn outline stamp and Versamark (it’s clear), or Versafine ink. After stamping, quickly cover the fabric with fine black embossing powder. You want to add the embossing powder before the ink dries. Shake off the excess.
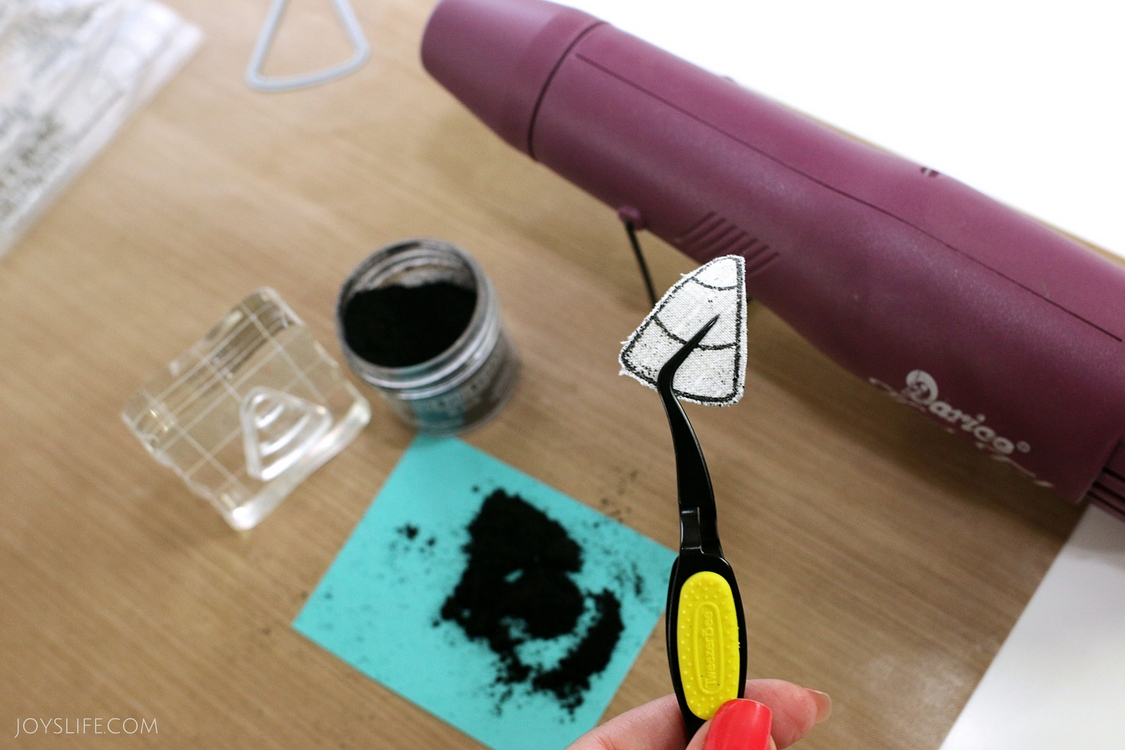
Step 3: Heat Emboss
Using tweezers so you don’t burn your fingers, activate the embossing powder by heating it with a heat gun until the powder melts.
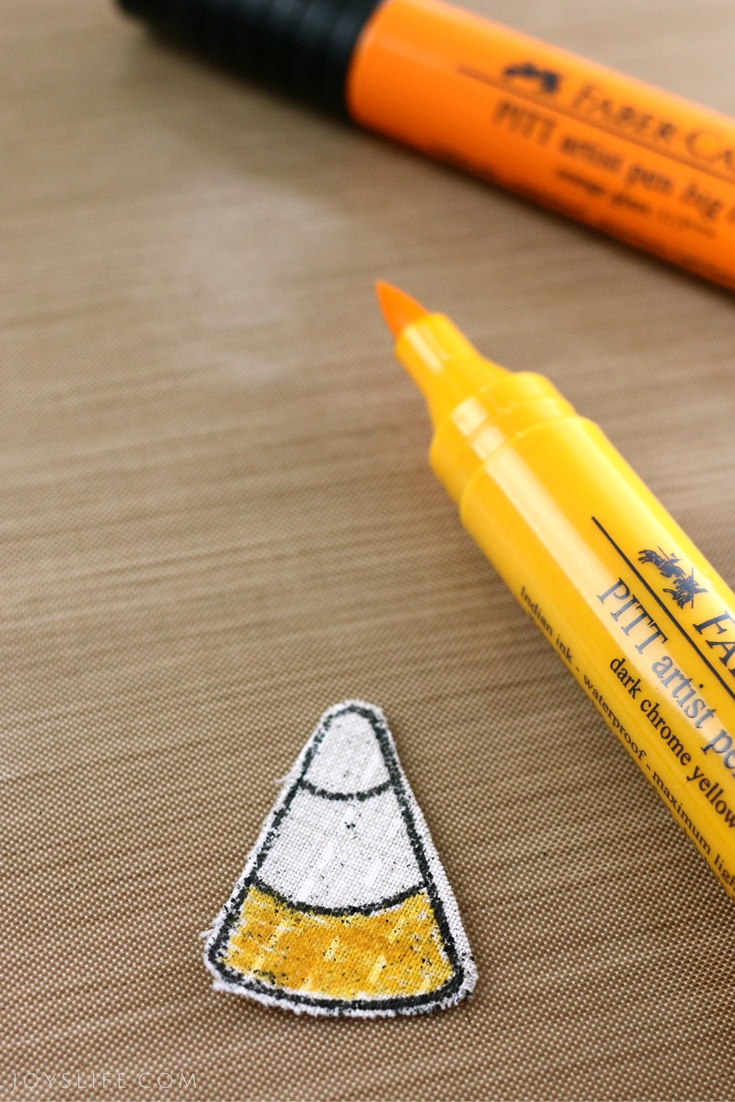
Step 4: Add Color
The embossed image adds a nice dimension and it helps you stay in the lines when you color in your candy corn! I LOVE Faber Castell’s Big Brush pens. They are fantastic! You can draw with them or paint with them. See these posts for other ways I’ve used them.
I’m using the Faber-Castell Pitt Artist Big Brush Pen Dark Chrome Yellow 109 and Faber-Castell Pitt Artist Big Brush Pen Orange Glaze 113.
Step 5: Protect the Bag
Put something inside your bag, to keep ink from going through to the other side. I’m using a plastic sleeve from a pair of scissors I just bought. This video How to Stamp on Cotton Muslin Bags will help!
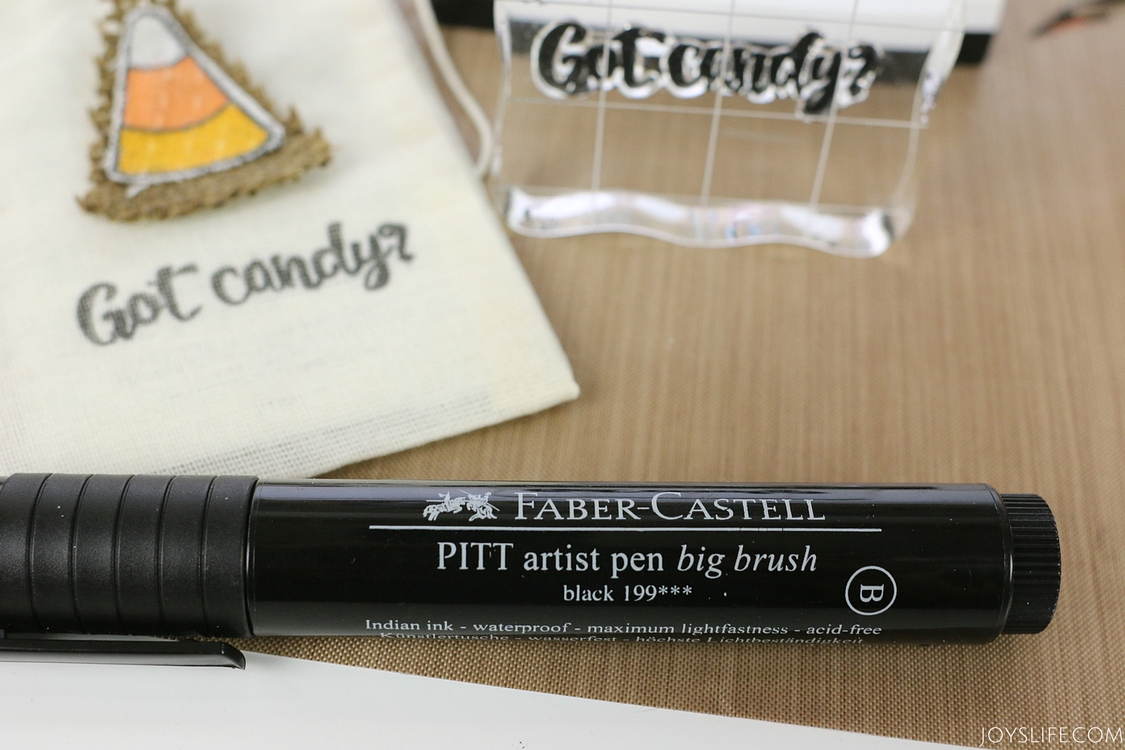
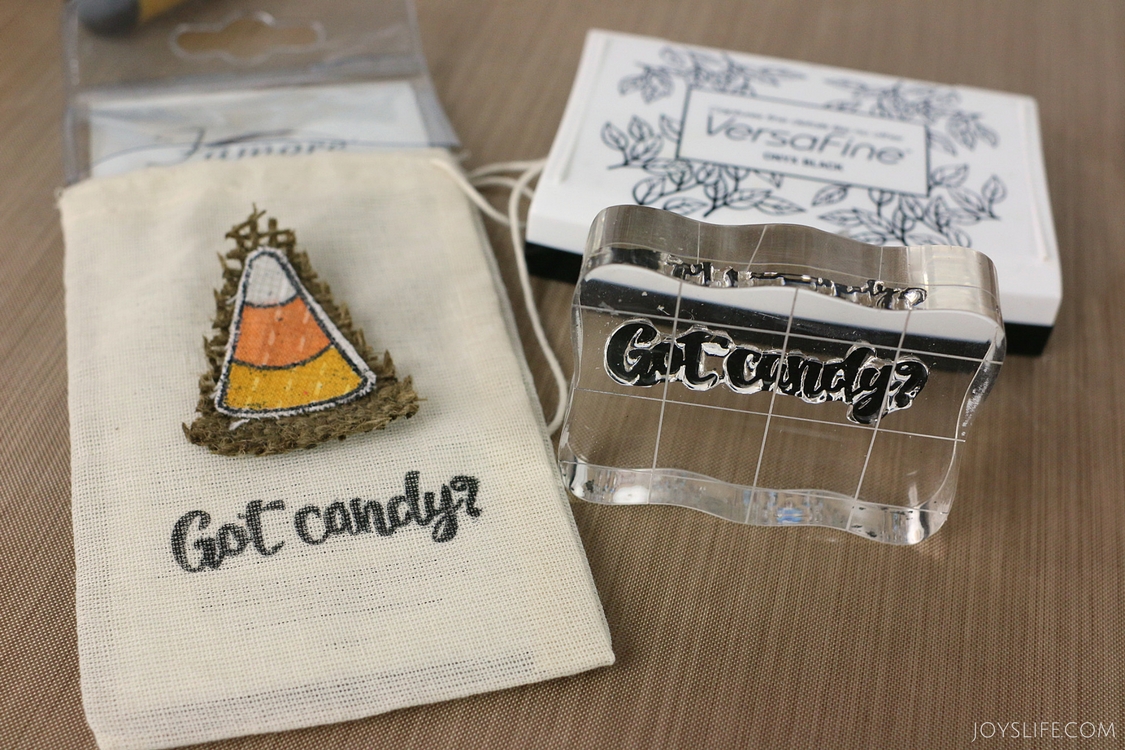
Step 6: Attach the Design
If your fabric soaks up a bunch of the ink from the stamp, you can go over the stamp with a pen. (Again with my Faber Castell Big Brush love.) I used the Big Brush Black pen. This one is super useful!

Attach your finished candy corn to the bag and you’re all done! You might consider turning the burlap and fabric candy corn into a pin that someone could wear! To attach it you can pin it, hot glue it or whatever best fits your needs.
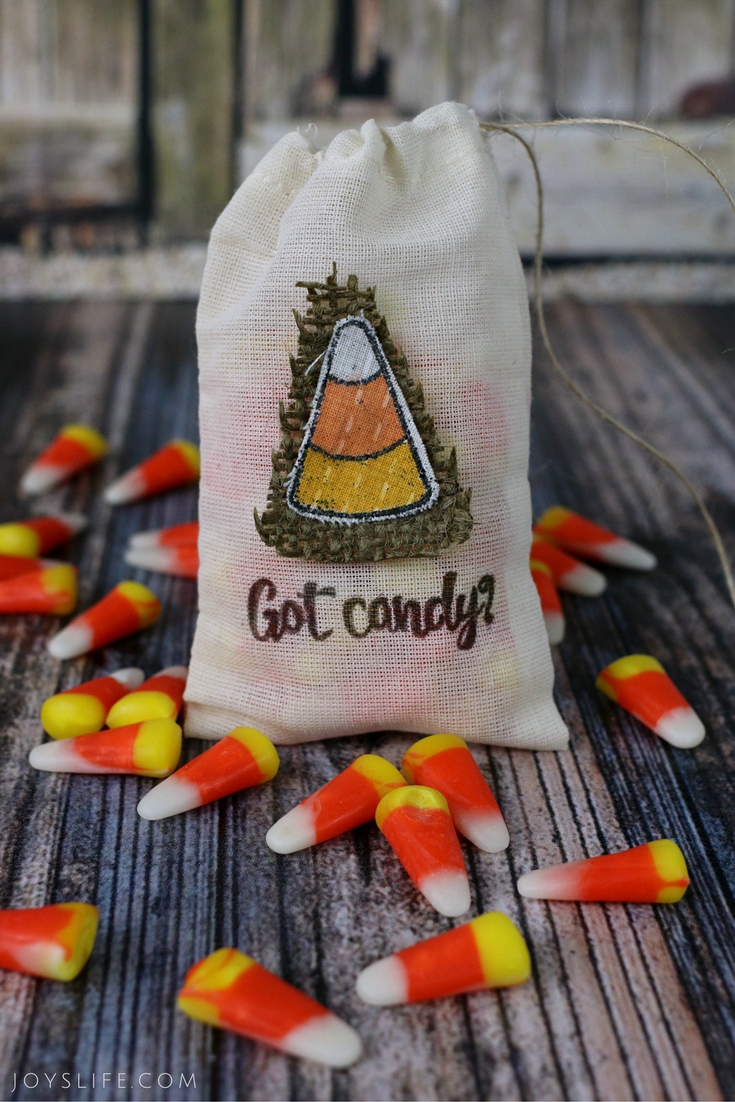
Sometimes the smallest projects bring the biggest smiles, these candy corn bags are proof!
You Might Also Like
- Easy Halloween Party Ideas & Free Silhouette Monster Face File – Quick ways to add spooky fun to your party with DIY monster faces and creative Halloween touches.
- DIY Wax Paper Bags – Make custom gift and treat bags with wax paper, stamps, and tape. Easy, cute, and ready in minutes!
- Fabric Scrap Storage Ideas – Simple, color coded storage tips that keep scraps under control and easy to find for your next project.
- How to Mount Rubber Stamps for Use with Acrylic Blocks – Turn your favorite rubber stamps into reusable acrylic block stamps for sharper, easier crafting.
- How to Make Clear Sticker Sentiments from Craft Stamps – Create see through stickers with craft stamps. Perfect for decorating treat bags, tags, and Halloween projects.


Oh wow, super fun idea! Thanks so much for the awesome tutorial! Can’t wait to give it a try!
Great hop and fun release!
Sherrie K
Thank you, Sherrie! 🙂 Have fun!
This is so so cute!! Love it!! What a great idea for a fun treat bag!!
Thank you, Emily!
WOW! I just LOVE how you stamped on your treat bag!!! I must check those markers out! 😉 Thank you so much for joining us today! LOVE your creativity!
Big HUGS,
Emma 😉
Wow! Your treat bag is adorable!!! Love this idea and will be trying this! Thanks for sharing and have a great day!
Love how you used the burlap-what a great idea!
Awesome job on your project and tutorial! How cute your bag turned out and good tip on the fray check. I never thought to heat emboss on fabric…good to know that it works great. Wonderful project!
quilt 4 fun 2 at hot mail dot com
Super cute idea. Love the textures you added to the bag. I have never thought about embossing on fabric.
Thanks for the inspiration
resatwo at sbcglobal dot net
Cute Gift treat bag for the candy corn! What a fun Fall set!
Cute treat bag. I like the addition of the burlap.
slrdowney at hotmail dot com
Oh this is too fun!
Thanks for all the
tips and it would
make a great pin.
Carla from Utah
Haven’t stamped on fabric yet…but, you make it look so easy, I’m pretty sure I’ll be trying that soon. Thanks for sharing.
Carol
What a fun little treat bag! Thank you for a different way to use these dies and stamps! The videos are a terrific help, thank you. What a fun week of sneaky peeks.
Debbie
Thank you, Debbie!
Cute idea! Never even heard about those markers!
Those markers are super fun!! If you draw on a craft mat with them and spray them with a little water, you can paint with them! 🙂
Super adorable!!!
What a sweet treat bag!
cathyscreationstation at gmail dot com
Darling treat bag! Love the textures!
Love your fantastic idea.
Thank you, Gilda!
what a cute and clever bag, looks like it was fun to make!!!
Joy ~ OMG your treat bag is ADORABLE!! I have to say ~ I never knew about half the products in your post! EEK! Thank you so much for all the fabulous tips! So happy you were able to join us this release!!!
Thank you so much, Kim! I’m thrilled that I was able to share some fun products with you! 😀 Hugs!
This is such a fun idea! I absolutely love this! TFS
Super cute, cool and fun!!
Have a wonderful day,
Migdalia
You always have the most innovative projects using MCT products, and your treat bag here is no exception! Adorable!! Thank you for the smiles today!
~carol
Ms. Joy, what a great little treat bag. I would love to make these for halloween, but I don’t think I have that much patience. Great job and thanks for the tutorial.
What a fun and creative project, Joy. Embossing on fabric, who knew? 🙂 Thanks for sharing.
gsunshine11 at tampabay dot rr dot com