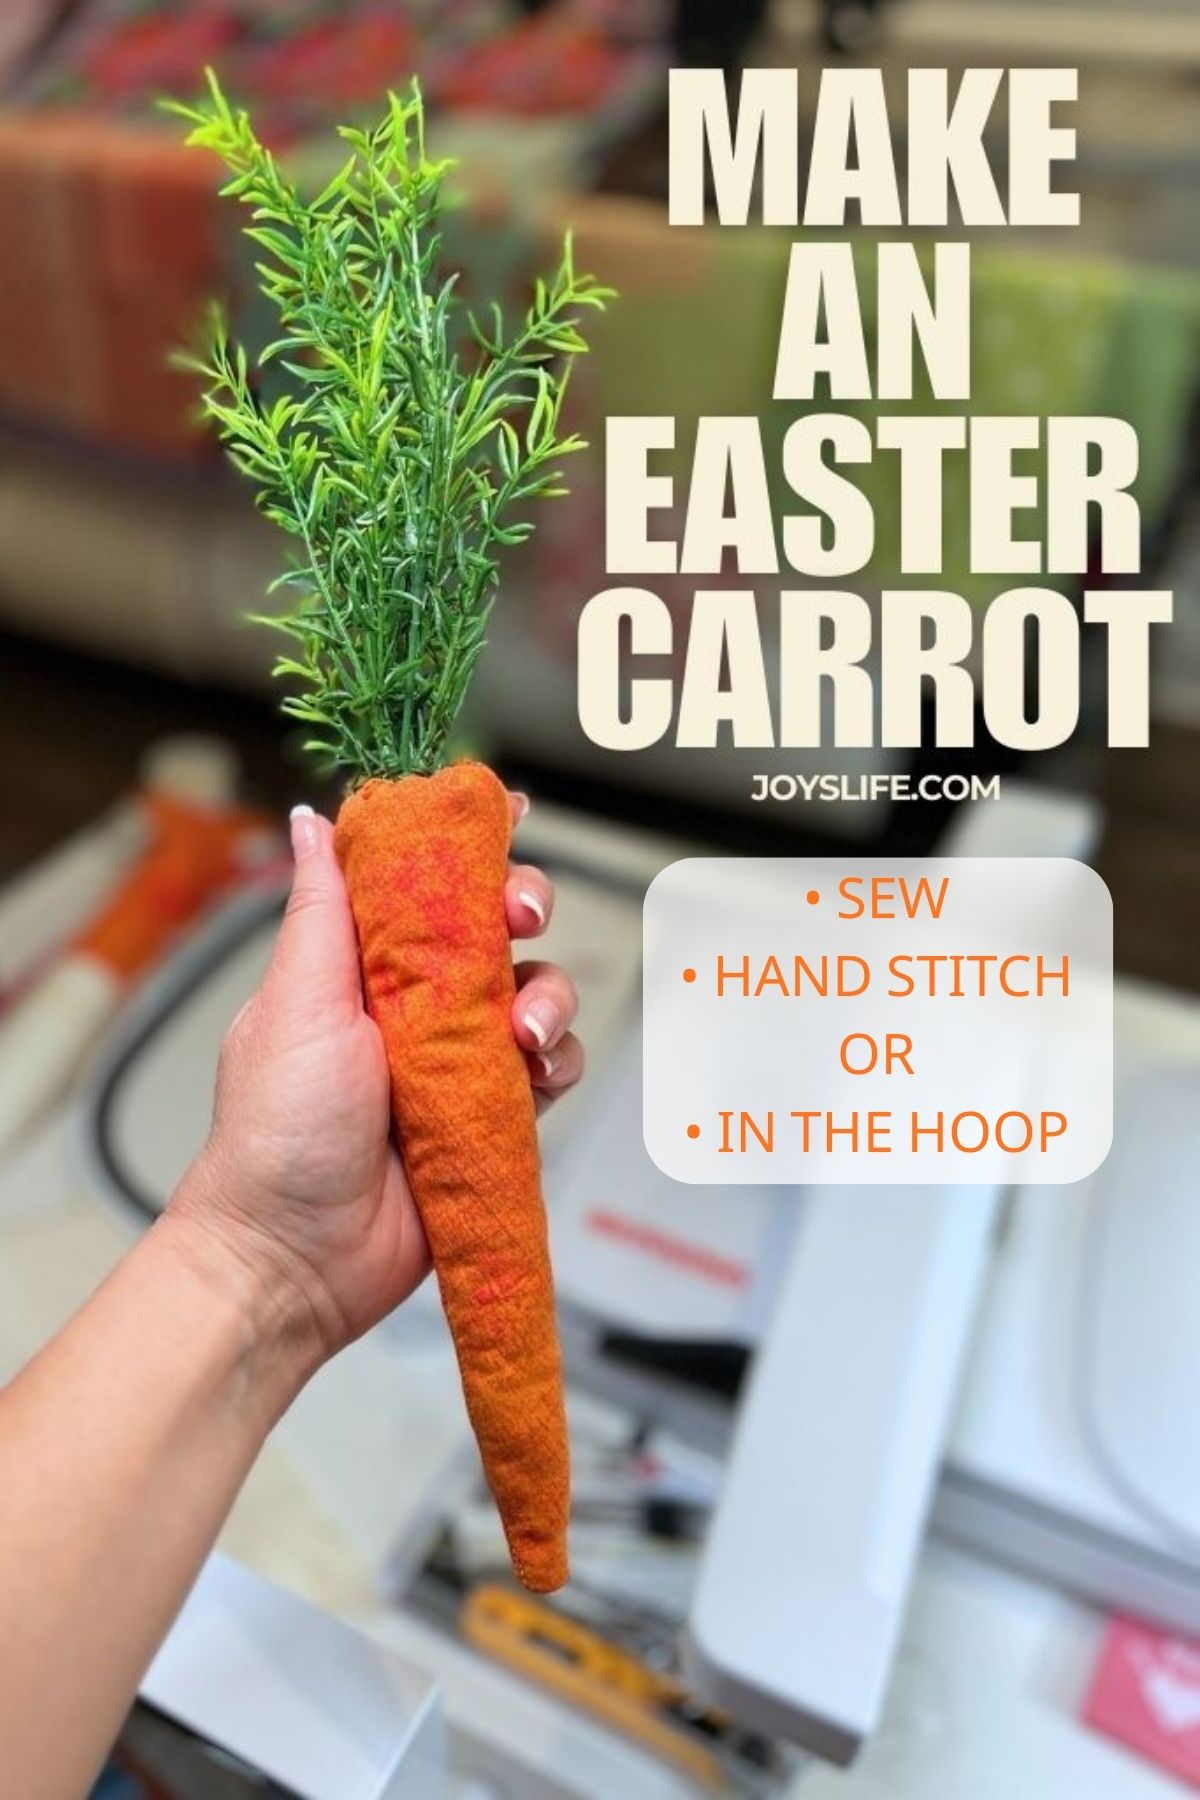
If you want a cute piece of spring decor that looks handmade but not fussy, this fabric Easter carrot is one of the easiest projects you can make. You can make it in-the-hoop (ITH) with an embroidery machine, a regular sewing machine, or basic hand stitching. No pattern drafting is required and the shape is super forgiving.
I made this fabric Easter carrot a few years ago, and I bring it out every year. I meant to make a whole basket of them, but time got away from me. No worries, even one carrot adds a charming touch to spring decor. Plus, it’s so cute and fun to make!
And yes, I was ridiculously proud of this fake carrot.
Here’s how to make one!
What You Need to Make a Fabric Easter Carrot
- Orange fabric
Quilting cotton works great. Batik or textured prints add a more natural carrot look, but my FAVORITE is Russet Orange Grunge by Moda Fabrics. That’s what I’m using here and I think it is the PERFECT choice for a carrot (or a pumpkin for that matter). Now, that makes me think of pumpkin crafts. - Batting or fiberfill stuffing
Polyester fill is perfect for this project, but if you’re a quilter/longarmer like me, you’ve probably got a ton of batting scraps laying around. You can use that too. That’s what I used. - Faux greenery stems
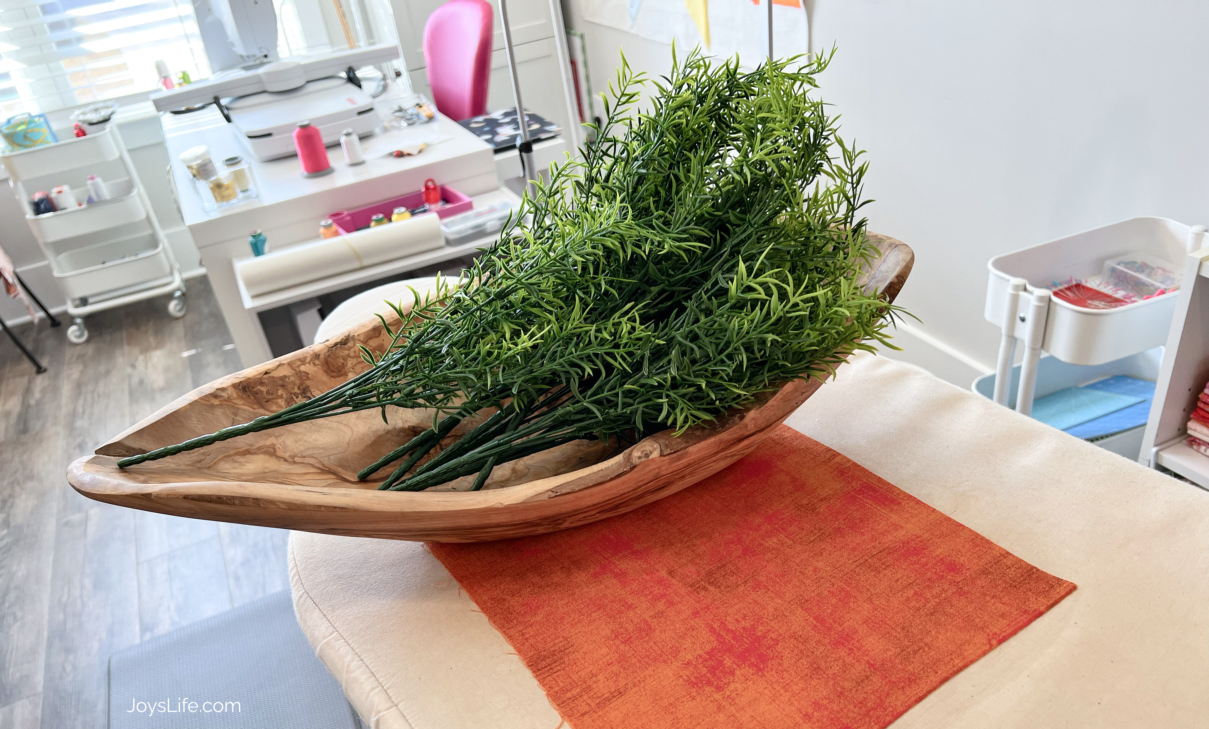
Artificial greenery creates the carrot top without needing to sew fabric leaves. (Woo hoo!) The faux greenery I used is great and I got it from Amazon. - Thread
Use coordinating thread for seams and closing the top. Whatever you have is fine. It’s just tying a knot or sewing the area closed. You could probably get away with a hot glue gun and gluing the top closed. - Needle or sewing machine
Hand stitching works just as well as machine sewing. Use whatever matching thread you have, I’m partial to Aurifil. - Scissors or rotary cutter
You’ll still need some scissors or a rotary cutter, even if using the embroidery machine method. These are my favorite fabric scissors. - In the hoop embroidery design file
Here’s the carrot embroidery file that I used, if you want to create this in the hoop. - Pencil and Paper
The pencil can serve as a utensil to poke the batting into the carrot, as well as to draw your carrot design if you decide not to do this in the hoop.

About the In The Hoop Method
“In the hoop” (ITH) means the carrot is stitched almost entirely inside an embroidery hoop using an embroidery machine. The machine sews the shape and seams automatically according to the design file.
This method is convenient but not necessary. The exact same carrot can be made by cutting the shape from fabric and sewing it by hand or with a regular sewing machine.
If you like making things in the hoop, here are a few more embroidery projects you might enjoy.
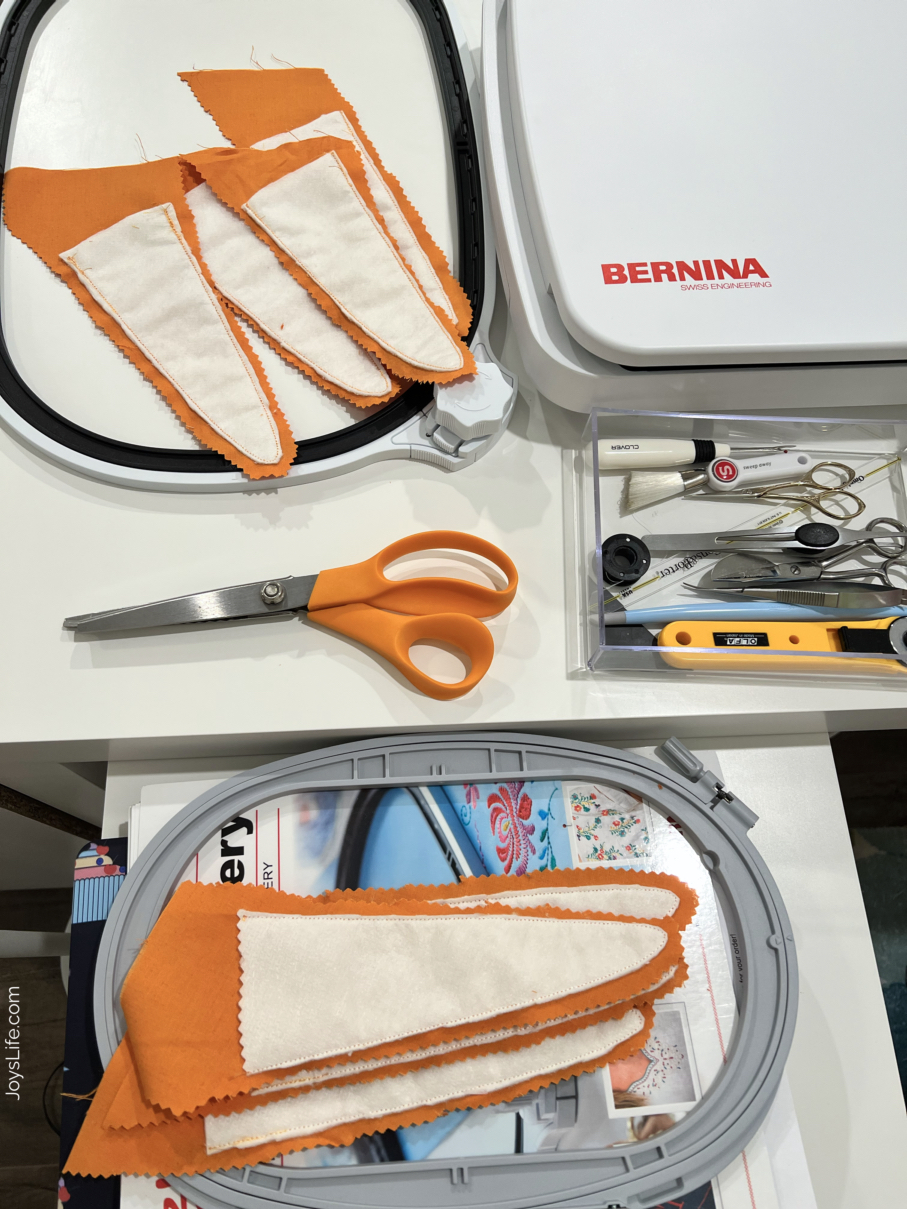
Step 1 – Shape the Carrot
Cut a long triangle or carrot shape from orange fabric to begin your fabric Easter carrot project. You can also cut some batting smaller than the carrot shape and sew those together if you would like a lining, especially a thick lining. The carrot size is completely up to you. A slightly curved shape looks more natural than a perfectly straight triangle. Try your design on some paper before you commit to the fabric.
If using an in the hoop design, the embroidery machine will stitch the shape for you.
Step 2 – Sew the Side Seam
Fold the fabric right sides together. (The “right sides” are the ones with the design or most vivid coloring.)
Stitch along the long edge to create a cone shape. Leave the top open for stuffing.
Turn the piece right side out.

Step 3 – Stuff the Carrot
Fill the cone firmly with batting or fiberfill. Push extra stuffing into the tip so the carrot keeps its shape. Be careful not to push too hard or you might loosen some stitches.
Scrap batting from quilting projects works great here! Yay to using scraps! Honestly, you could even use scrap fabric. You know how sometimes you save those really small pieces even though you’re not sure if you’ll use them? Same. If you need ideas, this is what I do to keep scraps organized.
Step 4 – Add the Faux Greenery Top
Bundle the artificial greenery stems together and insert them into the open top of the carrot.
Adjust until the carrot looks full and balanced.
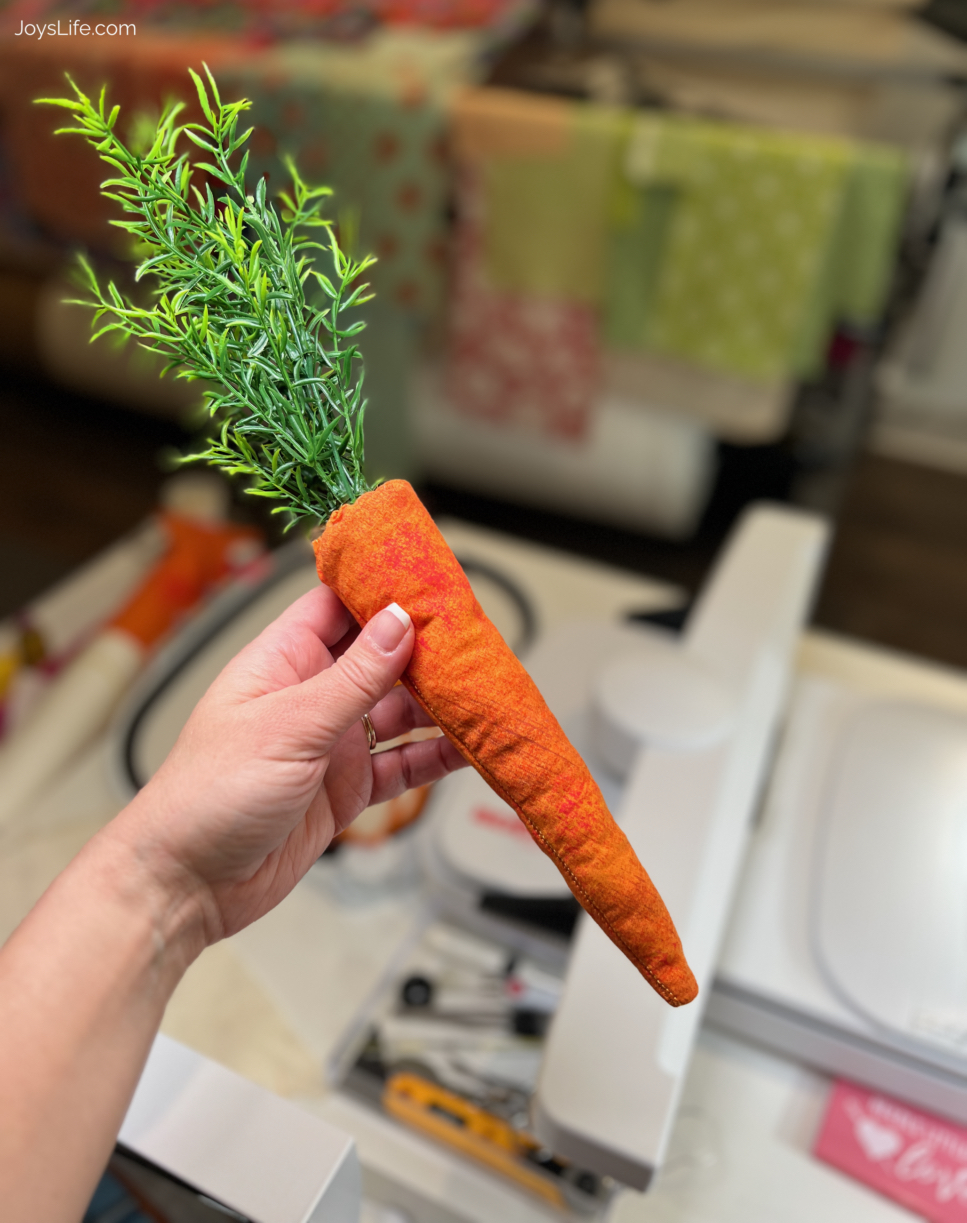
Step 5 – Close the Top
Gather the fabric around the stems and secure it tightly with thread.
I simply tied the top closed and tucked the excess fabric underneath the thread. There are definitely more polished finishes, but this quick method works and keeps everything secure.
Another option is to hot glue that thing together. Good luck if you do that, pay attention to your fingers and don’t burn yourself!
Ways to Use Fabric Easter Carrots in Decor
- Place in a bowl or wooden tray
- Add to an Easter centerpiece
- Tuck into baskets or tiered trays
- Display on a shelf or table
- Mix with real or faux greenery
Even a single carrot makes a surprisingly cute and charming seasonal accent!
Beginner Friendly and Scrap Friendly
This project is ideal for beginners because it uses simple shapes and basic sewing skills. It is also a great way to use leftover fabric and batting scraps from other projects.
More Easy Sewing and Spring Projects
- Visiting the Missouri Star Quilt Company
A quilt shop adventure that is absolutely worth the trip. - UPS for Sewing Machines
Why I added one to my sewing room and wish I had done it sooner. - How to Make Quilted Pillowcases
A fun beginner friendly project using fabrics from your stash or shop finds. - Fat Quarter Pop Up Fabric Bucket
Sew this clever little bucket using just one fat quarter. - DIY Fabric and Rope Easter Basket
Sew a sturdy fabric and rope basket that is perfect for Easter gifts and spring decorating. - Browse All Easter Projects
Explore all of my Easter sewing, decorating, and craft ideas in one place.