How to Print & Cut Stickers with Silhouette Cameo – Lori Whitlock Design Team Post
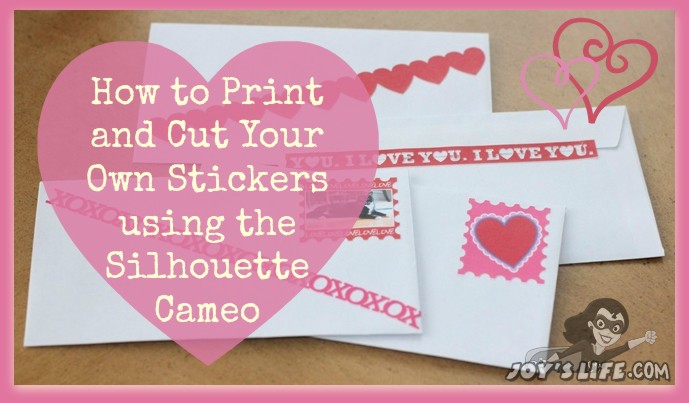
Make your own stickers…even photo stickers!
Today I’m using my Silhouette Cameo along with three .svg files from Lori Whitlock and sticker paper (or sticky shipping labels) to make stickers that you (or your precious kiddos) can use to decorate items for Valentine’s Day. Making your own stickers is a great way to personalize inexpensive envelopes for a whole classroom or just for a few special loved ones!
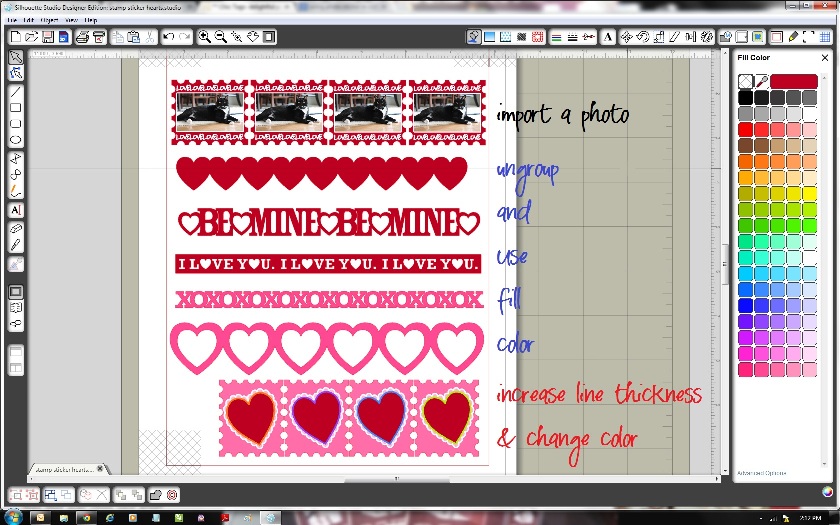
The first thing you need to do is import the file you want to work with. I’m using these Lori Whitlock files: Nested Hearts, Stamp Set and Valentines Borders. Ungroup the file (select it, right click it and choose ungroup). Now you’re able to fill it with color, patterns, a photo or whatever your heart desires! Need help? To learn how to fill or adjust a pattern: Click here. To fill color: Click here. To increase line thickness, dot lines and change line color: Click here. To import a photo: Click here. To print & cut: Click here. Need more help? Check out my Silhouette tutorials.
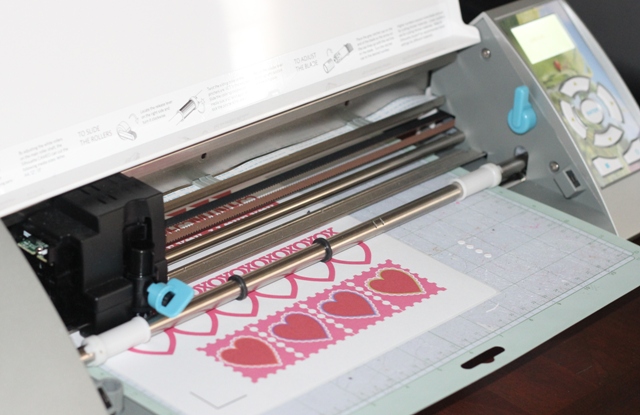
Make sure to add the registration marks to your project, they tell the Silhouette where to cut, and then send the stickers to your printer. I used the same print settings that I use when I print on my favorite cheap cardstock. I’m using an adhesive shipping label here, which did work, but I’ve since bought sticker paper. I don’t want to run out of shipping labels.
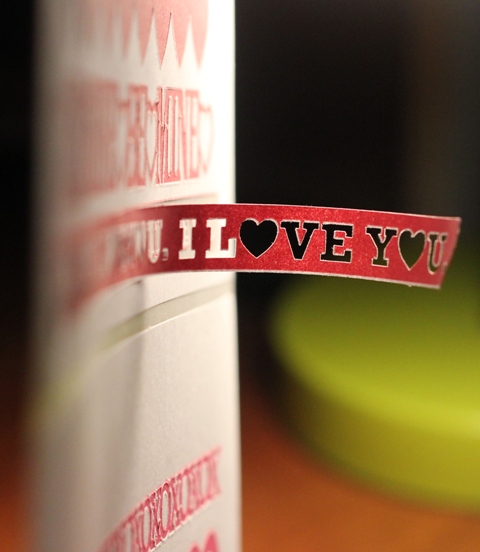
I cut my shipping labels using a blade setting of 3, speed 4 and thickness of 18. I first cut the labels using a blade of 1 but they didn’t cut through the sticker layer. I suggest doing a test cut using a blade setting of 1 and then increasing it to a max of 3. That should produce a “kiss cut” where you are cutting through the top/adhesives layer only, leaving the backing in tact. You may be familiar with the “kiss cut” term regarding cutting vinyl. It means the same thing in both examples.
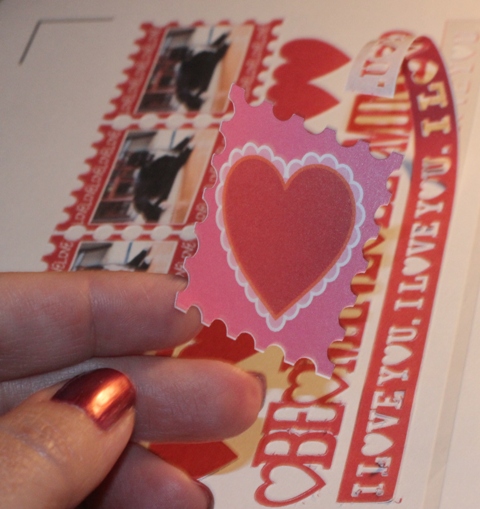
I was pretty impressed that this worked so well, especially when I was using a shipping label. You can see that some of the cutting looks a little rough in the bottom right hand corner. I did cut this sheet of stickers twice as I perfected the right blade setting for my material. However, some of that intricate text would probably cut better if you make it a little bigger, go a bit slower OR get the blade setting right the first time. 😉 Just sayin’.
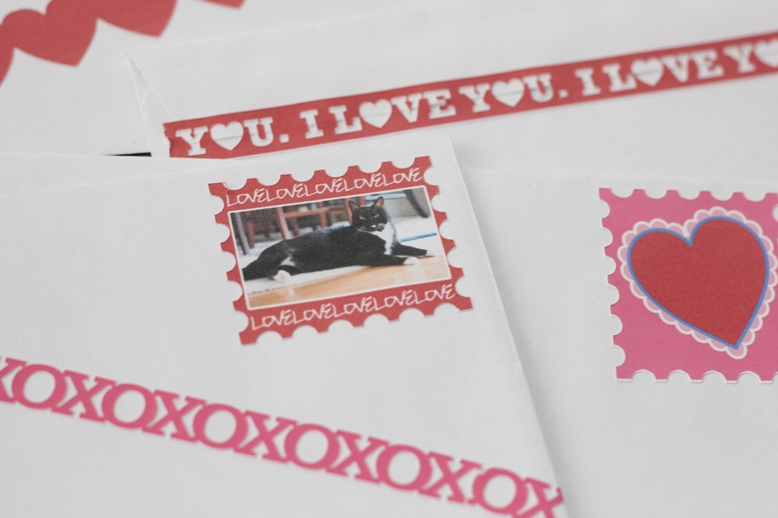
I imported that picture of my cat and put it inside one of the stamps. I used the Lori Whitlock’s “Love” border, turned the text white, duplicated it and positioned it inside a stamp above and below my cat’s photo. This is a fun way to make your own personalized photo stamps!
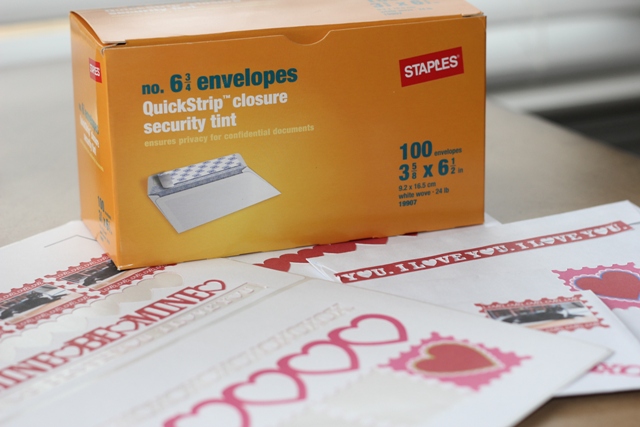
I had these envelopes on hand and you probably do too. Decorate what you have or make envelopes using leftover cardstock, especially those sheets of it you don’t really like anymore. It’s a great way to get rid of lame paper. LOL! Uh, tell no one that I’m sending cards to that their envelopes are made from lame paper. Shhhh! 😉
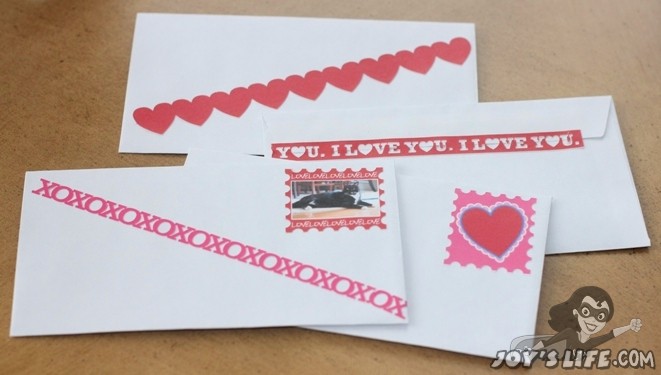


I am loving all your tutorials and ways to use the Silhouette-thanks so much
Thank you so much, Barb! 🙂
~Joy~
Great tutorial Joy!! Love the way it turned out!
Deb C
bugjuiced
Joy, thank you so much for all the great tutorials. I received the Cameo for Christmas and it is a little more complicated than the Cricut. I can answer most of my questions by looking back at your step by steps. I love this idea for stickers.
Thank you, Mary! I’m so glad they are helping. 🙂 It’s wonderful to get great feedback like that. It makes me want to keep doing them. 🙂
Super hugs,
~Joy~
I Love making cards and deco items for my Grandkids rooms (10 Grand-kide)…but mostly i love making Holiday deco…made Thanksgiving charger plates for each family, now working on Christmas charger plates with nativities and winter caroling scenes…thanks so much again and agin for all of your helpful hints… you make my life easier!!!!
i use to love this machine but nowadays, no matter what setting, whether the mat is new, old, or even the blade is new or old. even on the lightest setting (1 depth, 1 blade, 10 speed), it guts all the way through the sticker sheet. i want all my stickers on their backing, which i use to be able to do and magically (as usual with this machine…) it decides it doesn’t want to anymore. i wish i had nevr gotten it…
That’s terrible, Amanda! I’m sorry you’re having a rough time with the Cameo. I often see Silhouette on Facebook encouraging people to call them with problems like these. I wonder if they might be able to offer some help or a replacement if there is a problem? Here is their contact info: Phone 801.983.8937
800.859.8243 Toll-free (US only)
Corporate Office Mailing Address Silhouette America, Inc.
1276 S 1380 W
Orem, UT 84058
Email us at [email protected]
I hope they are able to offer some help with that! 🙂
~Joy~
I’ve had my cameo for a month now and have watched numerous tutorials. The one thing that I have learned with all the materials that I have used is that if anything drags or rips, it’s because the speed is too high. I cut everything on a speed of 1. I also make the blade 2 depths higher than they suggest. I did do some vinyl for the first time last night and it came out great. I LOVE this machine. If something isn’t working out, if you can’t find the answer by googling it, their customer service should be able to help. Don’t get frustrated, just look for help. It is a learning curve but well worth it. HTH:)
I am a complete beginner! My Cameo is still in the box… my biggest question is… so to make stickers, I have to print on the sticker paper first on a regular printer? Then go to the Cameo to cut? How does it know where to cut? Is that by the registration marks? On this tutorial, did you use regular Avery shipping labels? Can you use them on a Cameo? Thank you SO MUCH in advance! I can’t wait to get started! I think I need to get a good printer too… Any suggestions?
Cheryl,
Your questions inspired me to create this Silhouette Print and Cut tutorial. I hope it helps! https://joyslife.com/52-episode-13-how-to-print-cut-using-the-silhouette-cameo/ On this tutorial I used some shipping labels that I just happened to have on hand. I don’t think they were Avery. The other ones I suggest in the post are a good choice and I used them later. I use a Canon Pixma Pro9000 printer. It prints 12×12 and I love it!
Happy Crafting!
~Joy~
Thank you a lot, I found this post very usefull!
I used the blade setting of 1, thickness of 6 and speed 8 – The cut is perfect, it cuts only the top layer of the labels and not the back layer. So nice!
Thank you very much for this and your other Silhouette tutorials! I have been debating buying a Silhouette Cameo for many months, but wasn’t sure I would get the use out of it that I wanted. Now I’m convinced and plan to purchase a Cameo very soon!
Hi Mels,
You’re so welcome! I’m so glad that I could help. I hope you enjoy your new machine! ~Joy~
Hello,
I am new this week to silhouette!!! I love the tutorials and so excited to get started, a little overwhelmed also…. this may seem like a crazy question but you don’t have to use silhouette products only like sticker paper or vinyl right??? I have Avery sticker paper and want to make my sister the 1 month … 2 month baby stickers. so I would just play with the blade setting right??? thank you in advance. I love these tutorials and support.
Hi Jennifer!
Congratulations on your new Silhouette! You can cut just about any kind of paper or vinyl with your Silhouette. Brand doesn’t matter at all. 🙂 Yes, playing with the blade setting is best. Pretty soon you’ll figure out all the best settings for your favorite papers and unique media. Many of the Silhouette blade setting suggestions in the software are really good. Hopefully, you won’t need to change much at all! 🙂 Happy Crafting!
I’ve got some Avery round stickers and want to use my Cameo to design the stickers. Is there a way to import the Avery template into the Cameo so I know where to place the design to print?