![]()
In this episode of the “52 Craft Series“, you’ll be learning how to print and cut using the Silhouette Cameo. If you already know how to do that, skip to minute 6:29 and you can begin watching how I add elements to the cards. I hope you enjoy this! Click here to watch all of the “52 Craft Series” videos.
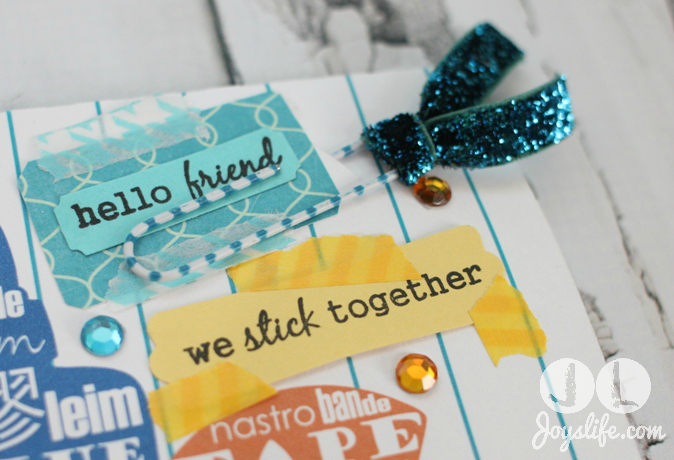
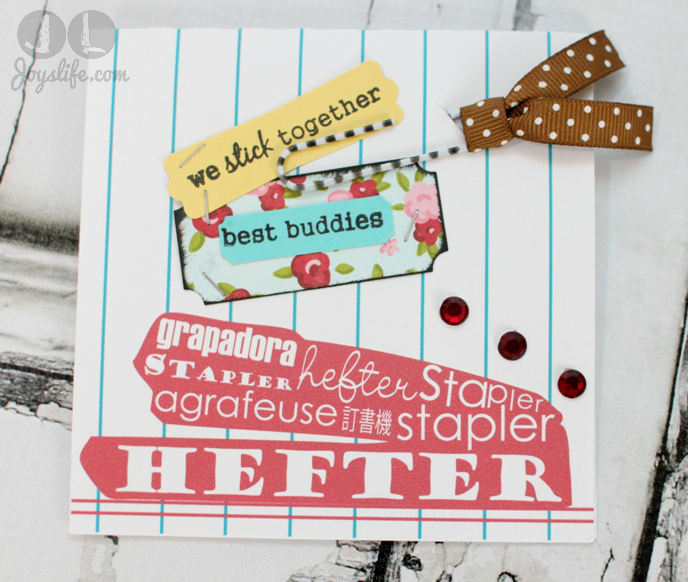
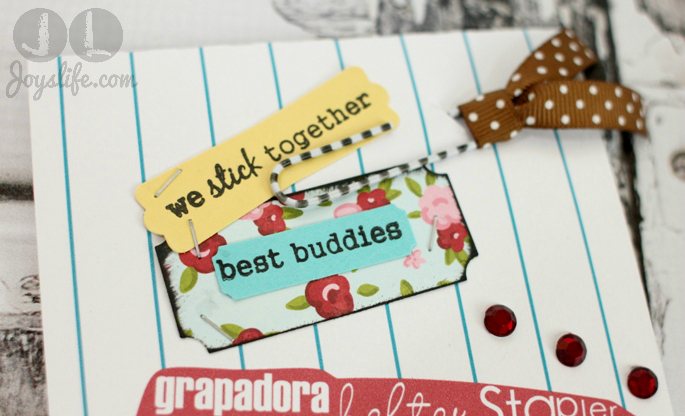
To make these cards I used: Lettering Delights Modern Desk Caddy graphics and Joy’s Life “Sweet Popsicle Puns” and “Tag You’re It Two” stamps, found in the Joy’s Life Store.
I also used: Mini banner Punches, EK Success Photo Labels punch, Versafine Onyx black ink, Tiny Attacher mini stapler, Art Glitter Glue, Rhinestones, Washi tape and I printed using my Canon Pixma Pro 9000 Mark II printer.
Here’s What We’re Making in this Video:
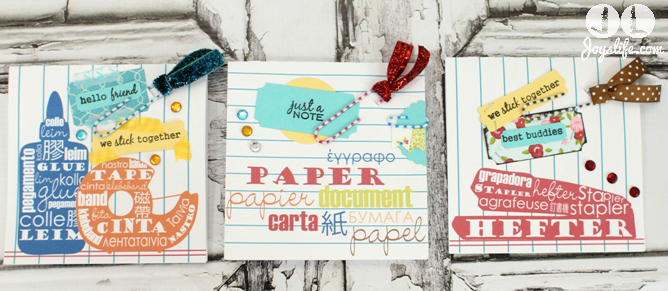
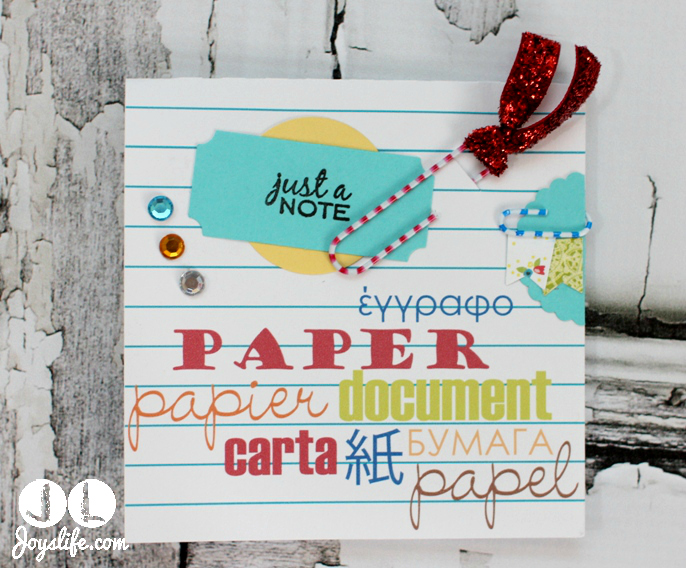
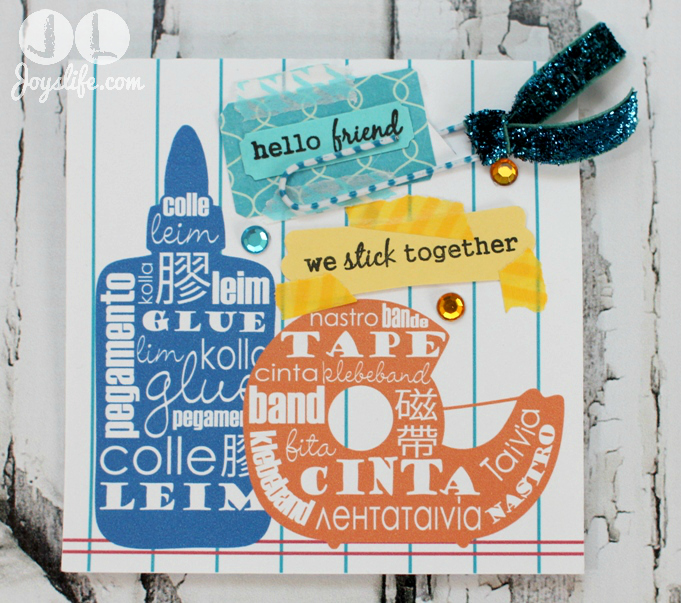
Lettering Delights Modern Desk Caddy graphics made the lined paper, glue, tape, stapler and the words that say paper. All tags are made with Joy’s Life stamps.
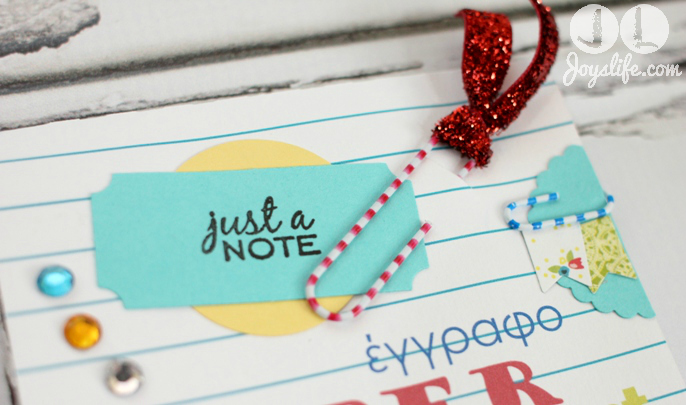
Here’s how to make those cute paper clips!
I hope you enjoyed this video and that it was a help to you. If you have more questions about the Silhouette Cameo check out my tutorials here. Check out my Silhouette and Lettering Delights Pinterest boards!
Have a Crafty Day!


Joy, that video was awesome. Like the other Susans, I love how you embellished the cute little printed cards. Great shout out on the glue! Ha. You will love the glue more when you have something tiny to glue on or lacy, or if you trace a word with the glue and then add glitter. Anything that need a fine, fine line of glue. Anyway, loved this!!!
Hugs,
Susan#?
I can’t wait to use it for fine detail! I know it will be amazing for that!
~Joy~
Hi Joy, thank you for the detailed tutorial! I’m a silhouette newbie, still waiting for it to arrive actually! 🙂 I was going to ask you for some advice. What type of printer would you recommend for these type of print and cut projects? Laser vs inkjet, price vs quality. Any advice based on your expertise would be greatly appreciated! Thank you! 🙂
Hi Cristina,
Congratulations on your new machine! I think you’re going to LOVE it! 😀 I haven’t had a laser printer in years, so I can really only comment on the inkjet. I’ve had excellent experiences using my Canon PIXMA Pro9000 MarkII printer and I highly recommend it. There are newer versions of it out now. My favorite thing about it is that it prints 12×12 sheets as well as other sizes. You’ll enjoy a printer that does that, since the Cameo uses up to that size for print and cut. I hope that helps!
Happy Crafting!
~Joy~
Joy, Happy New Year….I love your tutorials and have followed you for quite sometime and own several of your Cricut DVDs etc. However, I purchased the Sillhouette Cameo just before Christmas when they offered the bundle deal (so I gave my daughter the Portrait for Christmas) But I just have a crazy question as I’m not real computer literate….but when I purchase an image how do I go about sizing it on our Cameo? I’m not sure if I would use the scale window for those or not. But, then I’m not sure how the sizing goes. If I want something 4×6 or 2×2…is it a true size or do I have to adjust it somehow. Like with the cricut my idea of 5″ maybe much smaller or larger than what the cricut size turns out to be. So I am just not sure how to do the sizing of my images. I’m mostly going to use things for my 12×12 lay outs…so I don’t need anything really large. Thank you for your time and I hope I made sense. I look forward to hearing from you.
Hi Marchelle,
When sizing with the Cameo, you can choose the size you want. The choice you make will be exactly the size you get. No guessing! YAY! So, in the Scale Window where you can specify dimensions, simply enter exactly what you want and that’s what you’ll get. Super!
Happy Crafting!
~Joy~
OH! I need to add this too. When you purchase something from a designer, like a 3D gift box or something like that, they are almost always sized as they are to be used. So you wouldn’t need to change the sizing unless you wanted to make it bigger or smaller. (If changing the size of a box, lock the aspect ratio in the scale window or the box might not go together correctly.) If you were to buy something like a heart shape, that’s something that might not be the perfect size that you need so you’ll want to size that to fit whatever you’re doing. The best way to be sure it’s the size you want is to click on it and see what the size is.
~Joy~
Hello Joy, I am a newbie to the Silhouette Cameo and have upgraded to SDE. I cropped a photo, and made sure it had the cut lines where I wanted them. Assigned the registration marks and printed . It was on 8.5 x 11. However, when I loaded it in the Cameo it did not seem to recognize the registration marks most of the time and when it did, it cut across the photo. I have tried this at least 6 times without success. Can you tell me what I am missing or what I am doing wrong?
Thanks!
Hi Petronella!
This very small change might make a huge difference for you. Move a small lamp near your Cameo and shine it onto the paper area. Sometimes if there’s not enough light on the registration marks the laser eye can’t identify them. I hope that does the trick for you! Also, under “Page Settings” make sure that your mat size is set to “letter” since you’re using 8.5×11 paper. If you don’t have the mat size set to match your paper that can also cause some crazy cuts. I hope that helps!
~Joy~
Thanks Joy! I did have the paper set to 8 1/2×11, so I will try the light. Your tutorials are very helpful. I watch them over and over again, and day I hope to be as good as you are.:)
Petronella
Petronella,
What a nice thing to say! You’re awesome already!
~Joy~
Meant to say and one day, I hope to be just as good as you.
Thank you for doing this blog! There is a lot of great detailed info here. I am a newbie to these cutting machines, and was hoping you could answer a few questions for me. I sell stickers on Etsy that I am currently cutting out by hand. Well now my shop has kind of taken off and I need to find something that will making the cutting process easier and faster. My big concern is the sticky mat you put your paper on for the machine. Will this mat pull off the backing of the stickers? I don’t want this to happen because I need to sell the stickers with the paper backing on. Also, I make my designs using Powerpoint right now. Will I have to remake my designs using the Silhouette software, or can I open my Powerpoint files in it? I appreciate all your help!
Andrea
Hi Andrea,
The only sticker work I’ve done with the Silhouette Cameo is in this post. I think the mat probably is too sticky to give a professional (unblemished ready for resale) result to the back of your sticker paper. However, you might be able to add an additional backing to the back of the paper to cover it up. Maybe you could add Glue Dots to the parts of the sticker paper that won’t be sold and stick them to another piece of paper (carrier sheet) that you could stick to the mat. I’m not sure about the Powerpoint files opening but I bet Silhouette could help you with that question. You can contact them here.
Happy Crafting!
Joy,
Thank you so much for these tutorials. I am referring to them all the time. I am having a problem with the registration marks printing out on print & cut. The top ones print out but there is only a very small vertical line (about 1/4 inch long) at the bottom left of the page. It is a new HP printer. The design then does not cut correctly when it goes into the Silhouette Cameo. I am using the newest version of the software that came with the machine. Do you have any ideas of why the bottom “L” shape is not printing correctly? Would upgrading to the Designer Version help? Thanks for any help you can provide.
Hi Trish!
I remember that happening to me a while ago. I think I had the paper set to a size that was different from what I was using. Check to see if you have it (for example) set to cut 12×12 paper but you’re really using 8.5×11. You shouldn’t need to update to the Designer Edition to make that work, so that’s good news. 😉 However, if you’re interested in upgrading here is how the two versions compare. If you are going to update check for deals. I found it much cheaper than the $49 they usually ask by going to Amazon. It’s currently (as of today) $32 on Amazon. I hope that helps! Let me know if the paper settings are the answer. 🙂
Hi Joy,
Thank you so much for your answer to my question. I checked my machine to make sure that it said 8-1/2 x 11 and put it in “manually” instead of using the sliding bar. The numbers had been slightly off. That fixed the problem and, as you would say YAY, that makes me feel so much better !!! My project cut out exactly as it should. This is all kind of new to me so it’s nice to know we have someone to turn to for help. You are doing a great job with your tutorials.
Thanks again.
Hi Trish,
I’m happy to hear that you got it fixed. That’s great! Thanks so much for your kind words. 🙂 That makes my day!
Hi Joy
I am a newbie and I was blessed with the Silhouette cameo and the portrait
and both are still in the box. I would like to know if you don’t mind answering
will I have to install both trial CD’s for each program when I register the cutters
will I have to use two separate window depending on which machine i am working
on on can I use just 1 of the windows for both machine? Hopefully that makes since
if now then when and if you respond i’ll rephrase my question
Hi Joyce!
You can use the same software for both machines. Also, there’s no need to download it from the CD’s. You can but you can also easily download it from the Silhouette site here. You’ll find the free version at the bottom of the page on the left.
Happy crafting!
I am an avid Stampin Up user and would like to know how to import some of my images to be cut out on the Silhouette Cameo. Would you please have advice for me? I have had my machine since last summer but have hardly used it because I am technologically challenged and just have been unable to figure it all out. Help would be really appreciated!
Hi Joy, Thank you for providing such amazing tutorials. I do ha ve one question to ask if I may please? I am trying to print Stickers out on a smaller scale, and I was wondering how could I make my silhouette cut not so close to the edge? I’d like to have border around the sticker… I hope that you could help me out. I would realy appreciate it! Thank you very much…