Heat Transfer Vinyl Shirt & Cricut Vinyl Decorated Expression + a GIVE AWAY
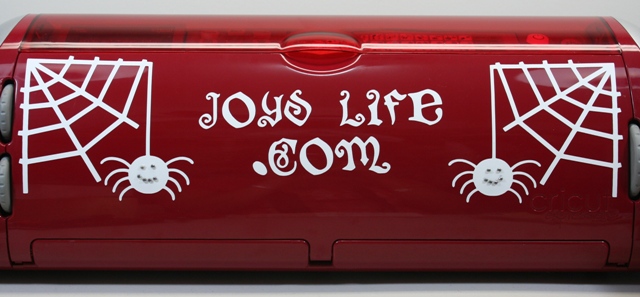
This font is from the Happy Hauntings Cricut Cartridge.
WOO HOO!! It’s the 1st Day of October! Friends, that means that we’re embarking on a little journey…31 days of Fall and/or Halloween posts brought to you by…yours truly. To celebrate the beginning of our Fall crafting journey there’s a GIVE AWAY at the end of this post! It’s for my Cricut Vinylology DVD! 😀
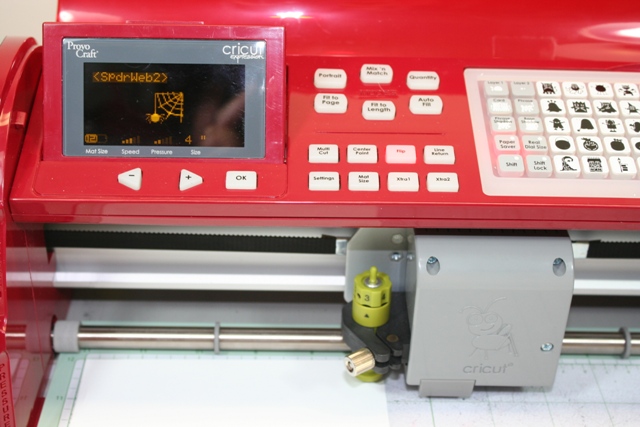
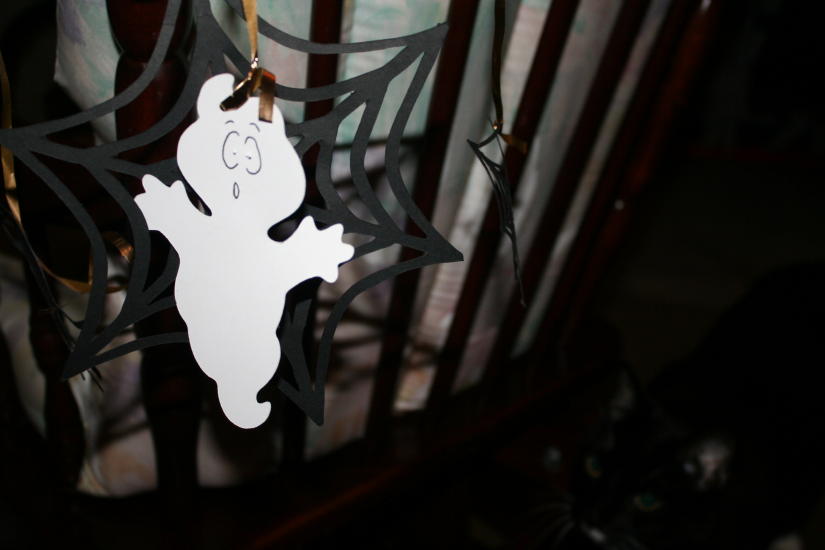
The spiders & web are from the Mini Monsters Cricut Cartridge.
I had the BEST TIME getting my red Cricut Expression all ready for Halloween. I used vinyl for everything except the rhinestone blingy eyes. They had adhesive on the back so I just stuck them on by hand.

Here’s where the FLIP button comes in handy.
Ahhh the flip button. It serves many purposes. Wait. No. Actually, it just flips things. 😉 Using the Flip button made it possible to put this same image on either side of my Expression and have them mirror each other. I cut these out at 4″ and they fit just right. I used my Exacto knife to weed the vinyl because it was handy. In my Cricut Vinylology DVD I use a pick to weed, but when I worked in a sign shop I usually used an Exacto knife. You should use whatever you’re most comfortable with.
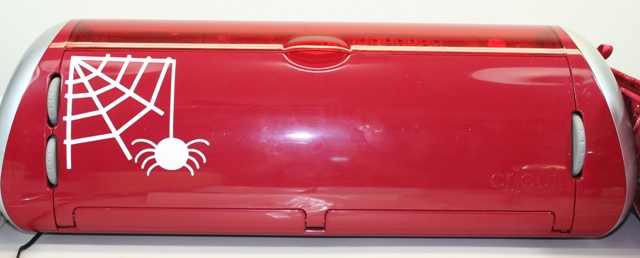
Later, I can just peel this vinyl off and it won’t hurt a thing. YAY!
I often use transfer tape to move vinyl from its backing to another surface. Here one creepy spider is hanging out in his web without eyes or a mouth. Hard to eat flies without a mouth. Hard to see flies coming without eyes.
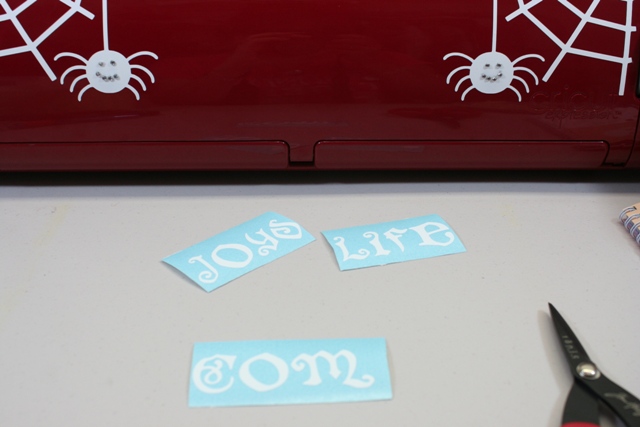
Using Real Dial Size
Now the spider has eyes a mouth AND a friend! YAY! I also used a function that I don’t often use: the Real Dial size. It was soooo PERFECT for this occasion. The Happy Hauntings font cuts the letters out in several different sizes. They were just too varied for my needs in this project so I pressed the Real Dial Size button and had the size dial set to 1″. That made all of the letters cut at 1″. See the 1st photo for my finished Cricut. 😀
NOW…Back to a Previous Project…which I will IMPROVE using Vinyl!!
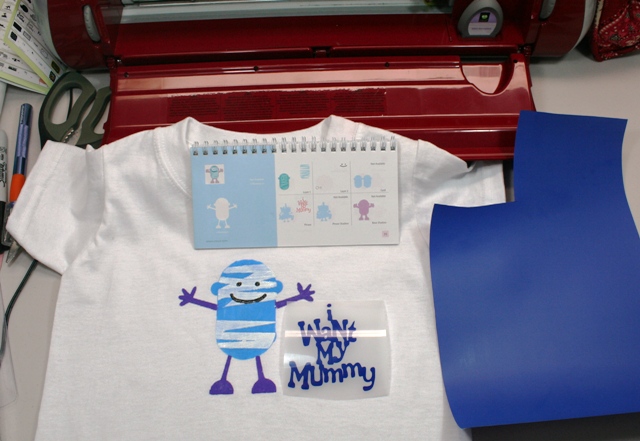
I used Mini Monsters for the “I want my Mummy” sentiment.
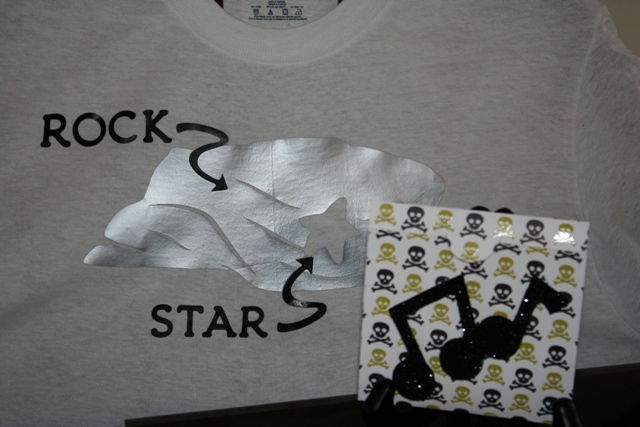
Remember when I painted this shirt for my nephew using Freezer Paper? Well, it doesn’t end there! Next I cut out some heat transfer vinyl and ironed it onto the shirt.
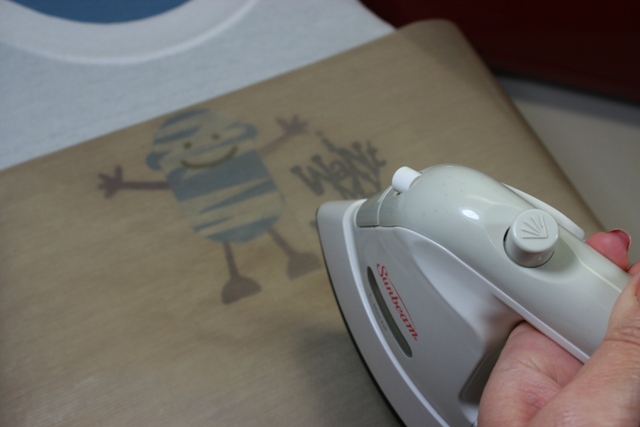
I’m using a teflon sheet here but sometimes I use a shirt or other fabric between the vinyl and the iron.

Drumroll please. And… TA DA!!!
You’ll be happy to know my nephew LOVES this shirt. YAY!! I’m so glad. 🙂
In my Cricut Vinylology DVD you’ll learn how to use many different kinds of vinyl including regular Cricut vinyl as well as heat transfer vinyl. Once you learn some of the techniques in the DVD you can make tons of things!!
Leave a comment to be entered to win a Cricut Vinylology DVD! 😀 If you’d like to go ahead and buy one and then you’re the winner, don’t worry…I’ll refund your money. 😉 So, leave a comment and I’ll pick a winner on Friday, October 8th. Good luck and Happy Fall Y’all!
Congratulations Shanyn!!
shanyn
2010/10/02 at 10:48 AM
I don’t know what I would do without your blog! The possibilities with the Cricut are amazing! I have the mini monsters cart….I went and got it when you posted the project with the freezer paper! Can’t wait to post a picture of the final product…..eh hem….when I complete it, that is…..LOL
I love you! (but not in the creepy stalker weirdo way!)
Shanyn
Don’t forget to Come Back Tomorrow for a New Crafty Post!!

I’ve started using vinyl, and I would love to win the DVD! I really want to try the heat transfer vinyl! Thanks for the chance to win!
I would love to win the Cricut Vinylology. I want to do a shirt for Christmas for my granddaughter. Love your blog. Thanks for sharing with us.
I love the coffin box. It will make a great goody bag for my son’s 4th grade class party. Thanks for a great blog 🙂
Linda Green
I really would like the zip dry giveaway but I have been meaning to ask you if you can do a run down of various glues that you like.
Thanks
Tanaz
I’d love to win your DVD. I have only made one thing with my vinyl and that was decorating my expression. It looks pretty cool but it was kind of hard. I would like to get more ideas from your DVD.
Cricut Chick
[email protected]
http://www.cricutchick.com
Holy Cow how freakin’ adorable.
TFS,
Erin
[email protected]
I need more time for all this stuff! Work gets in my way!
Love following all the crafty stuff you do.
I need this really bad ! Want to do a wall design for my office at work!
Thanks for another chance to win something
Love your projects! You make everything look so great. Think I need to win you DVD! Thanks for the chance.
I love this, my E is red too (my fav color) I haven’t decorated her yet but I think I have to now!! I wish you were my neighbor, Joy, oh what fun we could have!! LOL
Tammy
One of these days I’m going to get into vinyl. Too cool!
Too much fun!! Looking forward to all your inspiration
I think I need your DVD, I haven’t tried vinyl yet! Thanks for the chance to win it. Kathy
Always looking for ways to improve my crafting!
http://christysscrappin.blogspot.com/
That t-shirt is just too cute!
I love your cricut decor and the tshirt is absolutly cute.
[email protected]
That font is really great. I’ve just started using vinyl, and I have so much to learn. I’d love to win a DVD!
Awesome shirt!
Adorable shirt! Mini monsters is one of those carts that I really thought I could live without – now I wish I had it! Thanks Joy
Wow, wow, WOW!! This was very informative and a lot of FUN!!
Hugs,
Amy 🙂
http://www.lovetocrop.com
Joy, your expression looks awesome! I LOVE the t-shirt. I would love to win the DVD and learn more about using vinyl! Thanks for the chance to win!
Love It Joy, I love the mummy it is so cute. I love Halloween and need to get this cricut cartridge. Thanks for all your ideas and tutorials.
WOW, you are good. I enjoy your videos, thank you
Love it! I must try some of these wonderful ideas! TFS.
I just bought Mini Monsters and Happy Hauntings!! Love the shirt!!!
I stumbled onto your site looking for cricut cartridge help and I’m so glad I did. You are so creative! Love it!
Such a cute project! I would love to try vinyl, but it intimidates me. I may just have to jump in and give it a try! TFS
Love it! Never tried the vinyl. I think your DVD would be just perfect for learning. Thanks joy
Your ideas + my ideas = an idea explosion…how fun is that!!!!!! I love your website! Thanks for the chances to win!
what I really appreciate about your posts are the step by step pics and instructional details. thanks so much for being so dedicated to your blog!
Thank you Jessica! 🙂
~Joy~
Thank you for the great ideas and detailed instructions, i created a teddy bear shirt for my nephew that turned out great.
Thank you Joy for your dedication, fantastic ideas, easy to follow instructions and creative videos! Love them!!!
This would be awesome to win! Thanks for the chance Joy!
I’m just getting into vinyl and I LOVE it!!! I am going to get your DVD so I can do it all right from the very beginning!! Thanks Joy!!
I have a saying I would like to put on the wall in my dining room but I keep waiting since I have not cut vinyl with my cricut yet. Your DVD would be perfect to help me get moving.
Cute, Iove all your projects,Joy
Joy, I thought I saw a video by you on how to use the Cinch but I can’t find what I am looking for. I saw the one you used for the Thanksgiving hat but I am having trouble with the binding and it does not show on that one. When I put the wires in they do not close properly so I need to know what I am doing wrong. Please let me know if you have a posting on this or can tell me what I am doing or supposed to do. Thanks, Le
Lehunton,
Try adjusting the knob on the side of your Cinch. I should be turned to the size of your wires. Have you tried that?
~Joy~
Christina–I think your pumpkin is absolutely AWESOME!!!!!
All of these ideas are wickedly cute!! Love them!! TFS!!
That is way cute. Thanks for sharing with us!
Joy, Your work is incredible. Thank you for sharing.
Hope I win.
Leonna
[email protected]
Such great ideas you have. Can hardly wait to try some out myself. Just tried using vinyl recently. A person can have a lot of fun with it.