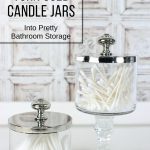
Used candle jar storage is an easy upcycle idea that turns empty jars into pretty bathroom storage. Clean out the leftover wax, remove labels, and reuse the jars for cotton balls, Q tips, or bath salts.
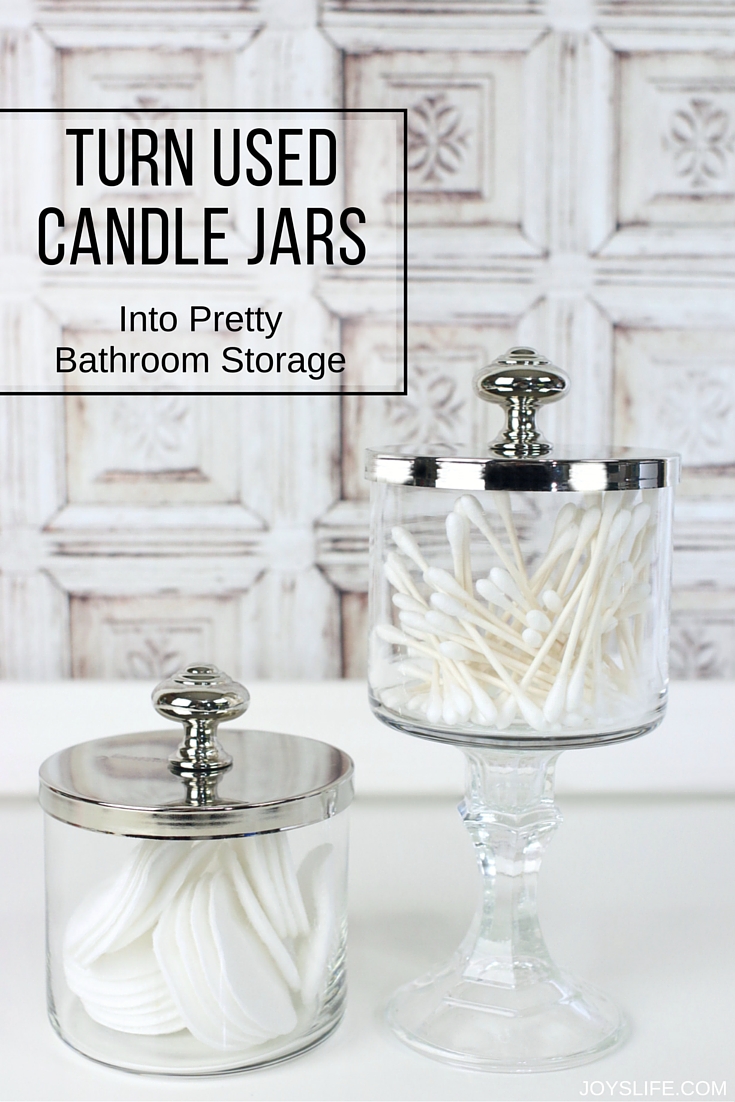
Turn Used Candle Jars Into Pretty Bathroom Storage
If you’ve ever finished a candle and hated to throw away the jar, this is a simple way to give it new life. This upcycle project turns used candle jars into pretty bathroom storage that is both useful and decorative.
I’ve been working on getting all of our bathrooms more organized recently. So far, I’ve added new shelving to our master bath and done some cleaning and purging of old stuff. Today, I’m focusing on upcycling used candle jars that I have and turning them into pretty bathroom storage. Why throw away things that are perfectly good? Right? Sometimes inspiration can come from unexpected places.
How to Clean Candle Jars
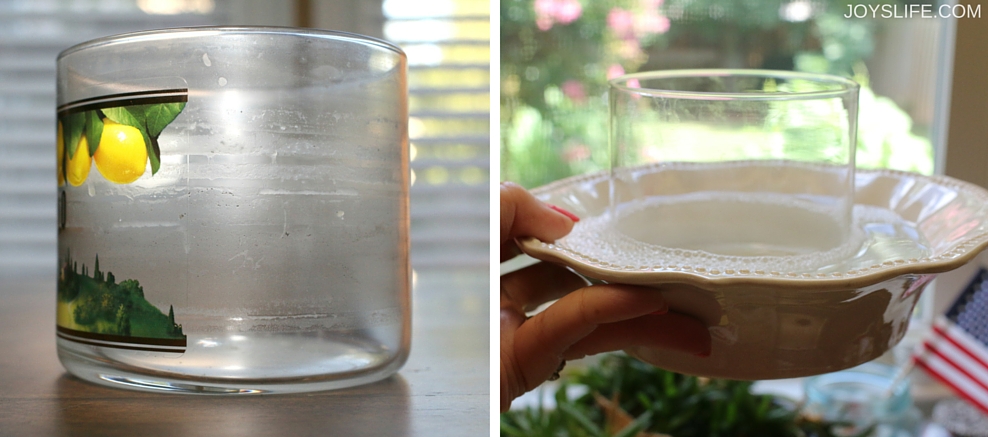
The first thing you’ll need to do is clean your candle jars.
After your candles have burned way down, you can put containers like these in the freezer. Allow the wax to freeze and it will come right out. You will be left with a label as well as wax and fragrance residue. To remove the waxy residue, run the jar through the dishwasher on the top rack. After washing the candle jars, some of the labels will come off easily with gentle peeling.
If you have a stubborn sticker, try letting it sit in warm soapy water for about 15 minutes. The label should then become easy to remove. Now you’re ready to use your jars in a new way!

Prepare the Lids and Hardware
The jars are clean, the labels are removed and you’re ready to get started. Pick some pretty knobs for the top. I got mine at my local hardware store.
You might need shorter screws than what comes with the knobs you buy. The knobs I got are for cabinets, so the screw is meant to go through the cabinet and into the knob. Since this lid is much thinner than a cabinet, I had to change out those screws for 1/2″ screws. The ones in the photo were actually too long, so keep that in mind.
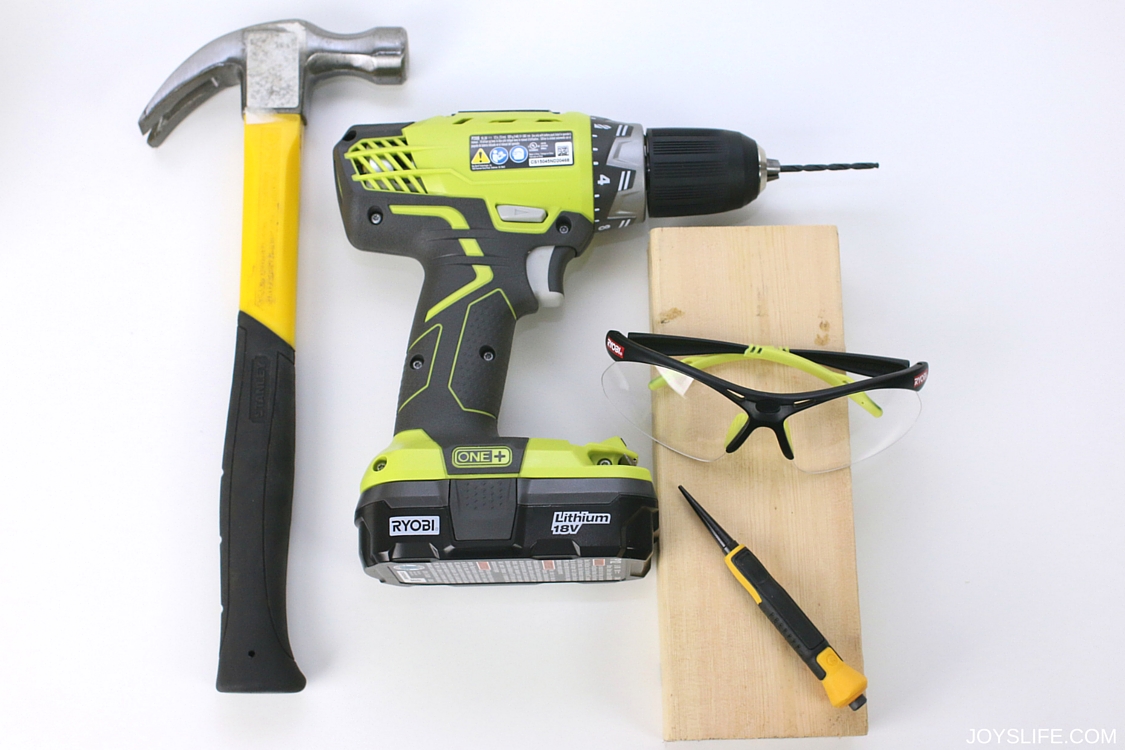
Tools You Will Need
You’ll need some tools too. I’m using a hammer, a drill, a metal drill bit, safety glasses, a scrap piece of thick wood and a nail punch.
I’m using a 5/32 metal drill bit to accommodate the screw that I’ll be using to attach the knob.
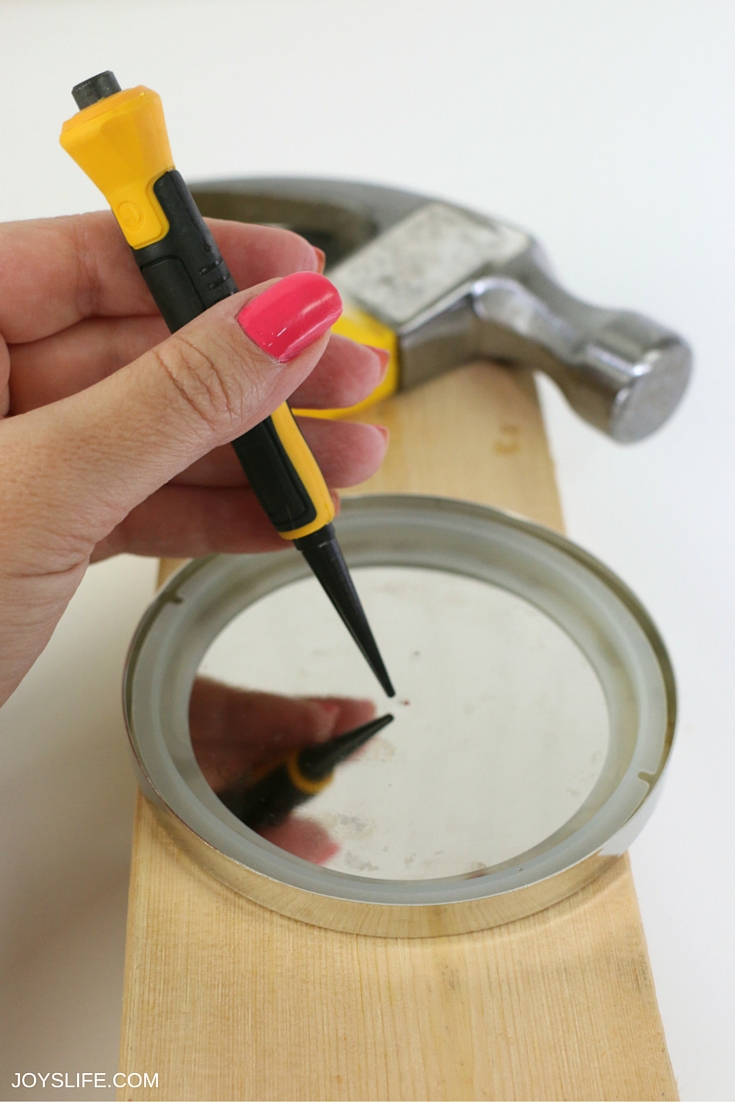
Drill the Lid
Put the lid on the wooden board with the flat side down. Locate the middle of the lid. Place the nail punch in the middle of the lid and hit it with the hammer. That will give you a place for your drill to settle so it doesn’t slip around when you start drilling. Now you’ll be sure to drill the hole exactly where you want it.
Be sure that you’re using a metal drill bit and that your drill is turned to the drill part and not the screwdriver settings. Ask me how I know? Yeah, I did the wrong thing initially. It’s ok. Just pay attention.
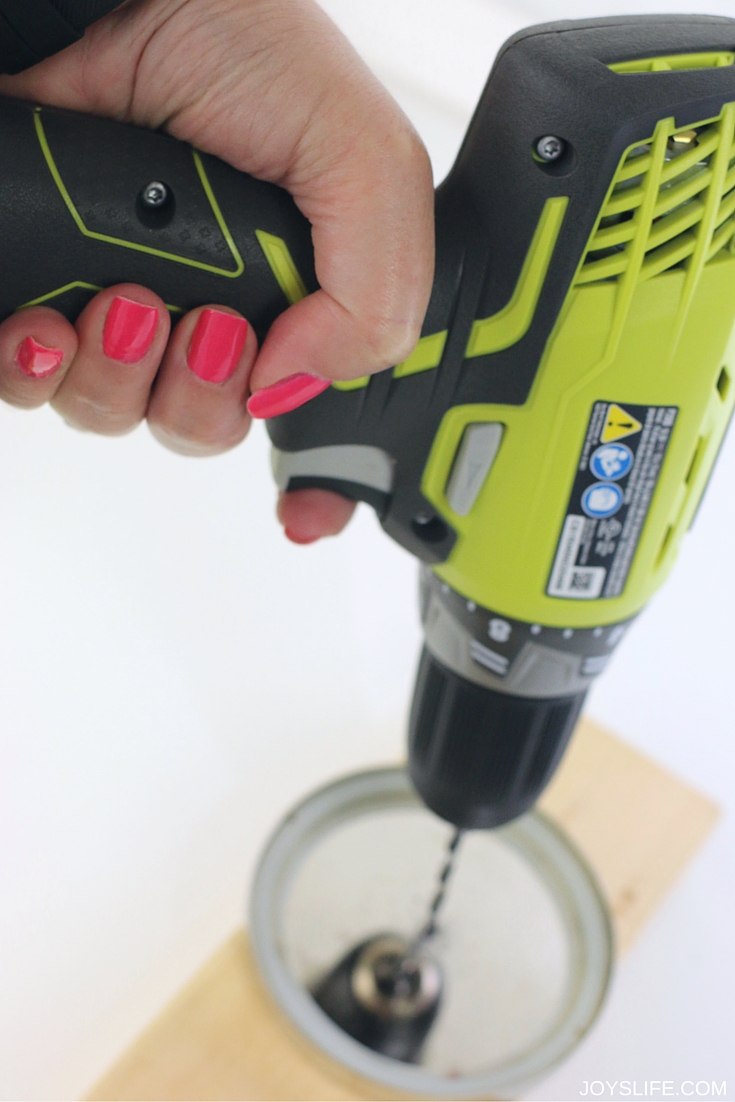
Hold the lid still while you use your drill. The only reason you don’t see me holding the lid in this photo is because I am not drilling yet and I’m taking the photo with my non drill hand.
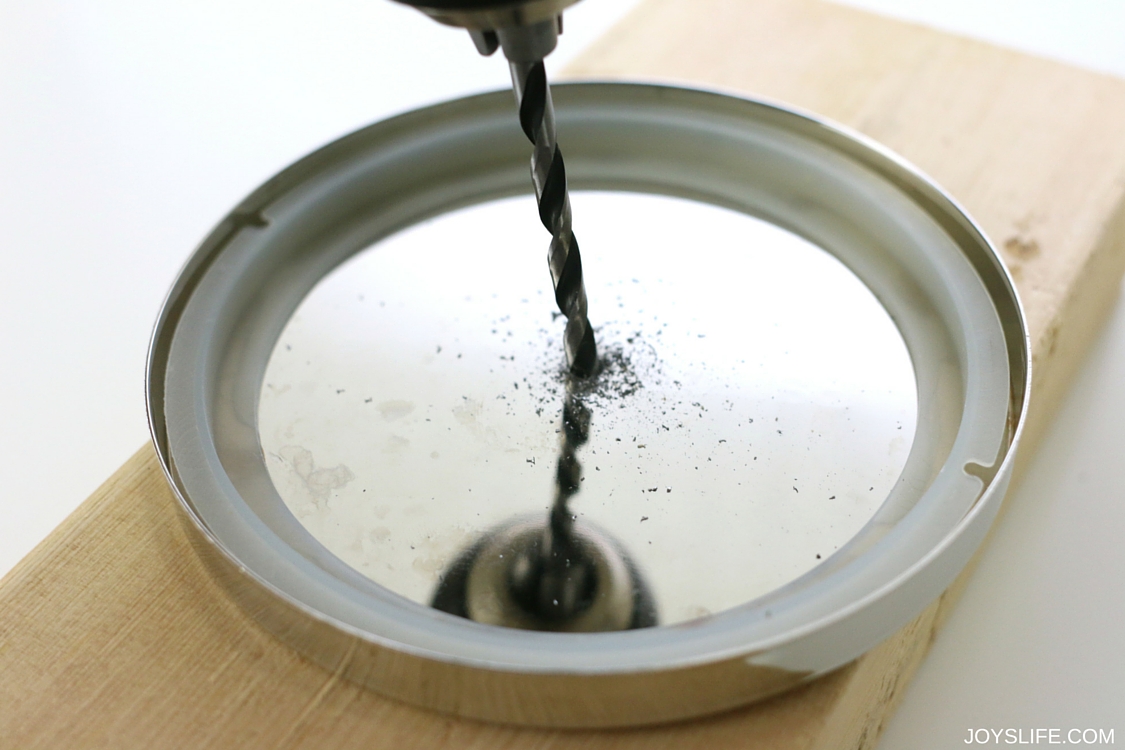
I stopped the drill here so you could see the hole getting started. Exciting. Remember, hold the lid when you are drilling.
Attach the Knob and Finish
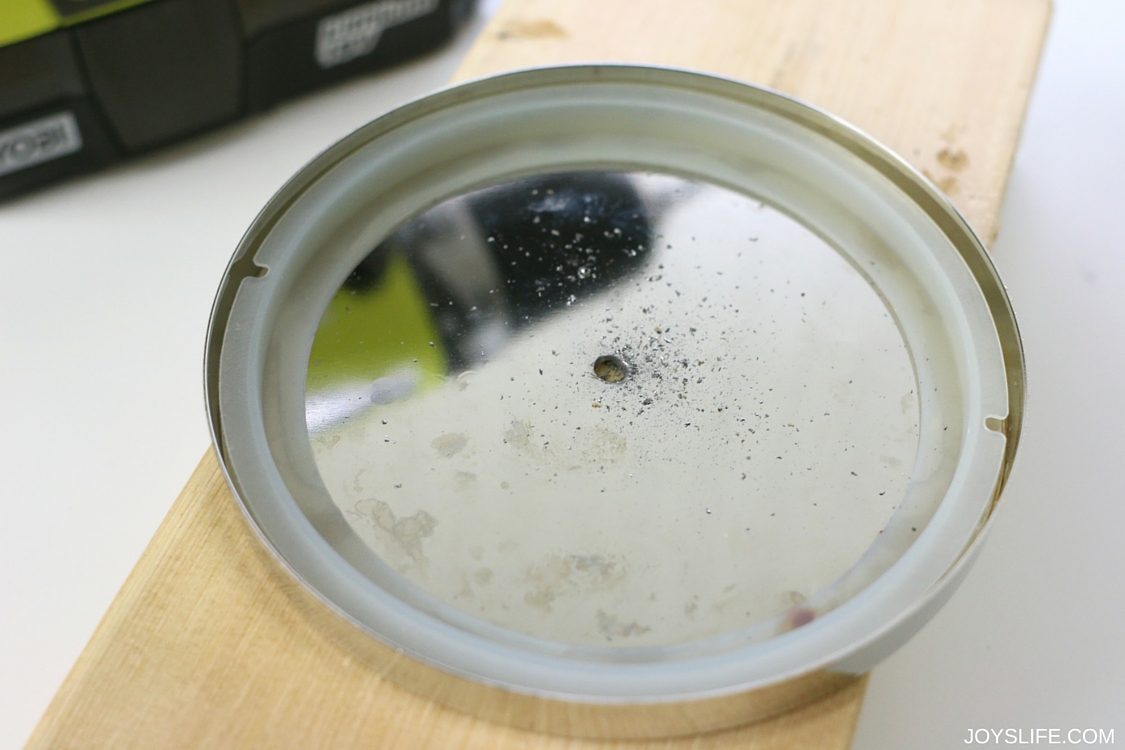
I made a hole. YAY. Be sure you’ve been wearing your safety glasses because those are tiny pieces of metal. Clean up carefully too.
Now you just need to screw the knobs through the hole and you’ve turned your used candle jars into pretty bathroom storage. YAY YOU.
Optional Add On
Oh. You can add a stand to your candle jars too. That’s an inexpensive candlestick. Here’s how to make that!
More Upcycle Ideas You Might Like
If you enjoyed this project, here are a few more ways to reuse everyday items and turn them into something useful:
- Inexpensive Sugar Dispenser Twine Container
- Shoe Rack Craft Punch Storage
- Wine Rack Vinyl Storage
- Creepy Halloween Bottle Decor Using Cardstock Vellum and Mod Podge
If you’re in the mood to keep making things, here are a few of my sewing and quilting projects:
- Fat Quarter Pop Up Bucket
- Make Quilted Pillowcases
- Make an Easy Drawstring Bag
- Simple Envelope Pillowcase for Throw Pillows


I absolutely love this idea – it is so creative! It’s simple, yet makes a big statement when organizing a bathroom. Thank you for sharing with your readers #client
Thank you so much! I’m really enjoying using them and they look so pretty sitting out! Thanks again! 🙂
Hey. I just spotted this on Pinterest. Love the idea! I’m curious as to where you got your lids. Did they come with the candles, or did you buy them separately? Thanks for the lovely idea. Sue J ~ The World of Suzy Homemaker
Hi Sue! Thanks so much! These lids actually came with my candles. They are 3 wick candles from Bath & Body Works. I hope you find some awesome candles with lids that you love!
Ah Ha! I shall have to look out for some candles with lids. They really do make beautiful storage! Sx
I am so happy that i saw this and happy to try these give me great ideas !!!
YAY! I’m so glad, Joanne! Have fun!
What a great idea! I always end up recycling or donating our used candle jars to a local art thrift shop. Now I’m holding onto the next few we have to make some of these.
Sarah, I cringe when I think about how many of them I recycled. I wish I’d upcycled them into more storage instead! 😉 I hope you have fun making them!
I’m thinking maybe a heavy duty glue could be used instead of a screw if one didn’t want to bother with a drill.
Definitely, Diana! Try E6000 adhesive for bonding metal to metal. It’s a terrific adhesive that will even bond glass to glass!
Hey Superjoy. How do you get the candle smell out of the lid gasket? I want to use it as a sugar bowl & don’t want it to smell like the candle.
Hmmmm, that might be tough. I ran everything through the dishwasher, but that might not fix a burned in smell. Darn. I’m stuck on an answer for that one, Glenda Lee. I hope you were able to figure out a good solution!