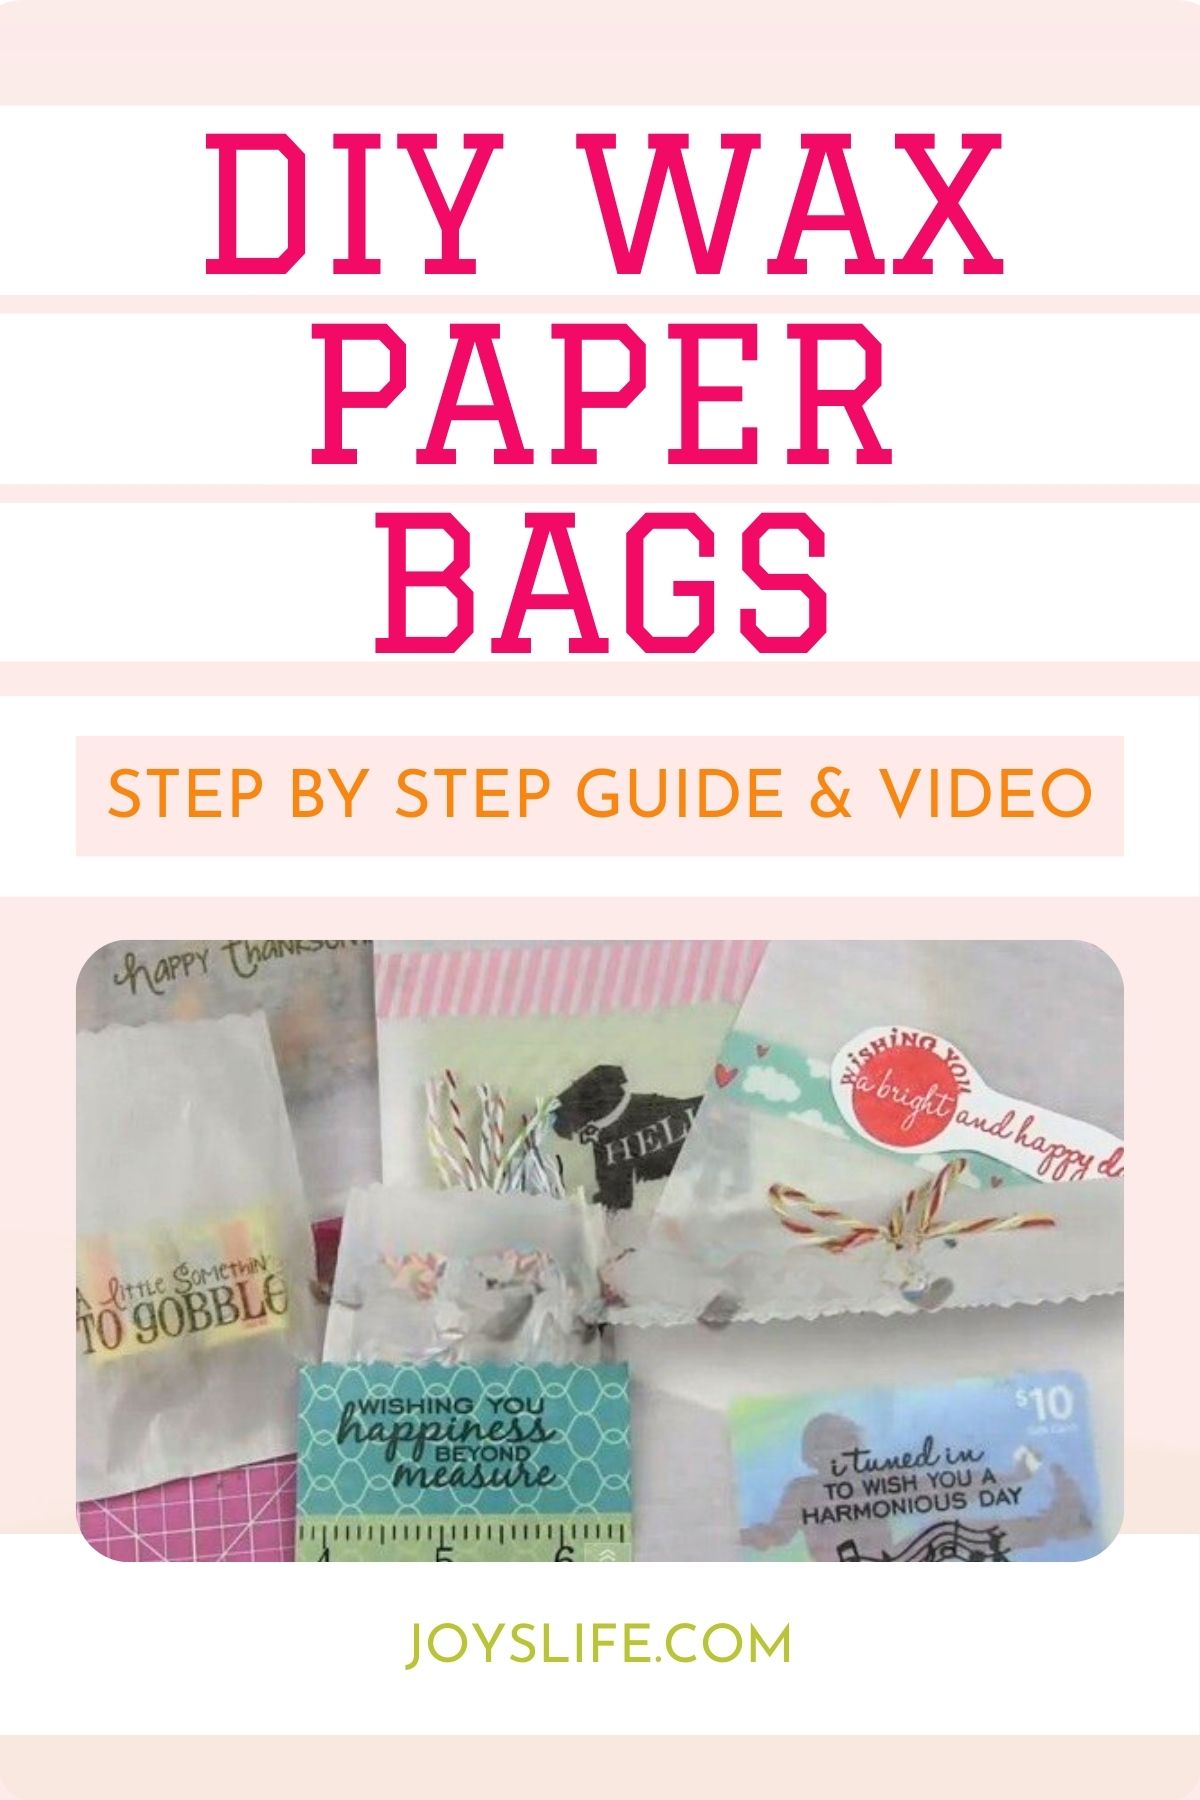
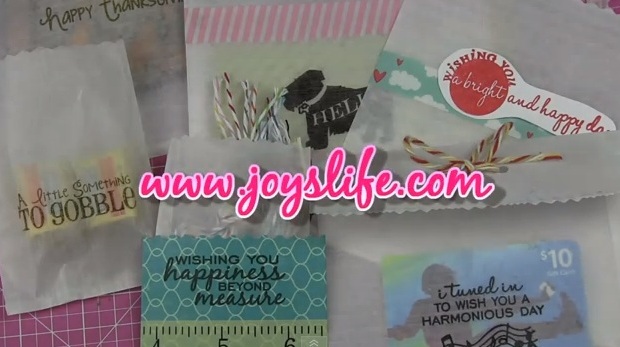
You can make DIY wax paper bags in any size using kitchen wax paper, stamps, Washi tape, and a paper crimper. They’re easy, customizable, and perfect for crafts, food, or gift giving.
Why Make Wax Paper Bags?
Sometimes store bought bags aren’t the right size, or let’s be honest, they just aren’t as fun. Making your own wax paper bags means you get to choose the size, design, and decoration. The best part? You probably already have wax paper in your kitchen, so this project is budget friendly and quick. It’s also a little bit of an upcycle project, and I adore those!
If thrifty, clever storage ideas are your thing, check out my Inexpensive Sugar Dispenser Twine Container.
Watch the Video Tutorial
See the full step-by-step process in my video:
Supplies You’ll Need
- Wax paper – cut to the size you need. It must be wax paper, not parchment or freezer paper, which behave differently in crafts.
- VersaFine Ink pad – I’m using Onyx Black
- Rubber Stamps – I’m using Joy’s Life Tag You’re It One & Two and It’s All Fall Puns.
- Washi tape – I used Freckled Fawn, but any will do.
- Paper crimper – finishes edges with a professional touch.
- Adhesive – I used ScraPerfect’s Best Glue Ever in the video (now discontinued), but a few replacements are Art Glitter Glue (Dries Clear), Bearly Art Precision Craft Glue or Beacon 3-in-1 Advanced Craft Glue, or try an adhesive tape runner or ATG gun.
Keep in mind, none of the adhesives are food safe, so consider heat sealing (which I have not tried even though I have a heat sealer (still in the box, lol). This may be the most reliable method for forming a durable seal. The heat from a craft sealing tool or a low-temperature iron will melt the wax on both surfaces. Use a barrier to protect the iron and your ironing board cover from the melting. I use teflon sheets.
Need more organizing inspiration? Don’t miss my Fabric Scrap Storage Ideas.
Step-by-Step: How to Make Wax Paper Bags
Cut and Fold
Decide the size bag you want. Cut a rectangle of wax paper and fold it into a simple bag shape.
Seal the Sides
Use a tape runner or adhesive along the edges to hold the sides in place.
Stamp Your Design
Stamp directly on the wax paper using your favorite designs. I used my Joy’s Life stamp sets, and the ink holds nicely for one-of-a-kind patterns.
Add Washi Tape Accents
Decorate and reinforce with Washi tape. It gives your bag extra style and durability.
Finish with a Crimper
Run the top edge (or sides) through a paper crimper to give your bag that polished, store-bought look.
Love creative ways to repurpose supplies? See how I turned a Wine Rack into Vinyl Storage
Creative Uses for Wax Paper Bags
These bags are more versatile than you’d think:
- Gift wrap: Unique, handmade packaging for birthdays, holidays, or just because.
- Party favors: Fill with treats for guests.
- Craft storage: Perfect for fabric scraps, trims, or sewing notions.
- Food packaging: Cute wrapping for cookies, snacks, or baked goods.
For another DIY home project, check out my Beadboard Bookshelf Backs.
Your Turn to Try It
With just WAX paper, stamps, Washi tape, and a crimper, you can make custom bags in any size. Don’t swap it with parchment or freezer paper—it has to be WAX paper for the bags to fold, stamp, and seal correctly. These bags are quick, affordable, and completely unique. Once you try it, you’ll never look at a roll of WAX paper the same way again.
You Might Also Like
- How to Make a 2-Liter Soda Bottle with Gifts Inside – A fun way to turn a soda bottle into a surprise gift container.
- Simple Sour Cream Candy Containers – Quick and clever treat holders made from paper.
- Turn Used Candle Jars into Pretty Bathroom Storage – Upcycle candle jars into stylish storage for your home.
- Fabric Scrap Storage Ideas – Smart ways to tame leftover fabric and keep your sewing space organized.


What a great idea. Thanks for sharing.
Thank you, Kim!
~Joy~
What a great idea. Seems like I am always running out of the little plastic bags for little gifts and this is a great idea! Thanks for sharing. I love watching your videos. I always end up with a smile on my face. You made my day! Thanks you. Regina
I LOVE these little bags! What a cute idea. Now I have to go buy a box of this waxed paper. Just when I thought I had everything I could ever need to craft with…….lol Haven’t used my decorative scissors for ages, so it will be great to put them to use again. Thanks for sharing!!!
Super cute idea. Thanks for sharing
Love these, what a great idea! I think they’d be great for scrapbooking to hold memorabilia too. As always, you rock!
Thanks for sharing. Did you try ironing the wax paper? I used to make some projects and we would iron the wax paper. That has been many years ago and they may not but enough wax on it these days for it to hold. Thanks for the idea. Wax paper is pretty cheap.
Hi Vonette,
I remember ironing wax paper when I was a kiddo but I haven’t tried it recently. There are a lot of cool crafts you can make doing that though…if memory serves. 😉
~Joy~
You are BRILLIANT! This is such a great idea! I’m always looking for quick bags to use… LOVE this!
Theresa
Great idea for using up scraps around the house. I wouldn’t have thought the ink would stick!
I am already thinking of 100 ways to use the little bags. Thanks. You can punch waxed paper if you take your time. Grab that piece of scrap cardstock (thinner is better) and layer it under the waxed paper. Have fun!
What a great idea! So happy you shared and I also love the idea for using them as pocket holders in your scrapbook.
love it! saved me couple bucks also! Already have waxed paper and was wanting some little bags to scrap my recent vacation and believe I could make these cuter than buying some! Just can’t get stuck on your blog lol and I have a feeling that will be a problem1! I have to have more self discipline! once i start on blogs it so hard to get off and go craft something myself!
How do you stamp on Wax paper without the ink smearing?
Hi Mattie,
If you start at 06:58 in the video, I show and explain it all. I hope that helps!