Don’t miss these tips to prepare your image for fabric cutting with the Silhouette Cameo 3!
It’s so exciting to make awesome thing with your Silhouette, isn’t it? One of the cool things that it can do is cut fabric, and a few tips, will get you on your Silhouette Cameo fabric cutting way. One of the most important things that you can do for yourself is to make sure that you have a good, clean image for cutting. Sometimes an image can look good, but still cause a few fabric issues. Remember, what’s easy for paper, isn’t always a best friend for fabric. So, here are some tips to help you prepare your image for fabric cutting with the Silhouette Cameo 3.
See how the Silhouette Cameo 3 Compares to the Silhouette Cameo 2!
How to Prepare your Image for Fabric Cutting with the Silhouette Cameo 3
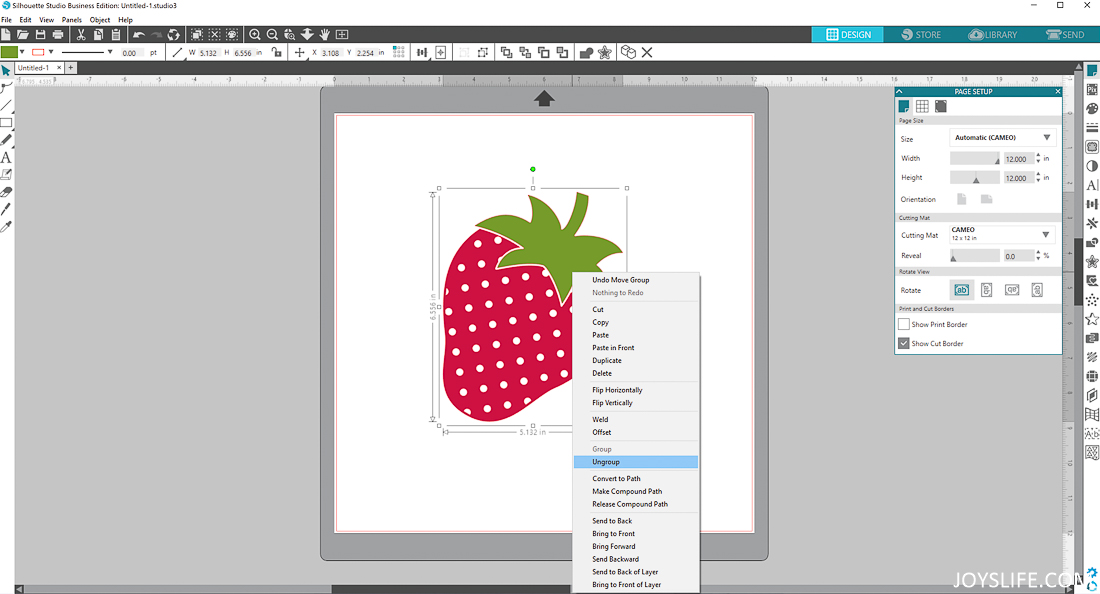
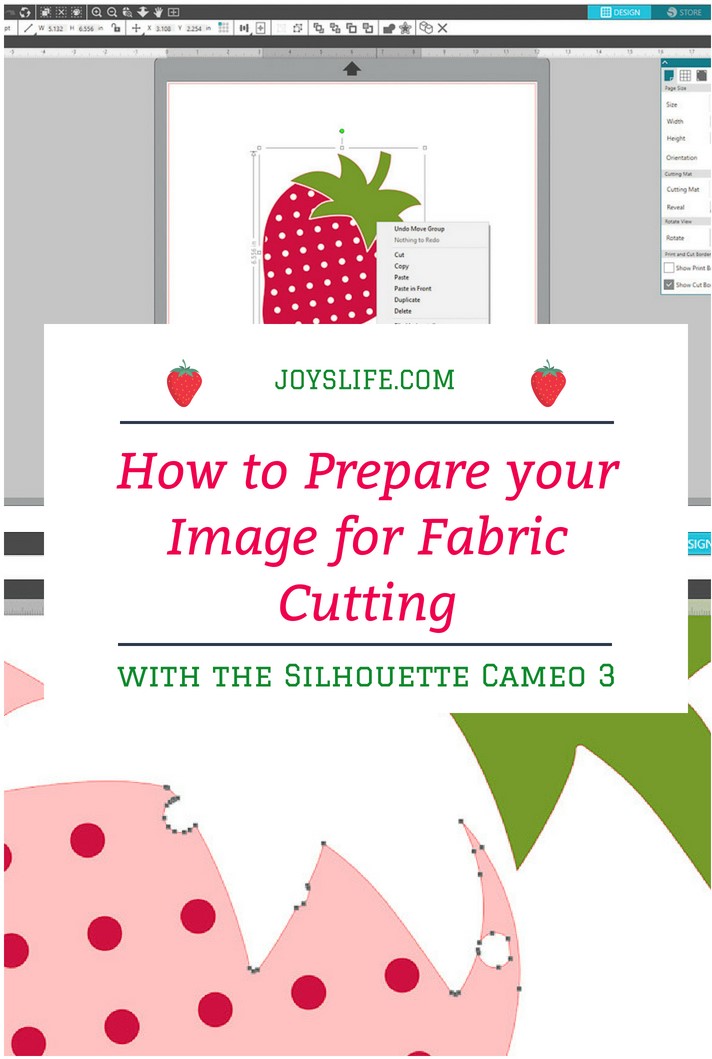
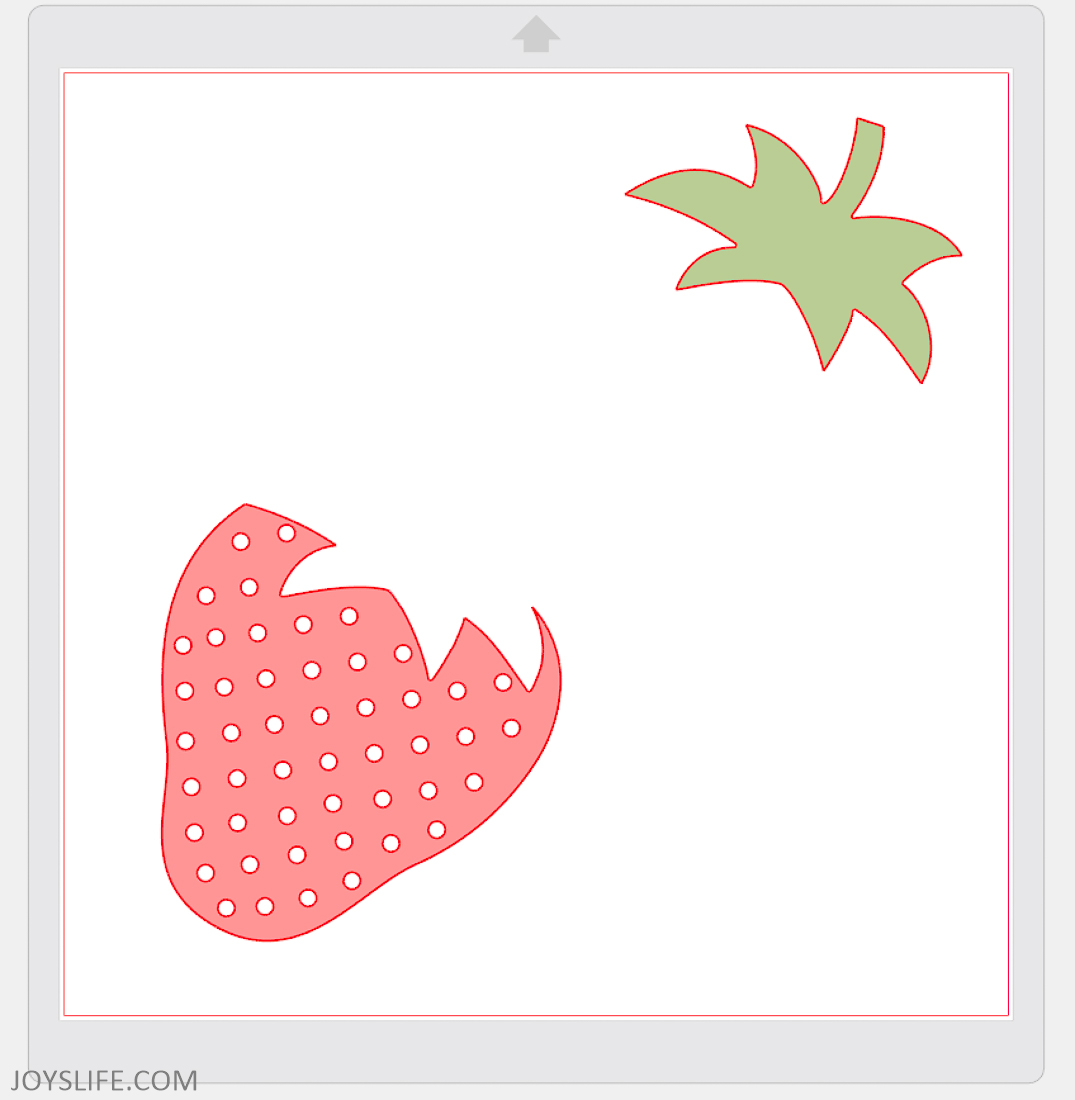
Pick your image. Go with something simple or be prepared to make adjustments so that it will cut easily. I chose this strawberry image. After I took a look at it, I realized that I needed to delete and move some of the little seed circles so that it would cut out on fabric properly. To do that, I right clicked and chose, ungroup on the whole image. Then I separated the two pieces and released the compound path of the base of the strawberry.
I like to use a mouse, so I’m all about right clicking, but here’s a link for Silhouette shortcuts if you prefer those.
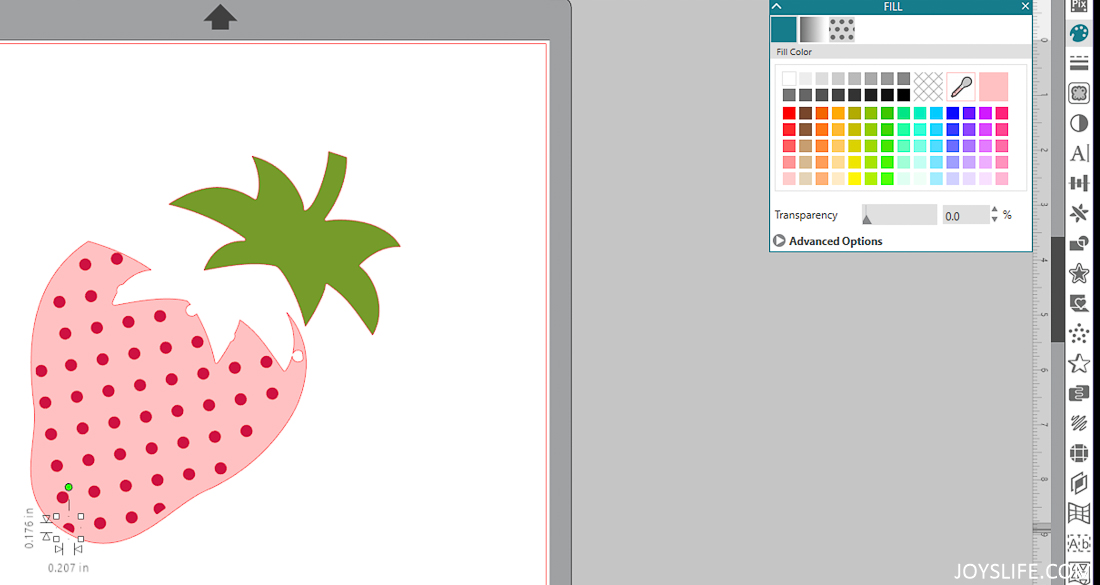
Color Fill Makes Things Easier to See
Once I released the compound path of the strawberry base, I saw that there were a lot of circles/half circles and lines that wouldn’t cut out well. At first I couldn’t see them well, so I used a color fill to turn the strawberry a different color than the circles.
Once they were easier to see, I moved them around, away from the edges. I deleted some and added others until it looked the way I wanted it.
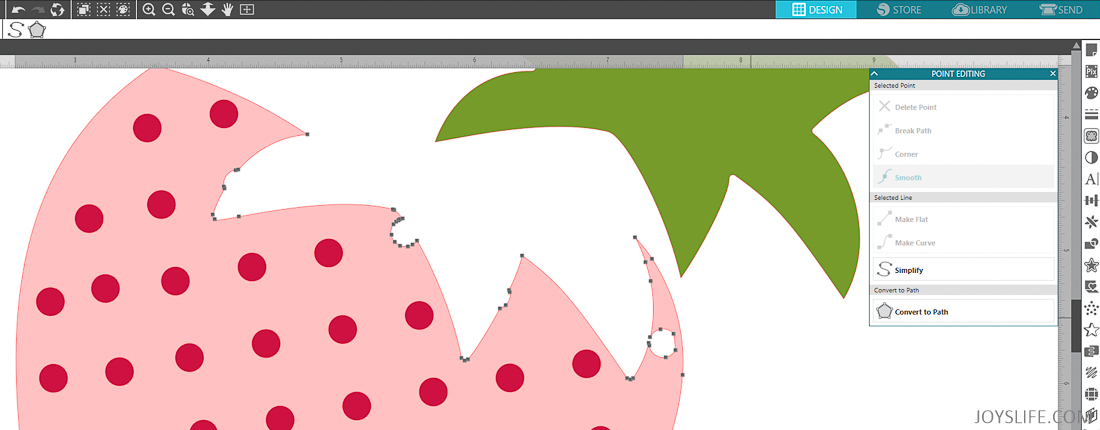
Point Editing is the Key
I knew that the fabric wouldn’t cut well around these awkward lines, so I double clicked the image and it brought up point editing. I simply deleted the points that were making the strawberry wonky, weird and fabric unfriendly.
If my software looks a little different than yours, I’m using the Silhouette Studio Business Edition. Here’s a software edition comparison by Silhouette. The edition upgrades are usually cheaper on Amazon. That’s where I’ve gotten mine.
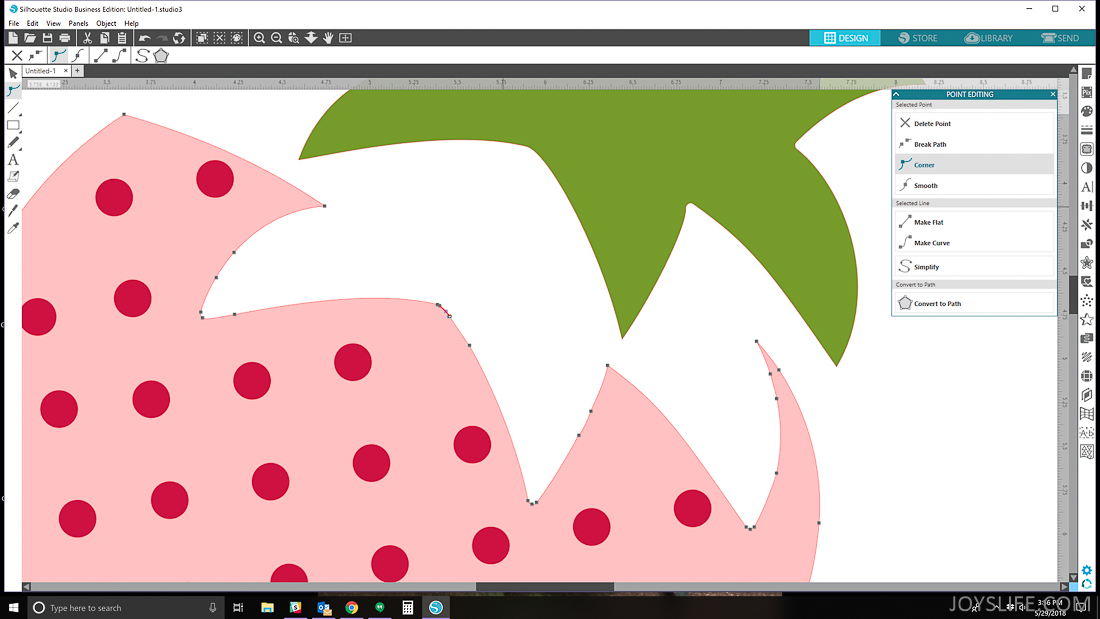
Ta da! Look how much better that is! Don’t be afraid to try editing points. It can really help you change a shape or clean it up for a good cut. I’m going to offset these two pieces, so they don’t have to fit perfectly together. If your shapes do need to nest tightly, keep that in mind while you edit the points. It definitely changes things.
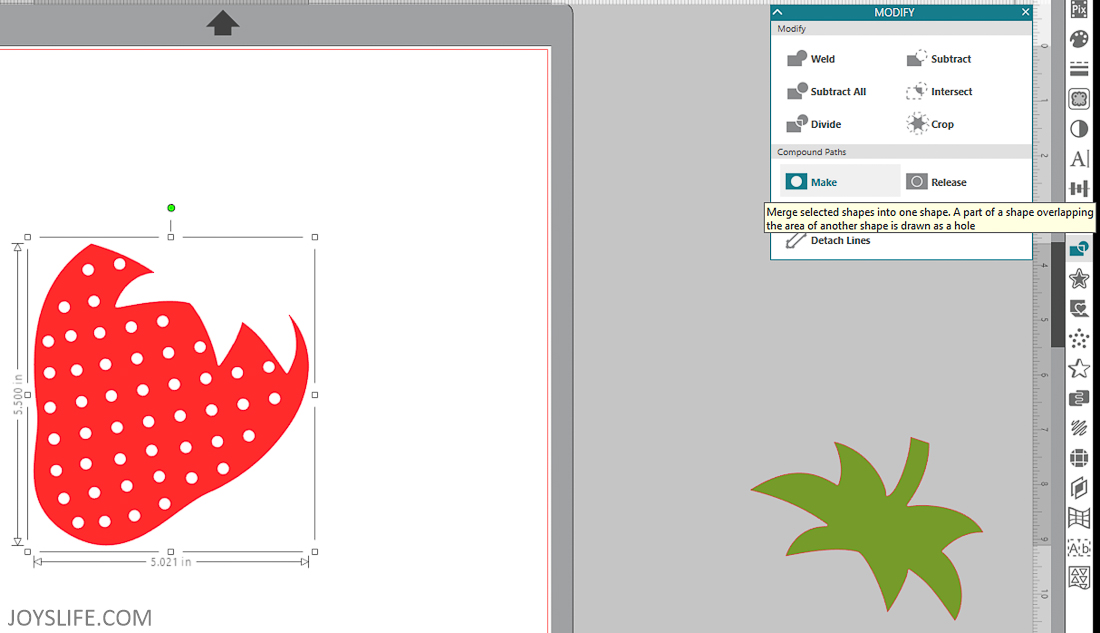
Merge with Make
To be sure you don’t accidently move the shape without all of its pieces, you can merge the pieces back into one shape. Choose the Modify panel from the right side of the screen. Select the entire image and choose “Make“. It’s the perfect choice in this case because the overlapping area of the circles will be drawn as a holes, which is how I want it cut from the fabric.
Now the images are ready for cutting! Remember, the simpler the lines, the easier it will be for the Silhouette to cut your fabric!
Happy Crafting!