
This was so helpful to me!! And…INEXPENSIVE!!
I recently bought a Martha Stewart ribbon holder box thingy from Michael’s that retailed for $18. I used a coupon 😀 and took that thing home only to spend an hour trying to get all my ribbon in it and fighting with how much it unraveled. It was a mess; just take my word for it. I returned that piece of junk and decided to make my own FOR LESS MONEY!!
I realized that the problem with the Martha Stewart ribbon box was that it didn’t have little holes to separate the ribbon that was coming out of it. Basically, the dowel would just spin out all of the ribbon. So, I knew the design below would be what I needed.
Here are the supplies I used:

SUPPLY LIST:
Here’s How I Did It:
First, I put the ribbon on the dowels to make sure they would fit and to get them out of the way.

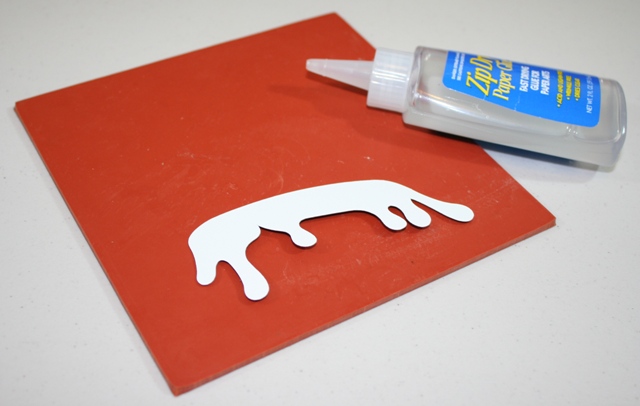
Then I glued the cardboard together in a shape and size that I eyeballed and freehand cut.

I put the dowel against the cardboard to make sure that I cut a space that was just right for it to sink into. You could have the dowels so long that they stick out the sides of the box, but I didn’t want to do that. I wanted them to fit neatly inside.

This is how the inside looks after you add all the cardboard holders.

Next I punched holes in the side of the box and set eyelets. The ribbon could go through the regular holes, but I liked the look of the eyelets. If you’re using a ribbon that might snag and get ruined, you may want to rethink using eyelets due to the sometimes roughness of the crimped inside where they grab the box.
You can see in the photo below how it looks before and after adding eyelets.

I did not measure the distance between the holes, I just went for it…happily punching away. I suggest you put enough space between the holes so that the ribbons aren’t cramped. If you’re using a Crop A Dile Big Bite to make the holes, set the little place holder so you punch all the holes at the same level.
Spacing is important, but MOST IMPORTANT is that your holes are all level.

All DONE!!
I have some extra holes which bothered me at first, but now I realize that was a fortunate result. In the future, I’ll have room for whatever new ribbons and sizes I add. I also didn’t bother threading ribbon that I haven’t opened yet.


Happy Crafting!!


This is such a neat idea! I have all my ribbon stored in one of those plastic drawer things…not efficient and VERY annoying when I need something on the bottom layer!!!!! I am going to have to make one of these boxes for sure!!! I am envisioning ways to make it multi-layered…will post my results when I am finished! TFS!!!
That is soooo amazing! I love it!
Thank you!! 😀 I love how handy it is!!
This is awesome! I soooo need a Crop A Dile
I’ve tried to do this but it is not working — what size eyelets did you place and how did you get them to squeeze shut — maybe my box is too thick?
Hi! I used eyelets that are a little larger than 1/4″. I bought them from HSN. The box I used is just a photo box that I got from Hobby Lobby. The item that really makes this project workable is the Crop A Dile Big Bite. That’s what I used to make the holes and squeeze the eyelets shut. That thing is QUITE the workhorse!!
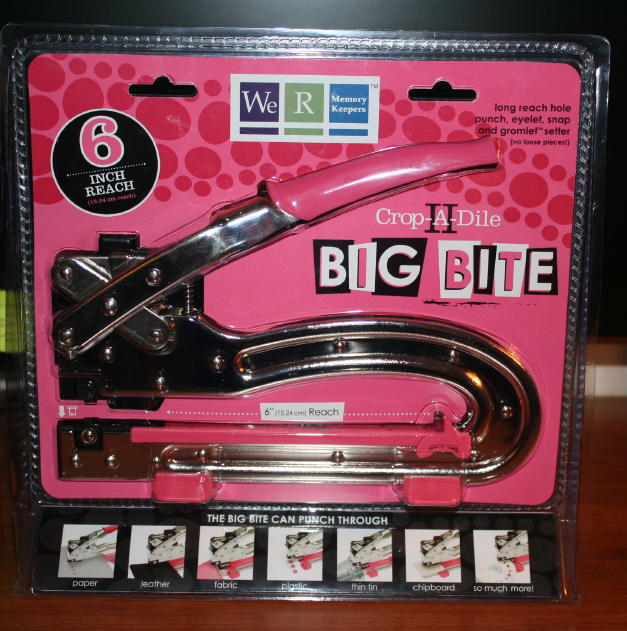
The Crop A Dile Big Bite looks like this, but is usually found in orange and rarely found in pink.
I hope this helps! If you have any more questions feel free to ask me! 😀
OMG you are such a CLEVER LADY!!! I wish I had seen this post sooner. I was at Wal-mart this morning and saw one on clearance I think for $9.00. I thought what would I do with that thing. I didn’t get it…grrrrrrr. I’m going back in the morning to see if it’s still there…lol All my ribbons are in baskets and in such a huge mess! I have seen these ribbon boxes but never wanted to pay that much for them. Thanks again for another great idea! ~~~BIG HUGS~~~
i know i am late, but i just saw this and i am going to do this.
tks…love it
mickey
Joy,
With regards to the wooden dowels used, what diameter dowels did you buy? My ribbon is getting out of control and I want to put them on a wooden dowel, but not sure of the correct diameter to buy.
thanks!
Love this box. I have tried all kinds of things to tame the ribbon tangles. I like the way you give us close ups to make it doable.
Thanks,
Candy