This is a repost from last year that I thought you would enjoy in case you missed it!

Vinyl Snowflakes I Made. Photo taken outside looking in.
Materials I Used:
My Cricut Expression + mat
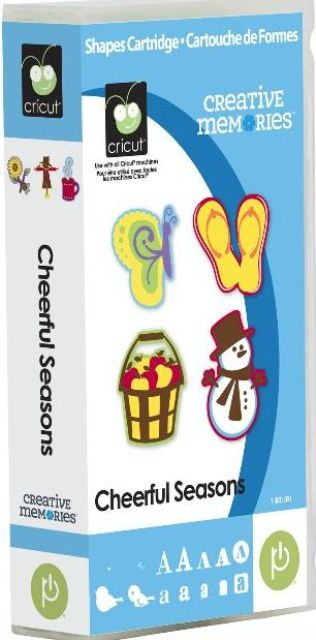
Joys of the Season Cricut Cart
My Gypsy…but you don’t need it for this project (read below to find out why)

I basically used my Gypsy just to help me locate some snowflakes really fast, because I didn’t feel like looking at my individual cartridges. However, the Gypsy came in SUPER HANDY when I moved the snowflakes all over the mat so I could get the most cuts possible without wasting much vinyl. Cool!

These are the snowflakes AFTER I pulled off all the excess vinyl. That process is called weeding.
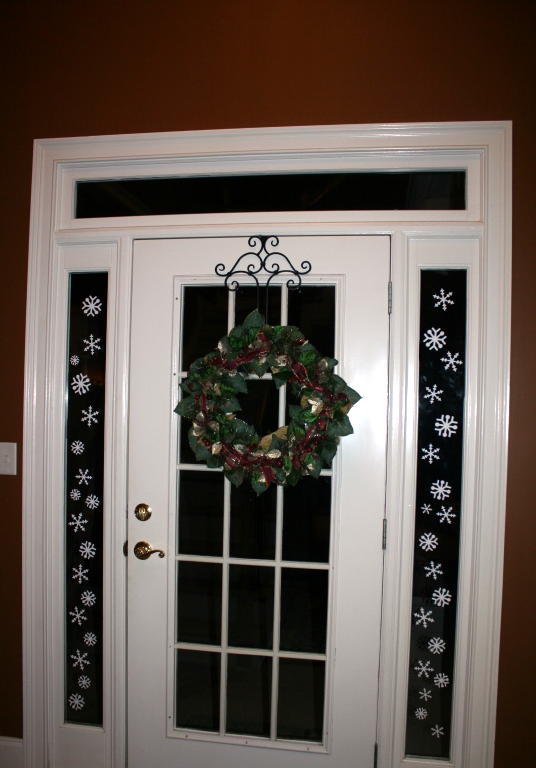
Well, like a big old GOOF I decided to pull these snowflakes off the mat by hand and apply them directly to the windows. I used to work in a sign shop so I like to push myself once in a while. I was able to do this, but I suggest not driving yourself crazy and using transfer tape.
So, that’s my crafty attempt for the day!! Now I’ve got to pick up kiddos and start dinner. Geeze!! Time flies when you’re creating fake snow effects.
Okay, Now Go Make Something Out Of Vinyl!!
Want to learn how to use vinyl with your Cricut to create all kinds of things? You’ll love my Cricut Vinylology DVD! It’s over 3 hours of vinyl projects and instruction.

Loved your snowflakes. I think if I would put these on my door right now they would melt being that it is kind of warm over here right now. LOL
I definitely want to try this one…but I haven’t cut any vinyl yet…I’ll have to watch some more of your videos before I try it! My Granddaughter would love these snowflakes on the windows!
I am TOTALLY putting this on my front door! lol.
Your entry looks georgous! I did try this but my cat thought they were toys for her and jumped up on the patio door until she had them all off the windows. So much for my hard work of putting them on! LOL!
I love the way your entry looks!! Great Job!! Thank you for sharing.
These look great. I want to try this.
These look super! I think I have some white vinyl somewhere! Great idea! Thanks!
I am going to do my windows with snowflakes. When I saw how beautiful it looks on your windows, I was excited. Thanks for sharing!
I need to face it… I’m still a little intimidated by vinyl. I know, I should not be, since you have all the videos giving instructions step by step. Well, today I will go and get some white vinyl and some transfer tape and I will give it a try. Girl scouts’ promise!
I love it! When you use the Cricut vinyl on glass, does it come off easily? Are there any tricks?
Great project….are you using the snowflakes again this year? I too am still a bit intimidated by vinyl….especially using transfer tape…looks complicated! TFS!
~Sharon C.
Love the way these look! I would never have been able to do it without transfer tape, you’re amazing! Did you stick these on the outside? How well did they hold up with the weather?
I must put the DVD on my Christmas wish list as I have all kinds of Vinyl sitting in my closet just waiting for me to get adventurous! Thanks for sharing this though its is beautiful on the windows!
Oh Joy those snowflakes look just gorgeous… love it.
very cute snow flakes- we got an early snow fall- I have 3 inches right now! love this idea
kacee
[email protected]
Joy these look great, I love using vinyl,
They look beautiful! I am going to try this!
Very Pretty! I am waiting for my Winter Lace Cart to arrive! I am loving this idea!
I bought some vinyl a month or so ago with this in mind. I am hoping to get time to do this for my windows if not my mirrors.
angel hugs
Debby
cute cute cute!!!
stunning!! Gotta give this one a try
I remember this from last year and I loved it then and still do. I wish I had a window on my front door. Very cool.
Great idea, love the snowflakes!
great idea! i must use this to decorate the windows of my car when i turn it into a reindeer again this year
Joy these snowflakes look amazing on your door panels, what a great project.
Kim xXx
Very pretty! I haven’t tried to cut any vinyl yet! Will want to see more of your videos before I try.
Your entryway looks absolutely gorgeous! We don’t have side-door windows, but my daughter would have fun putting snowflakes on the front window, I bet!
JOy I just love your snowflakes they really make your entry look Christmasie.. if that a word or not….
The Scrapbooking Queen
I did miss these last year, thanks for the repost!
Joy,
Your front door is beautiful!!! 🙂 You did a great job on the snowflakes! Your DVD is definitely on my Christmas list! 😉
Thanks for sharing,
Jennifer
still looking great on your entry windows 🙂
Haven’t cut vinyl yet, but saw some cool glitter vinyl that I think would make great snowflakes!
Those look so much better than the coffee filter snowflakes we have:)