Lollipop Holder – Great Classroom Gifts
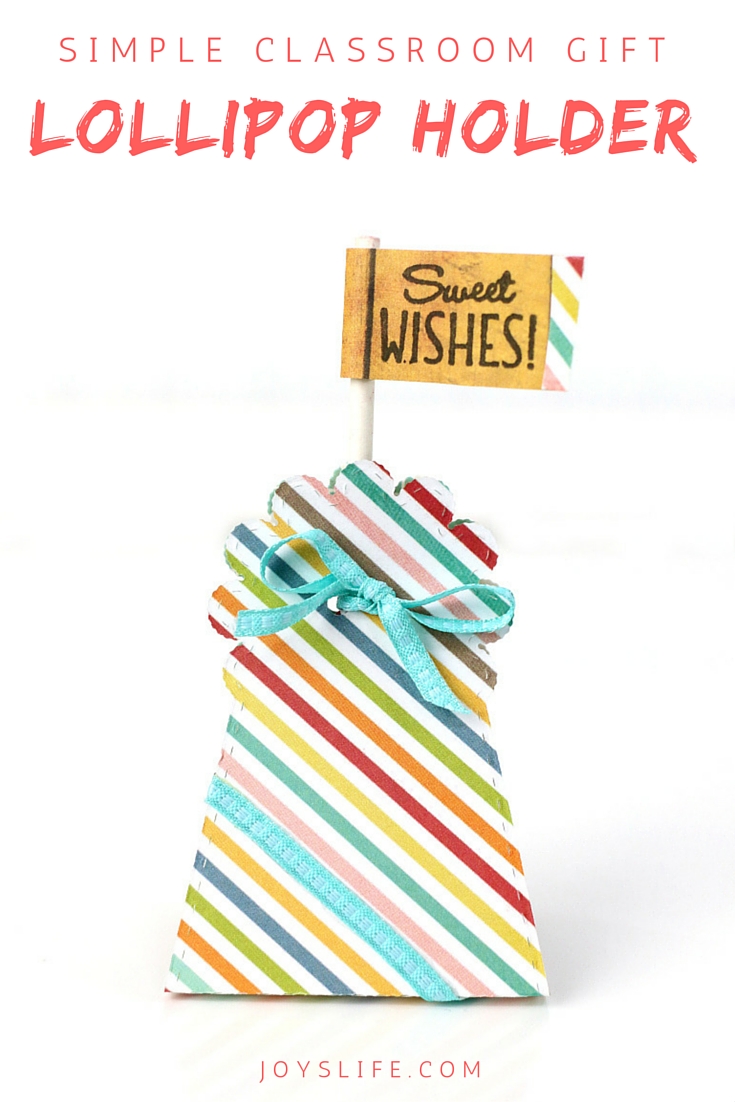
I’m in love with this. It’s a lollipop holder from this die and it only takes your die cutter and a tiny amount of paper and scraps to create. Oh, and a lollipop! Let me show how extremely simple it is to make. Then you can crank out tons of thoughtful gifts for a classroom, office, party, church, wherever you want to put a smile on someone’s face!
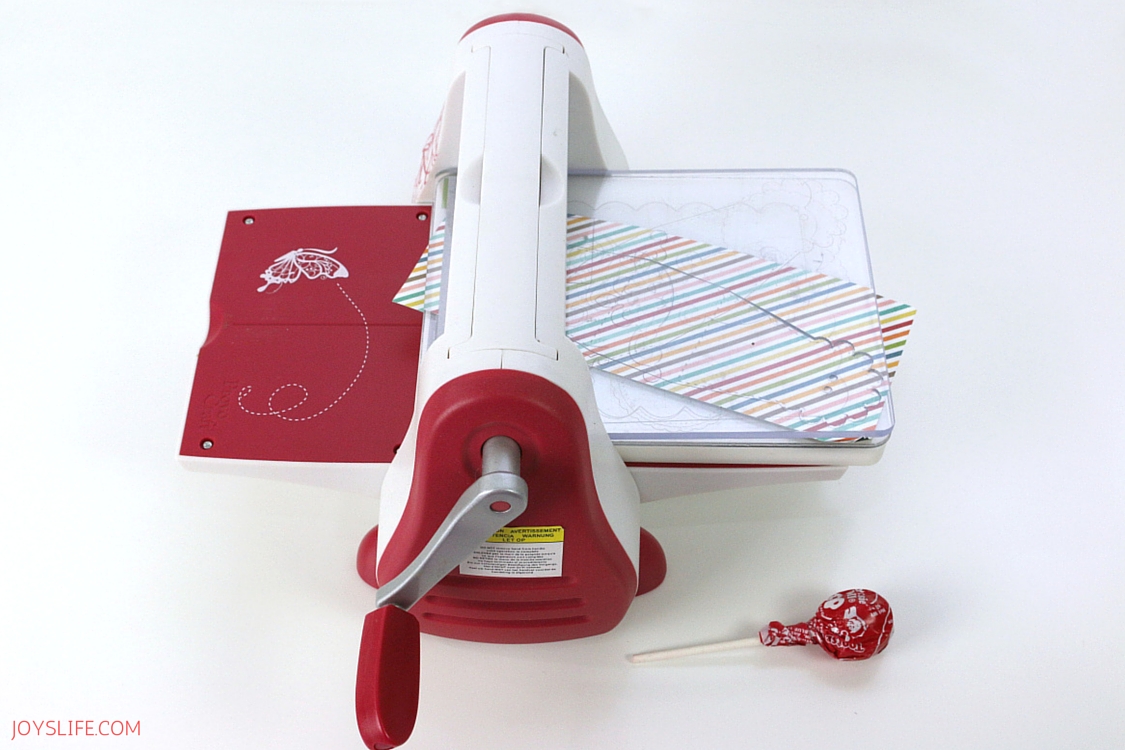
Supplies:
Lollipop (YUM)
Stitched Lollipop Holder Die
Die Cut Machine (Cuttlebug, Cut ‘n Boss, Big Shot, etc.)
Thin Ribbon or Twine
Scissors (for cutting the ribbon/twine), I’m using non-stick scissors
Want to add a sentiment? I’m using the Mixed Just For You Stamp Set – It comes with dies!
Save on the dies and stamps with a COUPON at the end of this post!
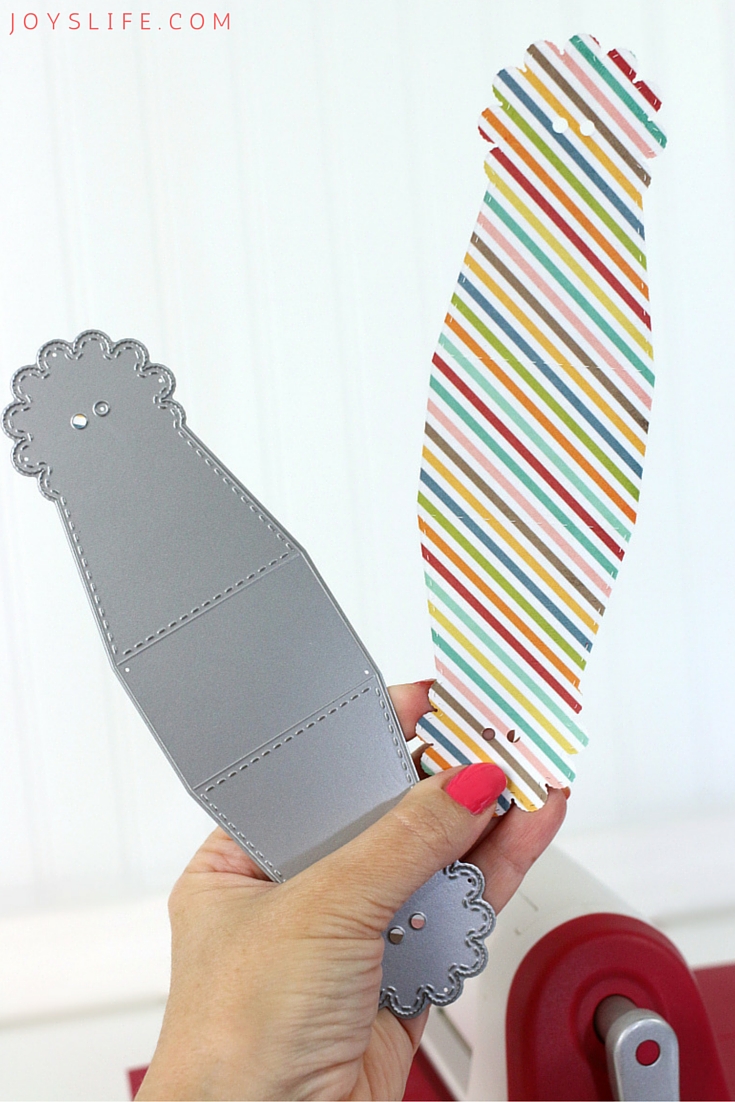
Just run your die through your die cutter, mine is a Cuttlebug, and you’ll end up with the almost finished product. It’s just that fast. You can use it right away. Simply fold up the ends and tie a ribbon or twine through the holes around your lollipop stick. Ta Da! You’re done. Want to add a few more touches? Me too!
Let’s Add Embellishments!
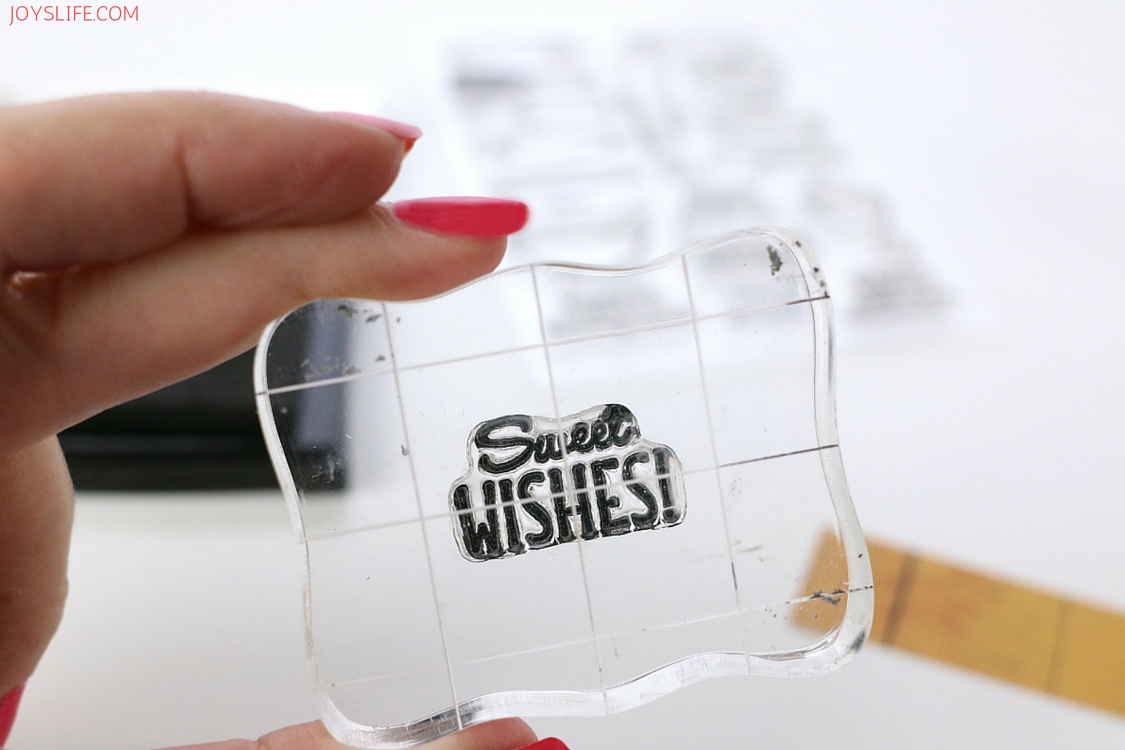
I’m adding this cute stamp to a piece of scrap paper that I have. I actually used scrap paper for this whole project. The Stitched Lollipop Holder die doesn’t require much paper, unless you’re making a ton of them. Even then, you could use what you had left over from various projects. I love doing that!
Here’s a Tip!
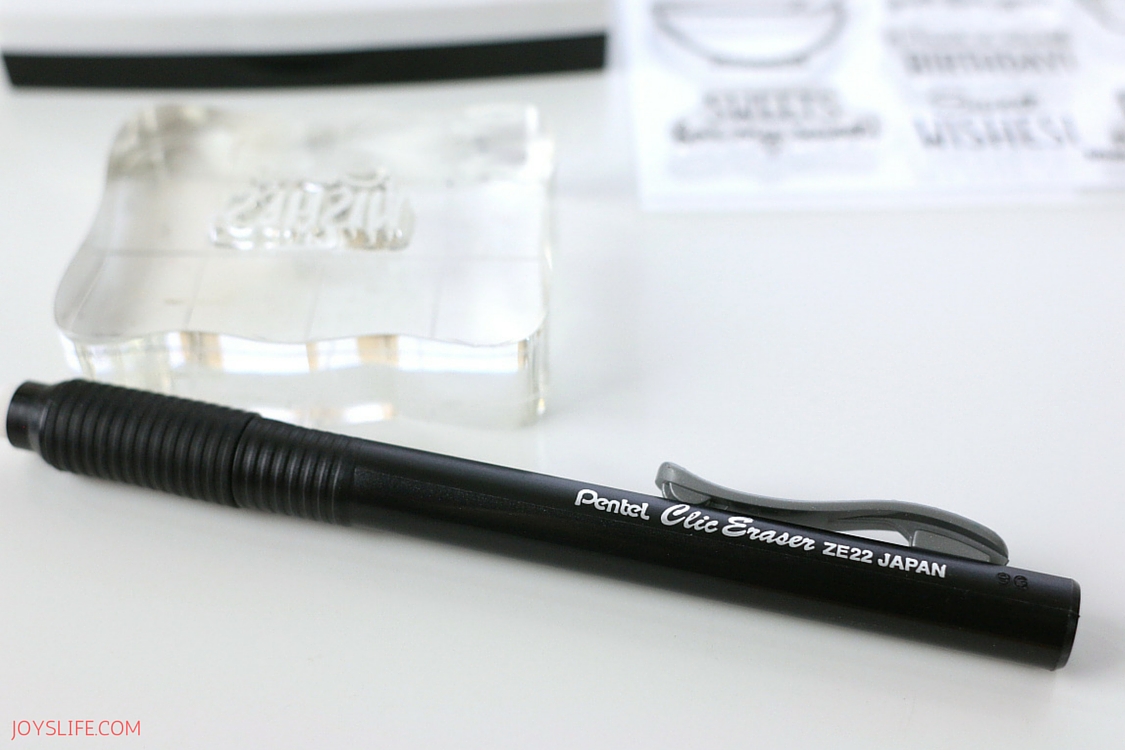
When using new stamps, it helps to “season” them to prepare them for stamping the first time. Use an eraser, like this Pentel Clic Eraser, to “erase” the stamp. Now the ink should adhere well and your images will come out clear! By the way, this is true for any clear stamps by any brand. I do this with my own stamps.
Another Tip!
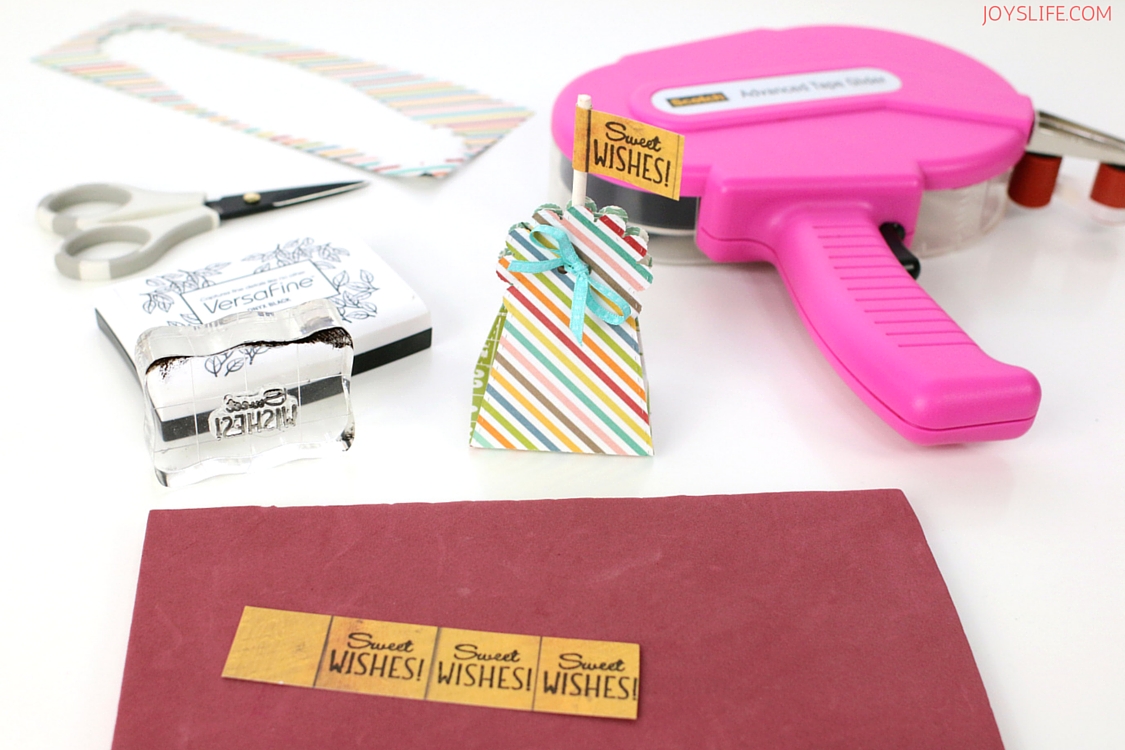
Sometimes it helps to put your paper on a stamping mat to get the best stamped image. I was using a very thin paper on a flat desk and it was causing me to get slight movement as I stamped. This pad will add some stability and the give the paper and stamp need to produce a great image. I’m using Versafine ink in onyx black.
I used a ribbon scrap to add a line of ribbon to the outside of the lollipop holder. To make it stick, I put my ribbon down on a nonstick craft mat and rolled over one side of it with my ATG gun. In the next photo, you’ll see that it’s sticking to the front of my holder.
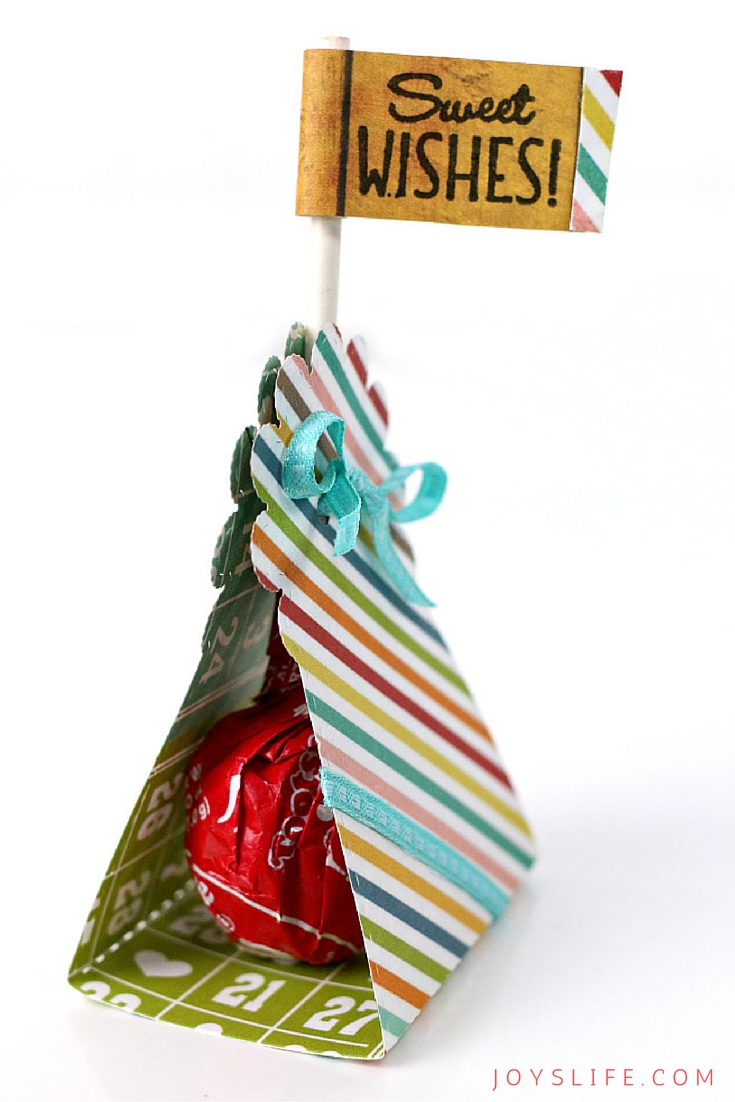
To create the little flag, I just added some adhesive to the back of the paper I stamped and rolled it around the lollipop stick. I added a tiny scrap of leftover paper to the edge. I love using scraps!
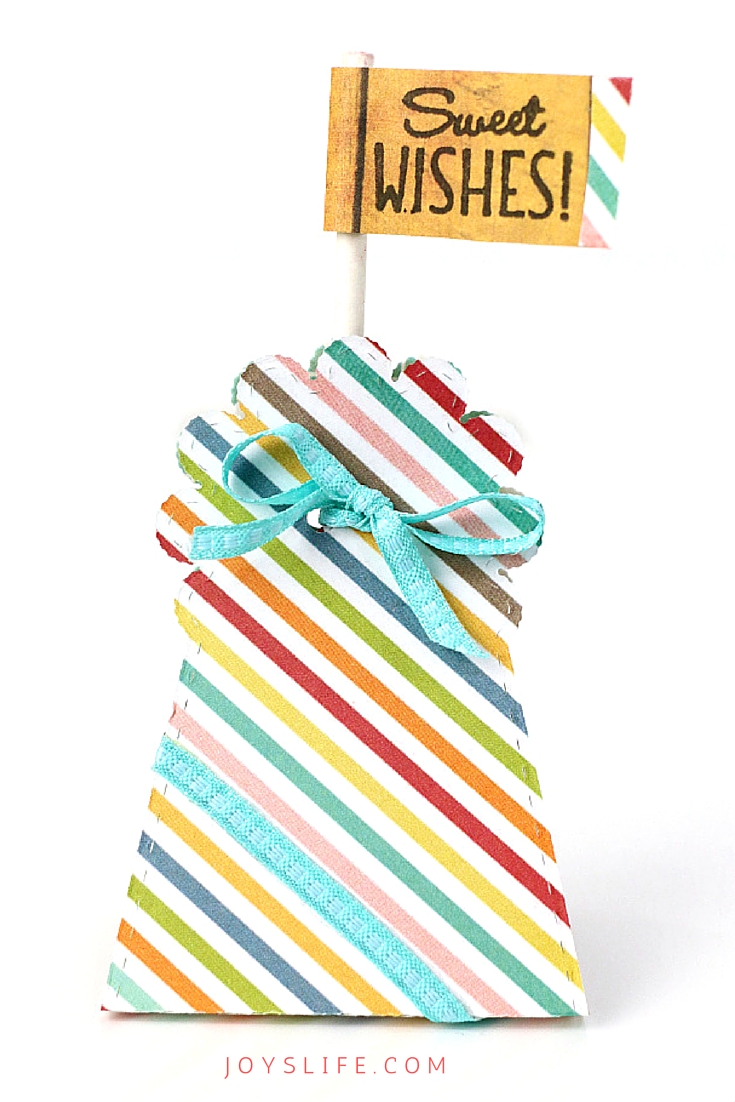
So cute! So easy! This will be a sweet gift for someone!
My Creative Time is having another “48 Hour Flash Sale!” This sale is for 48 hours ONLY that is going on right NOW (Fri, July 29) & will end on Sunday, July 31, 2016 @ 7am PST. Don’t forget to use the code FLASH at checkout to get 20% off of your entire “in-stock” only purchase! Start shopping here: http://shop.my-creative-time.com

Ohhh…. so sweet!
Thank you, Kirsty! 😀 This was so much fun to make!
Very cute. I like the striped paper.
Thanks Joy for all the useful information and the lollipop holder is so cute!
Great Job!
Awww, thank you, Lawanda!! I appreciate that!
Super cute. Love this die.
Thank you so much, Kristi! That die is super fun!