
I rarely make banners so believe me when I say, “This is easy!”
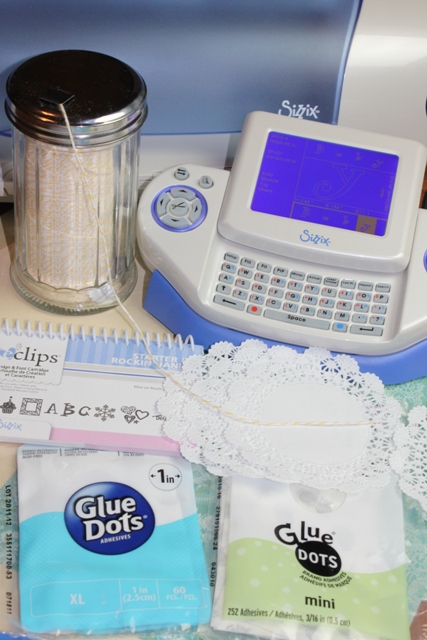
I’m using twine, Glue Dots, paper doilies, and paper from my crafty stash.
Like my twine storage? I have a whole post about this sugary twine goodness, right here.
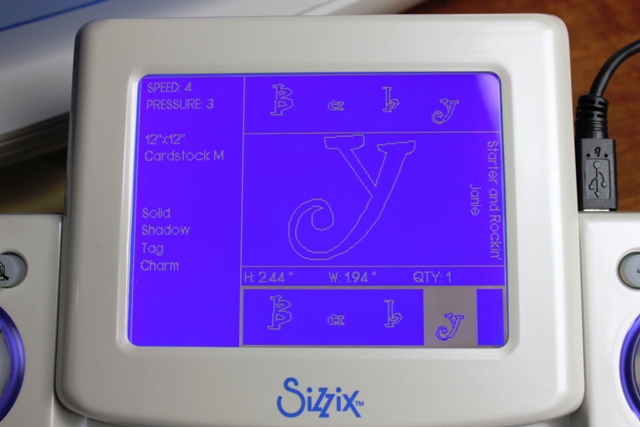
I’m using the Sizzix Eclips along with the Rockin’ Janie cartridge to cut out the BABY letters. You can use any die cut machine to cut out the letters. Don’t have a die cut machine? No problem! You can hand cut them or buy letters from your local craft store.
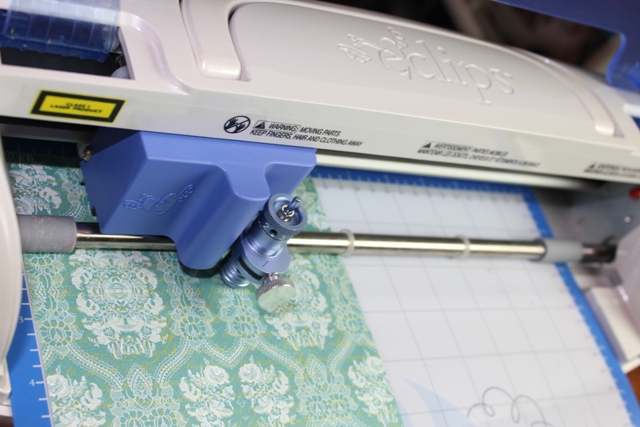
I had the Eclips cut the BABY letters at approx 2″.
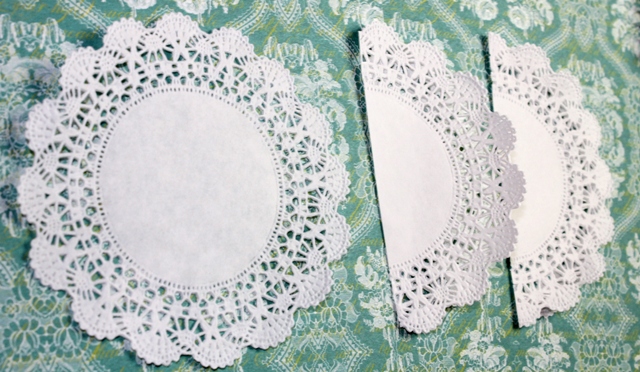
To begin assembly, simply fold the doilies in half. Now you have your basic banner building blocks.
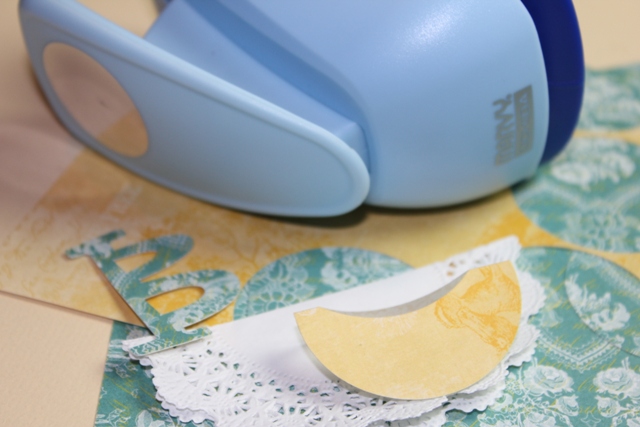
I thought the banner needed just a little something extra so I added these circles which I punched out with a circle punch. Punching another small circle from the center helped create a baby bib look.
I love a simple paper punch. They are so useful! Want to learn more about paper punches? Check out this post from my favorite craft tools series.

Next, use Glue Dots to stick everything together. Glue down the “circle bib”and the letter “B”.
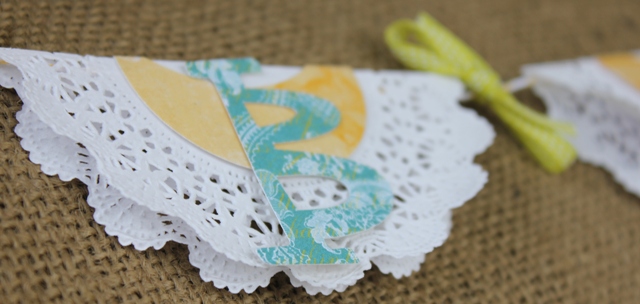
After you’ve glued down the circle bib and the letter “B” put the doilies over a string or strand of twine. I used a few Glue Dots to stick the doily sides together to keep them from opening and falling off of the twine strand. I didn’t stick it down everywhere because I thought the fluttery look of the doilies was sweet.
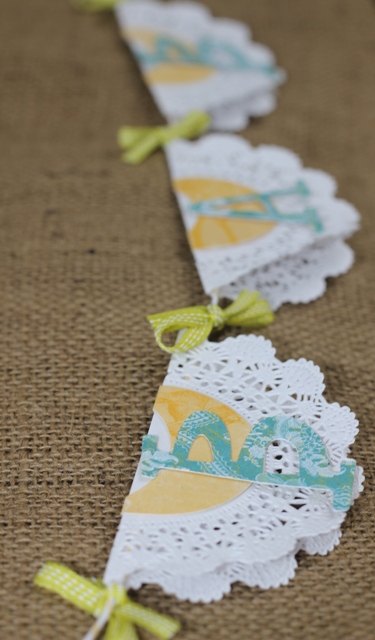
I made a few tiny ribbons to fit between each doily. I thought they added a nice bit of color. They can also help keep your doilies from moving around where they don’t belong.
I hope you enjoyed this project! It made me fall in love with doilies and banners. Oh no! LOL!
I created this project while participating on the Glue Dots Design Team.
Have a sweet day!


Super cute!!!!
How cute is this. love the eclips I won one and love it. just need more Carts. love the Banners super Idea. thanks for sharing.
Hugs Anita
Hi Joy!! It’s been awhile! I finally got my store up & running again… So now I can come visit you and see what you’ve been up to lately! YEA!!! I LOVE the banner…. so simple and yet so CUTE! I really gotta get me some of those BIG Glue dots you’re always using… Have a wonderful weekend! 🙂
Theresa
Joy,Your banner is very pretty,Love the color combo you used.Joy
What a great and simple idea. Thanks for sharing.