Hey everyone! I’ve got a pretty butterfly printable for you today! You might have an immediate plan for how you want to use this butterfly but if you don’t I have a suggestion. Because I love to use die cut machines for my cutting, my suggestion is to import this into a cutting software. Below I’ve got directions on how to take this .jpg butterfly file and turn it into a cutting file. I’ve talked about this previously but here’s a step by step specifically for this image.
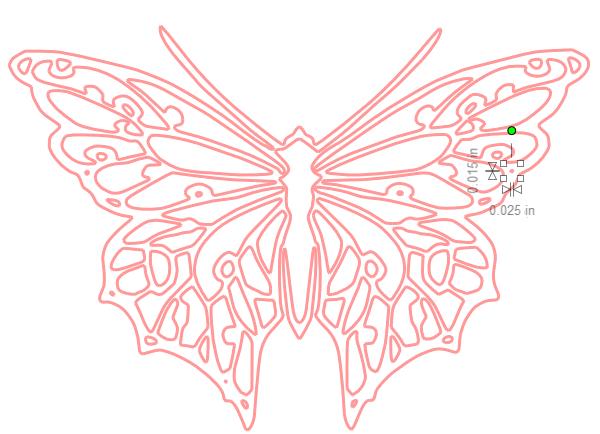
HERE’S A FREE BUTTERFLY PRINTABLE FOR YOU!
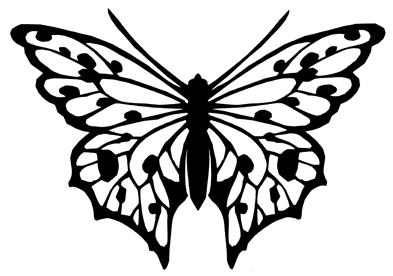
Just click the image above and save the file to your chosen folder.
Now, the tutorial…
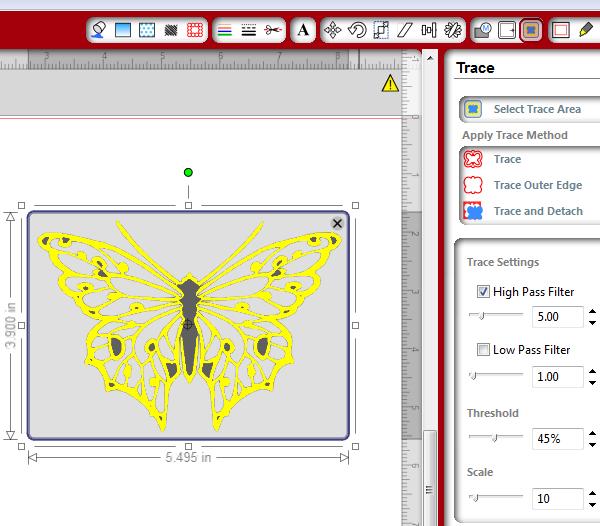
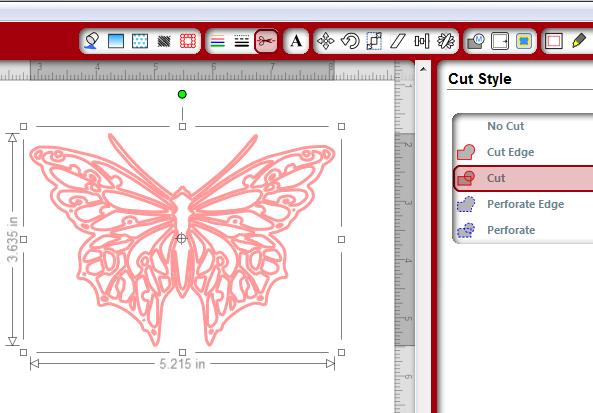
First, import the .svg from above into your Silhouette software. Here’s one way to do it. If you have the Silhouette Software Designer Edition, you can drag the file from your folder right onto the mat. Easy! Now that it’s on your mat, click on the “Trace” window (at top of screen). Click “Select Trace Area”. Hold down your mouse and drag a box around the butterfly (as shown). Click the “Trace” button. It’s the 1st option under the “Apply Trace Method” heading.
Only want an outline of the butterfly? Use the “Trace Outer Edge” button.
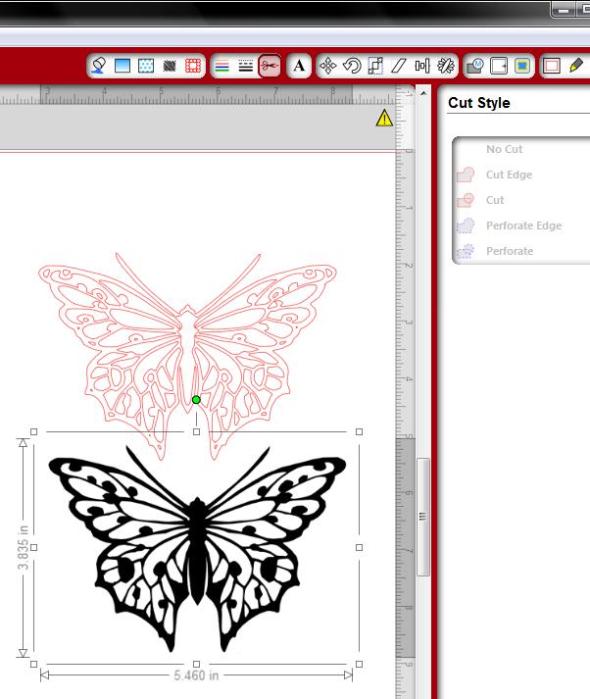
You did it! You got the butterfly traced in the step above. Now, just grab the black part of the butterfly, pull it away and delete it.
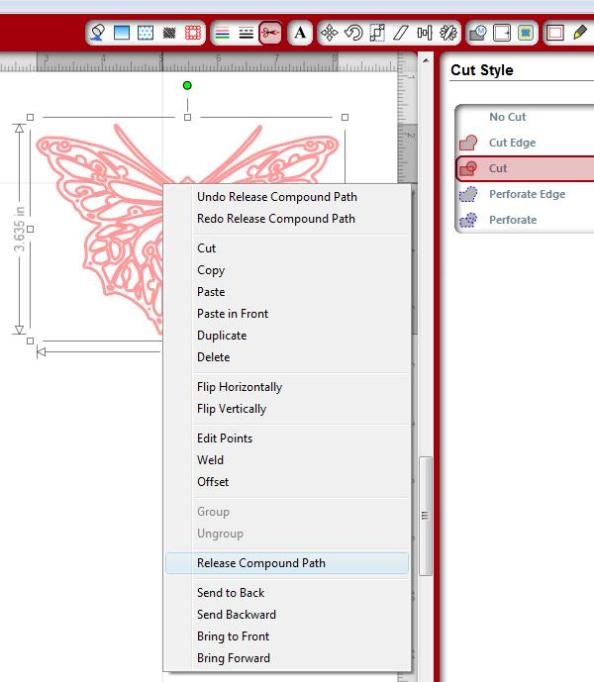
Sometimes when you’re working with files like this there are things you might want to delete. Once I was using a file that had tons of tiny dots in it besides the main image. I didn’t want to cut out all those dots so I deleted them. There are a few dots in this image that I think should removed so the finished product looks cleaner. To do that, select the image and click “Release Compound Path”.
Now you can delete the individual things that you aren’t crazy about. Like that pesky dot on the side there. LOL!
Once you get it like you like it, you’re ready to cut! Send this beauty to your Silhouette and you’ve got a butterfly! **You should cut this slowly due to it’s intricate pieces. Want to try a different image? Use this free strawberry image from my previous post!
Happy Crafting!


Thanks fot the butterfly and the tutorial.
Grietje
You’re welcome, Grietje! Happy Crafting!
~Joy~
Your tutorial is awesome! Thanks for the butterfly. I am just learning to use my Cameo and this was so helpful!
Thank you, Diann! Congratulations on your new machine! I hope you enjoy it!
~Joy~
Thank you for this butterfly, I purchased my cameo and left it in the box for 3 weeks because I HAD all these ideas, before i bought it then I got the machine and felt lost…. This is the first this I am about to cut! Thanks!
Congratulations on your new machine, Jamie! Happy Crafting!
This is lovely and just what I was looking for. Thanks so much!
Stunning butterfly shape. Thank you so much for sharing it with us!! 🙂
You’re welcome, Mel! 🙂
Beautiful butterfly image… thank you 🙂
You’re welcome, Paula! Happy crafting! 🙂
Hello
I’ve been looking at some videos of the silhouette software and would like to know
if you can save the drawing in a file that can be cut on a laser.
Thanks in advance for your time
Tim