Well, if being sick actually meant you got a day off from Mom duties…it would probably also mean I got an actual paycheck. Unfortunately, neither of those things are happening today. I feel terrible, I look even worse, and I’m pretty sure this cold is trying to level up into something more dramatic. But don’t run off just yet. I promise you’re safe over there. Around here, we’ve gone through enough disinfectant to qualify as a science experiment.
You might enjoy these other SpongeBob crafts and info!
- Spongebob Crabby Patty Valentine Treat Bag
- SpongeBob Cricut Card & Quick Candy Bag
- 1st Card Using Spongebob Cricut Cartridge
- Cricut SpongeBob Cartridge Contents
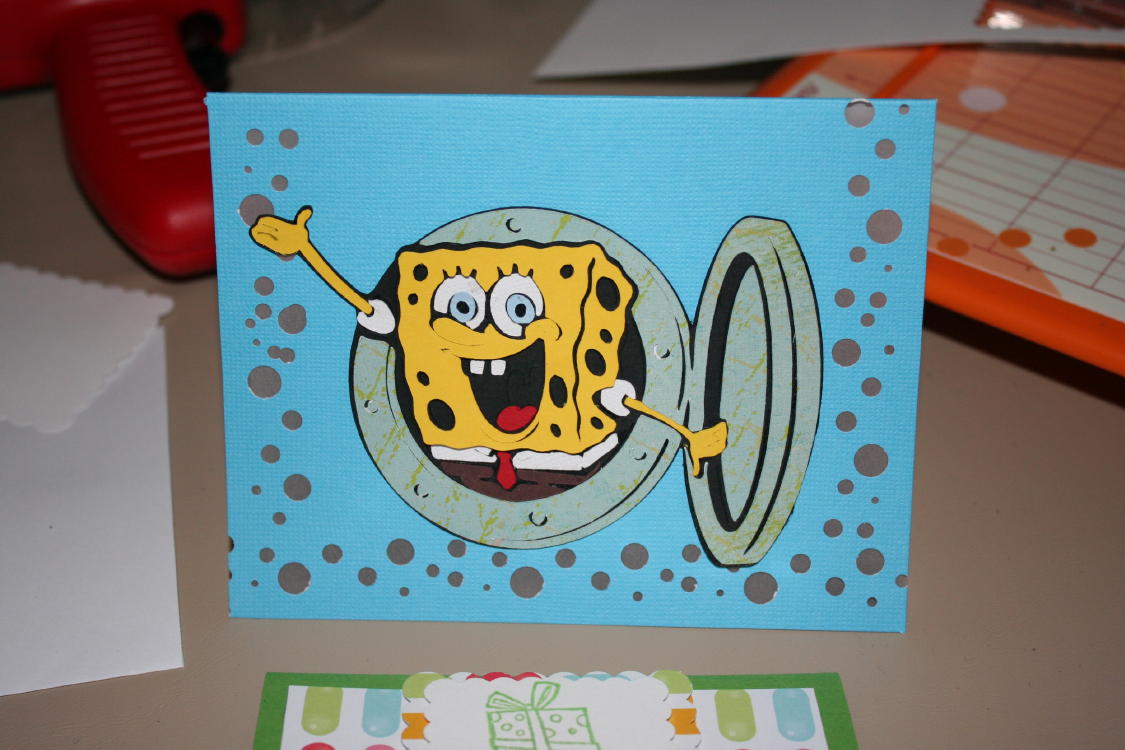
Anyway, DS#2 had a birthday party to go to today, and I put everything off until the last minute because I felt so awful. Even so, I couldn’t bring myself to skip making a cute card for his friend. I decided to give “The Sponge” another try.
This one still looks a little unfinished since I didn’t have it in me to do much more, but I do think I’m getting better at making Bob. And get this… THIS time I actually read the front of the Cricut booklet. Turns out, there’s some helpful info in there about layering. Who knew?!
Apparently, you’re supposed to do the main cut in black first… and then do the rest. Ohhhhhh. That explains a lot.
Now I’m wondering what else I might learn if I started reading directions. Hmmm… nah.
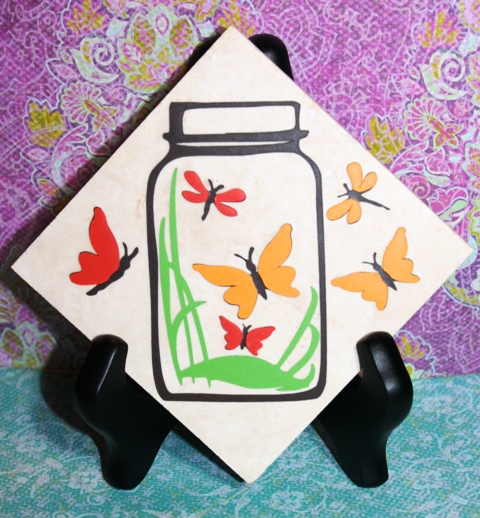
Here’s the last Spongebob Card I made. I’m still having trouble figuring out how to make his mouth look normal. I left some of those cuts out. Oh, I used the Spongebob Cricut cartridge for this AND the punch I used is EK Swiss Cheese. Then I put vellum on the back of the bubbles so they’d be…more bubble like. I heart vellum. I just rarely use it.

Not to leave out my newest love…Stampin’ Up Cello bags filled with candy and topped with cardstock. LOVE THAT. Here’s the one I made today. Yes, I washed my hands first!! I’m not THAT nasty. Just a little nasty. Kiddding. That candy never touched my hands…went from one bag to the other …PROMISE!!
What’s cool about this is that you don’t need a Cricut to make it.
Here’s how you make it:
- Get a bag and fill it with candy
- Fold cardstock in half and staple
- Cover stapled areas with paper and glue/tape down
- Punch out a shape for some pizazz
- Stamp shape with sentiment or picture
Now, for these I did use the Stampin’ Up Cello bags in medium and filled them with sour Skittles. I used my new Tim Holtz Tiny Attacher to staple it closed, but I’ve used a regular stapler every time previously. I just got that Tiny Attacher and just HAD to use it for something.
See how the Tiny Attacher compares to a Regular Stapler in this post!
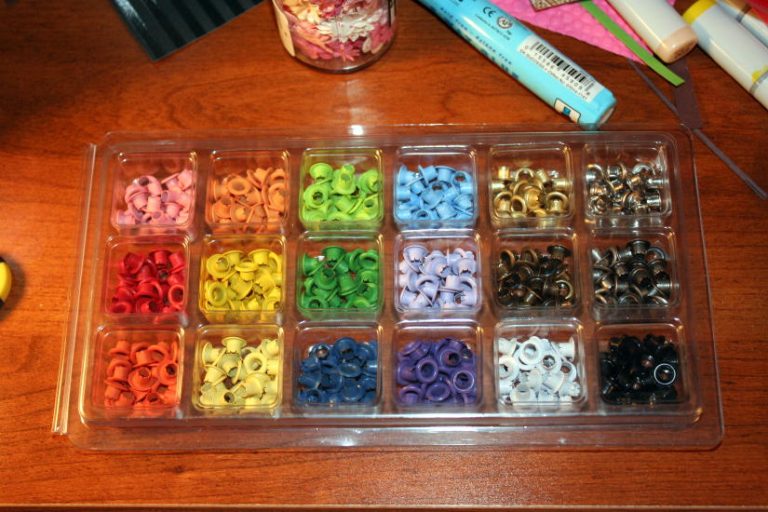
I punched the shapes out with those Marvy scalloped squares you see in the background and popped things a bit with Stampin’ Up dimensionals (pop dots). I used Stampin’ Up classic green galore stamp pad for the image and sentiment. The little present came from Stampin’ Up Sock Monkey and the sentiment came from SU Fundamental Phrases.
Done and Done.
It’s not my best bag…but hey…it was not bad for day four of being a human petri dish.
I’m off to keep Puffs Plus and Tylenol Severe Cold in business and chill out watching Stranger with my Face on Lifetime with DD.
Happy…cough, cough, cough…sniff…excuse me…Crafting!


Hey Joy do you have a Big Lots near where you live? Yesterday I was in there and they had some cute Spongebob candy out with the Halloween stuff. They had lollipop rings, marshmallow suckers and crabby patty gummies. Anyway they would be cute with your cards! oh and they also have some new Martha Stewart crafts for $2…I bought tons…figured the glitter alone was worth it in some of the packages!
Wha??!! I’ve got to get well fast!! I do have a Big Lots near me and I’m so going there after your fantastic heads up. Thank you!! I think you made a GREAT CHOICE on that Martha Stewarat stuff. Totally worth that for the glitter alone. You’re brilliant!! (Willing my body to kick this sickness fast! – Crafting Goddess Heal Me!! LOL)