
Using vinyl in home decor projects makes them fun and easy! You can use vinyl as a mask and paint over it and then remove it, which gives a cool look. You can also paint and add vinyl over the paint. That’s what I’ve done here.
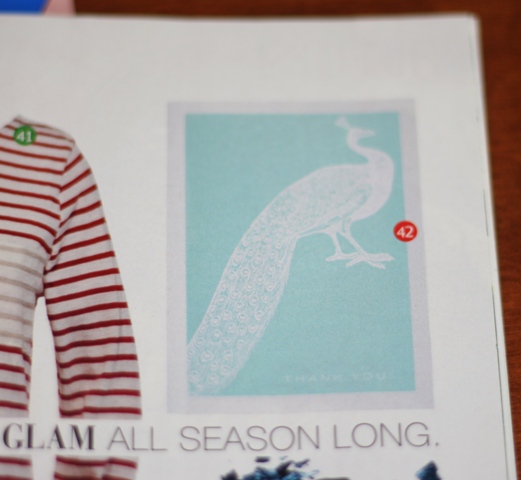
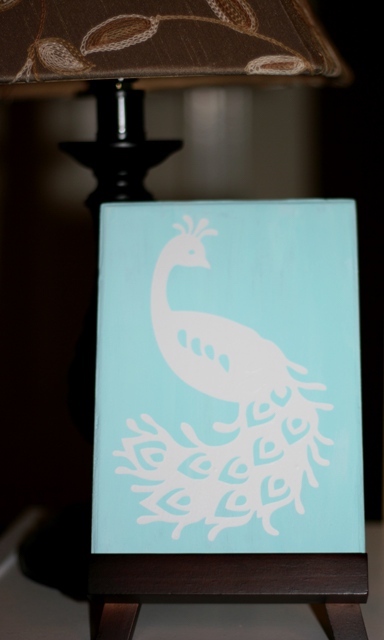
I was flipping through Redbook magazine a few months ago when I came across this page. See the peacock in the top right hand corner? Well, when I saw it I thought 2 things: I can make that AND YAY! I can use the peacock from French Manor again! I first used it in this video for my friends at Cri-Kits for CHA 2010. Wow, I can’t believe it was that long ago!
I first painted the board a darker blue than I needed. That’s why it’s that color in the photo above.
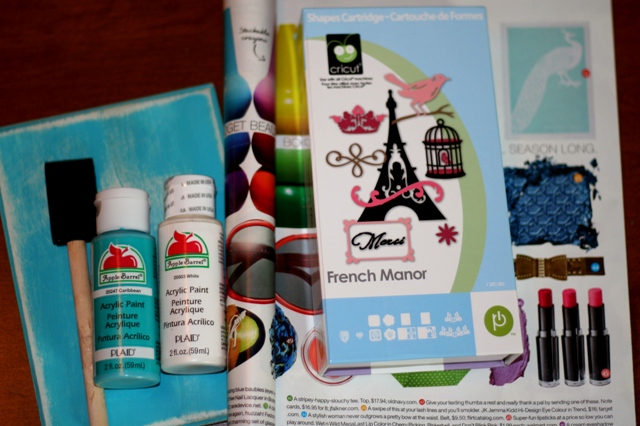
If you’re not familiar with the French Manor cartridge, it was the first Cricut Circle exclusive cartridge. You can still find French Manor at Amazon. (UPDATE: Cricut Circle and Cricut Rewards were discontinued in 2018.)
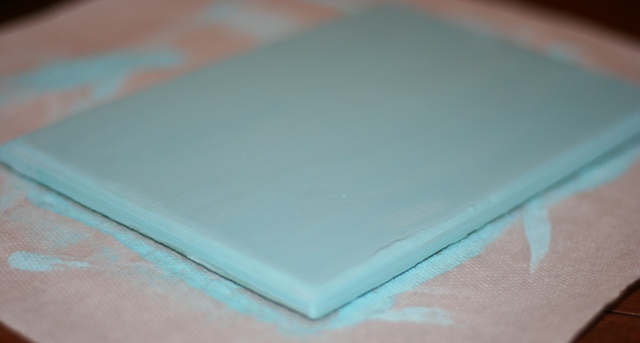
The first thing you need to do is paint your wooden board.
I bought the paint and wooden board from WalMart. They cost me under $4 total. YAY! I buy inexpensive foam brushes for these kinds of projects.
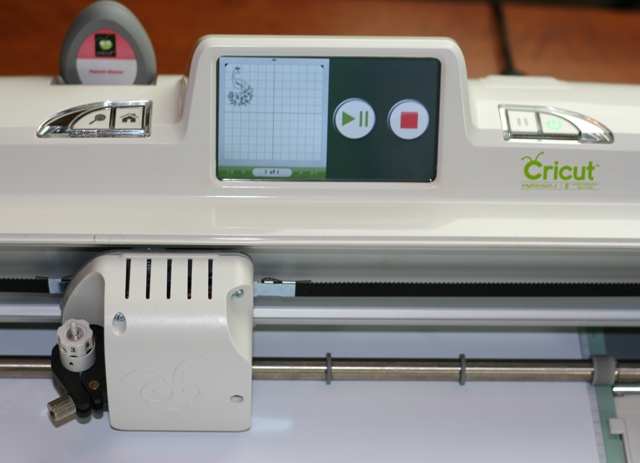
After painting your wooden board, cut out the vinyl peacock (or whatever image you like). I cut this at 6-1/2″. I’m using white vinyl for this project.
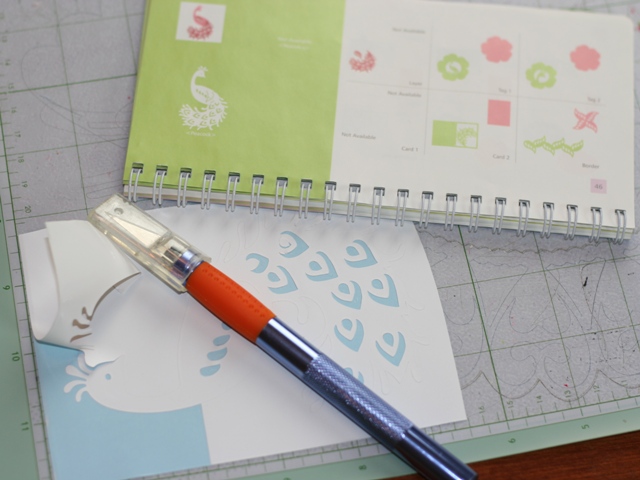
I use a Fiskars craft knife to help me weed the vinyl. “Weeding” is the process of taking away the vinyl you don’t want to use from the vinyl you do want to use.
Working with vinyl is easy. If you have any questions about working with vinyl and your Cricut, I’ve got answers for you. Check out my 2-disc, 3+ hour Cricut Vinylology DVD. You can view a short commercial about it on my Product’s Page.

Lastly, use transfer tape to cover your image and lift if from the backing. Now you can apply it to the board. In Cricut Vinylology, I show you how to get rid of bubbles in your vinyl projects. Sometimes you can’t get rid of a bump or two. That would be accurate in this case. The reason? The board itself has bumps in it from the paint. Darn. Well, I never claimed to be a painter. LOL!
Here’s another project where I used paint, vinyl and one of these boards to do a Horchow magazine knockoff. Check it out!


Well that turned out lovely! I never liked that cartridge but it’s starting to grow on me a little seeing all the fun projects everyone has made with it…. I gave mine away to a friend…. 🙂
Theresa
I LOVE this!! I have the vinyl, paint and brushes…now what? LOLOL so many awesome ideas. Thanks so much for the tutorial!!
this is so cute! I haven’t tried vinyl yet…..and I haven’t used this cart yet! I love peacocks, so I may have to give this a try.
thanks for sharing it