How to Make Cricut Mums Floral Candy Sticks – Glue Dots Design Team Post


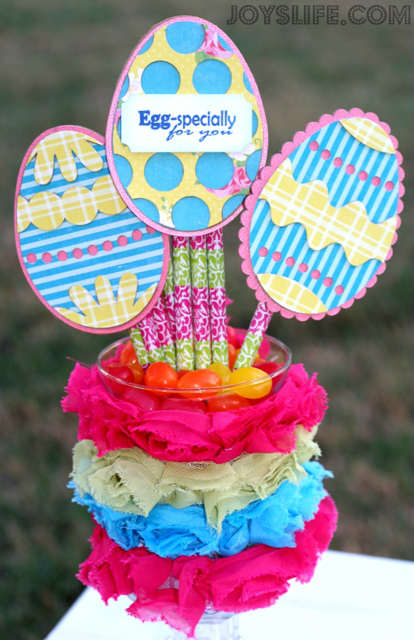
What could be more fun than a sweet candy treat that can be given as a bouquet of flowers? They’re fun to make, receive and eat! Read below to find out how I made them.

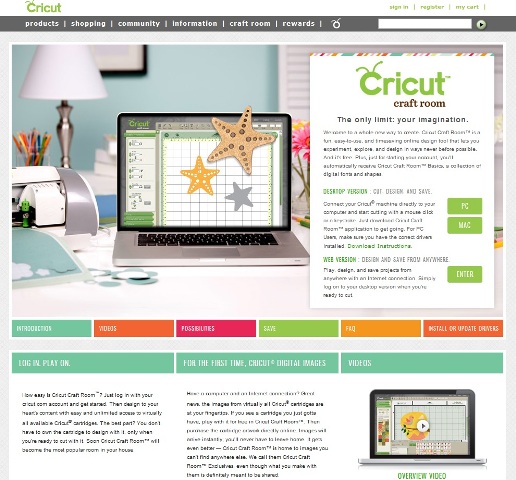
Using my Cricut Expression 2 and the Cricut Flower Shoppe Cartridge I cut out all of the flower pieces. These were cut at 2 1/2″. If you’d like to know how to make your CE2 multiple cuts fit onto whatever size paper you have, click here for a post on how to make that happen.
You can also make flowers without a Cricut. For the centers, you simply cut out a spiral and roll it up. Next, hand cut the petals in your desired shape.

Here’s the flower I’m creating from the Cricut Flower Shoppe Cartridge. This booklet tries to be helpful but frankly I think a few short lines of instruction would go a long way! Luckily, if you match the colors to the created flower on the left you can tell where everything goes.
The oddest part? They made everything simple (1 cut) until you get to the singular petals <Mum3>. With those, you cut them out individually and apply them one at a time. What a pain! If I was making one flower I’d jump right on it. Since I needed a bunch, I decided to cut out <Mum4> twice but in two different colors. So it’s not the perfect flower, but in bulk it’s much easier. 😉
I used the Cricut Expression 2’s Return Button to make the flowers fit on the paper I was using. Here’s a post showing how I did that.

I used the Glue Dots Pop Up 3/16″ to attach the center of the flowers (the green part). I love using the Glue Dot® Pop Up dots because they are really strong and they add dimension to whatever you’re gluing. The Glue Dots Mini 3/16 were a great choice to help me quickly assemble the rest of the flower layers.

Rolling the center of the flower is pretty easy. Start with the center and roll toward the end.

Besides my Cricut Expression 2, Flower Shoppe cartridge and Glue Dots® I used a few sheets each of yellow, orange, white and green cardstock. I love to use this inexpensive, but heavy weight Wausau white cardstock. I used 1×8 lip & tape bags which I filled with candy corn. Other supplies include lime green Stickles and Cat’s Eye Chestnut Roan fluid chalk ink as well as a green chalk ink. I used the ink to darken the paper a bit for more of a Fall look.
Want to know more about Stickles or the different kinds of Stickles? Check out these posts: What’s a Stickle? and Stickles Compared.
")
I used Glue Dots® to stick the flowers to the bags and then I was all done!
I hope you enjoyed this yummy idea! 🙂
I wrote this blog post while participating on the Glue Dots® design team.
Cute Idea!!!!!!!!!
These look YUMMY and Pretty at the same time! LOVE the flowers from that cartridge… I should use it a lot more!
Theresa
Love your yummy flowers. Thanks for the tutorial…..I love this kind of helpful post.
It turned so pretty!!! 🙂
I meant, It turned out so pretty!! :):)