Newest Post
Want a super warm and very easy quilt? Don’t miss this post about longarm quilting with fleece fabric using batting! I talk about the how’s and why’s of quilting fleece including binding and tips for gift giving.
Hey Y’all, I’m Joy!
I’m a Southern mom, quilter/creator enjoying life with my husband, our family and dogs. I’m happy you’re here!
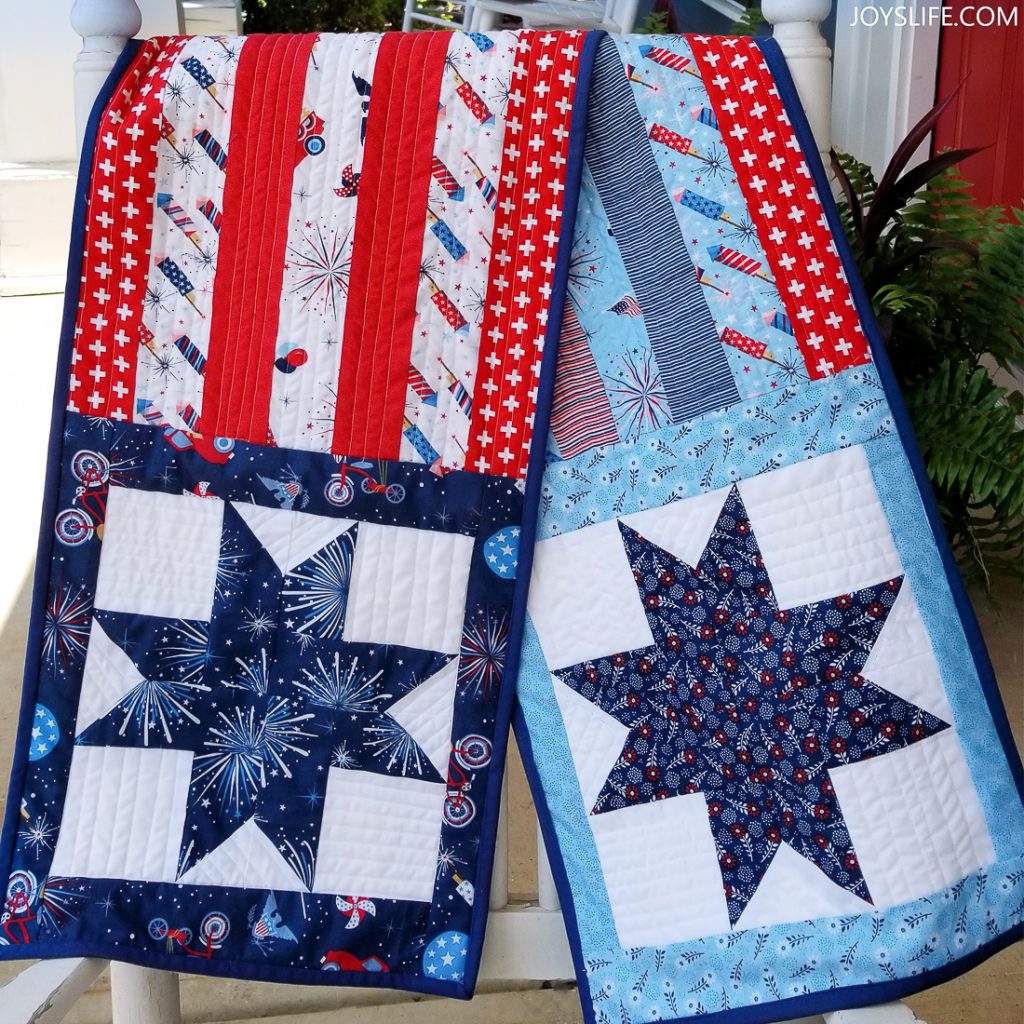
Quilting & Sewing
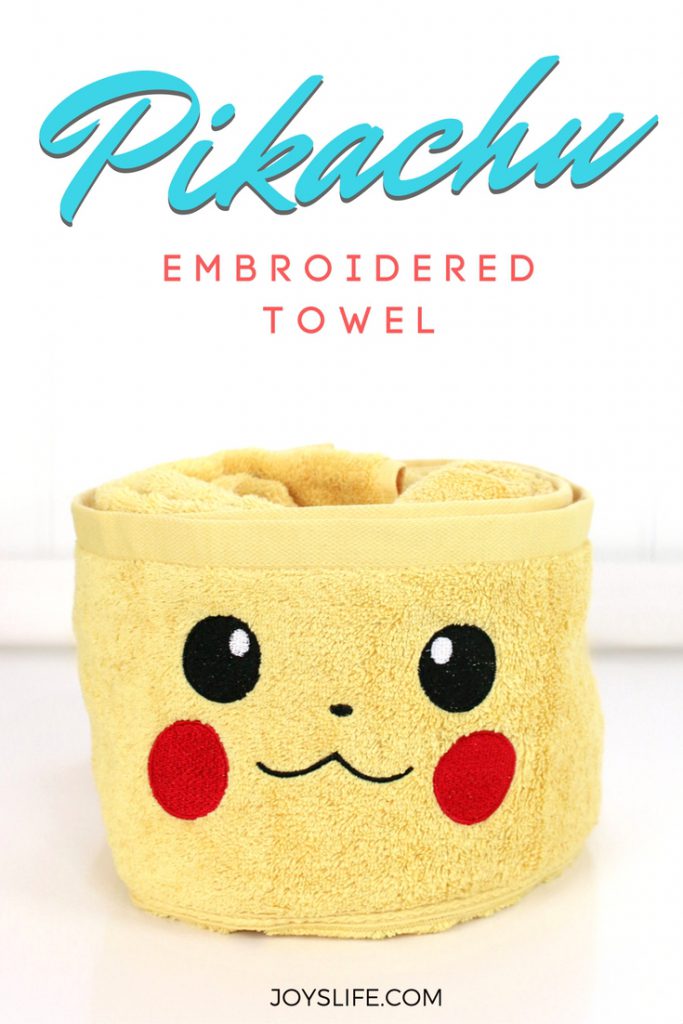
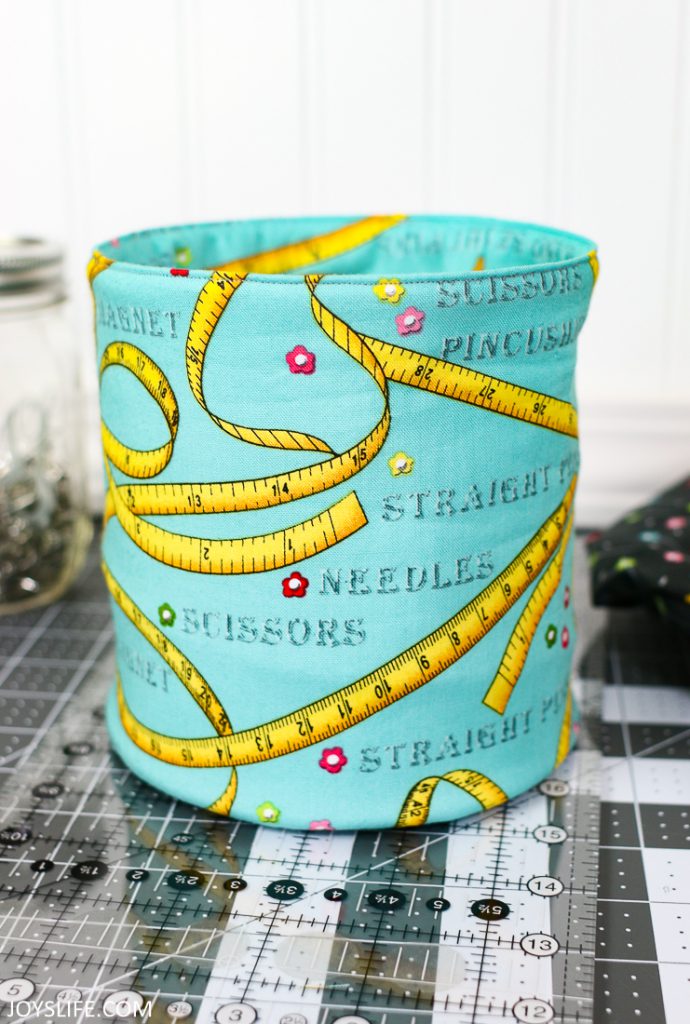
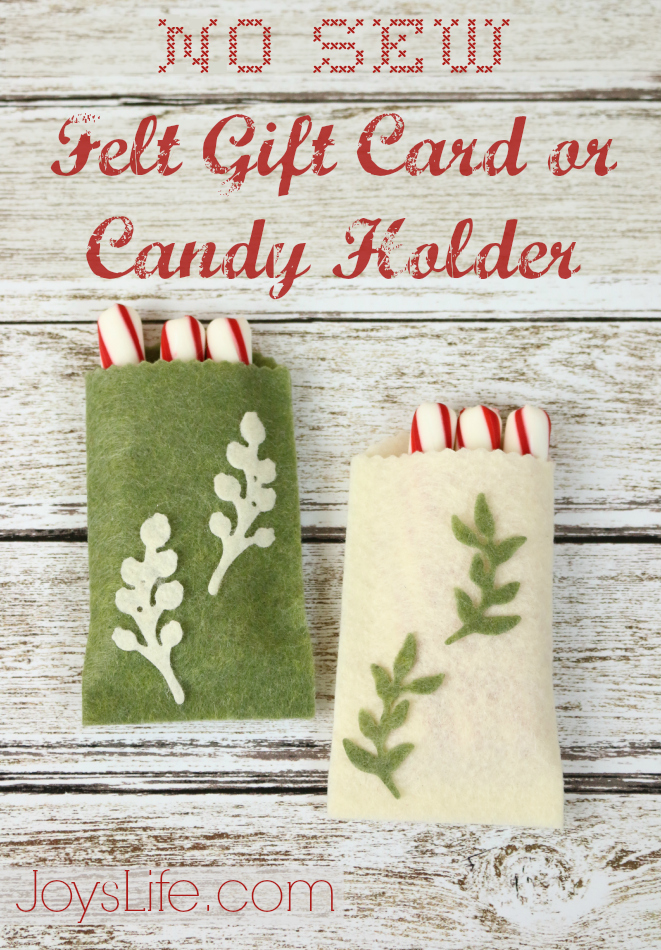
Quilting and sewing are crafts to be shared. They can warm your heart, soul and body in the giving, making and receiving. What could be better? Here are some tutorials, tips and ideas that I hope will inspire, help and bring you joy.
Joy’s Studio News
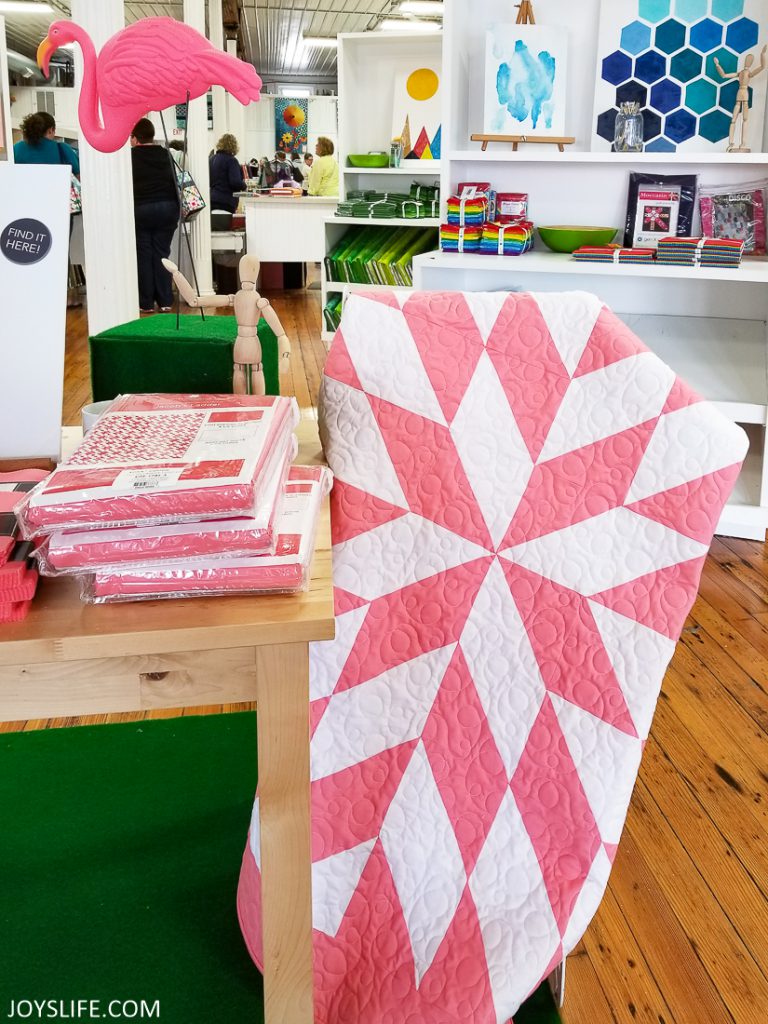
I’m excited to share that soon my longarm quilting page will be up and running for quilters to mail their quilts to me! YAY! I quilt using a Bernina Q24 Longarm with Qmatic on the 13′ Large Pro Frame and have been quilting for local clients. I am thrilled to be able to soon offer longarm services to people who don’t have a longarm quilter near them. Woo hoo!
If you are new to Longarm quilting, this is the Bernina Q24 Longarm. If you’re new to Joy’s Life, this is me!
We spent the last year building our new home in the country and a studio for the Longarm. I’m so happy that it has all come together!
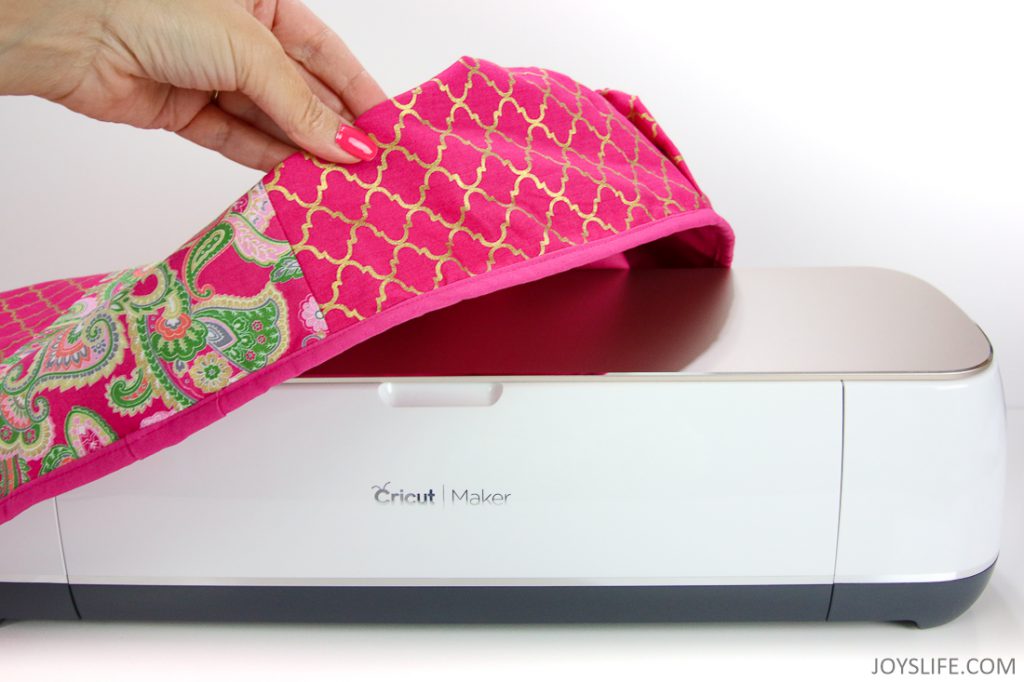
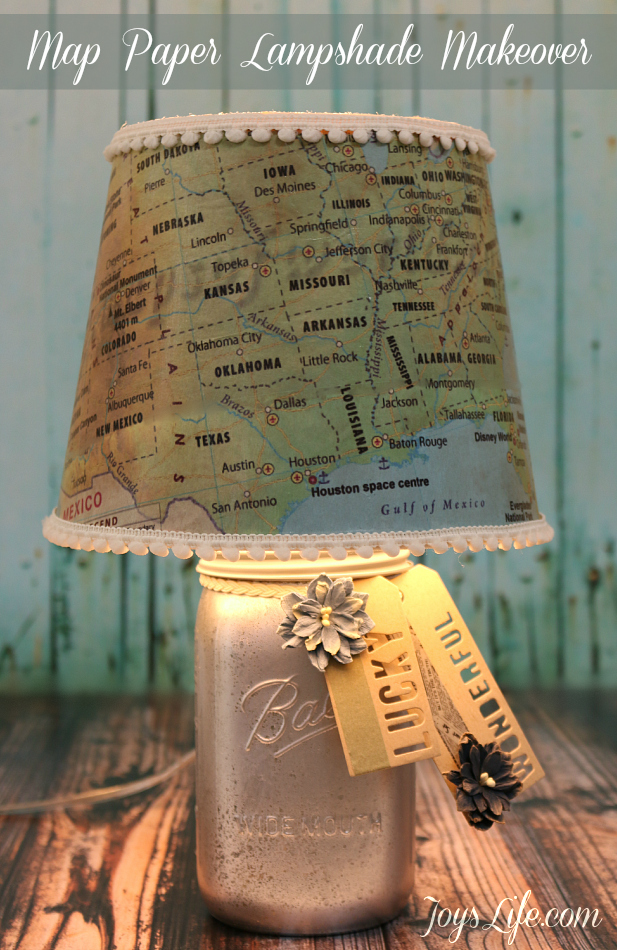
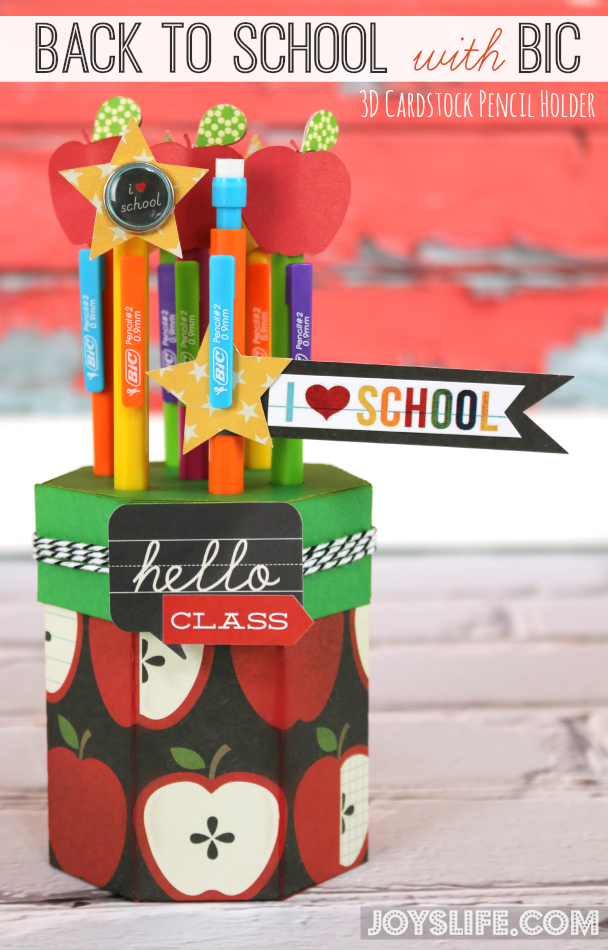
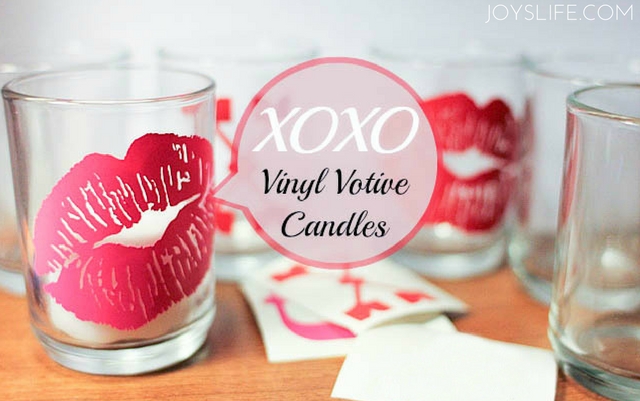
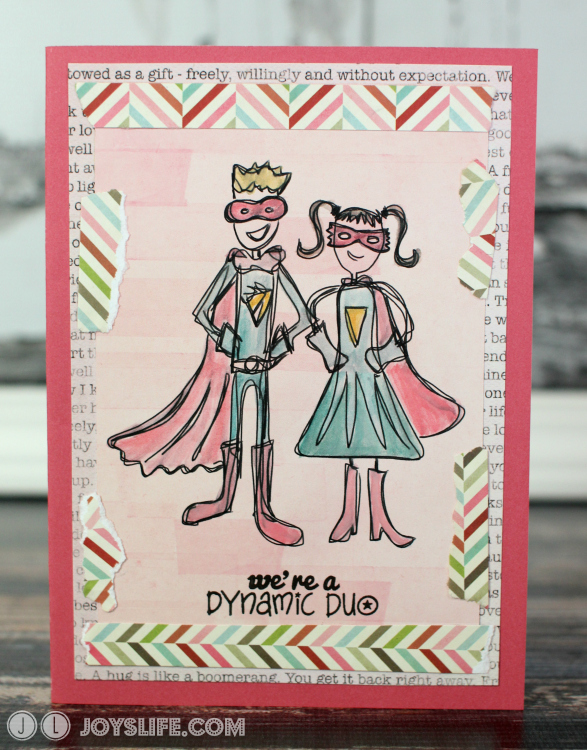
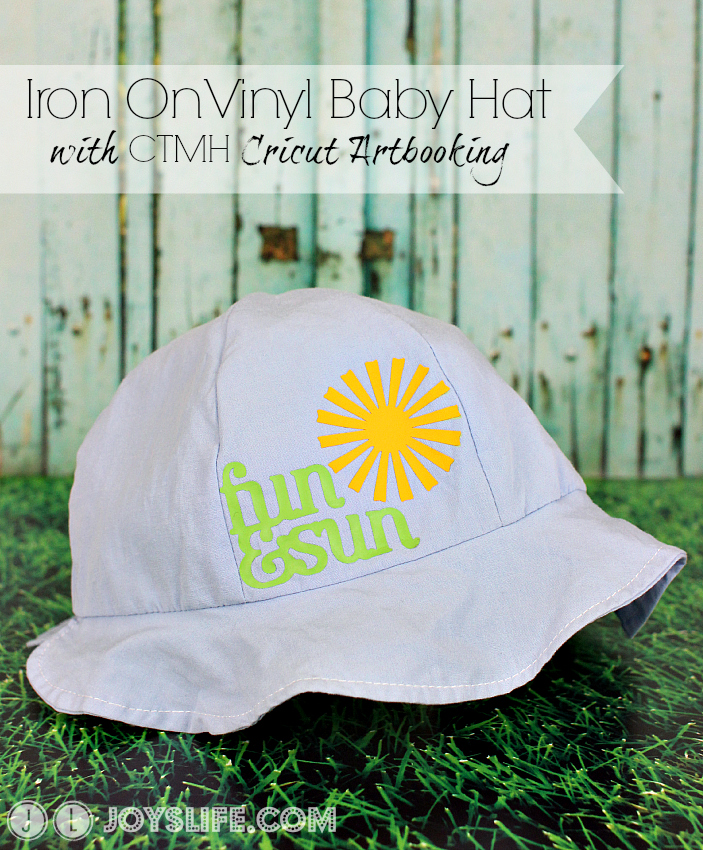
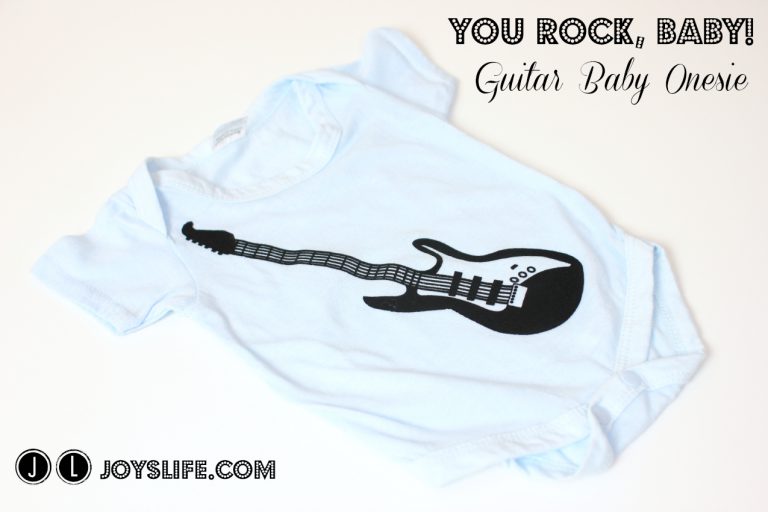
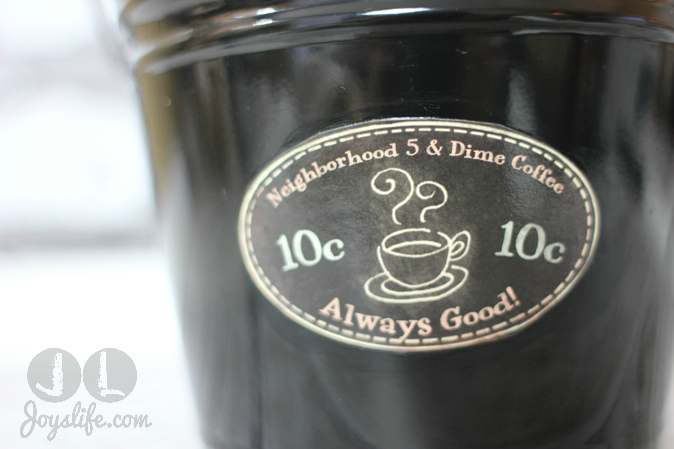
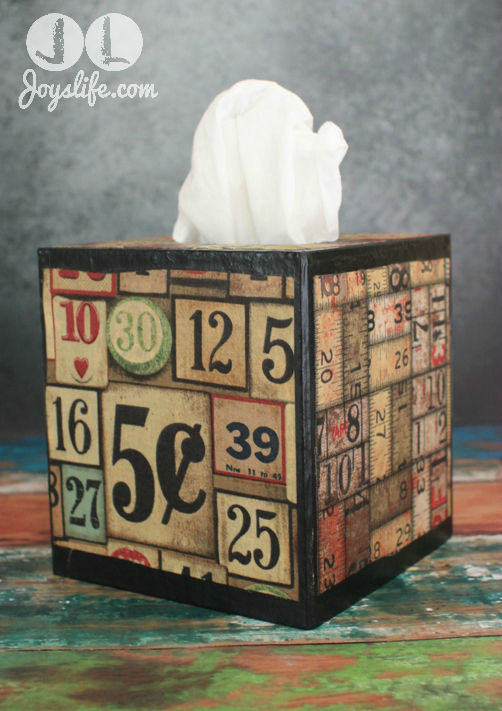
DIY Craft Ideas and Tutorials
If you love paper, paint, vinyl, die cut machines, laser cutters, svgs, crafts in general – you’ve found it.
Crafty Supplies
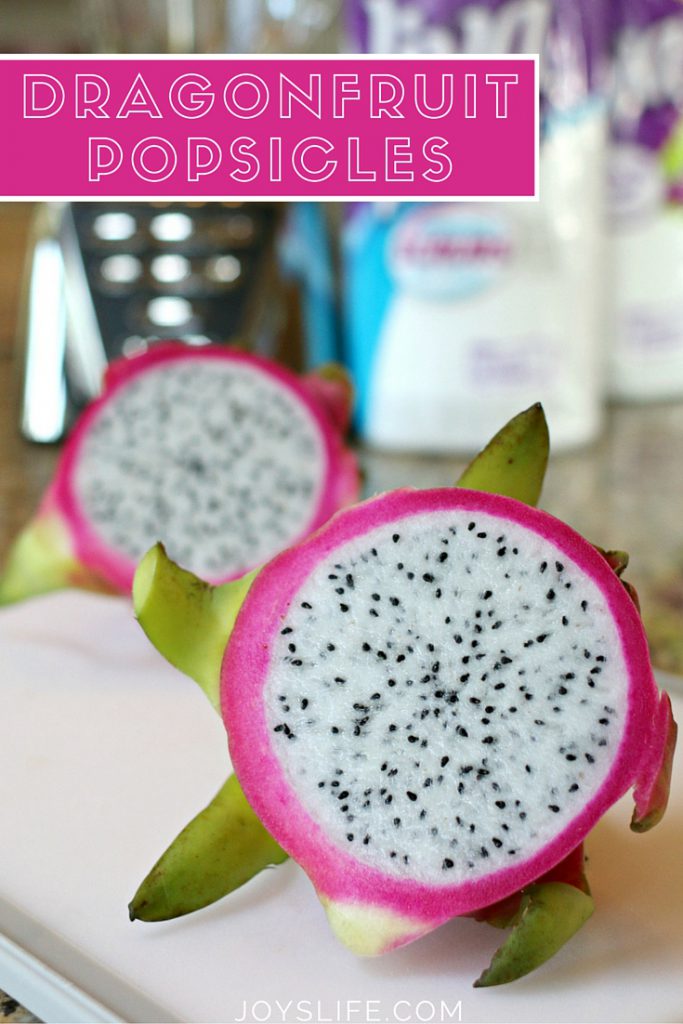
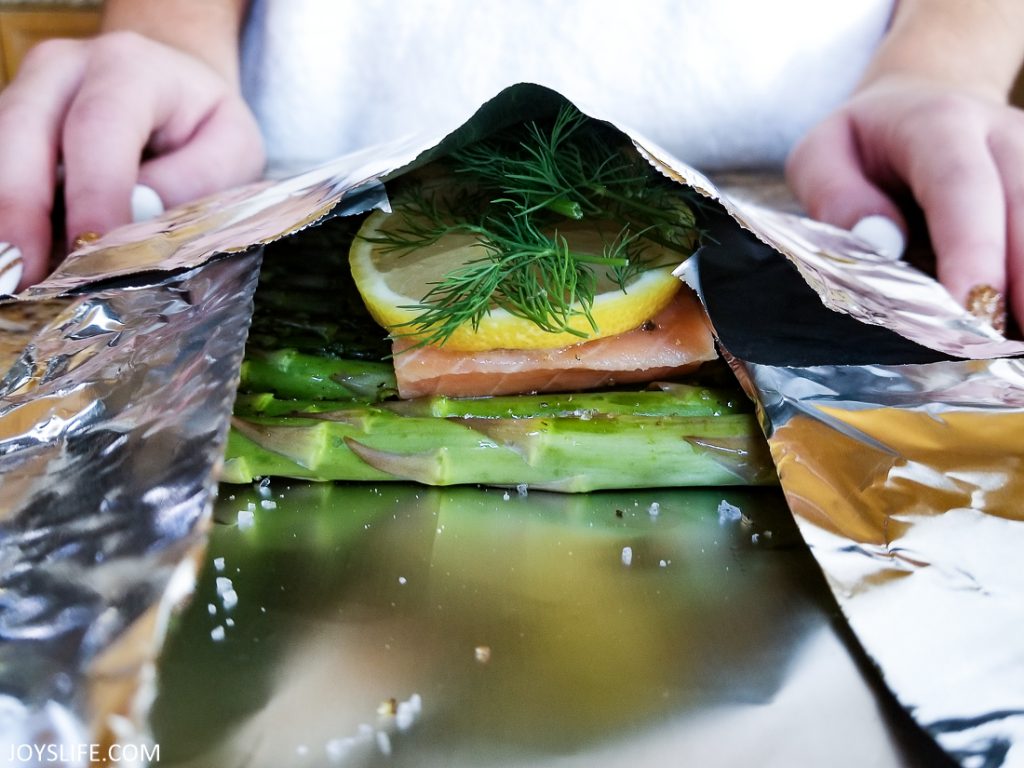
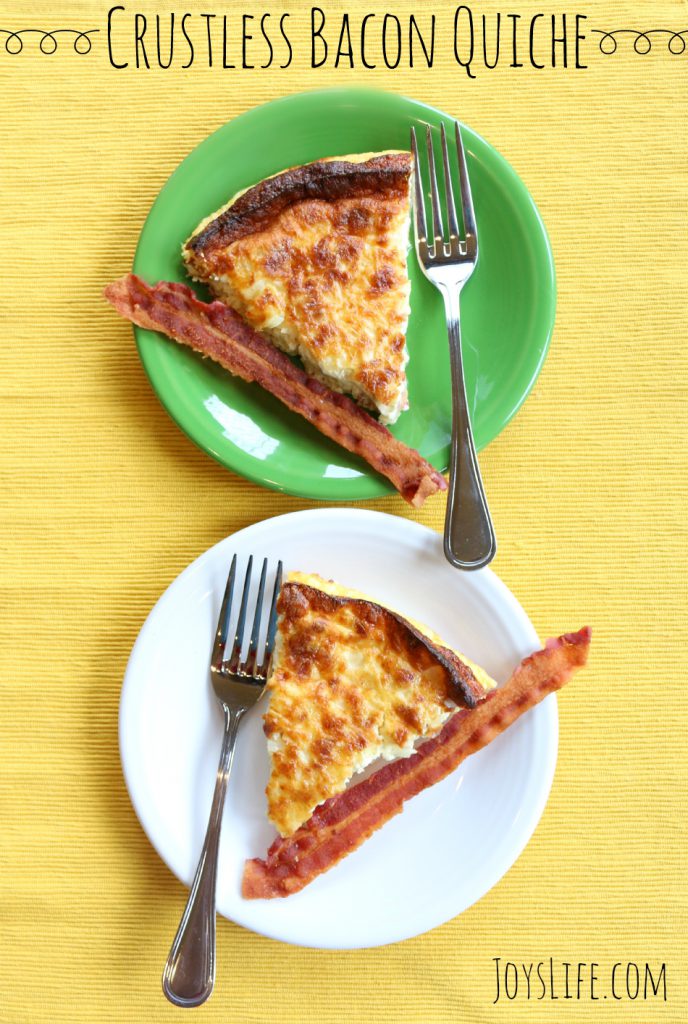
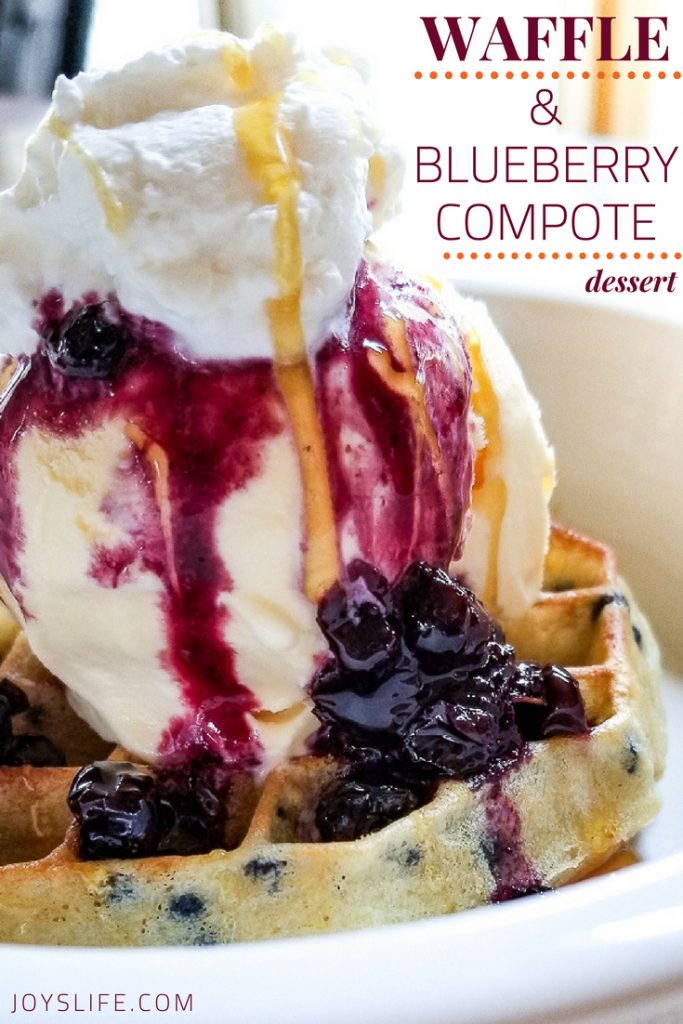
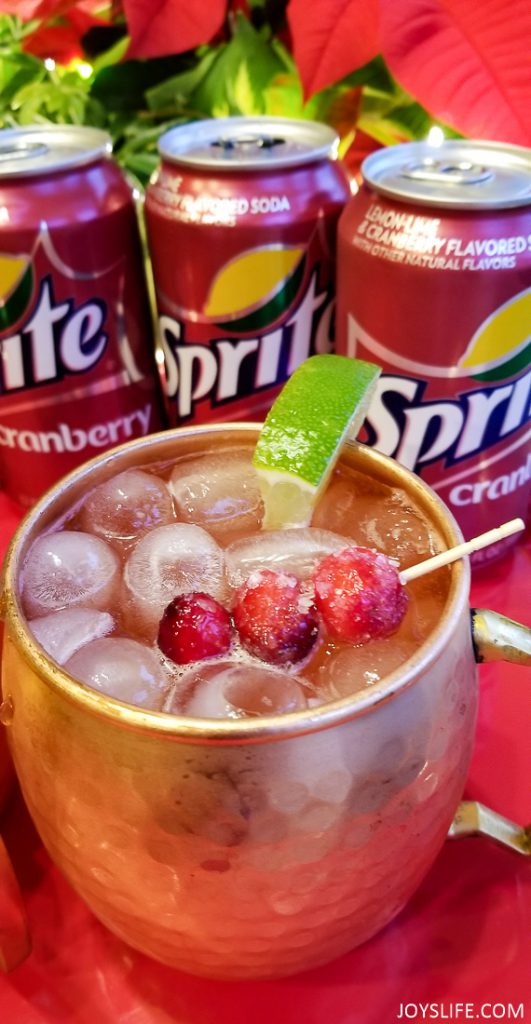
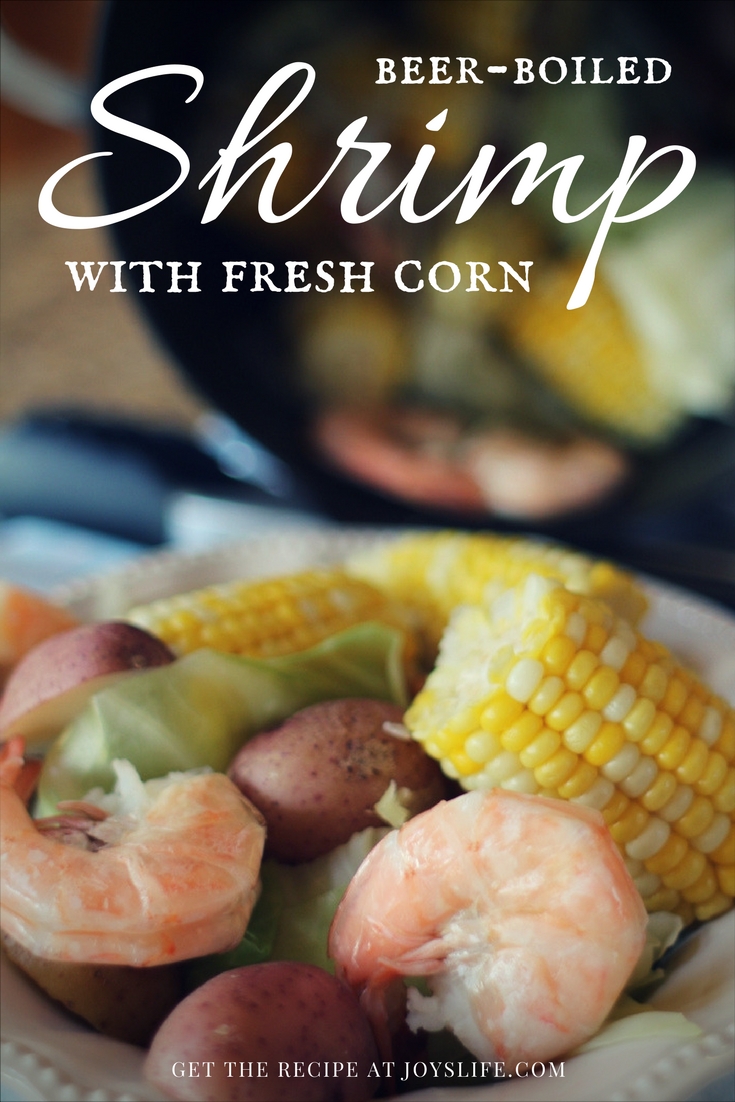
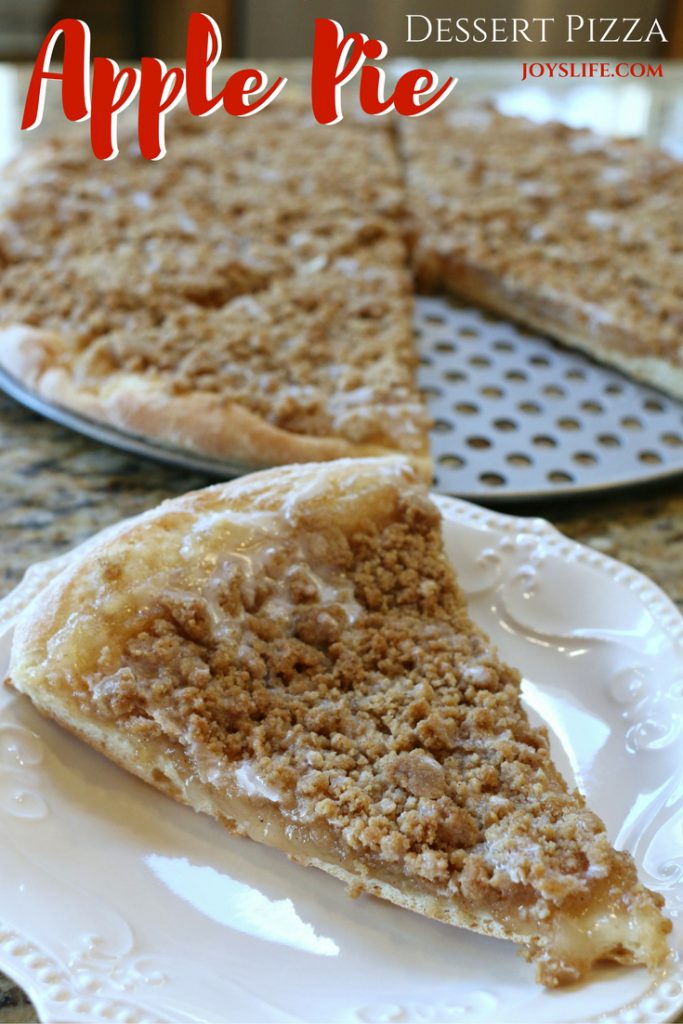
Food & Recipes
Desserts, Drinks, Main Dishes and more to satisfy your desire to eat something yummy or drink something drinky.


This weeks picks

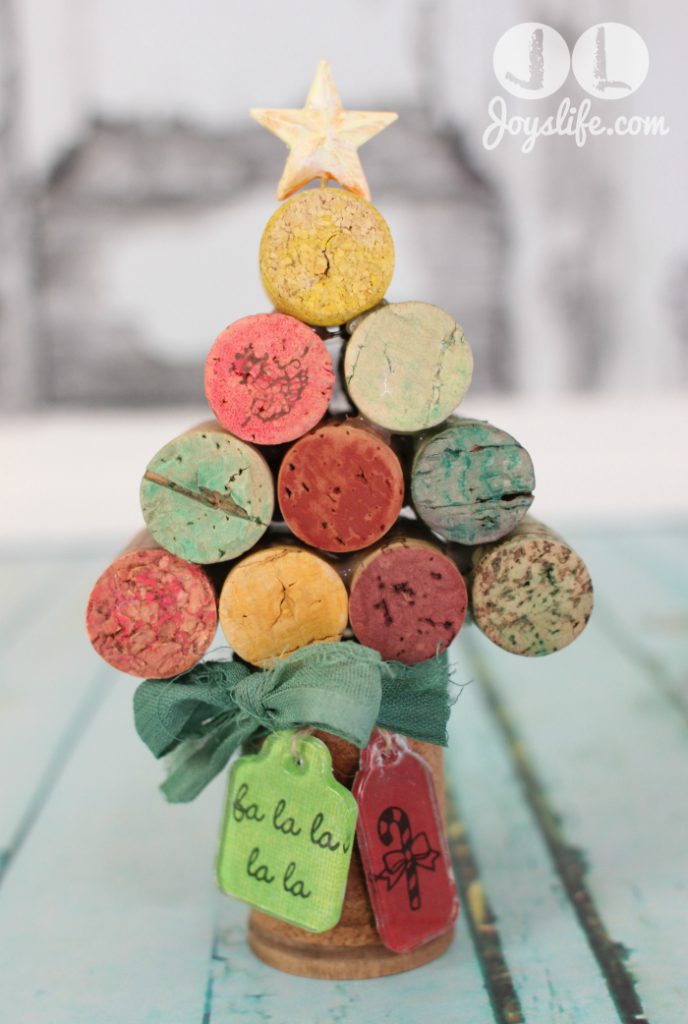
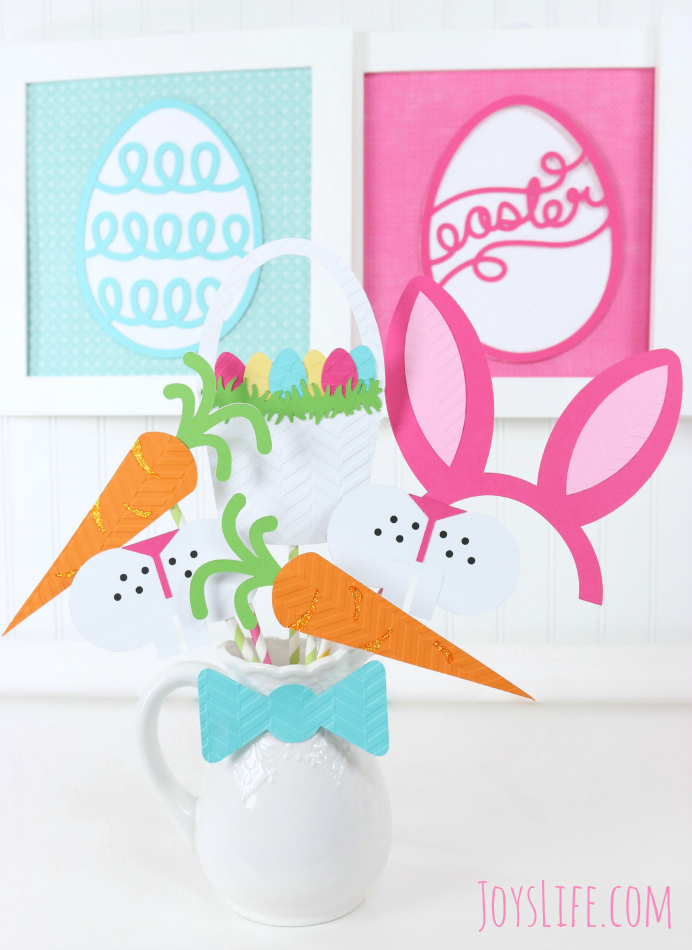
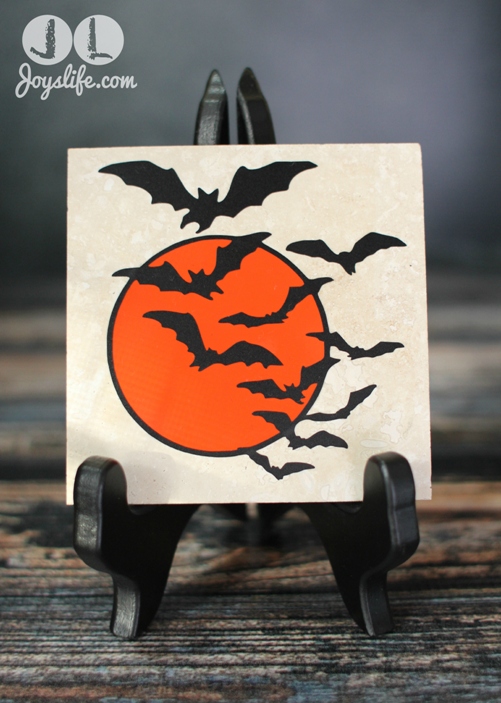
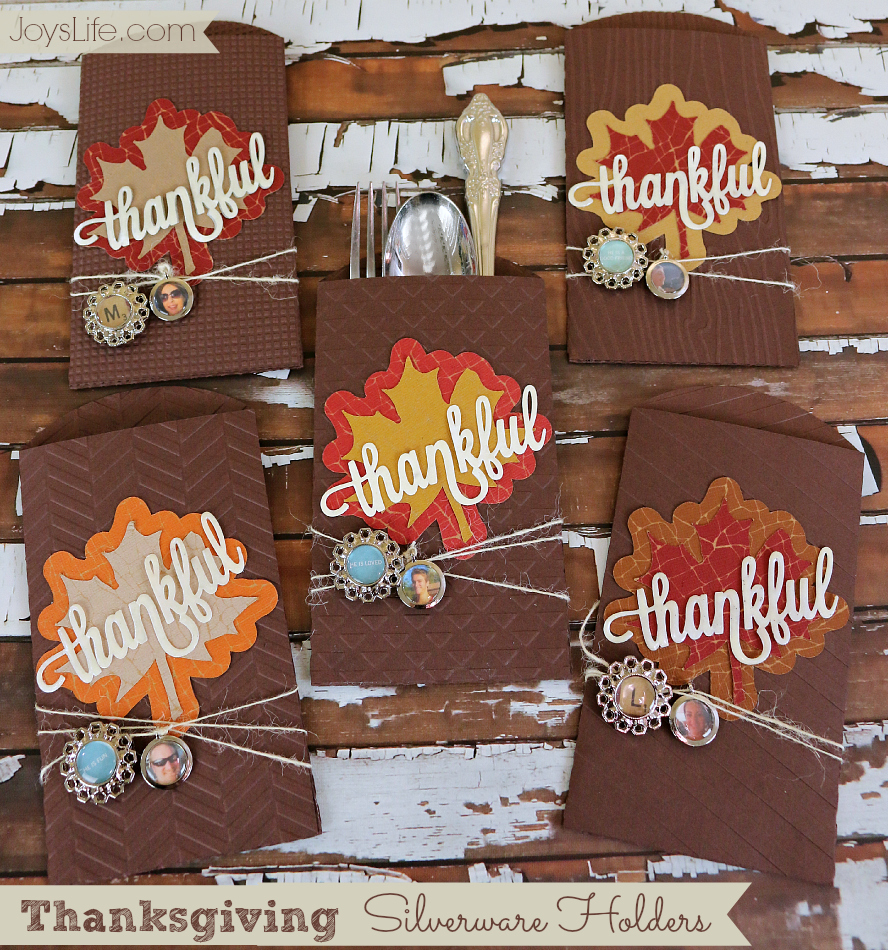
Celebrate the Holidays
Let’s party! These holiday categories help contain specific occasions, but let nothing contain your creative passion and joy!