Vinyl Tank & Yin Yang T-Shirts with Cricut

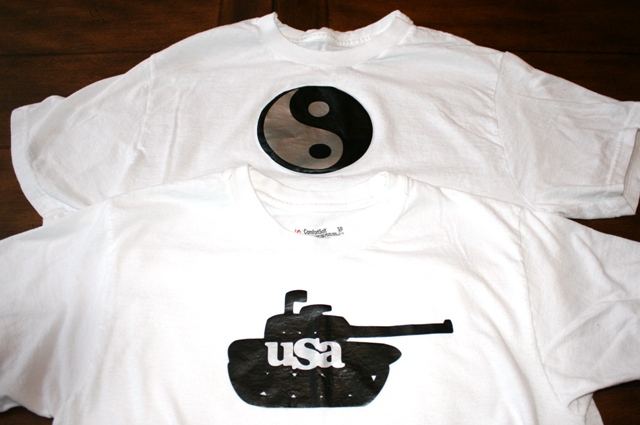
Quick and Easy Shirt Making with Iron On Vinyl – These shirts have already been worn, washed and dried. The vinyl did well!
I made these shirts using HTV (Heat Transfer vinyl) / iron on vinyl and then cutting it out with my Cricut. I used Siser Easy Weed vinyl. You can read more about that here. The tank shirt was designed and requested by my youngest Superboy. I used the Stand and Salute cartridge for the tank and the USA. That’s a reflective silver, which is kind of cool. With both shirts, I was able to just iron down the first image, peel off the covering then iron down the next image and peel off the covering. It worked out great. Those directions are specific to the kind of vinyl I was using.
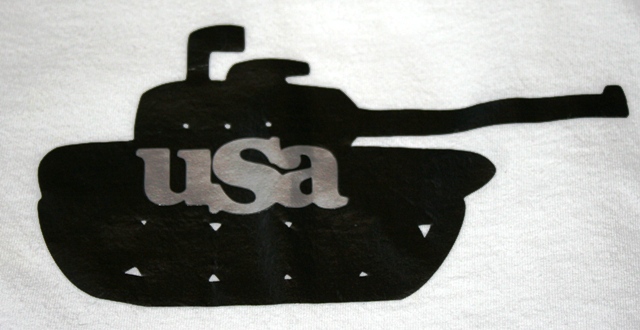
This tank is straight…but the shirt is wrinkled, LOL!
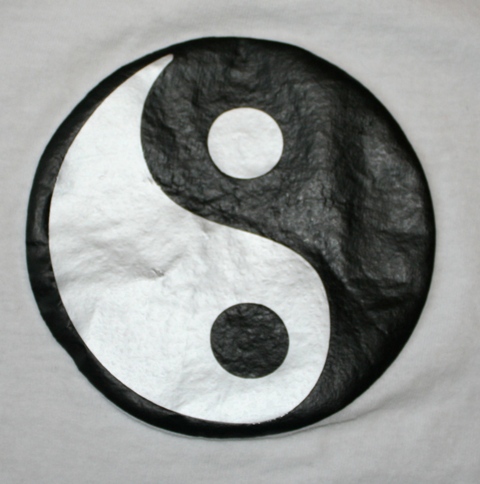
Yin Yang comes from the Cricut Pagoda Cartridge – My oldest son loves this shirt.
Ok, my Yin Yang. It’s looking a little tired now, but this (and the tank above) are after many washes. Yes, you can just throw these things into the washing machine. How’s that for easy? Very nice! Here, you see that the bottom of the circle is folded under a bit. That isn’t just because I didn’t want to iron. It is also due to the shape and the weight. Here I laid down the black vinyl first, ironed it on and then laid down the silver. I believe the weight from all the vinyl and the circular shape work against the ability of this design to lay totally flat after a few washes…at least without some help from an iron. Now, that’s just a bit of free info for you. As one of my professors used to say, “You wouldn’t get that at Harvard or Yale!”
You can learn all about using iron-on and other kinds of vinyl with your Cricut in my Cricut Vinylology DVD. You can find it, along with a short commerical, on my Products page.
OFF TO MAKE A SHIRT FOR SUPER NEPHEW #1!



SUPER COOL FROM SUPER JOY!!!! MAY TRY THIS…VERY COOL!!
love it i want to try…where do you get the vinyl???
Hey Flowerskissing,
Try H&H Sign Supply . I’ve also bought from vendors on eBay, but was more pleased with H&H. 😉
Joy
Love your shirts – thanks for the information. I will have to try this!!! I am loving your blog! So fun and informative.
Thank you ShawnfromMn!! 😀
~Joy~
this is a really nice project! i reflect on the way i used to iron my name on my tees and how hightech it is now! times have surely changed.
Help! I went to the link you provided, but I don’t see where it says this is iron-able vinyl. Which specific type of vinyl did you do this with? Thanks for all your help and sharing your talents!
Hey Cindy!
Look for the Siser EasyWeed at H&H. That’s what I used. I think they call it a “heat transfer” material. 😉
I hope that helps! 😀
~Joy~
Thank you, Joy! You’re the best! 🙂
You’re so welcome and Thank you! 😉
~Joy~
I can’t wait to try this out, I ordered the vinyl and it is on the way!!!
Hey Joy – I just ordered some vinyl too and can’t wait to try it. I’d like to do a few shirts for hubby who is a Green Bay Packer fan. I found an SVG of the logo but I’m not sure where to go from there. I know to import it in my SCAL but ….. any words of advice?
Hey Tangeemct,
I don’t use SCAL, so I don’t have any tips on that. One tip I have for you is when you’re weeding the image try and remember to take away what you DON’T want. Sometimes it’s hard to keep in mind what is staying and what is going. Take your time and I bet you’ll do fine! 😀
~Joy~
I went to that site and I can’t find the vinyl. Am I doing something wrong? I searched for the exact name you said in your post.