Although the links in these posts are valid, this post is from 2009. So, this is more of a Cricut “history” page now. Again, the tools are awesome and I still use them.
Cricut Must Haves & Tips
So, you’re either planning to buy one or you just bought a Cricut. Congrats! I’m often asked what I think some Cricut “must haves” are. Here’s my list:
Mats:
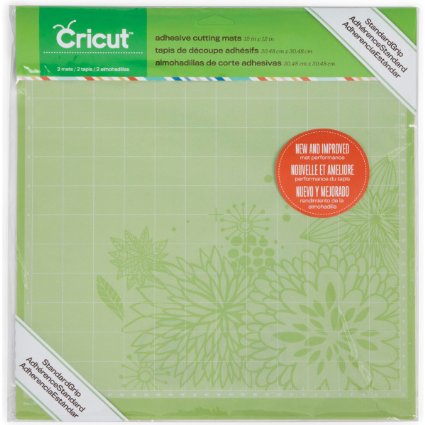
If you have the Cricut Expression get both the 12×12 cutting mats AND the 12 x 24 mats
. I’ve used the big ones for cutting out a bunch of things at once AND for making big items. I also think it’s smart to keep a set of extra mats on hand. Believe me, when you’re in the middle of a project and need a new one…that’s not the time to run out and go shopping.
You Can RE-STICK Your Mats
You can use a Zig 2-Way Glue Pen to restick your mats. I suggest the Jumbo pen for this. Let the mat sit 24 hours after covering it with the glue, then use. My favorite way to do a quick restick of mats is to use 3L E-Z Dots Repositionable Adhesive. It’s very simple, you just roll that adhesive over your mat and you’re restuck and ready to Cricut! I LOVE that stuff. Just make sure you are using the repositionable adhesive that I linked to. You will be very sad if you use permanent by mistake. 😉
Hey! You can hang 2 of your mats on the wall with a single thumb tack (the tacks with the long head, not the flat one). I do!
Cricut Spatula Tool:
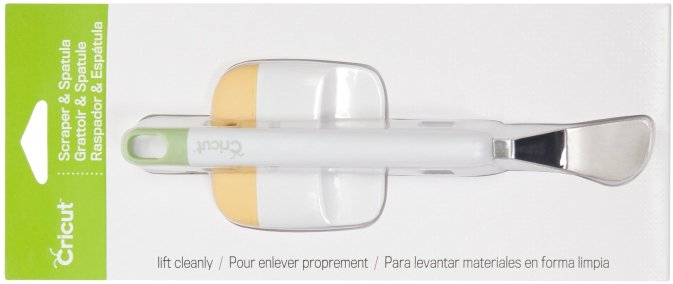
The Cricut Spatula Tool is perfect in helping you carefully lift images from the Cricut mat. You could use a credit card or something else, but why? This tool is gentle on your paper, doesn’t harm the mat and is inexpensive. We’re talking around $5 here. Plus, you can clean it off with Un Du
, Goo Gone or good old WD-40
if it gets all sticky and gross. I know this firsthand. 😉
Adhesives:
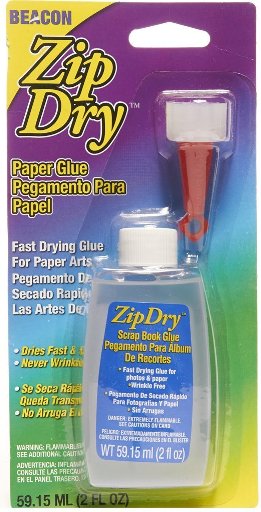
My #1 favorite adhesive? That’s easy. It’s Zip Dry Paper Glue by Beacon Adhesives. It’s will stick things together that ordinarily won’t stick together. I love it so much!
I also love the Zig 2 Way Glue Pen. It’s great to use to re-stick Cricut mats as well as sticking paper together. There are several different sizes. Use the Jumbo for re-sticking mats and the smaller on for smaller things. I use the Jumbo one for paper too. LOL! This glue comes out blue, but dries clear. You need one.
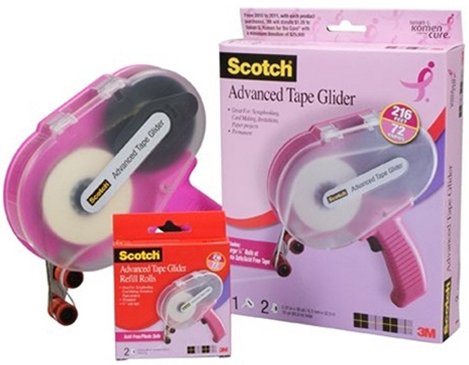
I am never without my Scotch ATG. ATG stands for Adhesive Tape Gun and/or Advanced Tape Glider. I use my ATG even when a smaller glue might be a better choice. I’m addicted to my ATG!!
The ATG works great for permanent adhesion. It’s the first thing I’ve ever had that actually holds things onto kid’s school project posters. That alone should make you want one. 😉 Also, if you pull it down the middle of a ribbon you can adhere the ribbon directly to a card or package. So cool. The ATG looks heavy, but it’s not, so don’t worry.
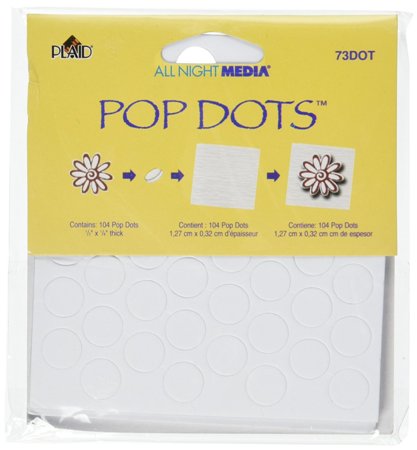
Get some kind of Pop Dots too. They come in a variety of sizes. You use them to pop paper out a little…it gives things a little lift.
Scissors:
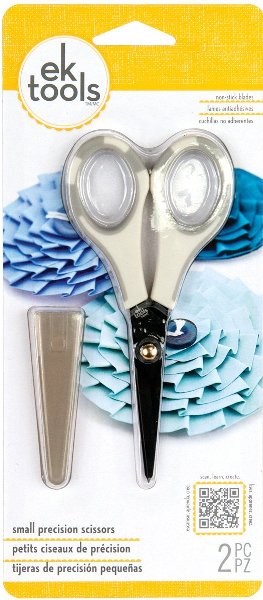
You need a good pair of sharp scissors. No, you can’t just use kitchen scissors or something you got on sale when you bought the kids school supplies. I mean sharp!! You’ll use them for cutting ribbon (so it won’t unravel and look cruddy) and for precision cutting paper when you need it. I love the EK tools Precision Scissors. You don’t have to get a pair exactly like this, but they need to be sharp and you should get some that have a cover. That way you don’t ruin the blade and it doesn’t stab you when you’re fishing around for it.
Tweezers:
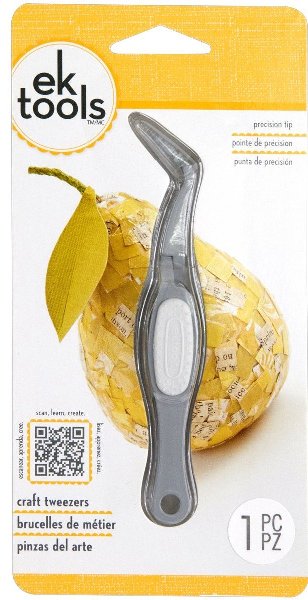
I suggest getting a EK Tools craft tweezers because you are probably going to be dealing with tiny pieces of paper at some point. It can also be used to poke out tiny paper cuts that are tough to separate. They’re perfect for any kind of heat embossing too. They’ll keep you from French frying your fingers when using a heat gun. You need them. 😉
Things to Fold With:
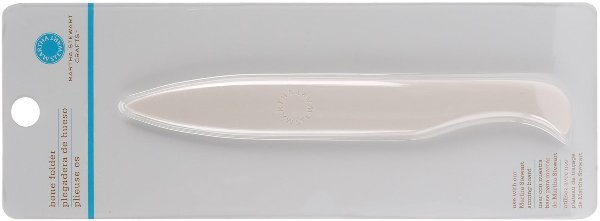
You’ll want to get a Bone Folder to create nice smooth folds. This is especially helpful when using a cartridge like Tags, Bags, Boxes and More, because it has a lot of folds that are necessary in order to create the boxes and bags. A bone folder will help you make the crease flat and professional, but you’ll really need a scorer to do a good job making that crease. If you just try the bone folder on card stock without first scoring it, it will often crack. It is possible to make the crease and the fold with the bone folder, but I always score first. For scoring you could go with …
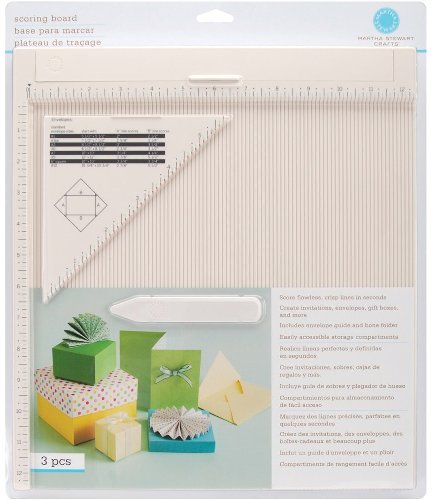
Scoring Board (which comes with a bone folder)
or
Paper Cutters/Trimmers:
You could just kill two birds with one stone and get a paper trimmer with interchangeable scoring blades like this:
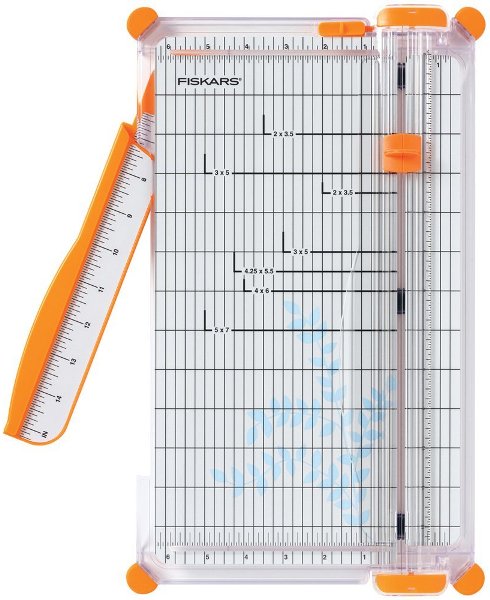
This one is the Fiskars 12 Inch SureCut Deluxe Craft Paper Trimmer and it’s the one I use. You’ll find the blades packaged with the item and also for sale separately. There are a lot of trimmers available and you can spend anywhere from $10 – $300+ on them. It is often true that you get what you pay for, but you need to find the one that works best for you and your needs. I also own a few trimmers by Carl. This 18″ Carl rotary trimmer is my favorite. It’s very good, but expensive.
Paper & Cardstock:
You should have some paper and some card stock. They aren’t the same things. Card stock is much thicker than regular paper. I like Die Cuts with a View (DCWV) card stock and K & Co. paper. I also like paper from Stampin’ Up. I love to use this paper too! Wausau 110lb Paper. It’s thick and works great with my Cricuts and other die cut machines! I buy a ream of 250 sheets at a time so I don’t worry about throwing out test cuts and things like that. You can find it online and in most office supply stores.
Cricut Pens:
The Cricut Markers are fun to use! They are now available in a variety of colors. To use the markers, you take out the cutting blade and put the marker in its place to draw instead of cut. I have used this method to outline a cut before I actually cut it out. It’s a cool way to give dimension. (Or fool friends that you can draw well, LOL.)
The first video I ever made shows you how to use the Silhouette Sketch Pens in your Cricut
Cricut Cartridges:
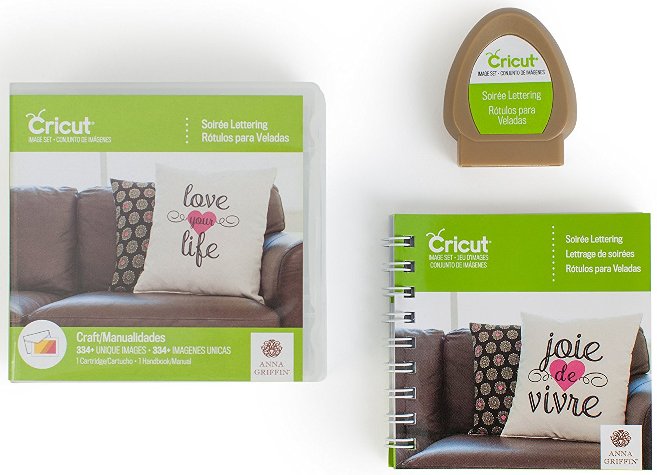
Cricut cartridges have evolved over the years. Initially, all Cricut’s operated by the use of physical cartridges, but as the machines and technology evolved they changed to a digital downloads. You can still buy and use cartridges, but the newest Cricut’s, no longer require the use of physical cartridges. Instead you can purchase and download whole cartridges, or just individual images from the Cricut Design Space. That being said, you can still use Cricut cartridges in some older Cricuts. With a new machine, you never need that physical cartridge again.
Older machines, like the Cricut Expression, Cricut Expression 2, Cricut Personal and Cricut Create still need physical cartridges.
Initially, the boxes looked like one of these. When they evolved into the smaller cartridges like the one pictured at the beginning of this section, they no longer offered the plastic overlays, like the plastic piece you see above, with all of the images on it. Instead, they created a “universal overlay“. Here’s a video on how to use it.
Cricut Cartridge info and recommendations:
You should get at least one font cartridge. I LOVE Lyrical Letters for fonts. I also love Sesame Street Fonts. It’s all just personal preference. The cases that are orange on the sides are font cartridges and the blue ones are mostly images. Green are educational. Now, that doesn’t mean that they only are those things. You’ll find images on font carts and fonts on image carts. You’ll find all kinds of things on the education carts, especially My World and My Community. Well, I love them all.
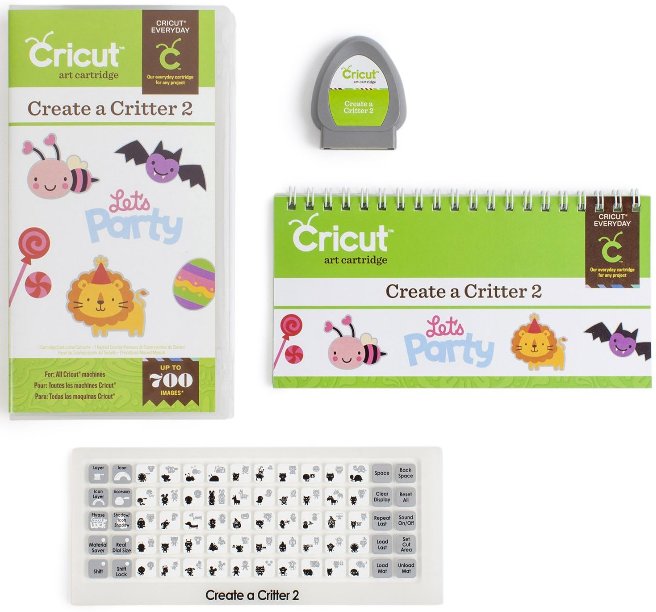
One of my suggestions for easy layering is the Create a Critter Cricut Cartridge. The layers come together easily, producing some really cute images. Here are things I’ve done with that cartridge. I’ve also designed some stamps that are a great companion to the Create a Critter cartridge. They are the “Lots of Pun” stamps. The most difficult layering cartridges are some of the Disney character cartridges. I don’t suggest those for beginners. ?
The below information is only relevant to older machines, like the Expression, Personal and Cricut Create. These are not things you would need with newer Cricut machines.
Cricut Jukebox
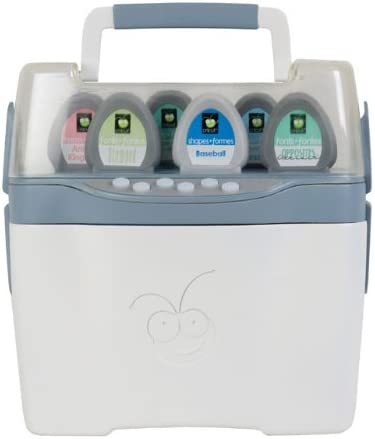
The Jukebox can hold 6 Cricut cartridges at once. It can also hold the overlays and booklets inside it. I think it is a MUST HAVE if you’re planning on using Design Studio. It keeps you from having to switch cartridges all the time. This was extremely helpful for me when I was doing this ABC Book Cricut Cuttlebug Project Front Cover project a few years ago. It would have taken me forever if I’d had to keep switching cartridges all the time.
Before Cricut Design Space there was Cricut Craft Room and before that Design Studio
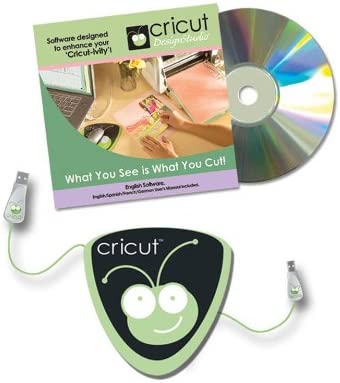
Cricut Design Studio Software is software made by Provo Craft. Your Cricut works with your computer and your cartridges to make specially created cuts. YOU NEED A COMPUTER FOR THIS! Not only can you create your own designs using all of the Cricut cartridges you have, you can also download designs other people have made (found in different places on the Internet). The only catch is, you can’t cut anything that you don’t have a cartridge for. Here’s something I used Design Studio to create: 15 b’day card, Alley Book and Top Secret Book .
Provo Craft GYPSY – no longer produced
Instead of getting the Jukebox and Design Studio…you could buy the Gypsy!! I LOVE mine and it has replaced my need for Design Studio and the Jukebox because it holds all of your cartridges in its memory AND you can use it to design. It’s portable too! However, it does cost around $150 and up, so you if you’re not in the market for that right now, the Jukebox and Design Studio will do the same thing, for less!! (Um, except they’re not as portable!) 😉
Here’s a link to my Gypsy Posts & Videos
Want to Learn to Use Vinyl with Your Cricut?
Check out my Cricut Vinylology DVD! You can learn more about it HERE. It’s over 3 hours of instruction on 2 DVDs.

Do you need stamps for the cards you’re making? Come See my line of Clear Stamps!

I hope this gets you started!!
~Joy~


I am so blessed and thankful for my Make the Cut software!! Woo Hoo!!!!!!
Be blessed!
Love your blog. It’s so informative and funny! Wish I found it sooner. Thanks!!
Thank you, Keri!! I’m glad you’re here!
~Joy~
It is so exciting and so much to think about at the same time when you get your cricut and this is helpful
to know how to allot your scrapbooking dollars at first.
I have been trying to research th ecomputer programs for the Cricut. i have found Make the Cut, Sure Cuts A lot, and of course Provo Craft Design Studios. Is there a side by side comparison that I can look at to help me decide which program will be best for me. Thank you
I love the way you explain things. Thank you so much. I will be back to visit and learn more.
Just found your site. Thanks for the information. I just got a cricut for christmas. Great info. Thanks for helping us newbies!
thx so much i just bought the CRICUT EXPRESSION 2 and i need lots of help iam super new!
Hi Cupcake4,
Congrats on your new CE2! I hope you enjoy it! 🙂
~Joy~