I’m so glad I finally have a chance to share these glass etched dessert plates that I made for my brother and sister-in-law for Christmas. I think they are so funny!
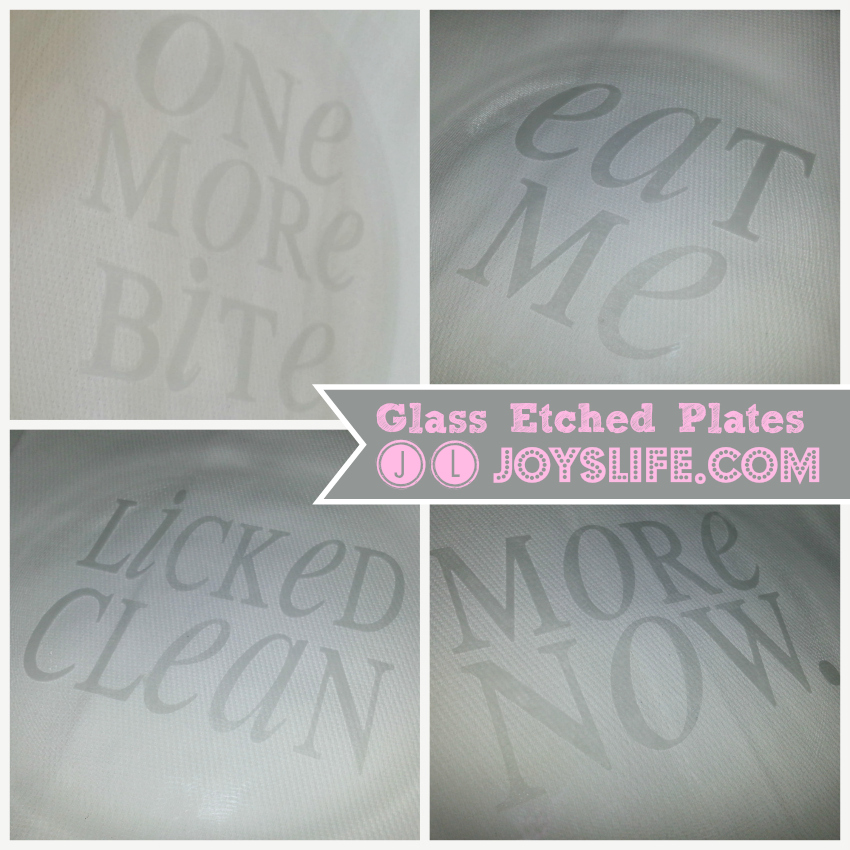
Yes, they could be construed as inappropriate and cheeky or you can just remember Alice in Wonderland and assume that I was going with that theme. You be the judge. 😉 I’ll just sit quietly by and nod my head yes to whichever you decide. Tee hee hee
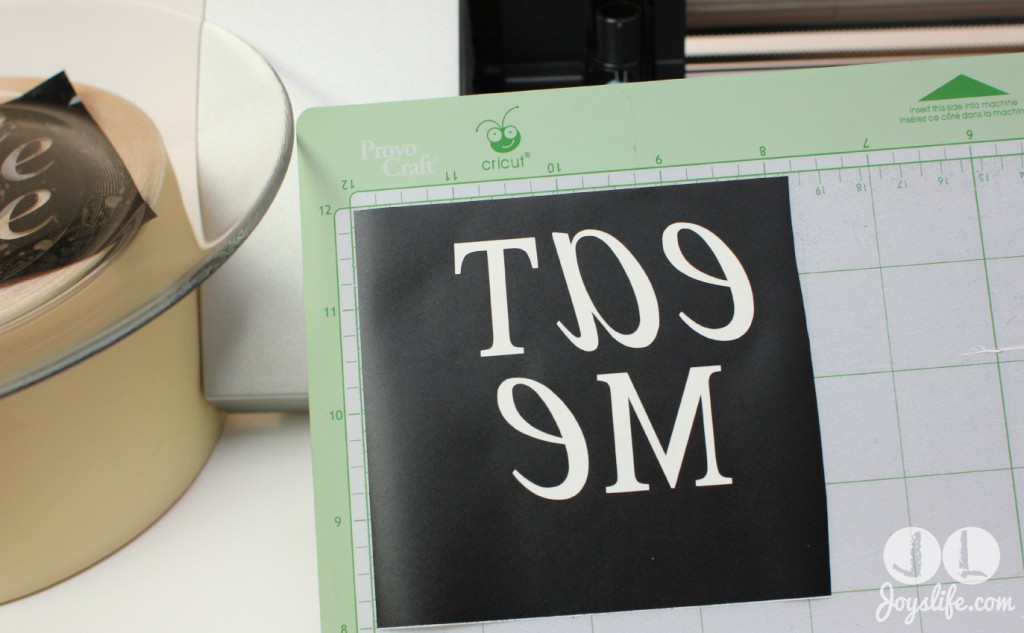
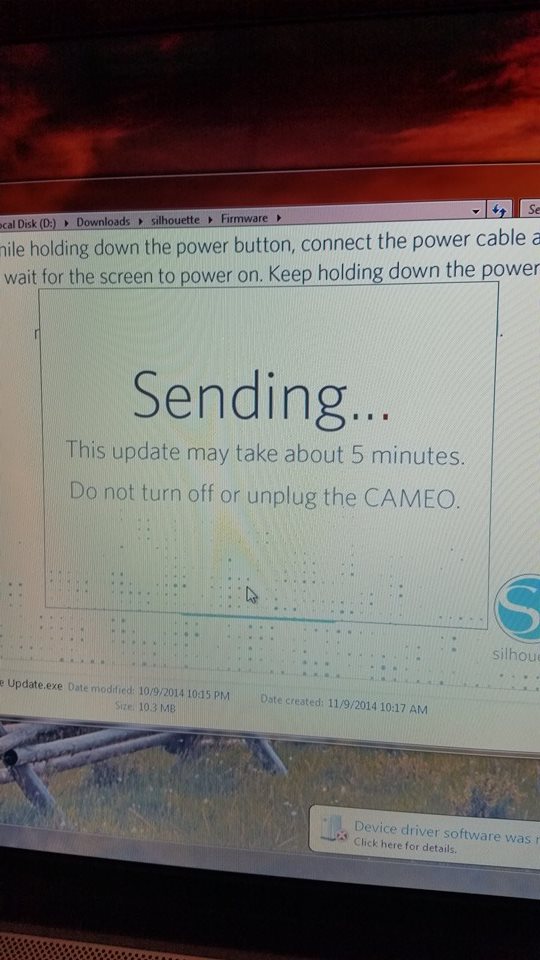
I’m using vinyl with my Silhouette Cameo (and Cricut mat) to help me create my template for the glass etching solution. Remember! It’s like I always tell you…if you’re going to use vinyl lettering to etch the back of something, you’ve got to flip the letters. Flip it good. (Hearing Devo? Ok. It’s just me.)
Never done this before? Don’t worry. Here’s a step by step instructional post on how to create glass etched plates.
Need vinyl? I like to buy mine from Expressions Vinyl.
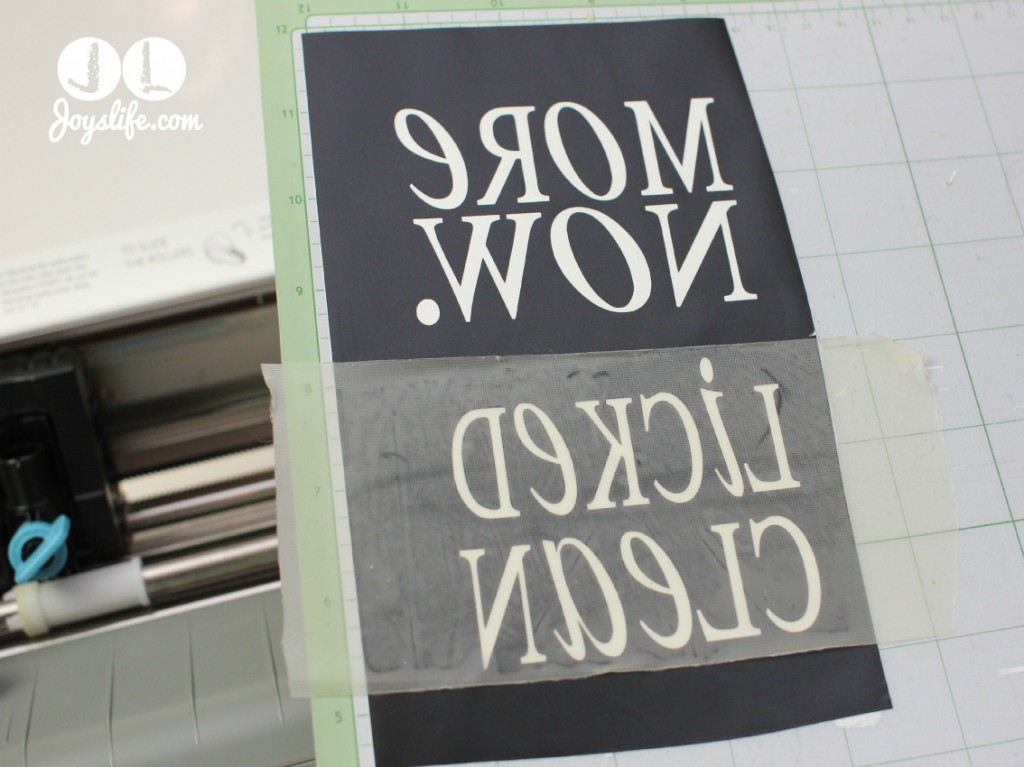
After weeding the vinyl (removing the pieces I don’t want to use from the ones I do want), I use transfer tape to move it to my plate.
Don’t forget! If you need a step by step tutorial go see this one that I made.
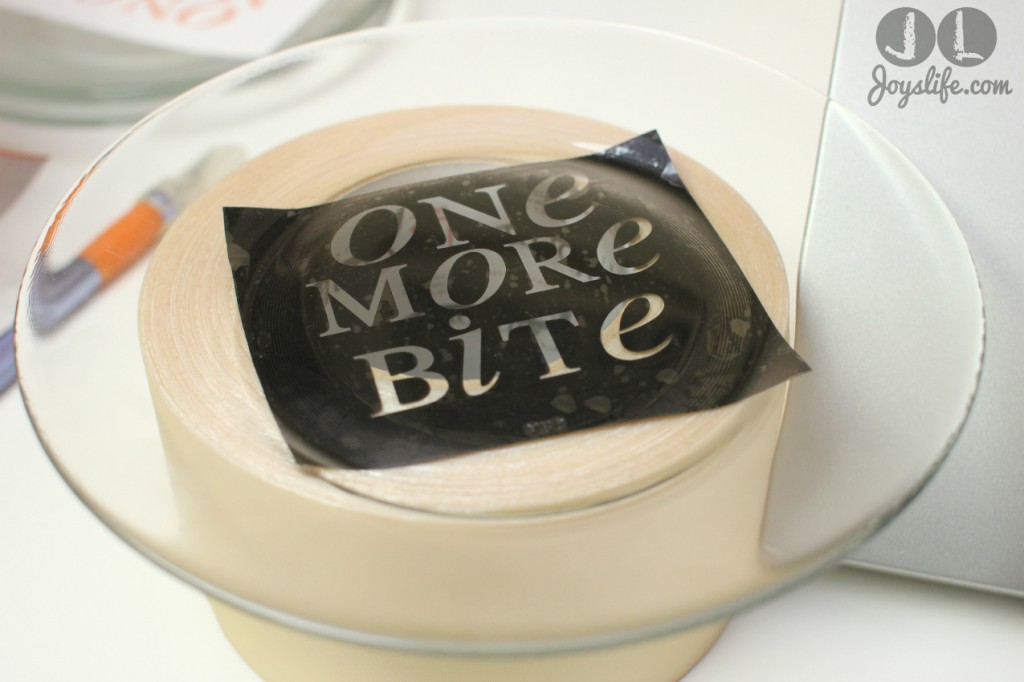
I’m etching the bottom of the plate, so this vinyl is stuck to the underside facing up through the glass. That’s why it’s important to do a reverse cut. 😉
After I had the vinyl stuck down well to my plate, I added Armour Etch to the letters and left it on there about 20 minutes before I washed it off.
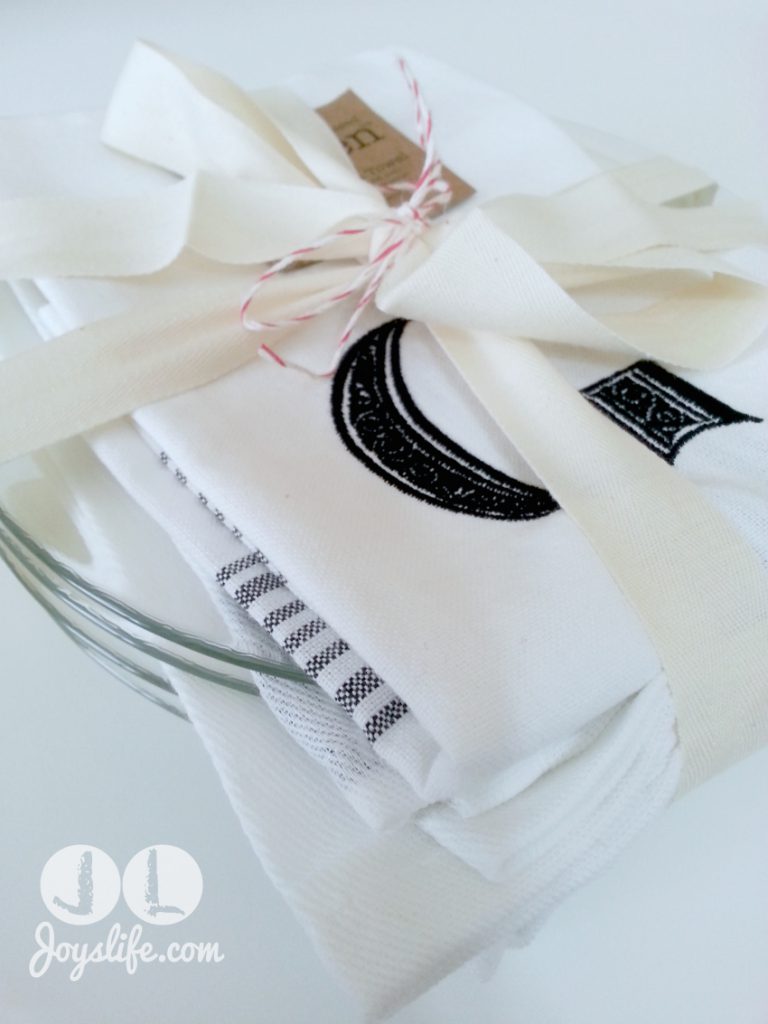
How I packaged this to ship to another state:
Besides etching the plates, the most important part of this project was how I tied it all together, literally. I was shipping these plates to another state, so I needed to make sure they were packed safely. I added a monogrammed kitchen towel to the top and then put plain towels between each plate after that. It kept the plates from touching, provided extra cushioning AND made it a little nicer. I used a piece of twill ribbon to tie it all together. Next, I wrapped the whole thing in bubble wrap and taped the edges of the wrap in case the plates came loose. I didn’t want them shooting out of the bubble wrap. Finally, I added some air filled packaging (leftover from Amazon packages I’d received) around the bubble wrapped plates and they got to their destination just fine. YAY!
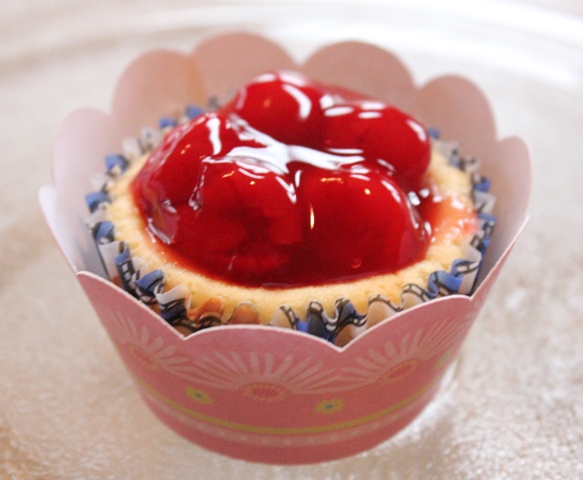
To help complete the theme, I added a Cheesecake Factory gift card to the top. These plates are perfect for some yummy cheesecake or any dessert!
Here are some other glass etching projects I’ve done.
Happy Crafting!

I made the “yum” plates and used them at Christmas for all the “yummy” things we eat. They are so fun to use. Thanks for the idea!!
Vickie,
That’s AWESOME!!! I’m so happy to hear about your YUM plates! Way to go!
Glass etching a personalized gift is so incredibly genius (and so are you!) And it’s inexpensive and the recipient goes bonkers when you give it to them!! I will email you a picture of a trifle bowl I etched for a bridal shower gift I made a few years ago. The bride-to-be was so delighted you would have thought I gave her a million $$$. Joy, have you ever thought of joining the Mensa club for crafters? Your crafty IQ is always so way off the chart!
Kathleen,
You’re so sweet! Thank you for your awesome comment! I LOVED looking at the photos you sent me. You knocked that trifle bowl outta the ball park. Thank you soooo much!
Super cute! I received a glass etching kit for Christmas and tried it out on a beer glass…complete fail! I might have to try again on a plate using one of your fun sayings! -stopping by from the SITS girls
Thanks Kelly! 🙂 Yeah, using a curved surface for the first time is tough. I definitely suggest trying again with a plate. Once you get down the techniques it’s super fun! Thanks for stopping by!
I like this idea for a personalized gift. Where did you get the plates from? I’m going to revisit some of your other etching posts to learn more. Just a little #sitsblogging love your way.
Hi Kendra!
I got the plate from the Target dollar spot but you can also find them at Hobby Lobby. Thanks so much!
Ha! “Flip it. Flip it good.” Love it! This is SUCH an awesome idea. Great for gifts; or I’m thinking about (attempting) to make these for myself to have around for a few giggles. Don’t mind if I steal your “cheeky” sayings do you? lol. Thanks for the inspiration!
Kesha, Sure! Those sayings are great to share. Enjoy making your gifts! 🙂
LOVE this! Can’t wait to try it out and make some fun personalized gifts 🙂
Thank you, Kara! 🙂 Have fun making yours!
Do you water down the armour etch? It says to on the jar but doesn’t tell you how much to do. Sounds nasty stuff when you see the jar. The silhouette brand is a cream and you put it on neat and you can scrape off excess when done and put back in the jar..
Hi Ria,
No, I never water down Armour Etch.