Print and Cut is a great function to have with a die cut machine. It allows you to color items digitally which can save you time and money. How? Well, you don’t have to purchase tons of paper because you can print on white. Cool. It saves you time by not having to search your paper stash for the perfect match and because you can also choose to print things as the designer intended. Easy as store bought pie. I’ve shown you how to Print & Cut with the Silhouette Cameo, now let’s learn how to do that with the Sizzix Eclips.
Set Registration Marks
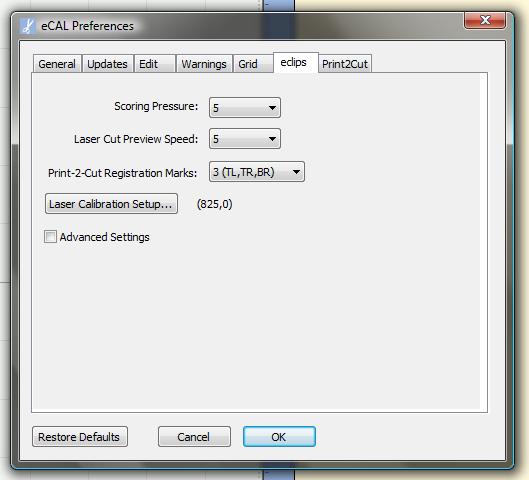
Before you get started, I suggest you go to the “Edit” tab and from there choose “Preferences”. That will open this screen. I’ve found that the best setting for “Print-2-Cut Registration Marks” is 3 (TL,TR,BR). That just means that you will print 3 registration marks around your image in the TL=Top Left, TR=Top Right and BR=Bottom Right. Setting it to this does a better job than the 2 marks in the default, in my opinion.
If you’ve never calibrated your machine or if you move it around a lot, you should follow the “Laser Calibration Setup”. It will make sure your machine is cutting where it should.
Choose Your Registration Mark Preferences
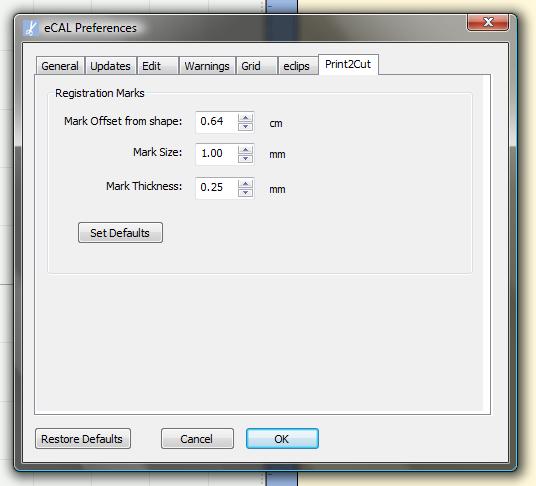
These are the defaults that I like to use for the Registration Marks. This keeps the marks close to the image without taking up too much extra room on the screen when laying everything out. You can adjust these as you see fit for your needs. If you don’t like your settings just restore the defaults. No harm, no foul.
Import a File
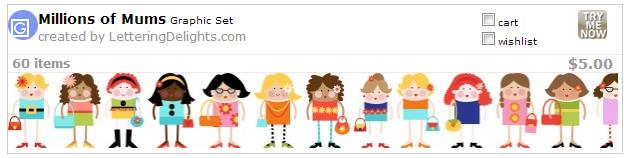
Now, it’s time to import whatever you want to print and cut. I showed you how to import a file here. I’m using the first image from the Millions of Mums Graphic Set by Lettering Delights for this tutorial. Ok, go grab the file you want to use and import it like I showed you.
Ungroup the Image
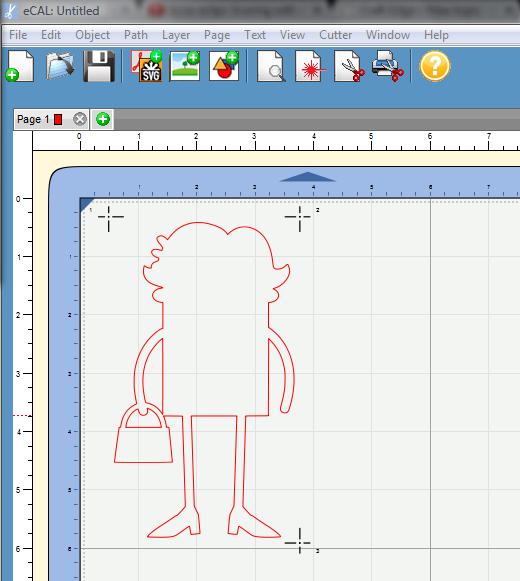
With the image that I am using, I first had to ungroup it to show the cut lines. If you have to do that just select the image, right click and choose “ungroup”. Next, click on the “Preview” button at the top. It looks like a paper with a magnifying glass on it. Now you’ll see the red cut lines like I’m showing above. You can also see the registration marks! YAY!
Time to Print
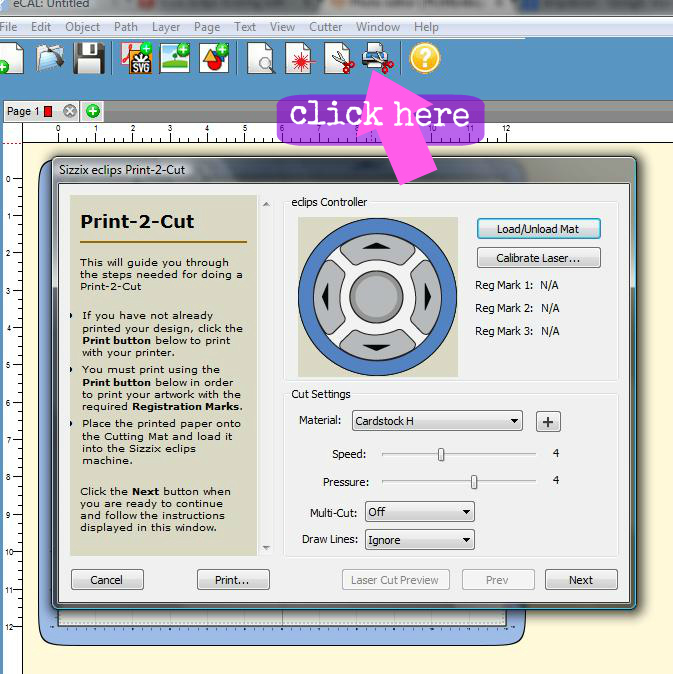
The rest is easy! Click on the “Print-2-Cut” button as indicated by the pink arrow above. That will open a box which will guide you through printing and cutting. You’ll need to come to this screen so you can print. Make sure your printer is hooked up!
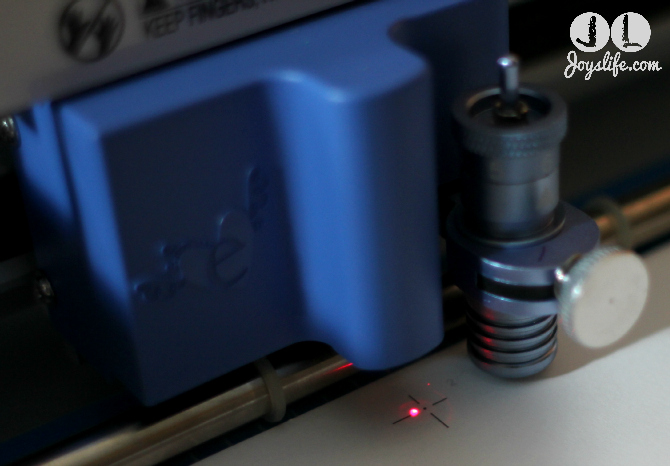
As you progress through the print and cut guide box that’s provided on your screen, you’ll get to the point where it tells you to line up the laser with your registration marks. It’s easy to do, but here’s what it looks like. You’ll be using the buttons in the guide box to move the laser to the center dot inside the registration lines. It’s important that you get as close to being on the dot as possible because the better you do, the more accurate your cut will be. You’ll do this for all three marks.
Want to move the blade/laser quicker? Hold “Shift” and click on one of the on screen arrow keys. You can also do a short click, followed quickly by a long click on the on-screen arrow keys. That one takes a little more getting used to but it does get that carriage moving faster!
I hope you have fun printing and cutting with the Sizzix Eclips!
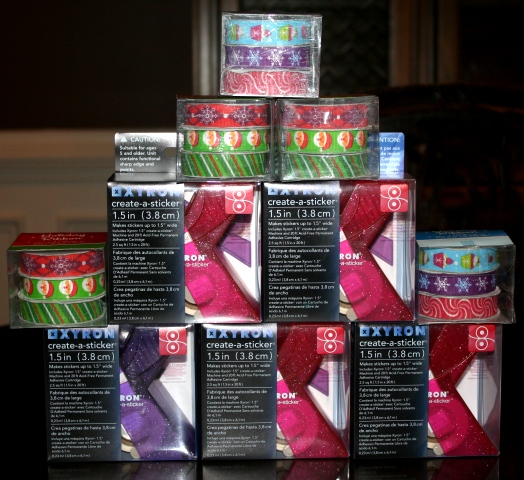
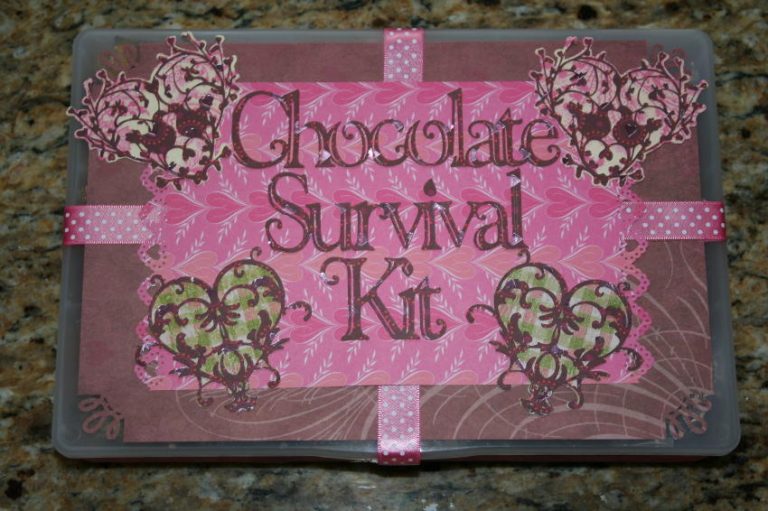
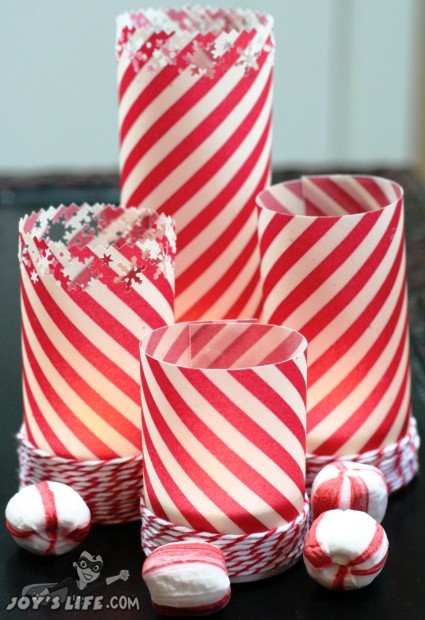
Here are some Sizzix Eclips projects I’ve made. You can also see them on my Sizzix Eclips Pinterest board. Here’s a video about my first impressions of the Sizzix Eclips. You can see the machine and the basics of how it works in that video.
Happy Crafting!


give you a ‘test’ comment. I think this will be much better. BTW, I’m still working on getting me a new cutting machine. Just wish the prices would come down some more so I can afford one. Looking at the Silhouette. Is the Eclipse a better one to get, though!
Thank you for helping with the comment test, Rita! 🙂 To answer your question about the Eclips vs. Silhouette (I’ll assume you mean the Cameo over the smaller Portrait), my answer is this: I prefer the Eclips machine. It’s more durable (in my opinion) than the Cameo and has a stronger motor. The Eclips reminds me of the Cricut in its solid build but is better than the Cricut because it can use .svg files OR Eclips cartridges AND has the ability to print and cut. I also love that they added a handle to the machine. YAY to that! The only reason I can give to choose the Silhouette Cameo over the Eclips is that the Silhouette software is AWESOME. The images are easy and quick to download and are kept at a reasonable price (at this writing) of .99 each, sometimes less. That being said, many of the images there can be bought from the designers directly from their websites. However, they are usually more expensive on the designer’s site. The Silhouette specific designs can only be bought through the Sil software. One negative about the Silhouette software is that you’ll immediately have to buy the Designer Edition of it (around $50) to import .svgs from anywhere but their site. BOOO!!! I don’t like that but I did buy it. Ecal comes with the Eclips and though it has more of a learning curve (in my experience) than the Sil Software, it’s still a solid software. I hope that helps! Here’s a link to my first impressions of the Eclips. I’ll be adding more tutorials about it here.
The image looks great and it seem just as easy to cut & print from the Eclipse as from the Silhouette. The commenting is pretty easy to use now too.
Thank you, Tabbatha!
Yay! I can comment here! Love your blog– just never could tell you before now! 🙂
Mwah!
watched your tutorial on the Eclipse. Loved it. So I went to Ebay to check them out. They are still ‘pricey’ and the cartridges are a bit pricey, too.
Oh, don’t know if you know or not, the Gypsy is no longer available from Provcraft. And, they don’t repair or replace. Mine quit after only about a year. I contacted them. Don’t know if they plan on coming out with a ‘newer’ version or not any time soon.
I tried the “Cricut Craft Room”. You have to ‘download’ and says it works with most OS (Windows VISTA, XP 7). I’ve tried on all versiosn (as I upgraded my computers) and could NEVER get it to work.
Rita,
They are pricey. I bought mine last year from Oh My Crafts and they had a pretty good deal going on at the time. Right now they have one that’s $359 with ecal and comes with the All Occasions cartridge as well as the starter cartridge that come with all of them. It’s still a lot of money but it really is a good machine. Plus, you don’t need the cartridges if you’re buying or creating your own .svgs, though they are nice to have.
Ugh! I know. SAD FACE! That’s so sad about the Gypsy. It was a terrific little machine and I loved it. I know when mine dies that that’s just IT and it’s over. I’ve resisted the Cricut Craft Room, for no reason in particular, even though I Beta tested it for a while before it was released. However, my daughter used it the other day and loved it. I need to go give it a try. I really just prefer to use my Cricut without a computer though, especially since it doesn’t allow .svgs. Heavy sigh. LOL!
I love your blog– so happy to be able to tell you now!
Nadia,
You’re so sweet! Thank you!!
LOVE the Cricut craft room and once I got the hang of it, I can’t think of any other way to do a project. Just finished a whole Grade 1 project for my GD.
I do have the “dinosaur Silhouette and still can’t figure it out. If you know of a good EASY “dumbed down” tutorial version please let me know.
Creative Wishes
Good luck with the new & improved BLOG!
Claire,
You’re inspiring me to get to the Cricut Craft Room soon! I have a digital cart I bought from them and I haven’t even used it. Ack!
If you’re using the Silhouette SD you can still use the software tutorials for the Cameo. I loved that little machine. I bought it several years ago and only recently sold it after having the Cameo too. Here’s a link to my Cutter Tutorials page. Silhouette is the first group of cutter tutorials, then you’ll see Sizzix Eclips and Cricut. I hope those help!
Thank you!!
~Joy~
Hi Joy! Saw your post about comments over at Facebook and came over to pop over and say hi! 🙂
Regarding the Silhouette Designer software I’ve noticed that Miss Kate’s Cuttables (one of the designers in the Silhouette store) offers the Silhouette Designer Studio software at a considerable discount at her personal site and adds a $10 gift card to her shop as an added bonus. If anyone is interested you can find the details here:
https://www.misskatecuttables.com/products/cutting-software/silhouette-studio-designer-edition.php
(I’m not affiliated with her at all, but I saw that deal awhile back and thought it was good one. Plus she has so many adorable designs). 🙂
Thanks Mendi! That information is really helpful. 🙂 I hope the commenting process was easier for you too. Thanks again!
Quisiera saber si alguien puede ayudarme porque no se por que mi maquina no corta, funciona bien pero no quiere cortar. le agradeseria mucho, ya que me urge de ella depende mi trabajo.
At this moment I am ready to do my breakfast, after having
my breakfast coming again to read more news.
Do you know if you can add text to the svg that will print?