This is a sponsored post written by me on behalf of TruMoo Milk. All opinions are 100% mine.
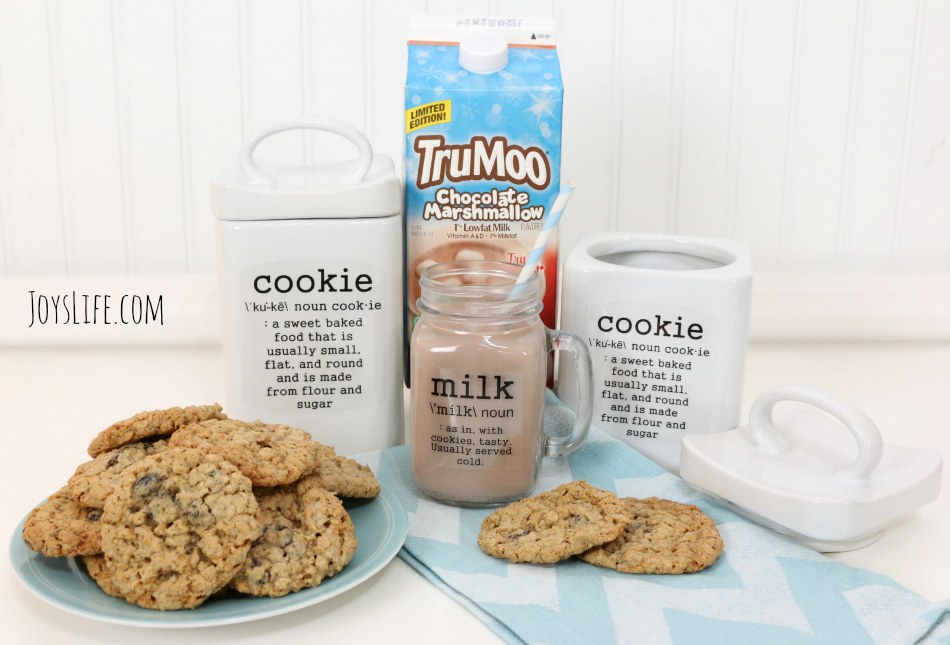
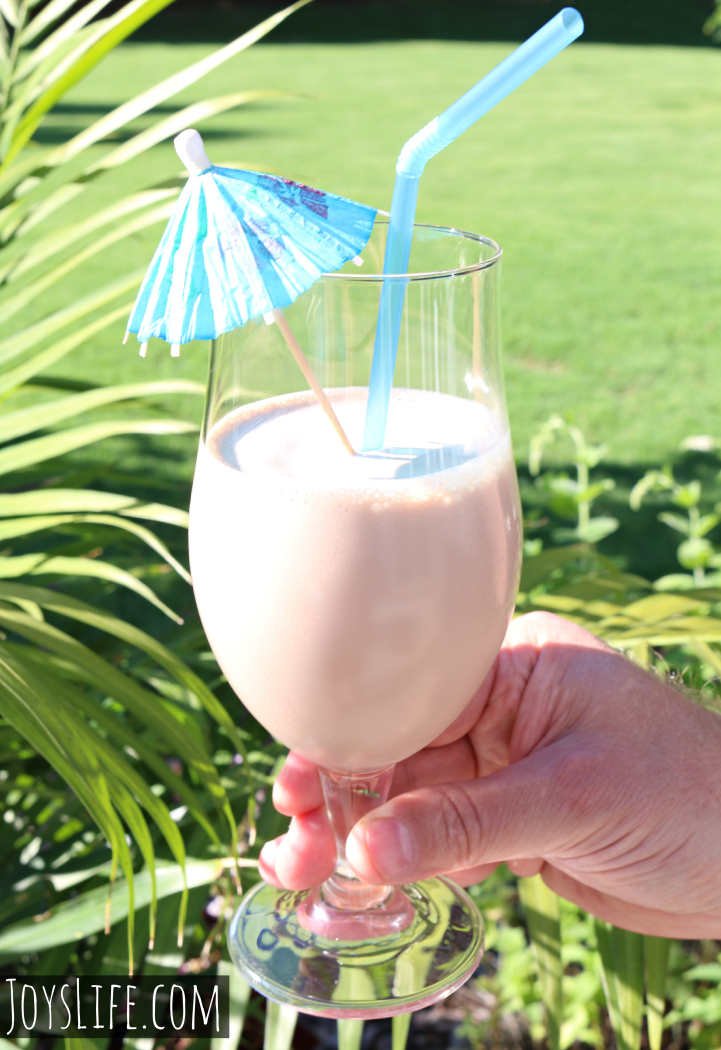
You can’t tell from these photos but I’ll go on and admit it, that cup of milk used to be full to the brim. It looked so good and smelled so good, I thought I’d just take a sip. With all my sips, it’s a wonder this photo even happened. I’m drinking TruMoo’s Limited Edition Chocolate Marshmallow and I love it! Previously, I wasn’t even a chocolate milk drinker but I like this milk…a lot. Enough to make one of my favorite cookies with it! Let’s talk more about that!
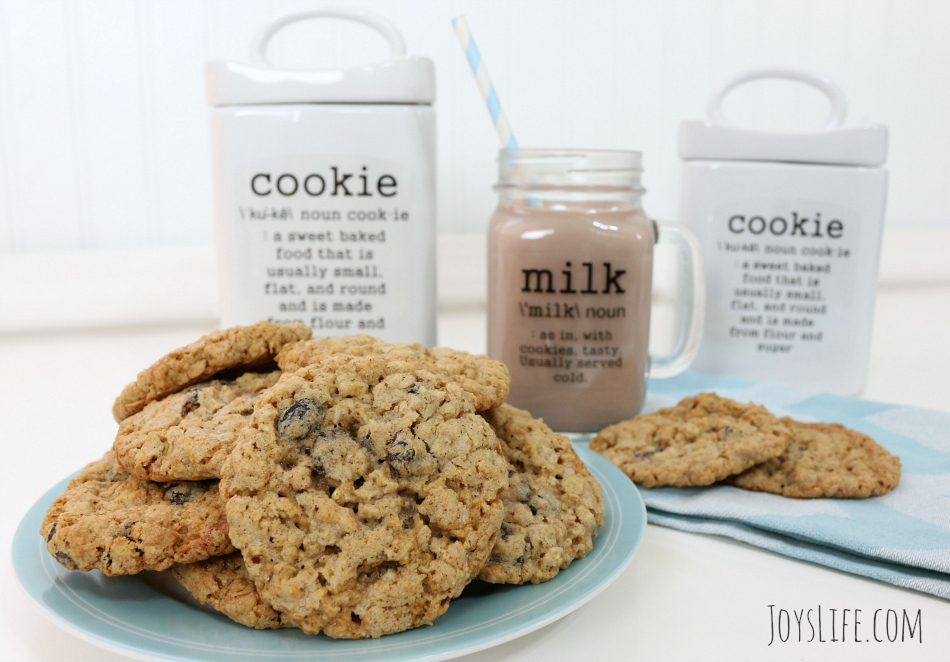
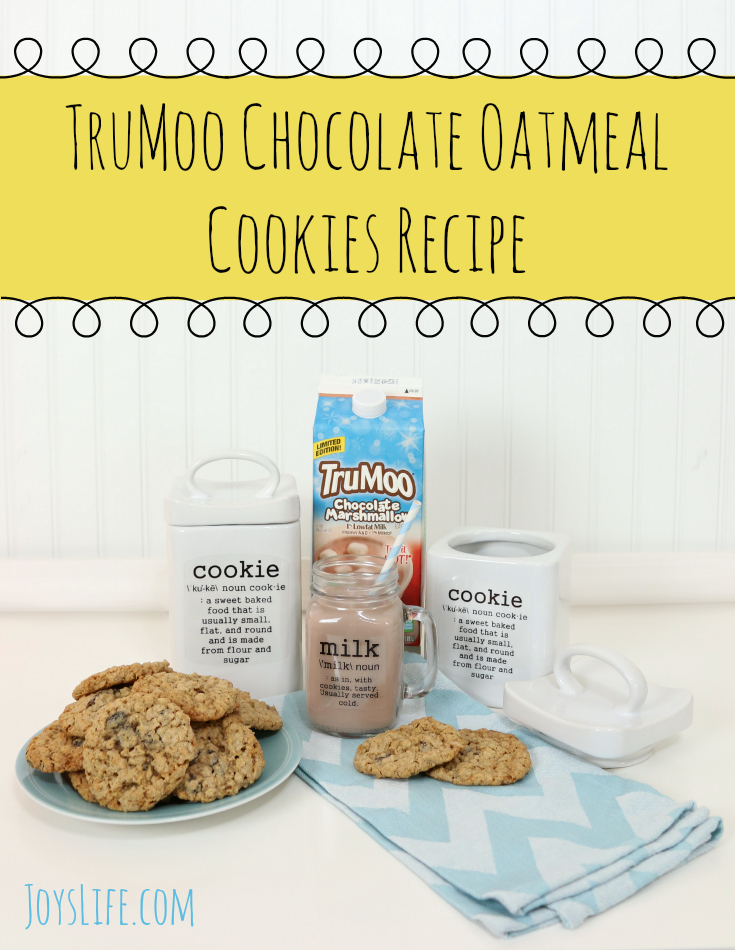
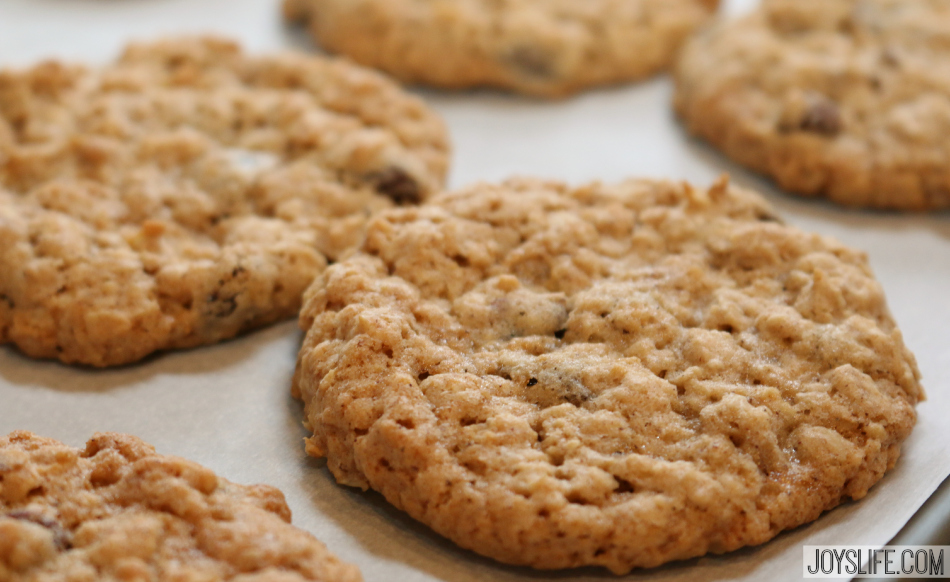
These cookies are delicious, moist and make your kitchen smell fantastic. You’ll be proud to serve them.
Chocolate Oatmeal Raisin Cookies
Ingredients
- 3/4 cup butter
- 1 cup packed brown sugar
- 1/2 cup granulated sugar
- 1/4 cup TruMoo Marshmallow Chocolate Milk
- 1 large egg
- 1 tsp pure vanilla extract
- 1 cup all-purpose flour
- 1 tsp ground cinnamon
- 1/4 tsp cloves
- 1 tsp baking powder
- 1/4 tsp baking soda
- 3 cups quick or old fashioned oats
- 1 cup raisins
Instructions
- Heat oven to 350 degrees.
- Beat (softened) butter, brown sugar, granulated sugar, milk, egg and vanilla until light and fluffy.
- Add flour, cinnamon, cloves, baking powder and baking soda to mixture and mix.
- Stir in oats and raisins.
- Bake for 13 to 15 minutes or until solid around the edges and just set in the middle.
- Cool & serve!
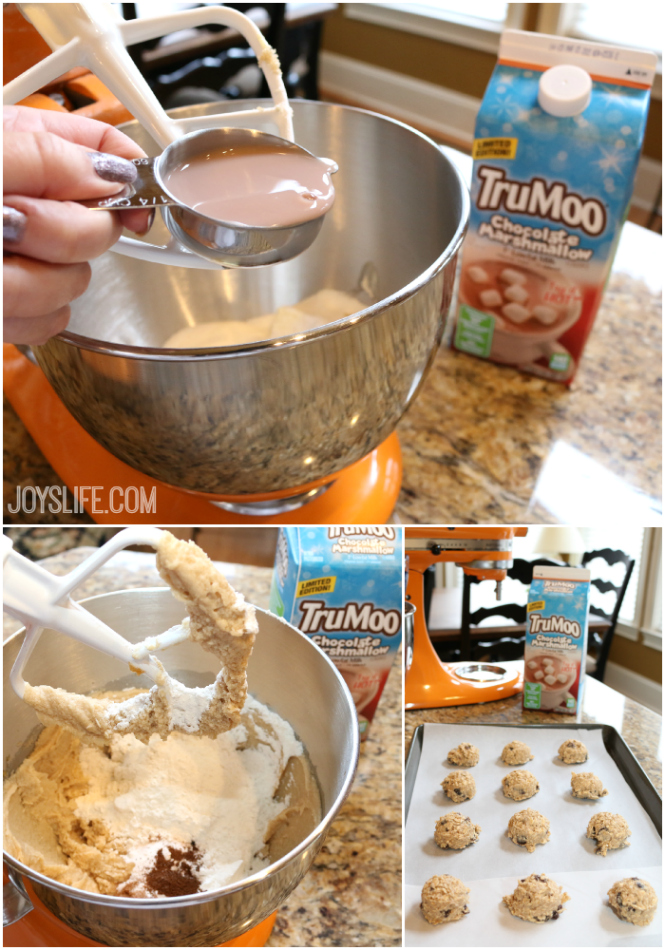
I added 1/4 cup of TruMoo Chocolate Marshmallow milk to the batter and it helped give a light touch of chocolate that’s perfect in these cookies. I’m using a 1-1/2 tablespoon scoop to portion out the cookies. I used to just plop them down by hand but I have to say, I like this way better. It gives a nice uniform result.
These were so delicious that I wanted a cute cookie jar to keep them in. I bought a set of plain white jars and decided to make them super cute by adding my own labels. It was fun!
How to Personalize a Cookie Jar
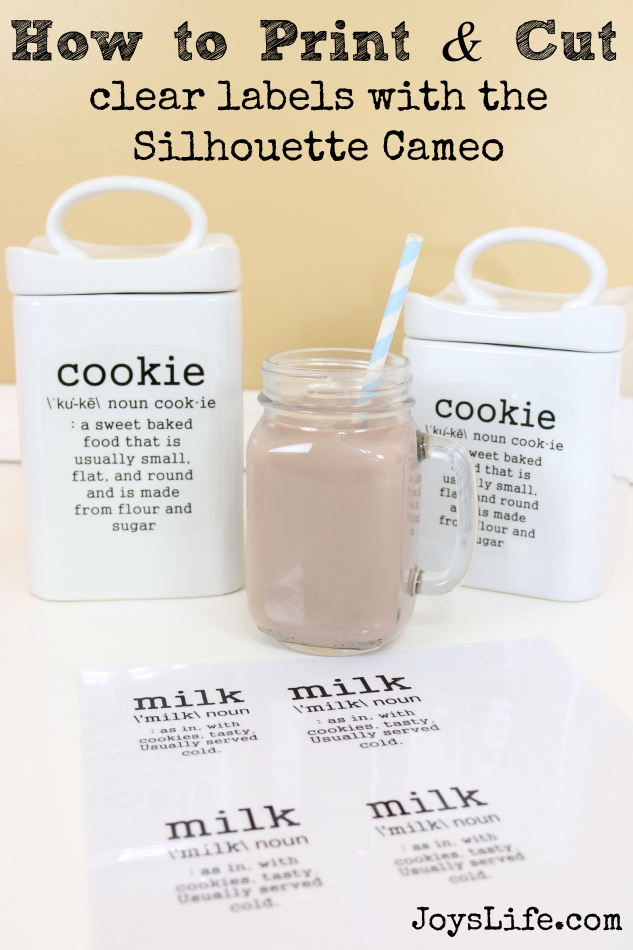
Printing and cutting labels with the Silhouette Cameo is fun and easy! First, I created the lettering in the Silhouette software using fonts from my own computer. The cookie definition is straight from the Webster dictionary but I made the milk definition up myself!
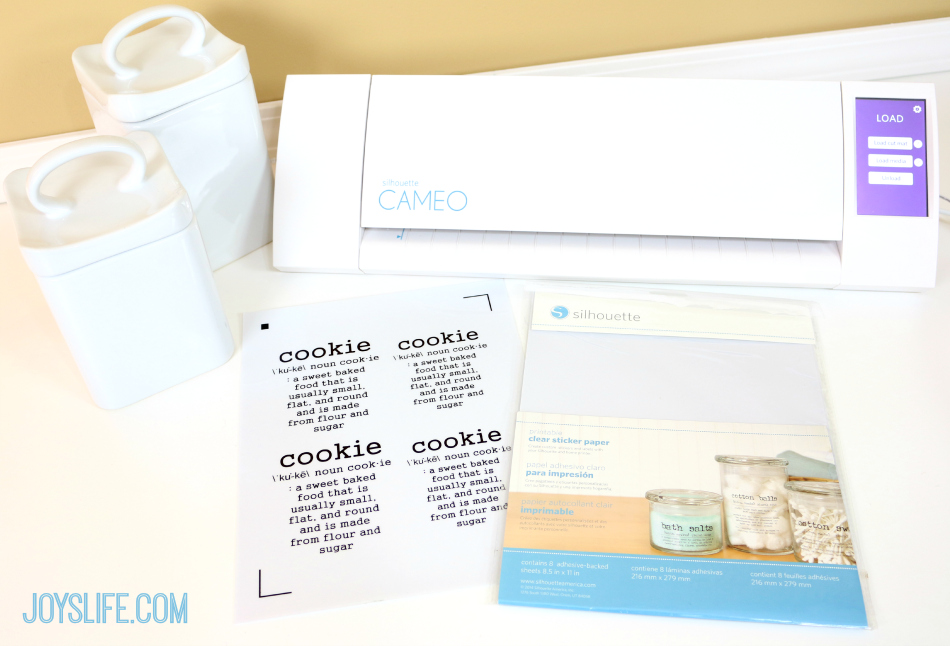
I purchased white cookie jars and the Silhouette clear sticker paper to use in my Cameo.

First, I designed the label in my Silhouette software, including adding cut lines around the stickers. Next, I printed it out on the sticker paper. Print it shiny side up! Add the printed sticker sheet to a mat and insert it into the Cameo. Set the Cameo to cut the lines you created around your label. (Here’s how to print and cut with the Cameo.)
Here’s a tip: To create your own labels you don’t even need a Silhouette. You can just buy the Silhouette Clear Sticker Paper, design a label on your computer, print it out using your printer and cut it out by hand. Done!
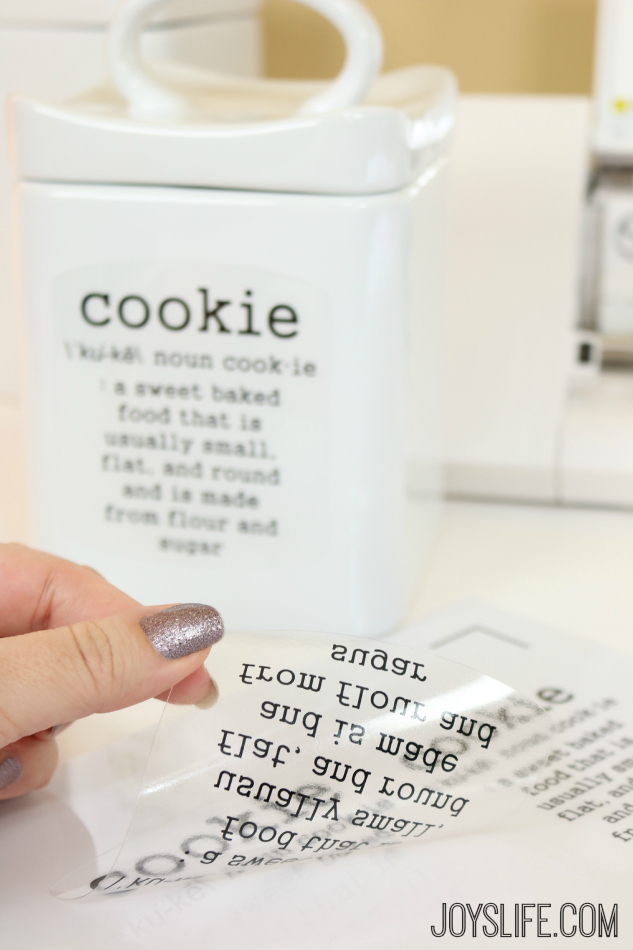
After the Silhouette has finished cutting the labels, peel them off of the backing and stick them to your cookie jar or glass. Easy!
Need help? Here are some more Silhouette Cameo tutorials.
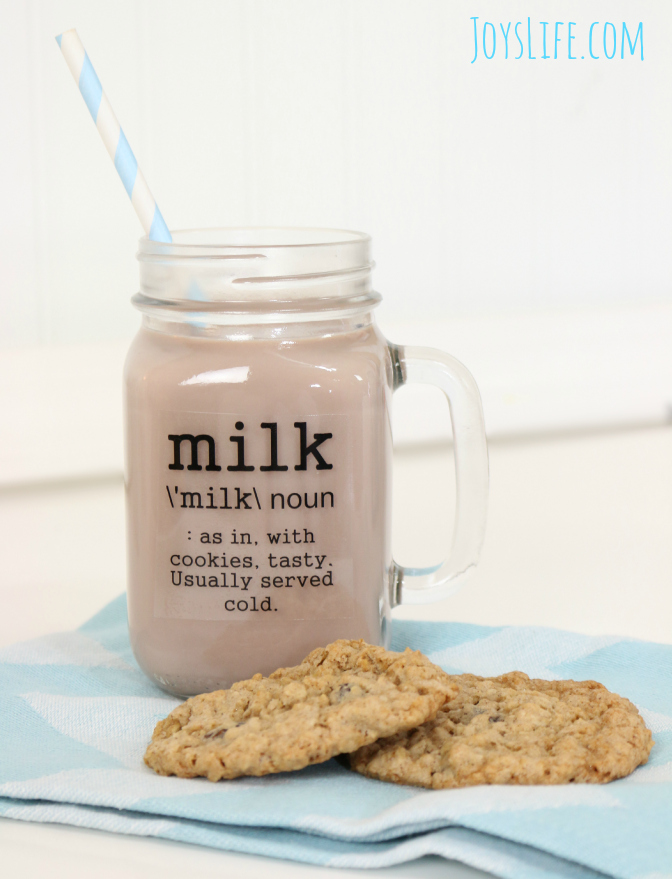
I love the way the milk mug turned out! Do you like the definition I came up with? Hee hee hee.
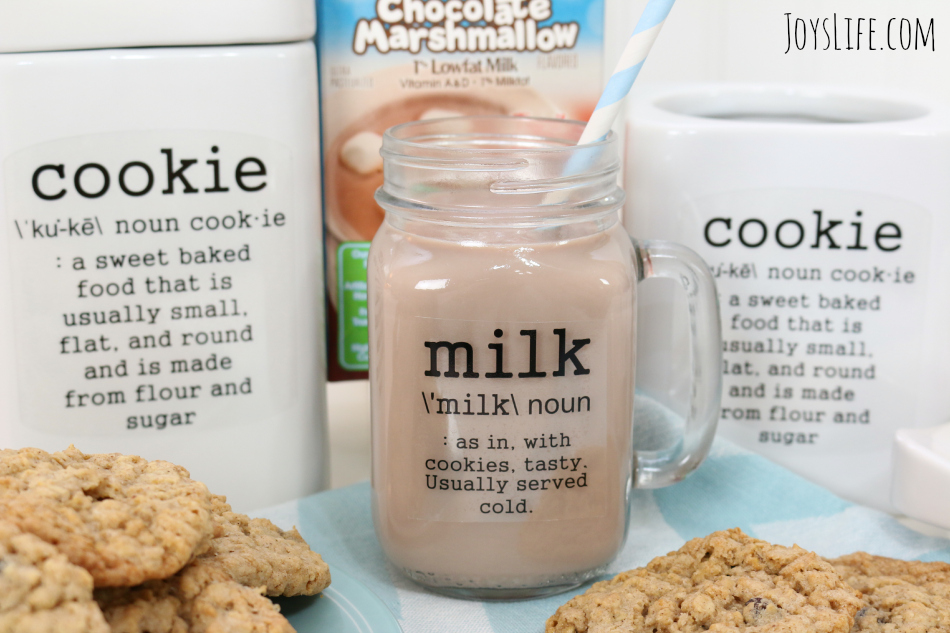
I love the way that adding these labels really made these more personalized for my kitchen and even for gift giving!
I hope you’ll try these delicious cookies and let me know what you think about them. I think you’re going to love them!
For product information and availability, visit TruMoo online.
Find TruMoo Recipe inspiration on Pinterest.
Join the TruMoo community on Facebook.


Hey!! This is a GREAT idea!! LOVE the labels and can’t wait to try this out! And that recipe is definitely going to be made this weekend because it sounds deeeeeeelicious!!!
I’m thrilled to hear that, Jill! Woo hoo! I think you’re going to love those cookies!
Joy, this is such a great idea! Super cute! I did not even know about the sticker paper!
I won’t even tell you how hungry your photos are making me! Those cookies look super yummy!!
Oh Teresa, I’m so glad I was able to introduce you to the sticker paper. It’s really easy to use. I was surprised when the ink didn’t smear after I printed on it but it didn’t! Two thumbs up to that product! And…the cookies were SOOO GOOD! I hope you’ll give them a try! 🙂
Wow! What cute look! Love this idea. What else have you used this method for? I see it working well in the kitchen but I’d be tempted to make one for everything! “TV. As in used to pay episodes of Friends while eating popcorn and drinking wine” – Ok maybe it wouldn’t work so well for that
Can’t wait to try the recipe and the chocolate milk.
Where did you get the little jars with lids??
thanks
Hi Andrea! I bought the jars on Amazon. They seem to be only offered from one seller right now and they’re higher than what I paid. Darn. When I got them I paid $54.99, which I thought was high at the time. However, after I searched in so many stores and couldn’t find exactly what I wanted I got these. They’re wonderful! They seal well and the tops are still easy to remove. They seem to be really well made. All the other jars that I saw were around $11 anyway (for the sizes I wanted) so it made me feel better about the price…and the fact that I could finally stop looking. LOL! I hope they’ll get more in stock and lower the price again soon!
Ah, but can you wash the milk jug?!
The safest bet is to wash it by hand. 😉