How to Cut Adhesive Felt with the Cricut
Happy February 1st!! I’m Beary Glad You’re Here!
That’s DH, DS#2, DD, DS#1 and Me!! Do I look fat in this picture?
Hi Friends! Well, yesterday I showed you how to cut regular felt in your Cricut. Click here for a link to that post. Today I’m going to show you how to cut adhesive felt! I just have to tell you how MUCH I’m ENJOYING doing this! Felt is fun!!
What Is Adhesive Felt?
First thing’s first! Adhesive felt is felt that is somewhat stiff and has a sticky adhesive backing. The adhesive is also covered with a paper backing. When you pull off the backing, the felt can be stuck directly to other things. It is different from the felt I used yesterday, which was just regular, floppy, non-stiff, non-adhesive felt. I bought my felt at Michael’s, but you can find it in other craft stores too.
How I Stuck Adhesive Felt Down & How I Cut It…
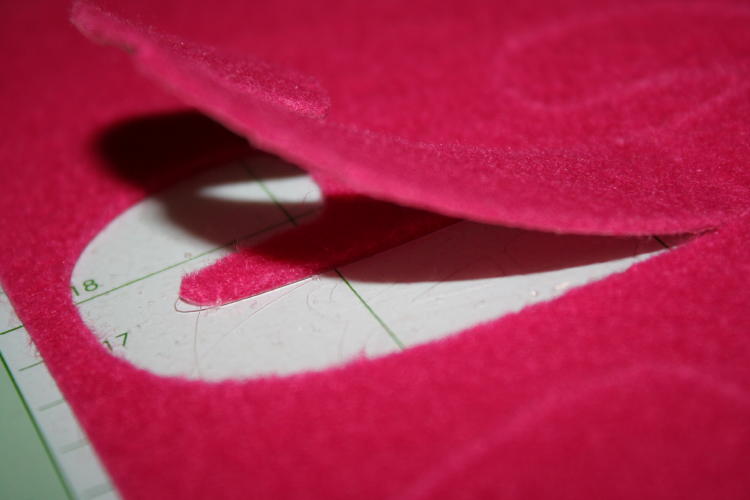
I realized pretty quickly that the only way the adhesive felt was going to stick to the mat was if I removed the slick paper backing. I was concerned that the sticky mat + the mat’s adhesive would be so strong that I might not be able to get the felt back off when the Cricut finished cutting. I tried it anyway. It worked out! See how it came up? Best of all, sticking it down like that made sure that it didn’t rise off the mat until I took it off. YAY!
Settings:
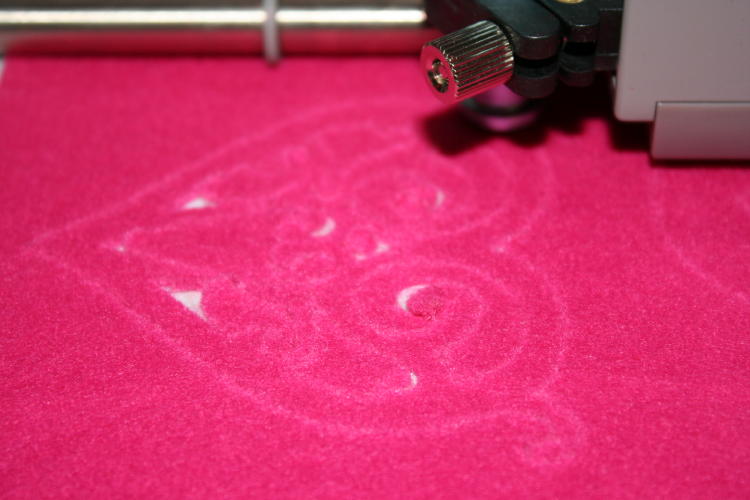
I used the Deep Cut Blade set at 6, Speed 2 and Pressure 5. I set Multi Cut to 2.
This pretty heart is from the Storybook cartridge. I love that cart! I was really impressed with the detail that could be cut from the adhesive felt as opposed to the regular felt. The regular felt (from yesterday’s post) would pull too much to accept this kind of detail.
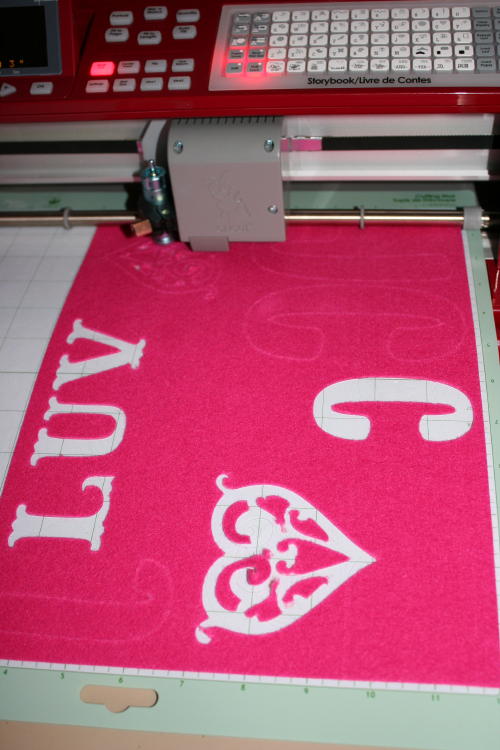
Isn’t that cool?! Just look at how well it cuts. Amazing. I LOVE IT!
The LUV letter (love letter, LOL…I’m cracking myself up) cuts are also from the Storybook cartridge.
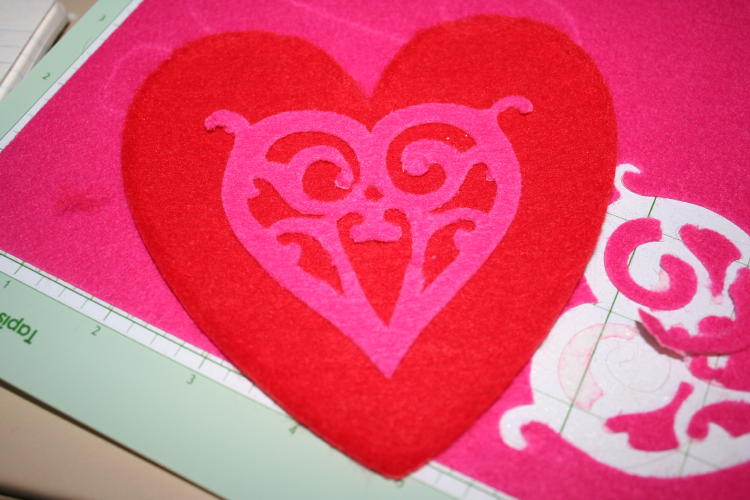
So, I took that adhesive heart off the mat and stuck that baby to the other heart from yesterday’s post. Cool, huh?
These pink Storybook cartridge hearts are cut at 3″. The big red hearts from yesterday are from the Designer’s Calendar cartrdige and were cut at 5″. The LUV letters are cut at 2″ and the small hearts (you’ll see in a second) were cut at 3″.
Also, you can see in the photo that it leaves a bit of a mess on the mat. There are definitely some pieces of the felt’s adhesive backing still stuck to my mat. I was able to pull some of it off, but I gave up on getting it all off. I’ll worry with that later.
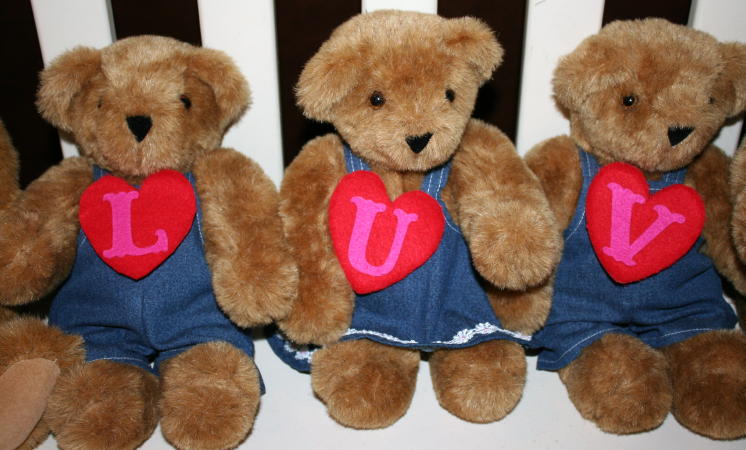
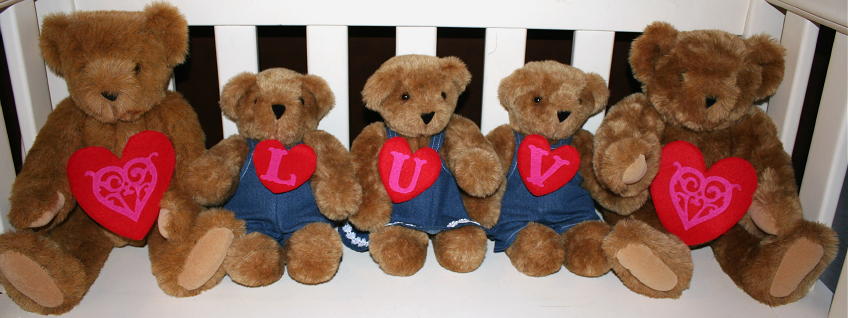
I know my kids look like triplets, but they’re really not.
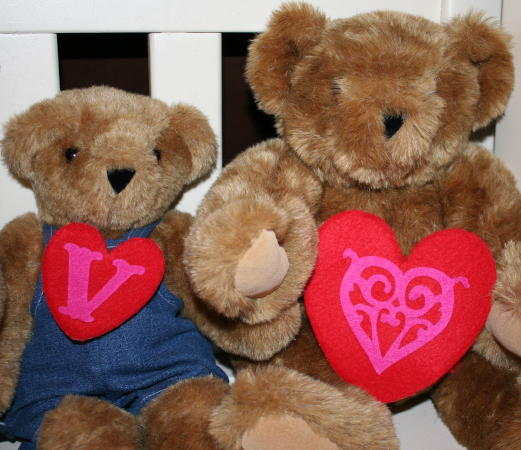
That’s DS#1 and Me. Isn’t he handsome?
Do you want to know more about the bears? Well, I just happen to have a post on that experience right here.
I hope this was helpful to you! If you have any questions, just let me know. You know I answer them. I made this whole series of felt posts based on questions from one of my Joy’s Life Superfriends! Have a happy day!


You should make a cape (or a bow) for your bear. Then it can double as Mama bear and Super Bear!
Genius!! I so need to do that! 😀
~Joy~
I must say, you have a knack for creativity. I wish I could spend a few weeks with you just to pick your brain. I am so happy that I started to follow you and now I find myself checking daily to see what you have come up with next. Your creativity never ends and you always show the beginners how to do something. Thank you Joy for being a part of our lives.
Marlene
Marlene, thank you so much for that kind comment!! That’s just incredibly nice! 😀
~Joy~
Thank you for all your great tips. I love your sense of humor and you are such a ‘joy’ to all us crafters.
OK so I finally got to do some work on my felt project I asked you about so long ago (even before this post was made). It turned out wonderful, even though I didn’t use the deep cut blade. I couldn’t remember if the deep blades could go in the reg housing and I couldn’t find my deep blade housing for the life of me (I sure hope I haven’t lost it forever since I just got it for Christmas!). What I did was use stiffer sticky back felt and I put it on my mat felt side down with the sticky back paper still in place (this way I could transport the cuttings, which was necessary for my last min project). I created a banner to use in a Chapel for a retreat and of all the things…I used the Hannah Montana Cart with the Pop princess font (which is just PERFECT for a church banner…I was shocked). I used a 6 blade setting, full pressure and low speed to make my cuts…if I had done a multi it would have been even better, but with the stiffness of the felt, I was able to break the images out pretty easily. I’m going to upload a pic of the banner I made to your fb group for you to check out. Hope you enjoy it!
I forgot to mention that I used the Flip function, since I was cutting the image on the back side of the page 🙂