How to Cut Adhesive Felt with the Cricut – Revisit
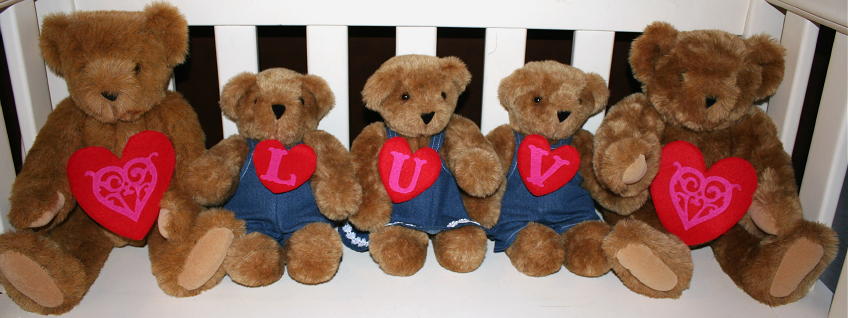
I had planned on a video for today’s post, but I’m hoping you’ll forgive me for reposting this post I made last year instead. DH has been out of town all week and I’ve been BEARY busy with my children. See their photos below. I hope you all enjoy this post…again. 😉
Hi Friends! Well, yesterday I showed you how to cut regular felt in your Cricut. Click here for a link to that post. Today I’m going to show you how to cut adhesive felt! I just have to tell you how MUCH I’m ENJOYING doing this! Felt is fun!! You know what’s even more fun? Well, I’ll have to tell you that in the next few days. It’s a surprise!
What Is Adhesive Felt?
First thing’s first! Adhesive felt is felt that is somewhat stiff and has a sticky adhesive backing. The adhesive is also covered with a paper backing. When you pull off the backing, the felt can be stuck directly to other things. It is different from the felt I used yesterday, which was just regular, floppy, non-stiff, non-adhesive felt. I bought my felt at Michael’s, but you can find it in other craft stores too.
How I Stuck Adhesive Felt Down Cut It
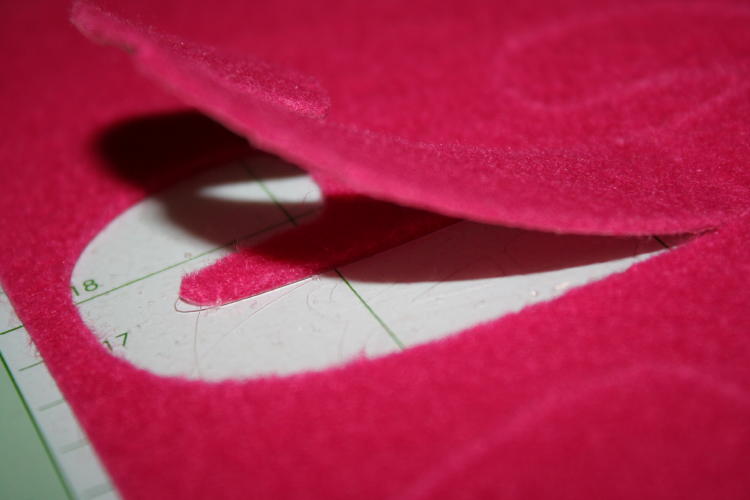
I realized pretty quickly that the only way the adhesive felt was going to stick to the mat was if I removed the slick paper backing. I was concerned that the sticky mat + the mat’s adhesive would be so strong that I might not be able to get the felt back off when the Cricut finished cutting. I tried it anyway. It worked out! See how it came up? Best of all, sticking it down like that made sure that it didn’t rise off the mat until I took it off. YAY!
Settings:
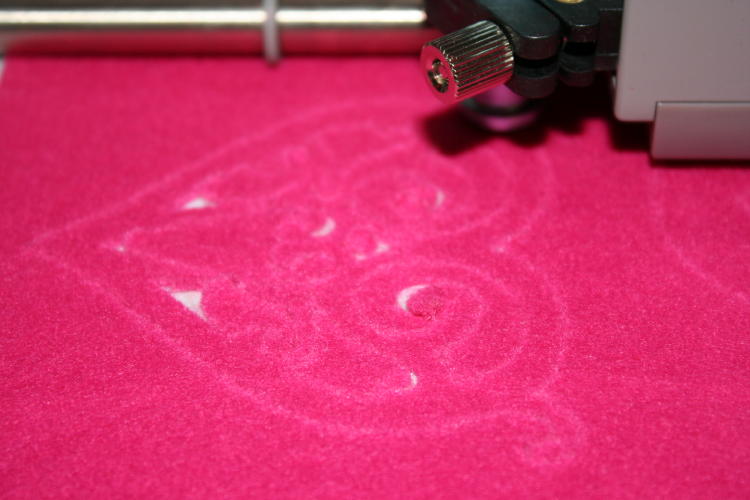
I used the Deep Cut Blade set at 6, Speed 2 and Pressure 5. I set Multi Cut to 2.
This pretty heart is from the Storybook cartridge. I love that cart! I was really impressed with the detail that could be cut from the adhesive felt as opposed to the regular felt. The regular felt (from yesterday’s post) would pull too much to accept this kind of detail.
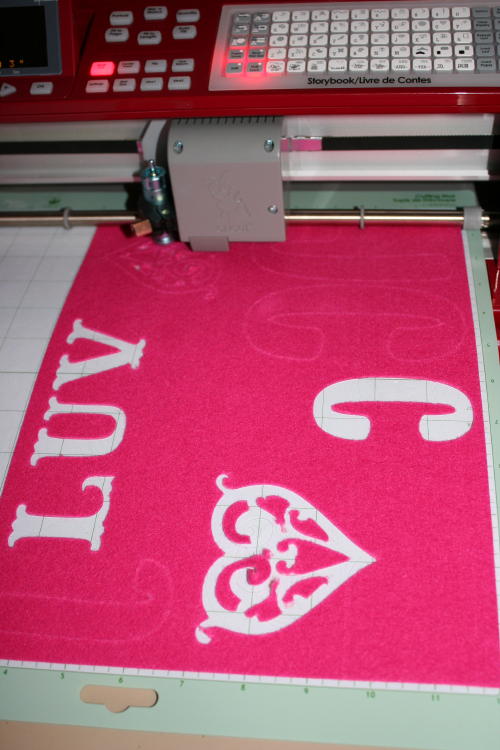
Isn’t that cool?! Just look at how well it cuts. Amazing. I LOVE IT!
The LUV letter (love letter, LOL…I’m cracking myself up) cuts are also from the Storybook cartridge.
Here are more Cricut cartridges that you might enjoy!
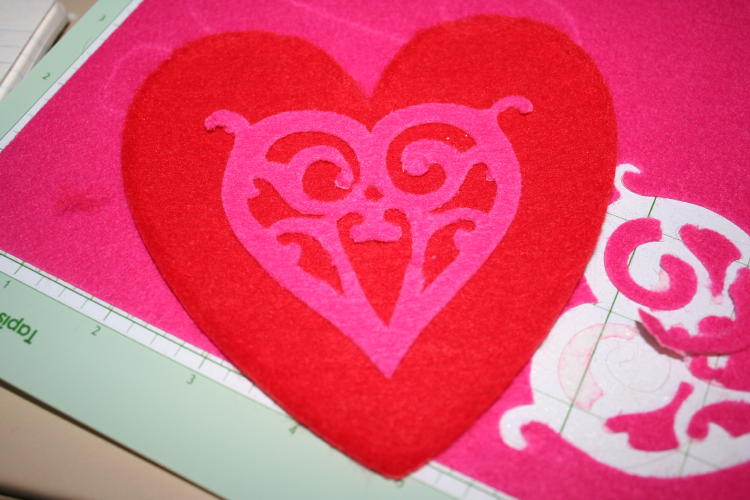
Do you heart the heart? I do!
So, I took that adhesive heart off the mat and stuck that baby to the other heart from yesterday’s post. Cool, huh?
These pink Storybook cartridge hearts are cut at 3″. The big red hearts from yesterday are from the Designer’s Calendar cartrdige and were cut at 5″. The LUV letters are cut at 2″ and the small hearts (you’ll see in a second) were cut at 3″.
Also, you can see in the photo that it leaves a bit of a mess on the mat. There are definitely some pieces of the felt’s adhesive backing still stuck to my mat. I was able to pull some of it off, but I gave up on getting it all off. I’ll worry with that later.
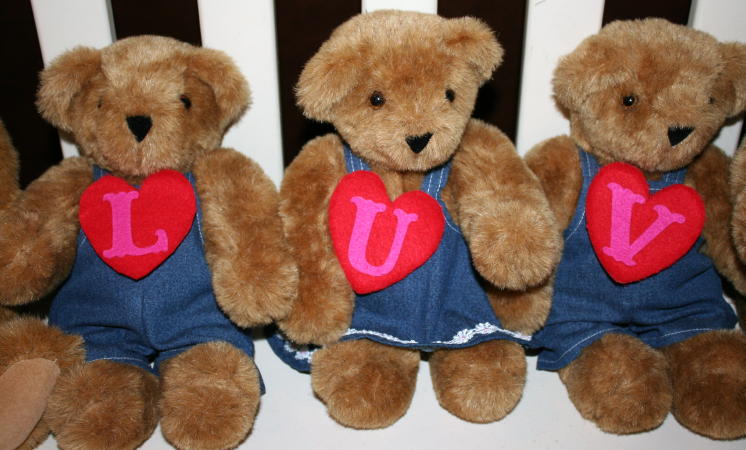
I know my kids look like triplets, but they’re really not.

That’s DS#1 and Me. Isn’t he handsome?
Do you want to know more about the bears? Well, I just happen to have a post on that experience right here.
I hope this was helpful to you! Have a happy day!


You all are a beary cute family!!!
Too cute… I have a Vermont Teddy bear that my hubs gave me also… I really don’t do the cute thing either, but for my bear its the exception. I have the one wear t-shirt, jeans and the tattoo on the arm.
Love the hearts!!!
I have to get started on hearts before it’s too late. Have a great weekend.
Thanks for the great info— as always. As a teacher, I am excited about the possibilities that will open up by being able to cut felt. I’m planning to use your 2 liter bottle idea for Valentine’ Day, so maybe, I’ll stick some felt on them!
Have a great weekend!
Thanks Joy! I love when you do an older post, since I’m fairly new to your blog, and I can learn something I haven’t even thought of! YOU ROCK!
Too funny & cute! I always enJOY your posts!! Thanks for the tip on cutting adhesive felt. Have a Super weekend!
Monique
[email protected]
What a cute post. Love reading your older stuff and getting a chuckle
super sweet post, I must look for some adhesive felt…..off to Michaels I go…….
Never tried adhesive felt. Thanks for sharing
I can bearly contain my love for this project. Beary cute!
Very cute! I never really thought about cutting felt, but I see lote of visions with this 🙂
hey joy…how are you? long time no see you ;p
nice job w the felt-gotta give that a try.
Thanks, I love it when you post older post, too. I missed a lot of great ideas and information before my DD discovered you!!!
I have found that putting the adhesive backed felt on with the felt side against the mat and using the “flip” funciton I get great cuts every time. You really have to a good sticky mat for this to work though.
I used the paper dolls dress-up cart to make a felt nativity set for Christmas that I used in my daughter’s Sunday school class…the kids just loved it and I was so happy with the way it turned out!