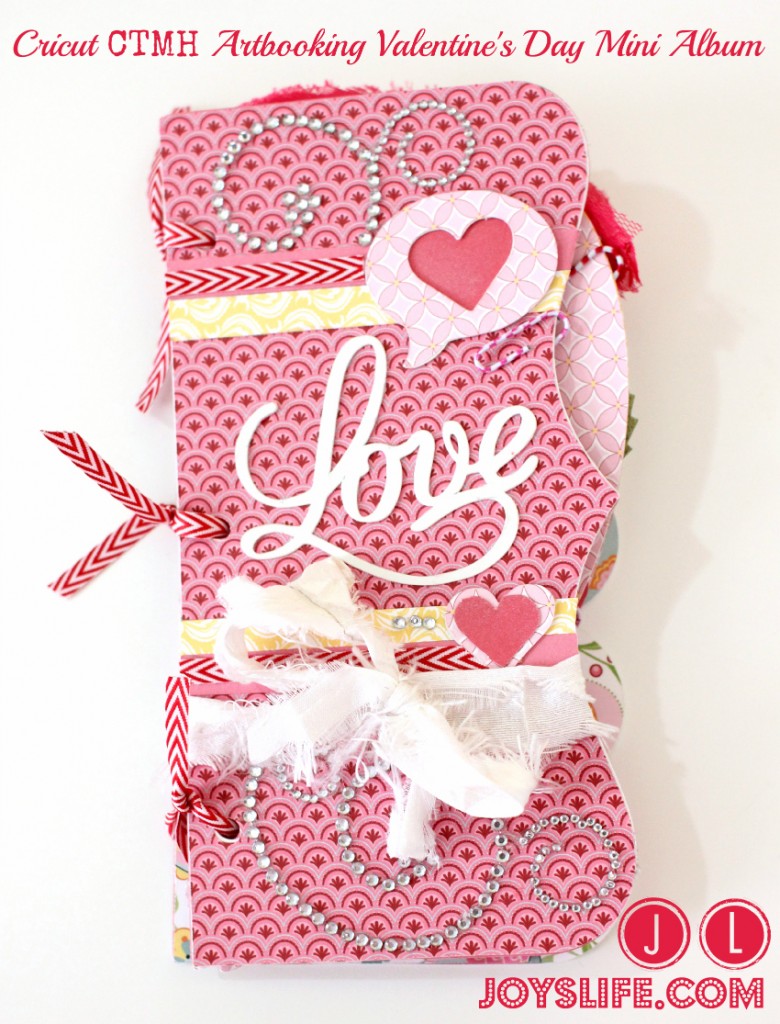
I’m so proud of myself for starting early on this Valentine’s Day project for my Mom. She lives several hours away, so I thought I’d make her an album with some recent photos of the five of us, plus cat and dog. Normally, this idea would live in my head until June where I’d then make more mental plans about sending her an album for her August birthday. Instead (yay me) I actually made it! Whew. I can now live guilt free until August. LOL!

Today I’m using the Cricut Artbooking cartridge by Close to My Heart (CTMH). I’m using a thin cardboard backing from some 12×12 paper I used to have as a substitute for actual chipboard. You can also use cereal box like I did here. I put all my settings to max and set my blade all the way up too. I also did a double cut.
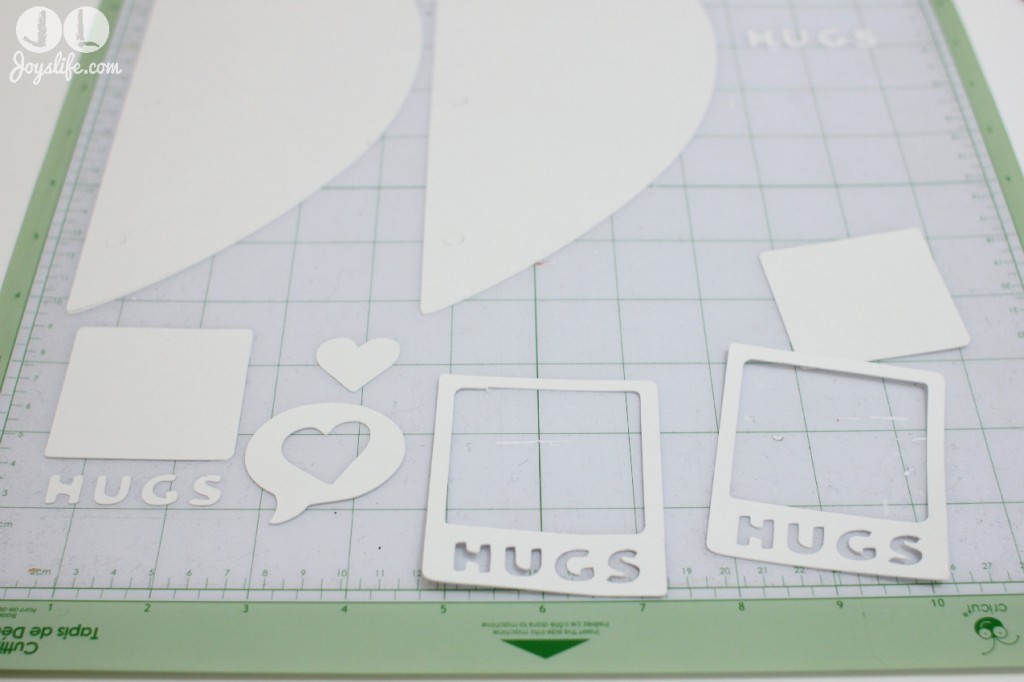
I found all these great cuts on pages 48 and 49. I cut them all at the suggested 8″ to create a 8×3.5″ mini album. Next, I cut out paper to go over most of my chipboard/cardboard cutouts.
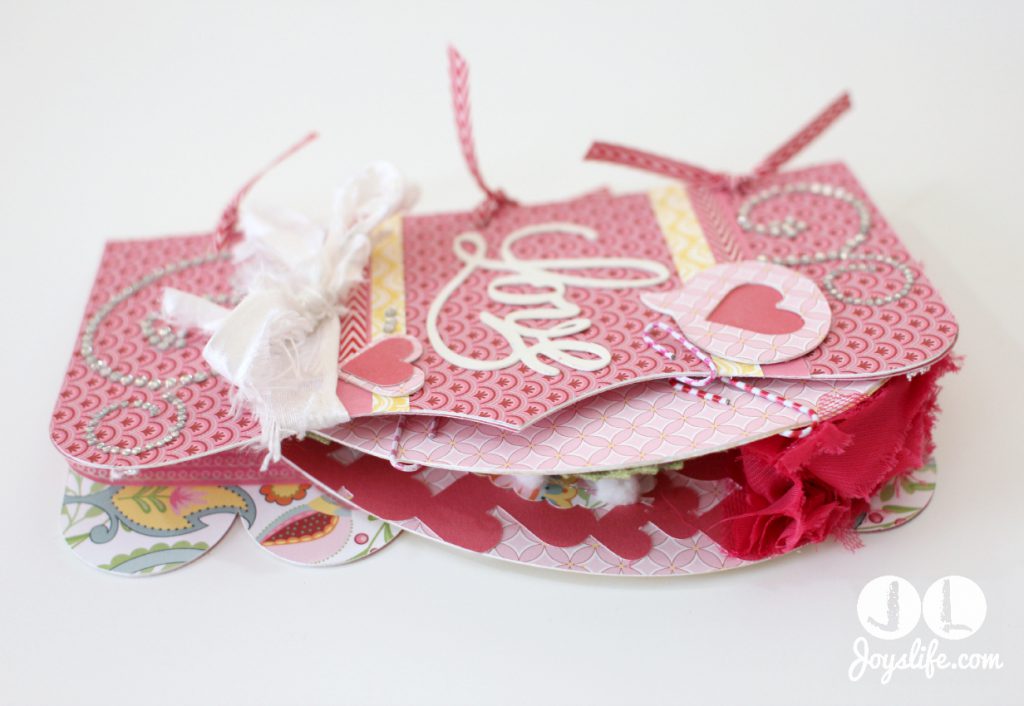
Here’s the mini album from the side.
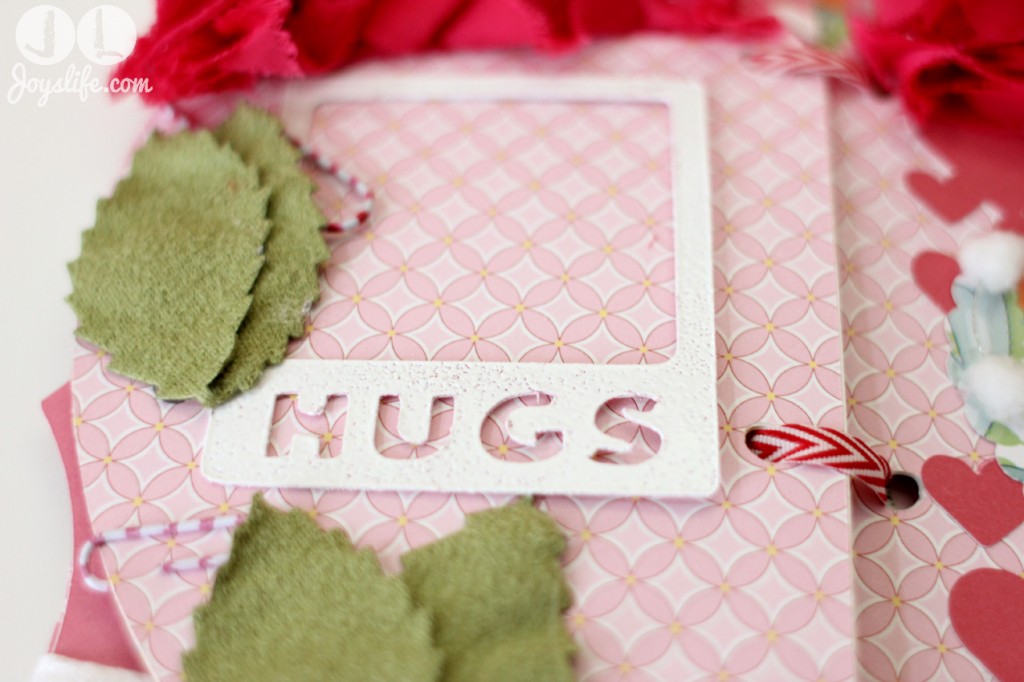
You can find the pretty “Love” word on page 61. I cut it at 6″. I added leftover strips of paper from the machine cuts to the cover. I also spiced it up with a ton of rhinestone bling!
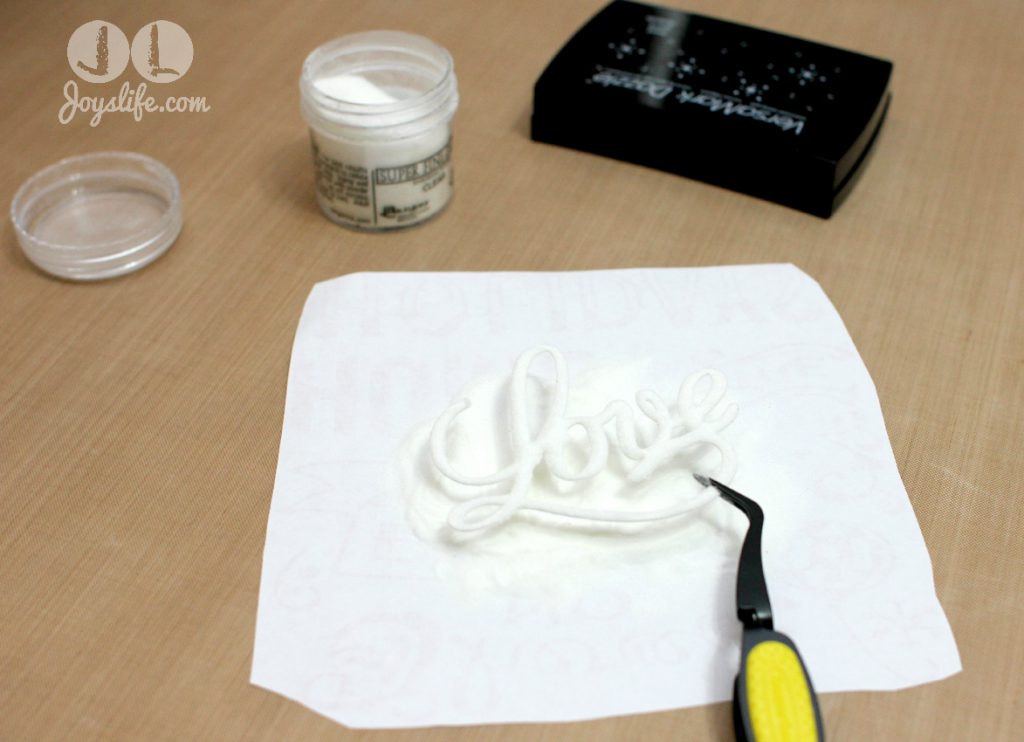
I thought that embossing this piece of cardboard/chipboard would be a nice touch. I used Versamark to make my “Love” word sticky. Next, I covered it with clear embossing powder to give it some added texture. You could use any color but I decided to stick with clear since I was using a white chipboard and I wanted it to remain white. Next, I melted the embossing powder using a heat tool.
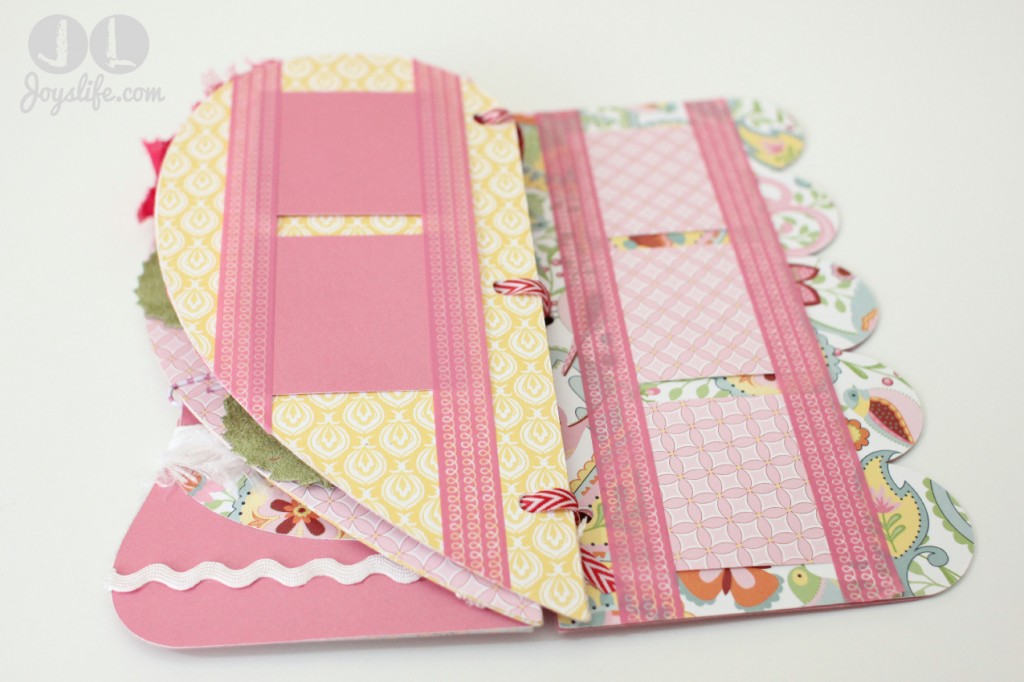
Here are the first few pages.
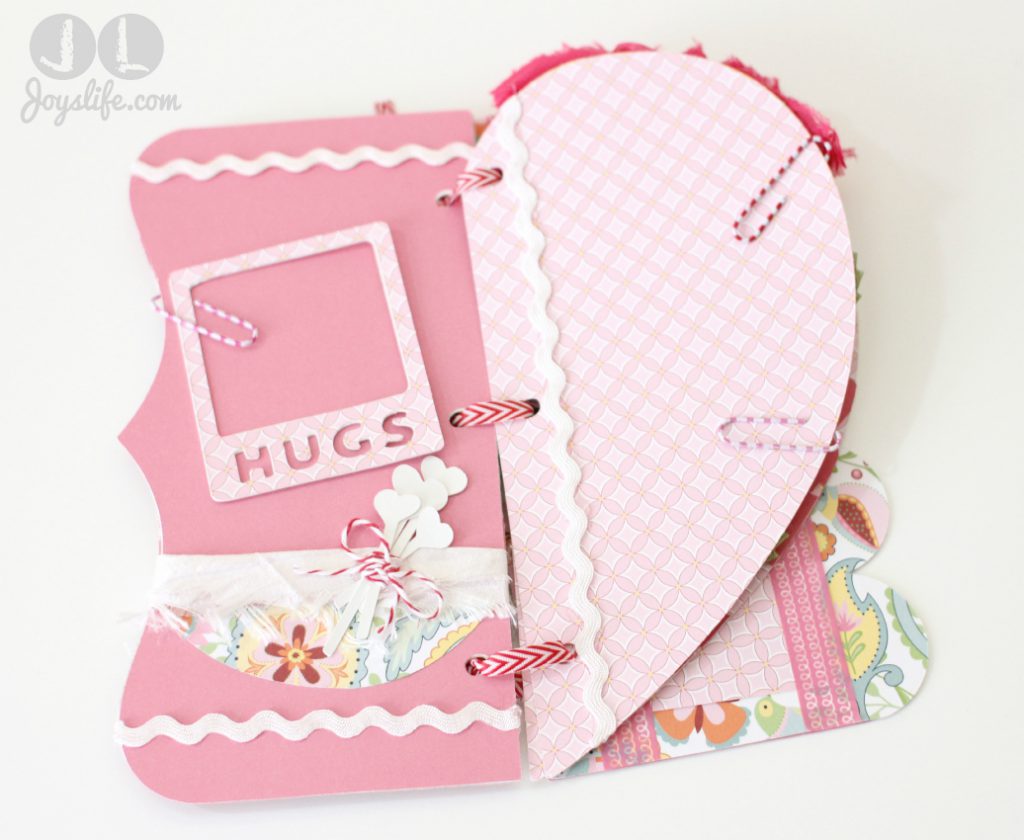
I’ll add the photos to the pages soon. You can find those flower-like hearts, that I tied in a bunch, on the bottom right of page 49 in the Artbooking booklet.
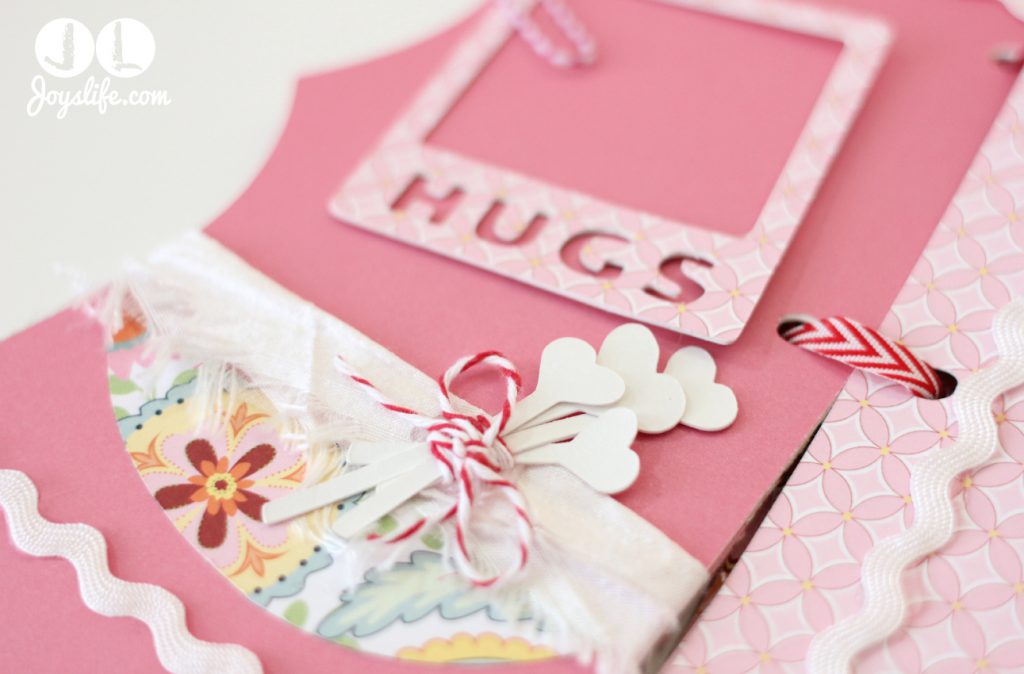
I used ribbon, twine and rick rack in my mini album. You might remember those paper clips from this post.
Here are the middle pages.
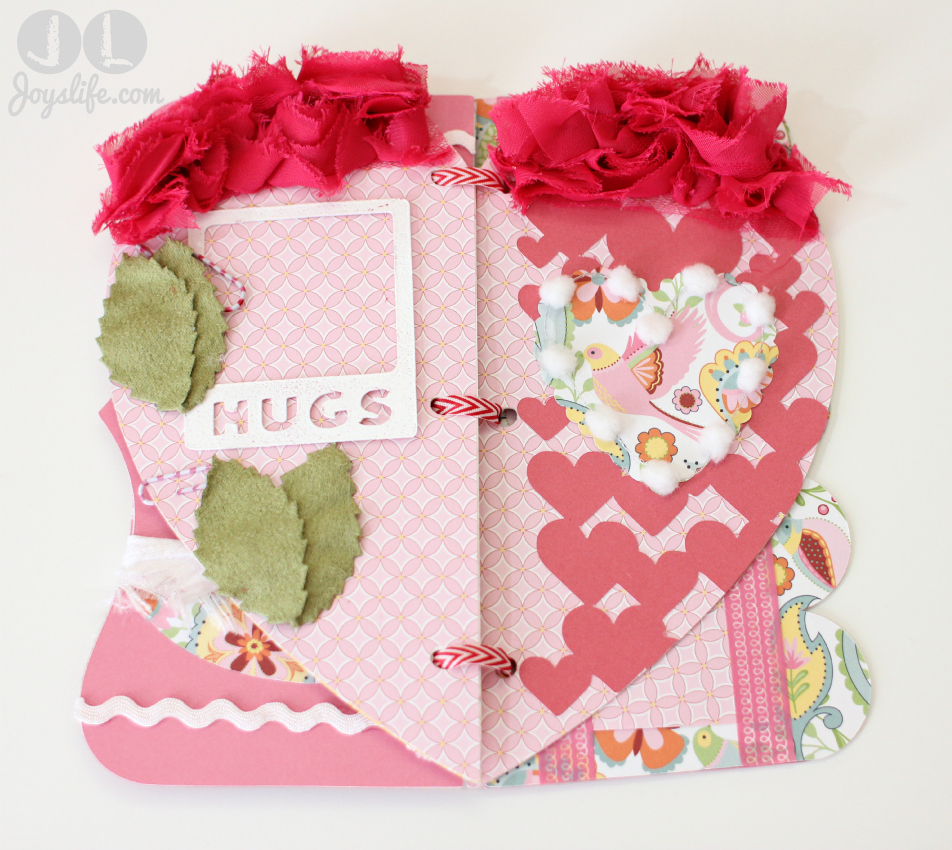
All the paper I’m using is from the CTMH Chantilly line. All the ribbon is from my stash.
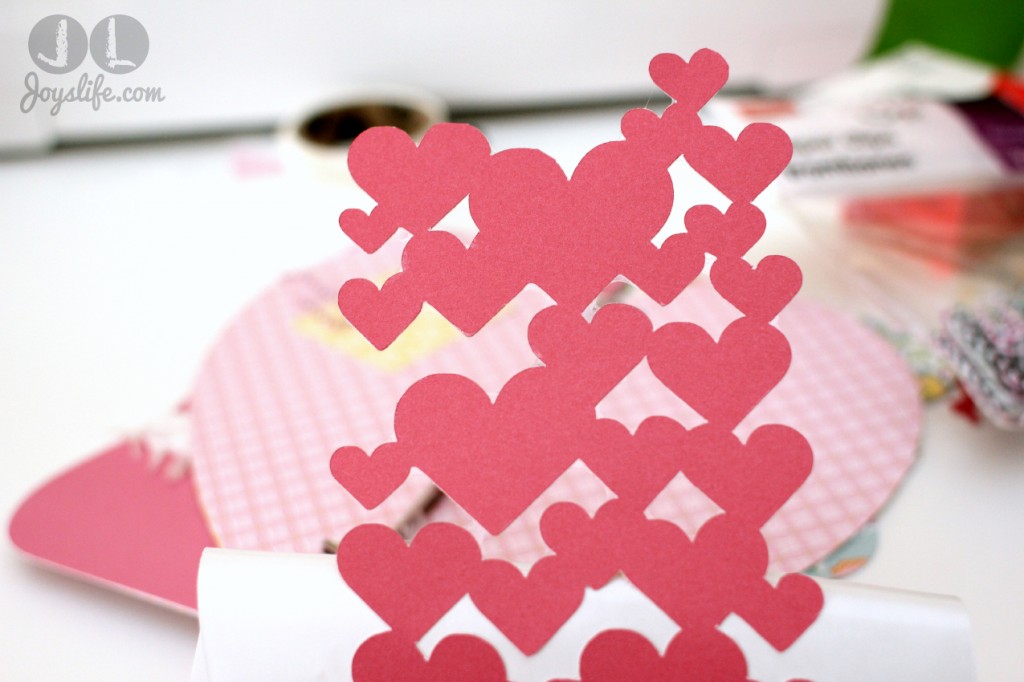
I used my Xyron to help me stick this heart overlay from page 48 to my mini album page. I also trimmed it a bit.
A hot glue gun was very helpful in adhering some of the things, like rick rack and that pom pom ribbon on the heart.
Here are the last few pages.
I’m using Washi Tape to temporarily hold these squares in place. I think I’m going to put photos here and then add the Washi Tape back to them, so this reminds me of how I want the finished project to look.
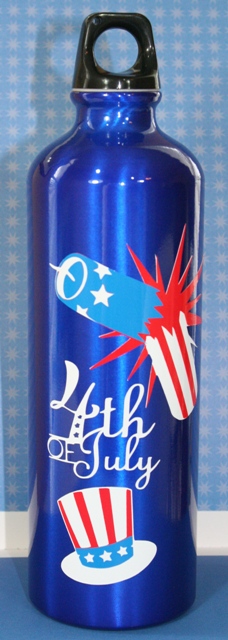
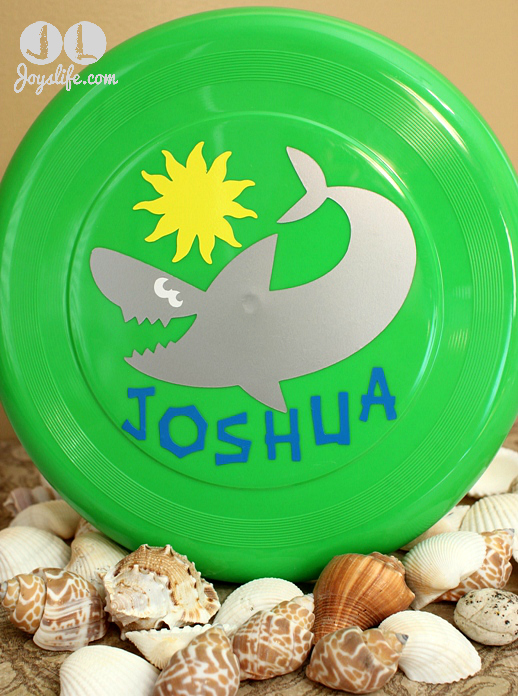
I hope you liked the book! Here are some other things I’ve made with the Artbooking Cricut cartridge.
Have Cricut questions? Check out all of my Cricut help, ideas, videos and more under the “Die Cut Machines” drop down menu at the top of the blog.
See Melanie for all your CTMH needs!

Disclosure: The stamps and cartridges used in this post were sent to me by CTMH consultant, Melanie Brown.
Happy Crafting!


Joy, that is one beautiful mini album! I’ve not been in a crafty mood lately, but you have inspired me today!
Thanks so much for your wonderful projects!
Oh, Teresa! Thank you so much for that wonderful comment! I really struggled at first when I started making this mini album but then it finally started coming together. It makes me feel great to know it inspired you and that you like what I made. Thank you!
So very pretty! LOVE it
Thank you, Bobbi Ann! 🙂
Love your mini album!!!
Thank you so much, Marilyn!
Joy, your mini album is beautiful. I have never thought I would ever make a mini album because I thought they were always full of pictures. In the past I made scrapbooks of my grand babies but have now turned to cards. This mini has me convinced I can put one on my projects list!!! Thanks so much for this inspiration.
Sandy C of Missoula MT
Hi Sandy,
What a wonderful comment! Thank you for letting me know that this inspired you to make a mini! That warms my crafty heart! Have a wonderful time making it. Share it with me on my Facebook page when you get done. I’d love to see it!
Super hugs!
Love your mini book
Thank you, Thi!
Accidentally hit post comment before I finished, lol. Your mini book has giving me so many ideas. Btw, where did you purchased your tweezer from? Cannot find it by me.
Hi Thi!
I always buy my tweezers from Amazon for the convenience. It seems that when I realize I need a new pair or can’t find mine I don’t need anything else from the craft stores but that. LOL! However, you should be able to find them in most craft stores. Look in the scissor area. I’m using the EK Tools Craft Tweezers. They recently changed to this new packaging. I hope that helps!