
Make the Cameo UNIQUELY YOURS!
Back in December, I showed you how to customize the Silhouette Cameo’s Control Panel using digital paper. That was fun but it’s July and I was still rockin’ the December look. The Cameo was in real need of an update.
Remember when the kiddos and I toured the Sunfower Farm in Rutledge, GA? Well, I used the photo of my son and the ladybug for this new Control Panel look.
Here’s how to import a photo:
- Click the “File” tab at the top of the Silhouette software application.
- Choose “Import to My Library”.
- The “Import” window will open. From the top of the window you’ll see “Look In”. Choose the file you want to “Look In”.
- From “Files of Type” at the bottom of the window choose “All Files”.
- Choose the file you want to import and click “Ok”.
- A new window will open where you can add, filename, keywords, description, artist and category. Next, click “Ok”.
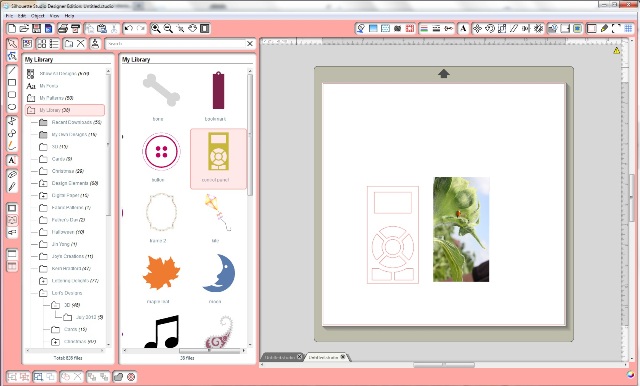
- You will find your new image under the “My Own Designs” under “My Library” in the Silhouette Software.
- Double click (or select and drag) the image to bring it onto your mat.
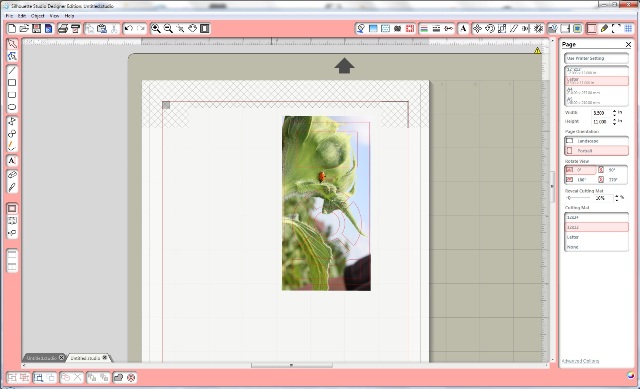
Next, you’re going to want to follow this tutorial I wrote to find the control panel cut file, unless you already know where it is. 😉 After you have your photo and the control panel cut file on your digital mat, line them up like you want them. I moved my photo so that I’d be sure to have the ladybug still showing after the new panel was cut.
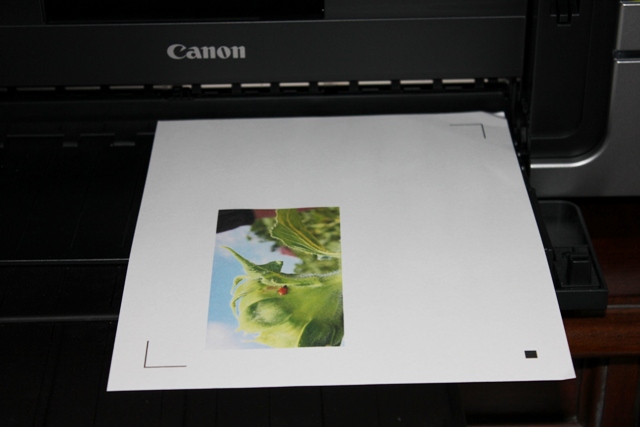
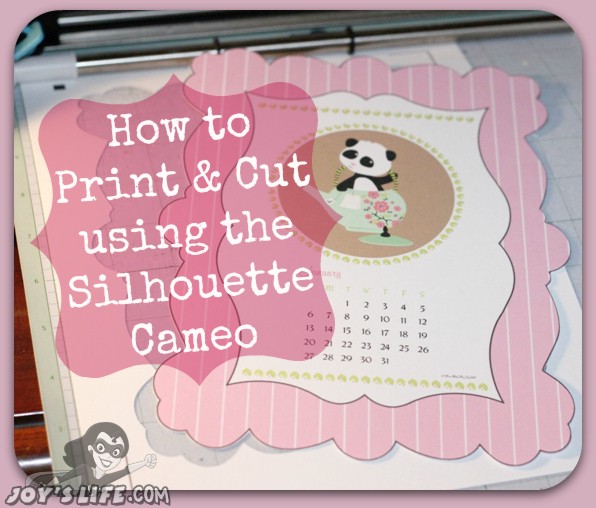
Choose registration marks from the top right hand area of the Silhouette software. Next, send your completed image to the Silhouette Cameo and have it print on your printer. The weird square and 2 lines you see in the photo are the registration marks. They help the Silhouette laser read the image so it knows where to cut.
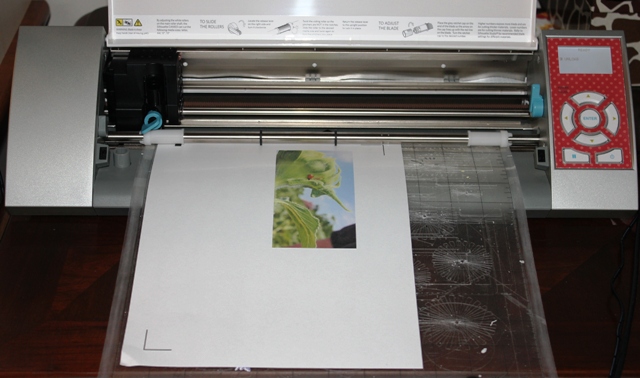
The Silhouette Cameo is about to cut out the image that I printed on my printer. Because it’s laser reads those registration marks, it knows just where to cut.
I’m using the Silhouette Studio Designer Edition software. Here are Silhouette Studio software tutorials I’ve written that might help you.

It’s nice to look at your Cameo and see a memory you made. We sure had a good time at the Sunflower Farm.

All done! Well, almost. Now, we need to put it on the Cameo. Refer to my previous post about how to do that.
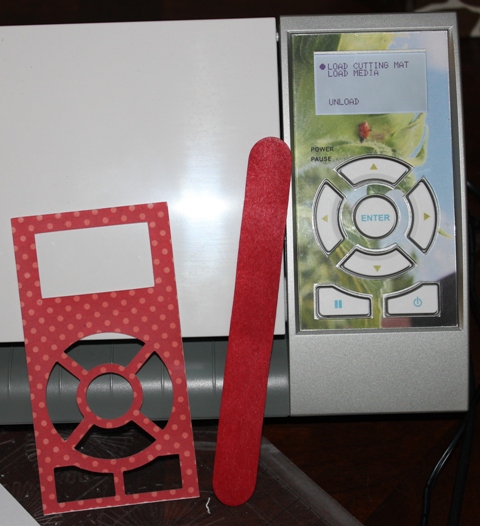
Remember, I used a popsicle stick for safe and easy removal of the clear plastic cover. I caution you to not get so excited to try this that you wield something sharp near your Cameo display. Embrace the popsicle stick idea. LOL!
Nice! My Cameo has a new look that is a truly special memory to me and my kids. YAY!
How many of you want to bet that will be on there until next December? LOL!
Go Make Your Crafty World…UNIQUELY YOURS!


Wow this makes me want a Cameo even more now!! If that was possible haha. I so wanna customize it, ty for this tut. 🙂