Spooky Home Decor Tree using Cricut Happy Hauntings – GIVE AWAY
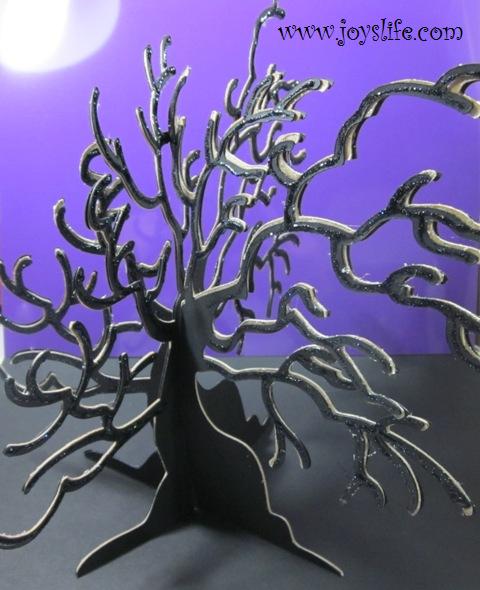
I love this tree! You can make one too!
I used the Happy Hauntings Cricut cartridge to make this great spooky 3D tree. I love that this cartridge has so many fun things to make. The 3D items are so well designed that they’re pretty easy to put together. I did have to make one of the slits a little longer to fit these together, but that could be due to the multiple layers and chip board.
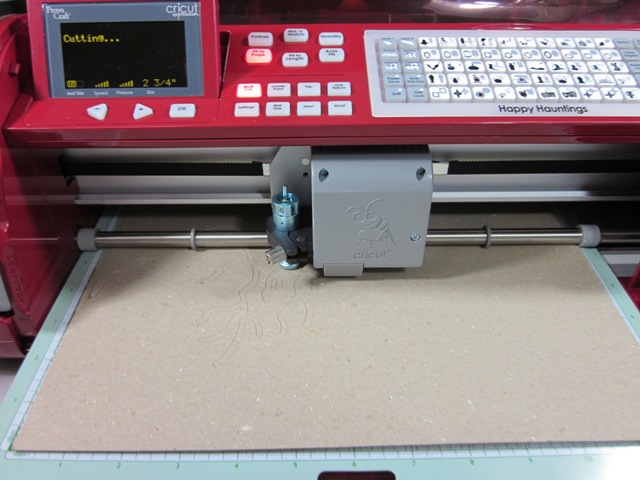
The Blue Blade Housing is the Deep Cut Blade.
I used the deep cut blade set on 6, pressure set at 5 and multi cut set to 4. I’m unsure of the thickness of this chipboard, but let’s say it’s a little thicker than a cereal box. You know how much I love to use cereal boxes in place of chipboard, but this time I actually used chipboard. I’m just a wild woman, LOL!
I moved the blade to the 8.5×11″ place on the chipboard because I was next going to use 8.5×11″ cardstock to cut out the same image. You can find out exactly where your blade is on the page by pressing “set paper size” (it’s on the overlay). That’s how I found the 8.5×11″ spot on this 12×12″ chipboard. Then I pressed “Fit to Page”. That made the tree cut out at 8″. I know the little screen is showing 2 3/4″, but it’s not actually using that size since I pressed “Fit to Page”.
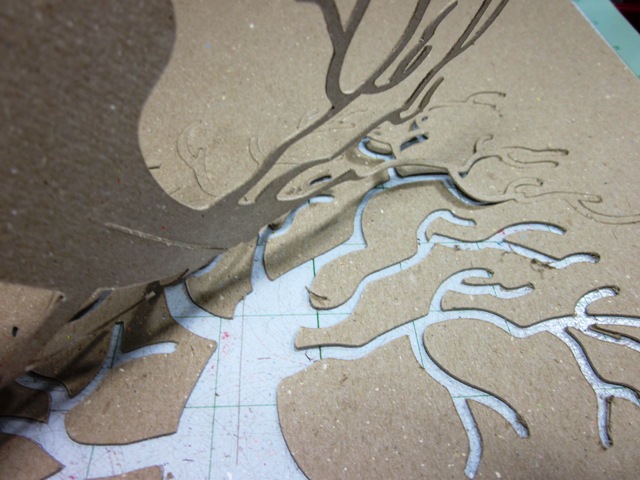
Awesome Chipboard tree!
When using chipboard, make sure that your mat is sticky. I had a non sticky one first and…you guessed it…my chipboard moved all around. Sad.
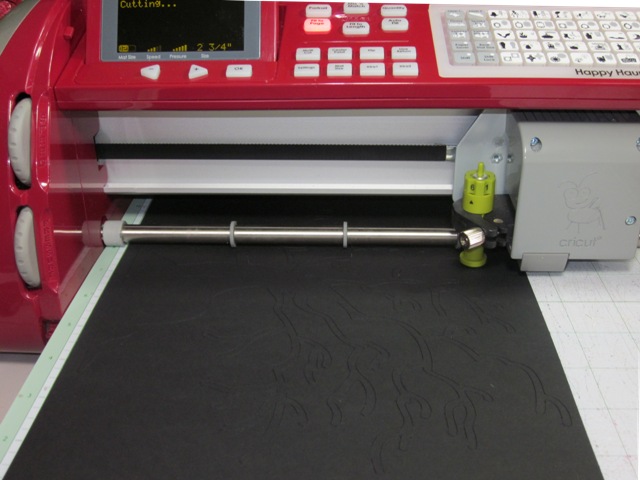
Now for the regular blade!
This tree looks more complicated than it is. Really it’s just 2 pieces. Isn’t that amazing? I cut the 2 necessary pieces out of chipboard. Next, I used the regular blade and cut out each side of the 2 pieces using black cardstock. When I did this, I used FLIP on one side of each tree piece. Overall, I cut 2 chipboard pieces and 4 cardstock pieces.
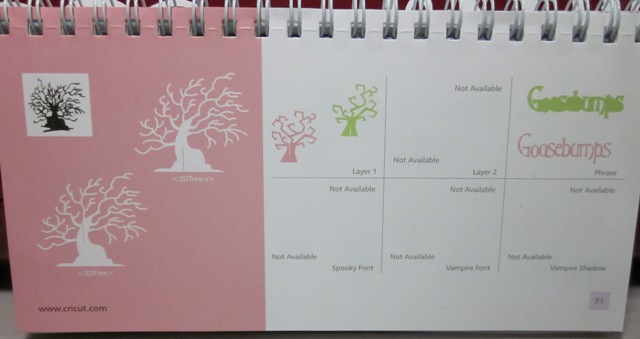
Here’s the Happy Hauntings Booklet.
You see? It really is just 2 parts! I did the main tree on the left. If you use the Layer 1 Function then you can cut out a completely different tree. That’s just cool! I wish it had even more trees. I’d have a whole little Narnia going on.
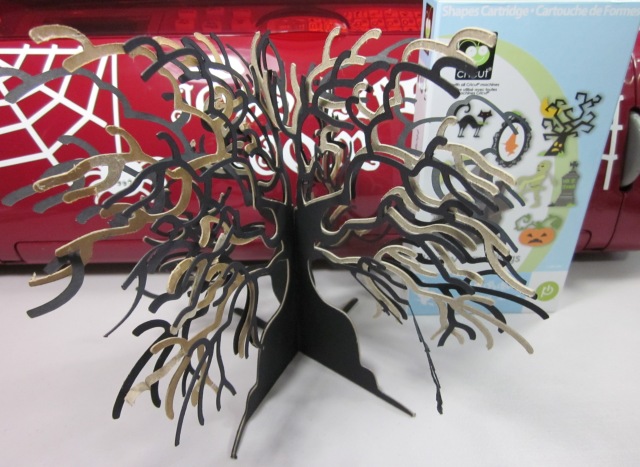
Before Gluing Branches.
Honestly, I wanted to leave the tree like this. I thought it looked super cool. However, I also wanted to see how the finished project would look if I followed the basic idea of the cuts. So, I glued everything together.
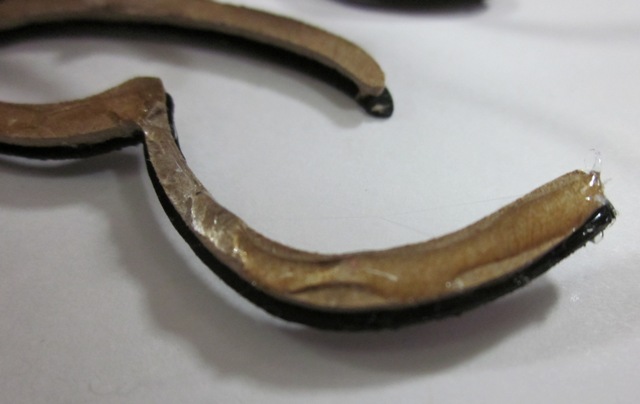
Here’s a close up of Zip Dry right out of the bottle.
One of my readers asked me if Zip Dry Paper Glue is thick. It pretty much goes on as thick or thin as you’d like it, but it has a good consistency and doesn’t pour out fast. I really like that you can roll off any excess after it has dried. Very nice.
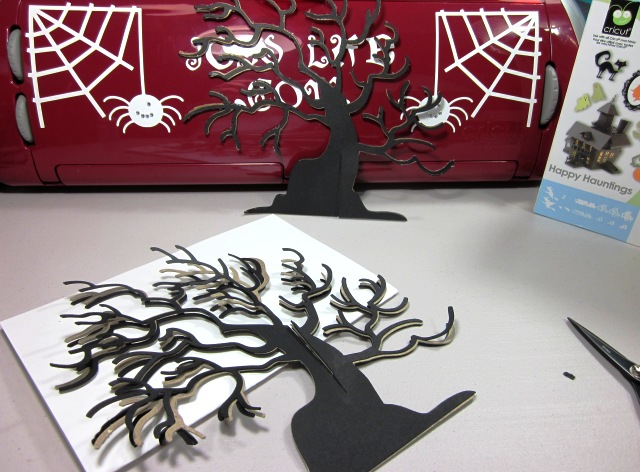
Here are the trees getting the “glue treatment”. 😉
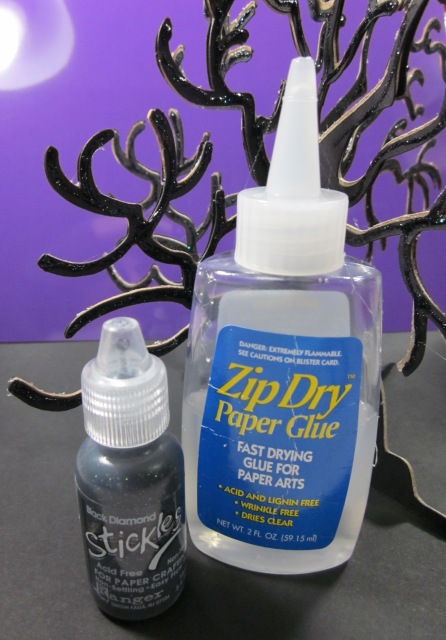
I used Zip Dry to glue it all together and Black Diamond Stickles for that added bling!
And then…and THEN… TA DA!!

I LOVE THIS TREE!
LEAVE A COMMENT TO BE ELIGIBLE TO WIN A BOTTLE OF ZIP DRY PAPER GLUE. WOO HOO! I’ll choose 2 winners for a bottle of Zip Dry donated by the AWESOME Beacon Adhesives! (Their adhesives ROCK!) Winners chosen Saturday, Oct 9.
Congratulations to the winners!
# winnielosie Says:
October 5th, 2010 at 7:29 AM e
Awesome tree Joy…..Vicky
# CrafTsp Says:
October 8th, 2010 at 2:13 AM e
Thank you for your wonderful projects! You are so inspiring. I would love the opportunity to win a bottle of zip dry
Don’t forget you can also click HERE and leave a comment to be eligible to win a Cricut Vinylology DVD! Click HERE and leave a comment to be eligible to win TWO 36 packs of Ultra Fine and Fine Bic markers (retail $41.98) for THREE WINNERS! AND … At the end of October, I will pick 5 winners who’ve left a comment on any non-give away post on Joy’s Life during the month of October. Those 5 winners will win some crafty surprises. So, you can leave a comment on all the give away posts AND on non Give Away posts and still have a chance to win! 🙂

Halloween is a great occasion for decorating and it’s fantastic to use the cartridges for decor as well as for cards and scrapbooking…great instructions!
Oh my word this is just amazing I love it, this would look great as a table decoration. Thanks for sharing.
Kim xXx
Love it! It would look sooooo neat with some skeleton heads and little pumpkins and things like that hanging off of it 🙂
The tree is great! I love the black stickles!
Now that is just so cool! I love it!
I really like this tree. I am going to have to get that cartridge… Thanks for sharing….
Thank you for your wonderful projects! You are so inspiring. I would love the opportunity to win a bottle of zip dry
I so love the tree. Makes me want this cartridge
I jus bought this cartridge! Its really cool so actually see a project. I want to make the haunted house too.
Joy Super Creepy! Tree. Great job you always have great ideas! Thanks.
Love your Halloween ideas!
Your tree looks awesome and would look great as a centerpiece around your fantasic looking Halloween treats.
Kathy
Katsews at Gmail dot com
Totally cool “Spooky Tree”. How fun would it be with a Haunted Village (not that I have made one). LOL. Maybe one of these days.
[email protected]
Zip glue really worked on some daycare owls we were making – glad I found out about it.
wow i love the tree.. very nice.. i would love to win the glue.. thanks for the chance..
[email protected]
I like all the different looks the tree has. I have don’t the suckers before. Thanks
Kathy
[email protected]
I absolutely love that tree, & zip dry & of course the rock diamond Stickles
I used my Stickles tonight on a project for the first time in a long time and my love for them can flodding back! You used them beautifully! Love the project!
Great Tree and glad i found Zip Dry when I started crafting
I borrowed my friend’s Happy Hauntings cart and now seeing this tree, I want it even more! Thanks Joy for always giving me such great ideas!
I love, love, this cart! This tree is perfect! Thanks Joy!
Joy,Love it so cooooool!! I love all these projects!! Joy
I was looking for the HH cart over the weekend (couldn’t find it) to make those coffins. Now I need the cart for the TREE too!! I’m really glad that Zippy and Stickley are such good friends…..
I would type you a story about why I need more glue, but my fingers (and keyboard) are too sticky!!!
I love this tree! But I don’t have this cart.. Maybe I’ll be able to do it next year..Tanks so much for sharing all of your ideas with us!! ;~D
Nice tree I like the 3D aspect.Thanks for the tutorial. I always need glue for all my projects. Zip Dry is a crafters basic tool. 🙂
What a great idea. You all come up with inspiration for me. Hope you don’t mind me trying to copy.
This tree really creeps me out! But you did a great job on it!
spunkycrayon at yahoo dot com