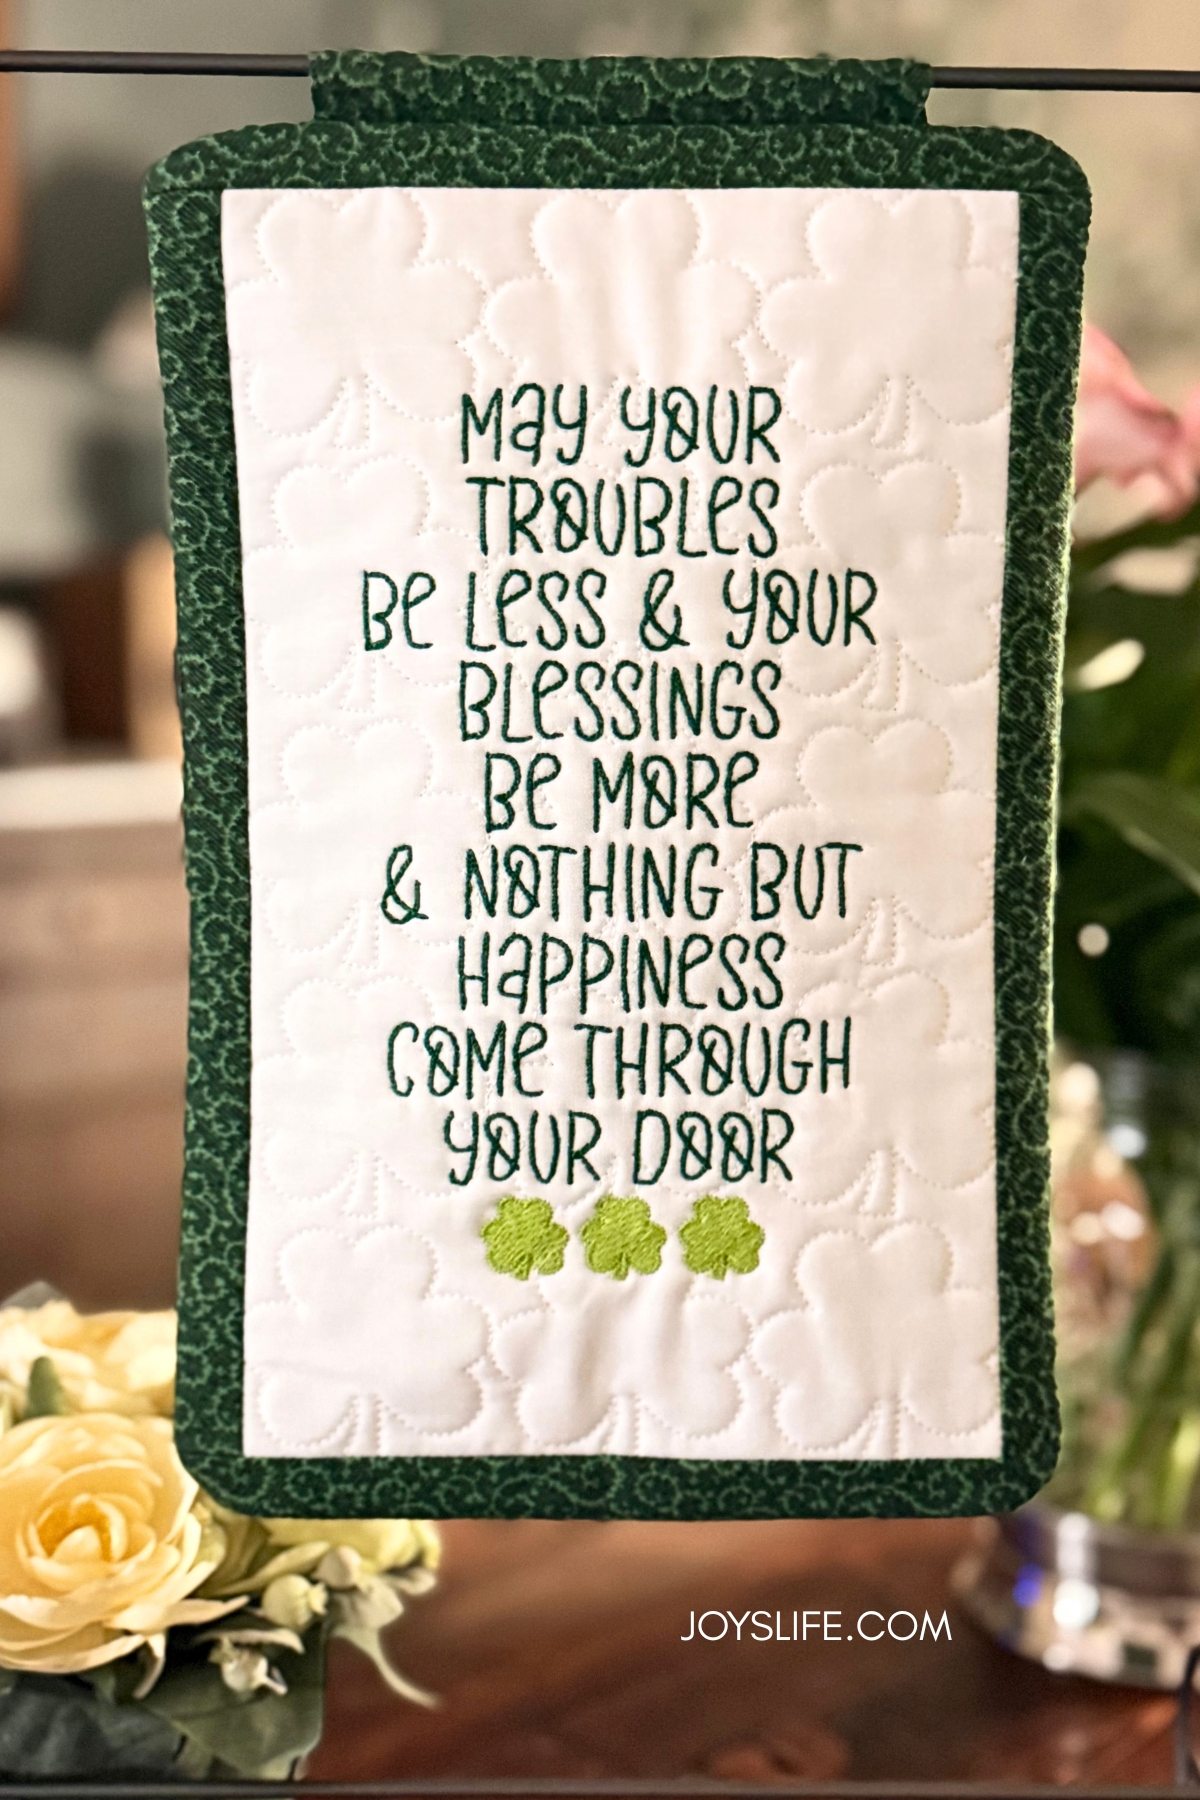
The Irish Blessing Mini Quilt is a small St. Patrick’s Day embroidery mini quilt stitched in the hoop. This version uses fabric scraps, leftover longarm batting, and Aurifil and Madeira serger thread for a simple seasonal project.
Why I Chose This Irish Blessing Mini Quilt
This little quilt features the Irish blessing that was the first toast I ever memorized. So, when we raise a glass at home and it is not for something specific, this is the one I always say. I love how beautiful and kind it is. It’s the sort of toast you can give that makes everyone feel included.
When I saw this Irish blessing embroidery design, I knew it would make a perfect St. Patrick’s Day mini quilt. It is an in the hoop design by Parker on the Porch.
Small seasonal quilts are some of my favorite projects because they stitch up quickly and are easy to bring out each year when the holiday rolls around. Even though I waited until the last minute on this one, it was still quick enough to have before I missed my chance until next year. Man, I love a good crafty save!
In this post I am sharing how I stitched the project along with a few tips, tools and tricks that made the process easier.

A Scrap Friendly St. Patrick’s Day Mini Quilt
One of the things I enjoyed most about this project is that it came almost entirely from scraps.
The fabric came from my stash and the batting was a leftover piece from quilts I have longarmed. When I finish a quilt for a client I always offer to give them the extra batting back. Some take it and some tell me to keep it. I love it when they keep it, because all that batting adds up, but those small pieces end up being perfect for projects like this mini quilt.
I keep my leftover fabric and batting organized using my scrap storage system, which makes it easy to grab pieces when inspiration strikes. Using scraps makes projects like this feel relaxed because they are just leftover pieces waiting to be born into something new.

Machine Embroidery with Serger Thread
Instead of using traditional embroidery thread, I stitched this design using Aurifil thread and Madeira AeroLock Premium serger thread, which I bought from my local quilt shop.
Honestly, those threads were already sitting out on my sewing table and I just did not feel like digging through my embroidery thread. Since everything in the project came from scraps I figured it was a good opportunity to experiment. After all, the worst that could have happened was losing a piece of stabilizer and stitching the design again. For a rainy afternoon, I chanced it.
Happily, my Bernina 770 QE Plus sewing and embroidery machine handled the threads beautifully. I used a Schmetz 75/11 embroidery needle for this whole project. Make sure you check your manual for the right needles and threads for your particular machine.

Why Serger Thread Worked So Well for Lettering
One thing that surprised me about this project was how much I liked the lettering stitched with Madeira Premium serger thread.
I have stitched this font before using embroidery thread, and the letters came out fairly thin. The serger thread created a slightly thicker stitch that gave the lettering a little more presence and made the words easier to read.
Since the Irish blessing text is the focal point of the quilt, I think the slightly heavier look works really well.
Every embroidery machine behaves a little differently, so it is always a good idea to check your embroidery machine manual for recommended threads and best practices before trying something new.
Tools That Helped This Mini Quilt Come Together
Sometimes small tools make a big difference when working on machine embroidery projects and small quilts.
Lint Roller for Thread Cleanup
One of my favorite embroidery tools is a lint roller. They are great for picking up those threads that seem to get everywhere when you are stitching.

Hot Hemmer Tool for Pressing Quilt Fabric
Another tool that helped with this project is a Hot Hemmer pressing tool.
Basically, it works like a ruler that you can iron on. It makes it easy to fold and press small seams accurately, which is especially helpful when working with small pieces like the hanging tab for this mini quilt.
That little iron is the Oliso M2Pro Project Mini Steam Iron, they make an M3Pro now. The M3Pros have a little light on them. I love it because it’s small and heats up fast. It’s perfect for this small corner in my room, especially when I’ve put my big steamer away, or want to work with small pieces. I also travel with this little iron. It’s so awesome!
You can always refer to my Resources page for products that I use and recommend.

A Note about the Hanging Tab
For the hanging tab for the 7″ x 11″ project, I cut the fabric 5.5 inches by 3 inches INSTEAD OF THE 4.5″ x 3″ the pattern called for.
That extra inch gave me enough fabric to fold a half an inch under on each side and left more fabric for the top of the tab.
When I make another mini quilt, I’ll cut out all the fabric ahead of time (instead of as I went, like I did this time). Then I will sew down those folded areas for the hanging tab and for the quilt back. That gives a nicer finish.
I used Kimberbell Medium Cut Away stabilizer for this mini quilt and when I was finished, I left it in. I didn’t think it needed to be cut away for this project. Leaving it in there gave it extra stability, since it’s just hanging on a stand.

Decorating with a St. Patrick’s Day Mini Quilt
Small quilts like this are an easy way to add a little St. Patrick’s Day decor without changing your whole house.
I displayed the finished quilt on a small quilt stand. It is actually the same style Parker on the Porch suggests for this design and I happened to already have one.
I used the Ackfeld 12″ x 14″ Stand in charcoal. If my machine could have made a bigger sized mini quilt, I would have because this 11″x 7″ size that I made is too small for my stand and too big for many others that they sell. So, next time I’m going to make a smaller one and put it in Ackfeld’s 6″ x 12″ stand for a better fit.
In the photo below, I have the St. Patrick’s Day mini quilt hanging on a 6″ star decorative craft hanger with a star on it. I just have it bent over where you can’t see the star. They are definitely meant to hang, but it worked for my photo purposes. So, I was like YAY!

Mini quilts also look great:
- Hanging on a small quilt hanger
- Displayed on a tabletop stand
- Layered into a shelf display
- Tucked into a seasonal vignette
- Hanging on a banner with similar sizes
Projects like this are small enough to store easily but still feel special when you bring them out each year.
A Toast for St. Patrick’s Day
Since this mini quilt features one of my favorite toasts and a beautiful blessing, it feels especially fitting for St. Patrick’s Day celebrations.
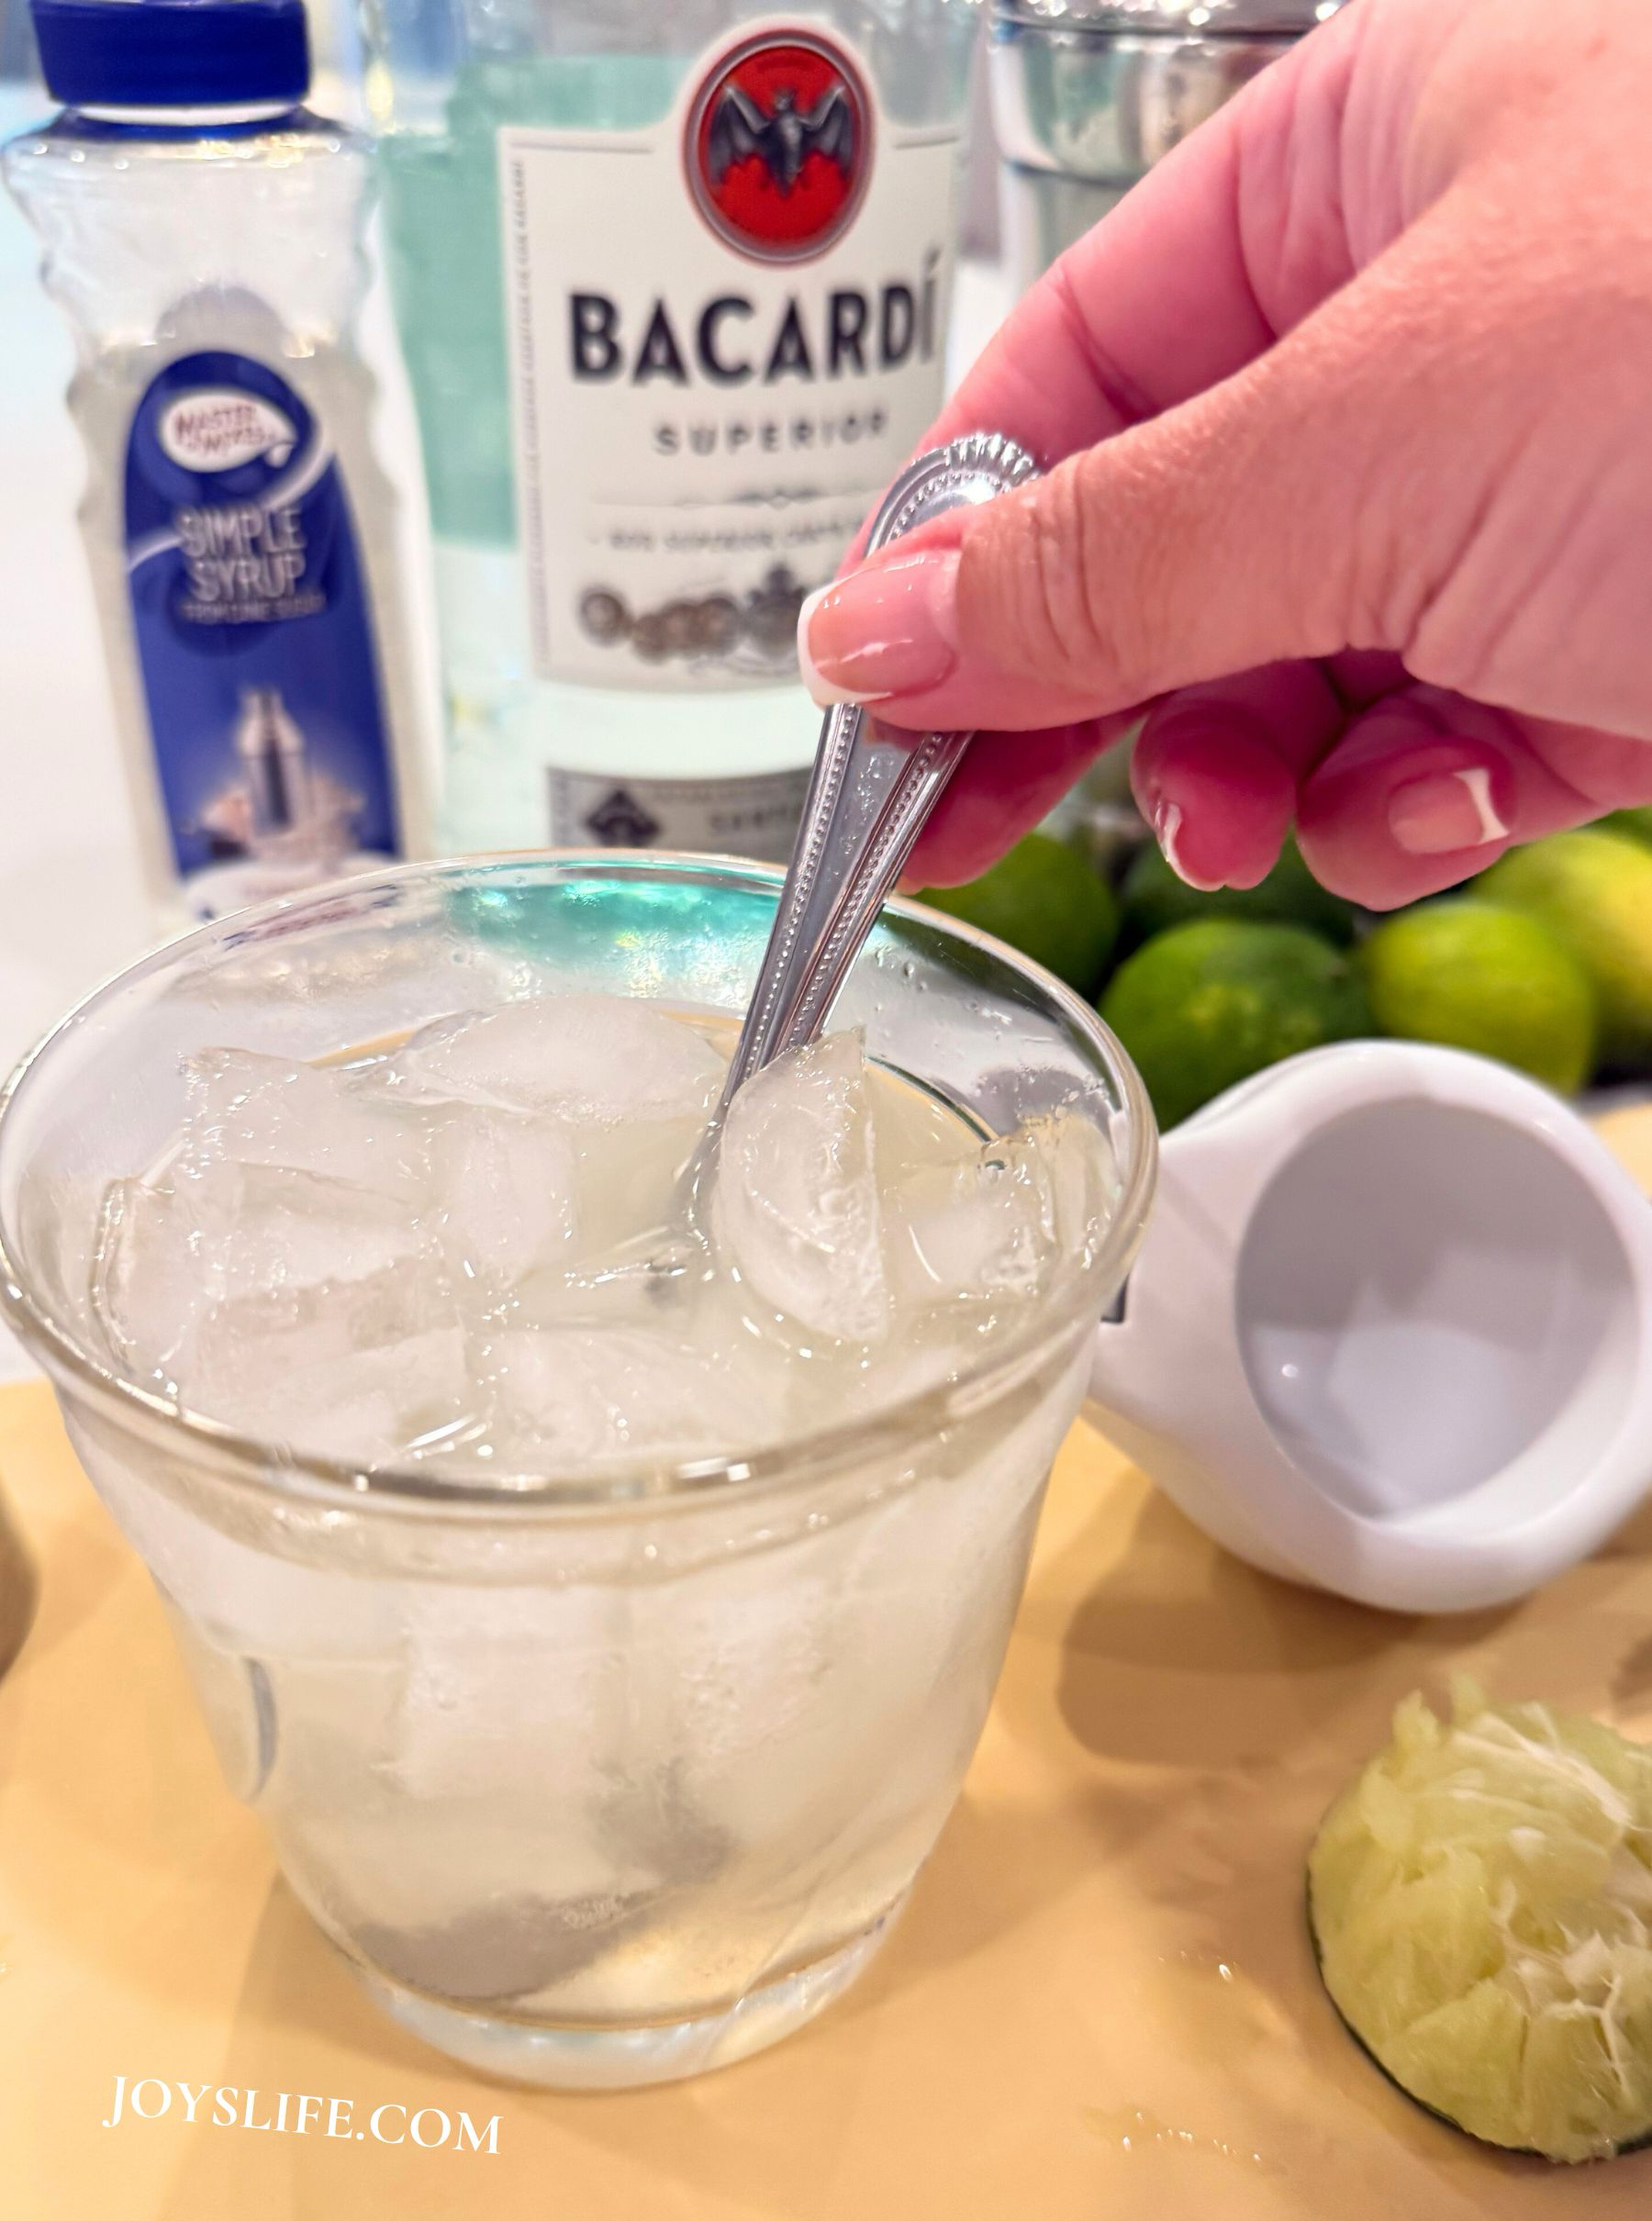
If you are raising a glass you might also enjoy this Simple Daiquiri Recipe!
If you had fun with this, check out these holiday crafts.
A toast, a good drink, and a handmade project sounds like a pretty nice way to celebrate March.
Frequently Asked Questions About This Mini Quilt
Crafty Thoughts
This St. Patrick’s Day Mini Quilt is another fun and festive project that reminds me why I love embroidery.
It used scraps from my sewing room, leftover batting from longarming, and thread that was already sitting on the table. The result is a small quilt with meaning that I can bring out every St. Patrick’s Day.
Sometimes the best sewing projects start simply because the supplies are already in front of you.
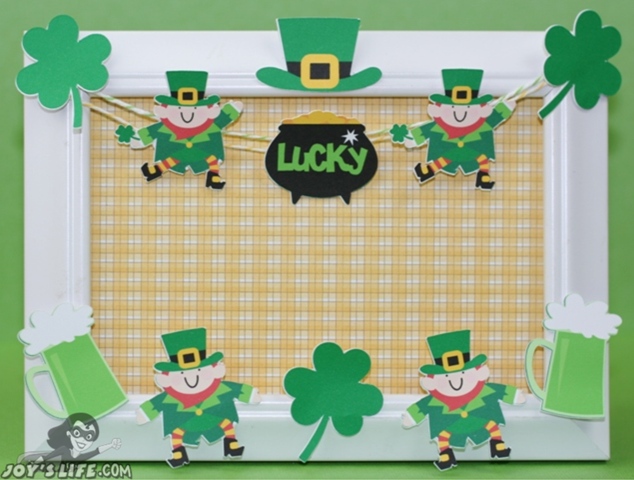
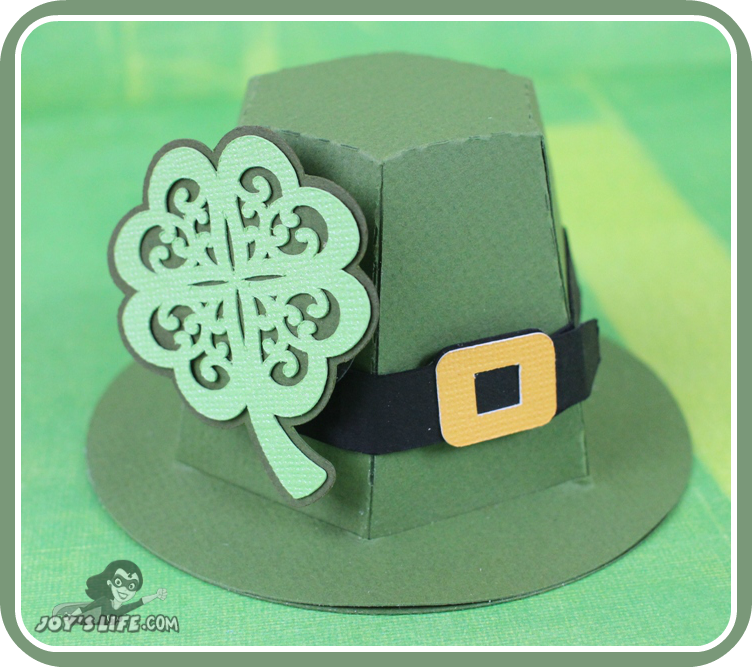
If you enjoy decorating for the holiday, you might also like some of my other St. Patrick’s Day crafts and decorations.